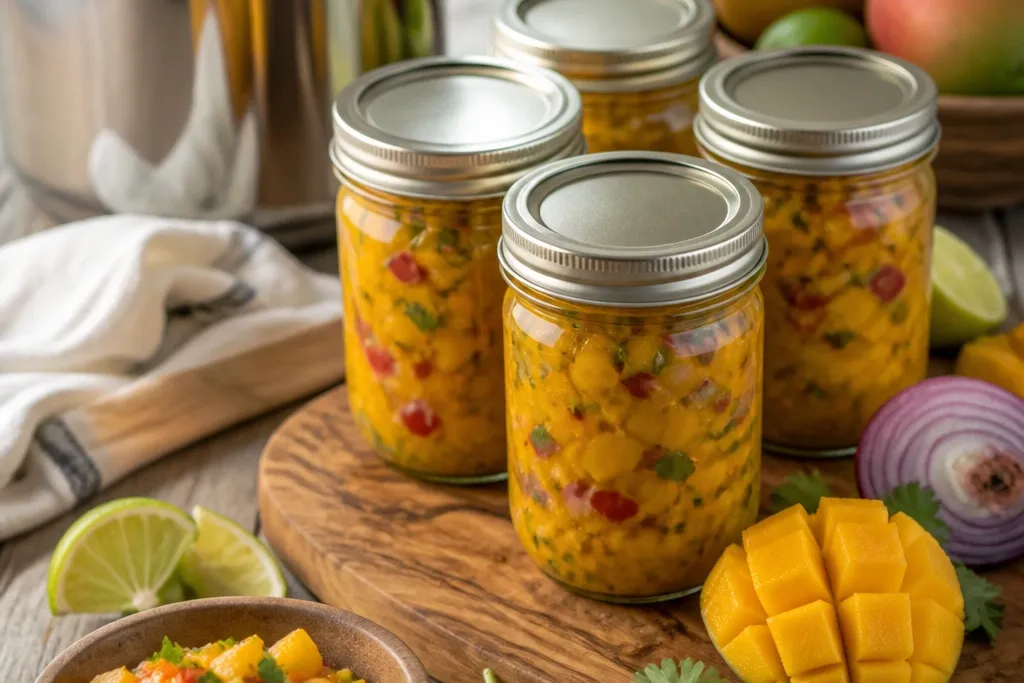
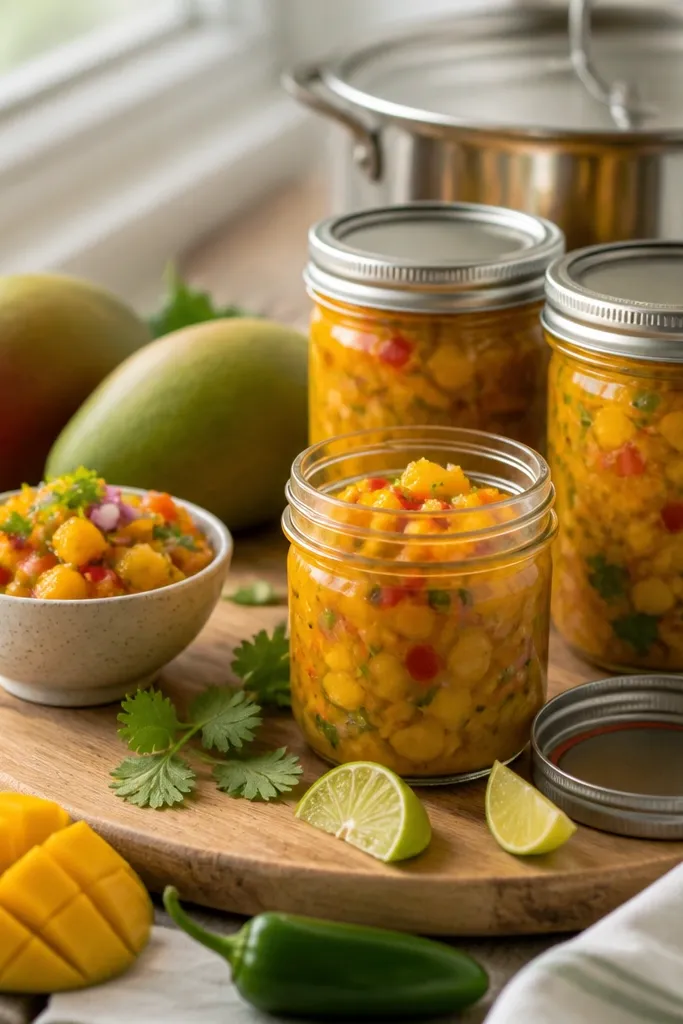
1. Mango dice that stay chunky
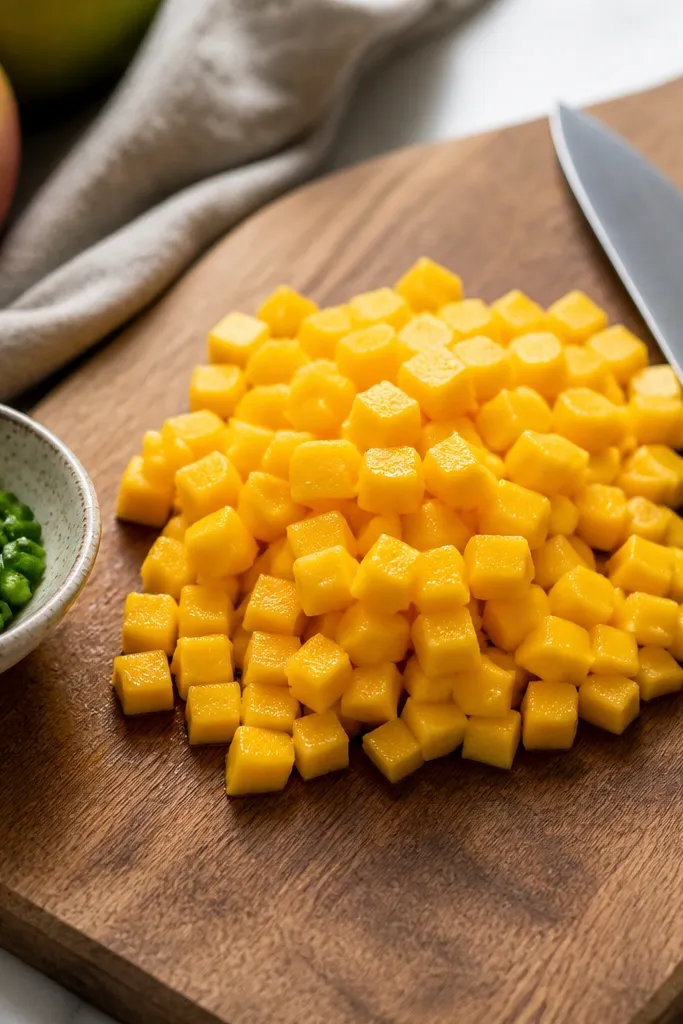
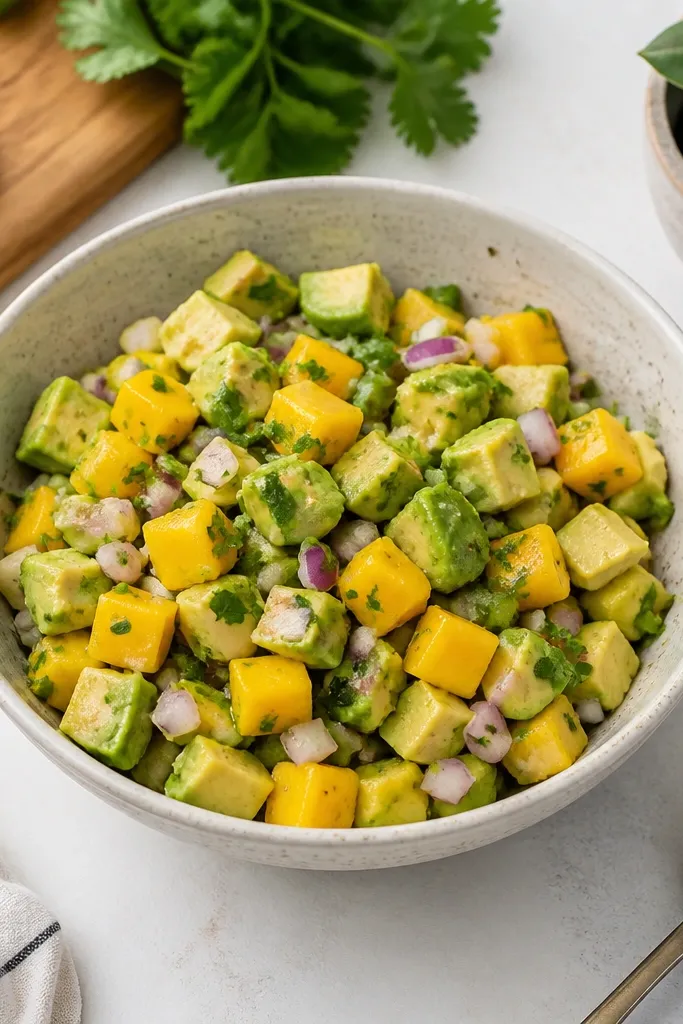
The salsa texture depends on chunk size. When mango pieces are cut around 1/4 to 3/8 inch, they hold their shape through a short simmer and still feel like real fruit when you spoon from the jar. The color you want is golden-orange with a few deeper amber edges, not pale yellow or mushy streaks.
Use a sharp knife and cut the mango flesh away from the pit in clean sheets, then cross-cut into cubes. Spread cubes on the board for 2 minutes so excess juice doesn't pool under your knife.
Try thisIf your mango releases lots of juice, drain 1-2 tablespoons from the bowl before cooking so the salsa doesn't end up watery.
One warningDon't dice mango too small or too thin - it turns into soft puree in the jar.
2. Simmer pot with glossy salsa
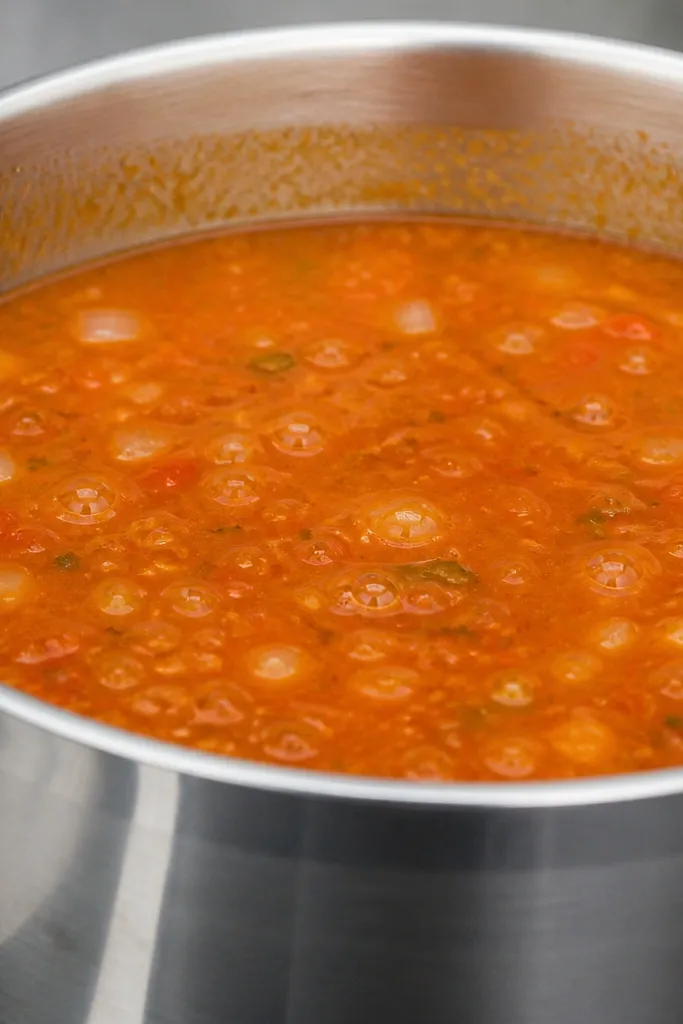
A brief simmer makes everything warm and cohesive so jars fill evenly. You want small bubbles around the edges and a glossy look, not a rolling boil that breaks mango down. This short heat also helps the onion soften just enough to taste sweet, not raw.
Stir often during the first 2 minutes. When you see the sauce loosen slightly and cling to the spoon, you're ready to fill jars.
Try thisTaste it right at the end - it should be a little sharp from lime because canning mellows flavors slightly.
One warningSkipping the simmer leads to uneven texture and more separation inside jars.
3. Jar funnel line-up
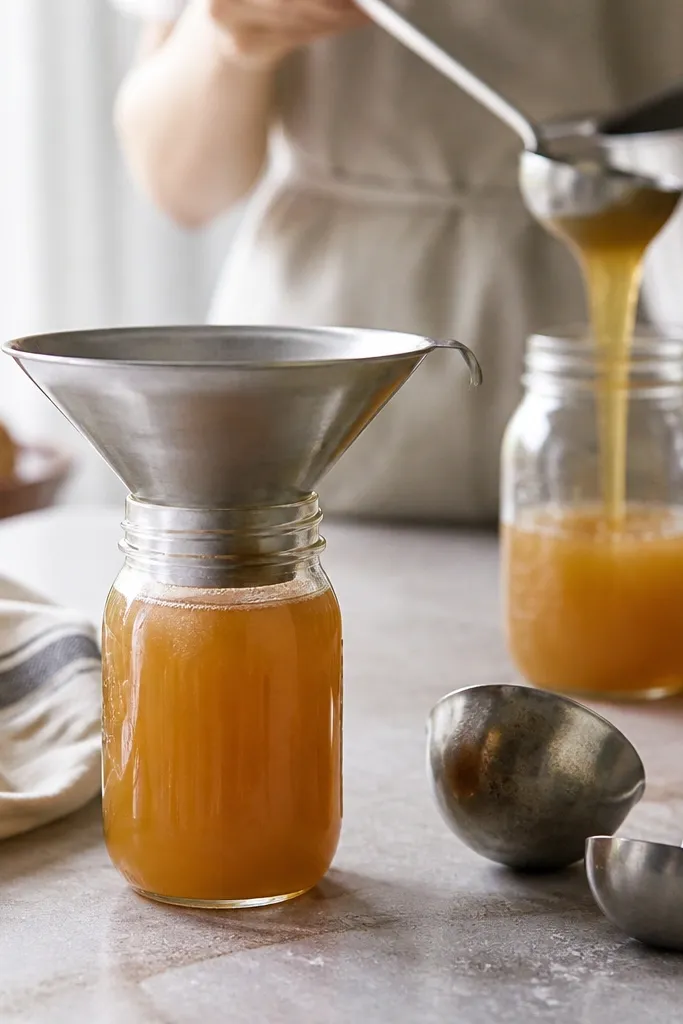
Clean filling is what keeps rims clear for seals. I use a funnel because mango salsa is sticky and it's easy to smear sauce onto the rim. When the rim stays spotless, lids seal on the first try and you don't waste jars.
Keep the funnel centered and fill slowly so chunky bits don't splash. Stop before headspace gets too tight, then adjust with a spoon.
Try thisIf salsa touches the rim, wipe immediately - don't wait until after you've filled all jars.
One warningDon't overpack - tight headspace makes bubbling and bad seals more likely.
4. Correct 1/2-inch headspace
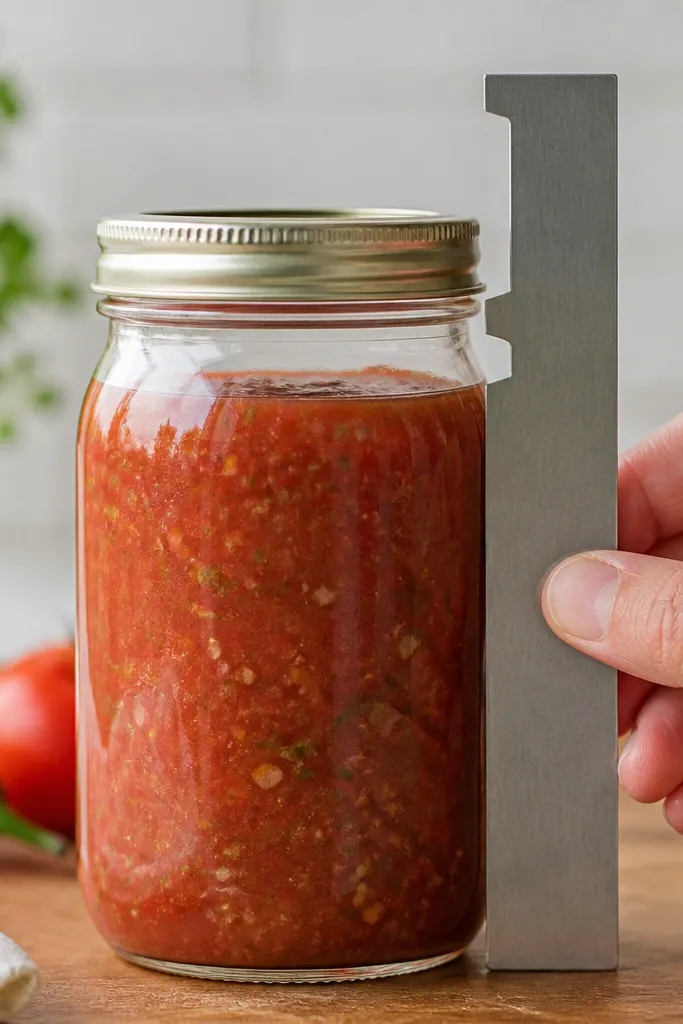
Headspace controls how salsa expands during processing. At 1/2 inch, you get enough room for boiling action without pushing salsa into the lid area. This prevents messy lids and helps seals hold.
After tapping jars to settle fruit, re-check headspace with a straight edge. Add a bit more salsa if you're low, or remove with a clean spoon if you're high.
Try thisKeep an extra jar of hot salsa on standby so you don't rush filling and miss headspace.
One warningDon't eyeball headspace - it's the difference between "sealed fine" and "why did this one fail?"
5. Wiped rim before lids
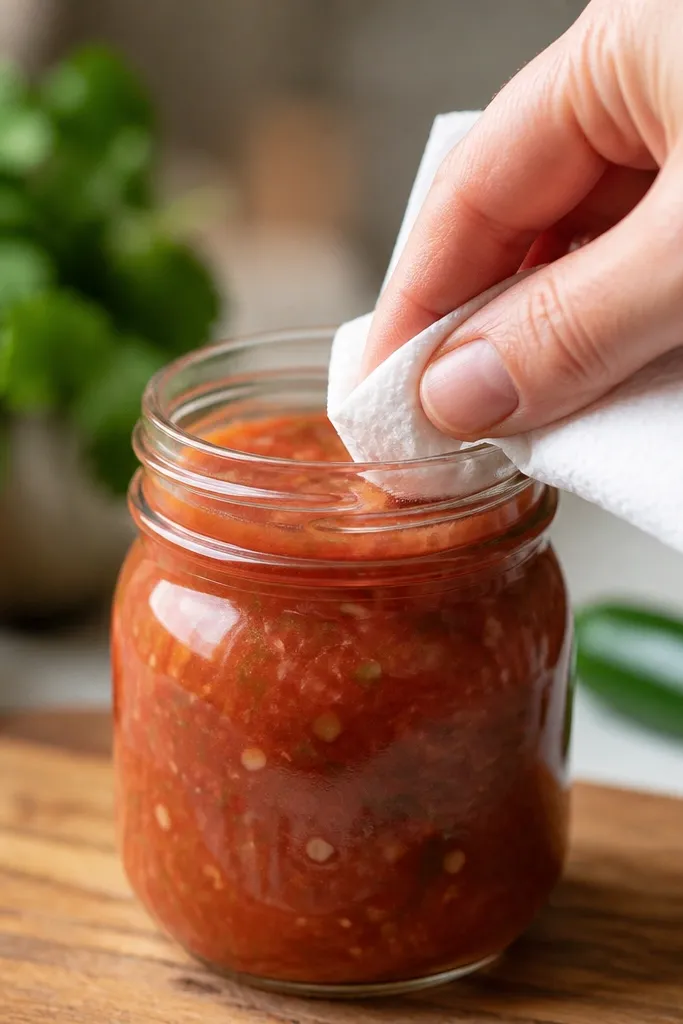
Rims need to be clean and dry enough for a solid seal. Even a thin smear of salsa or onion juice can prevent the lid from sealing. This step is small, but it saves you from opening and reprocessing jars.
Wipe in one direction around the rim, then check for any stuck bits on the metal lip. If you see any, wipe again with a fresh section of towel.
Try thisUse a separate damp towel for wiping, not the same one you used to spill food - cross-contamination makes rims messier.
One warningDon't skip the rim wipe when the salsa looks "mostly clean."
6. Water-bath canner at a rolling boil
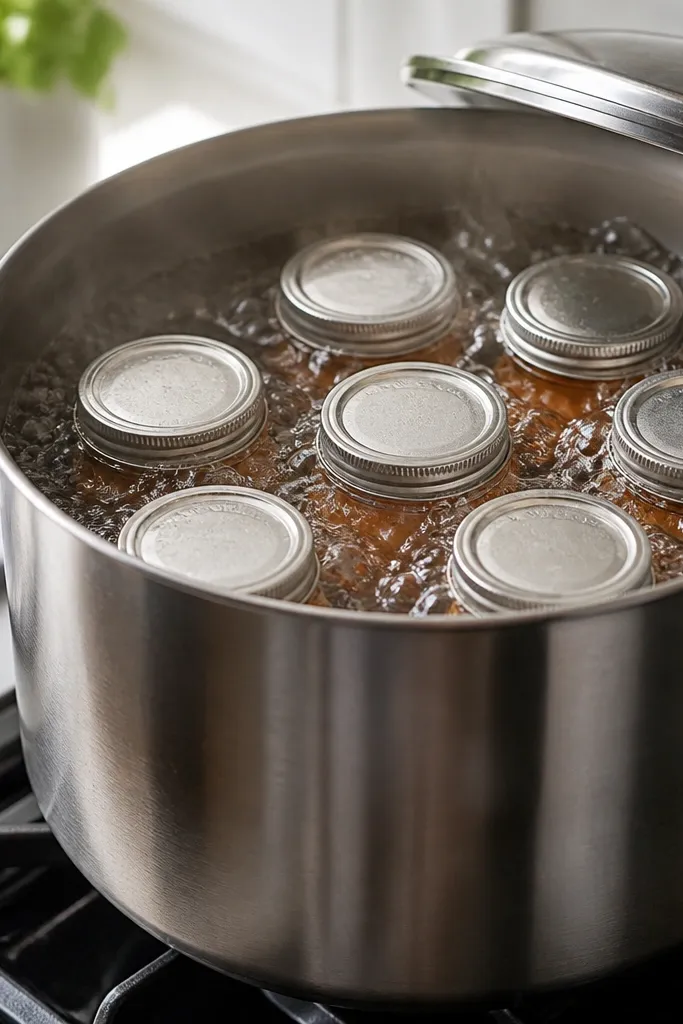
A steady rolling boil is what processes jars evenly. If the boil drops when jars go in, you lose temperature time and jars cool too quickly. This is where consistent processing times matter most.
Start with water that's already boiling before you add jars. After adding, watch for the return to rolling boil and start timing once it's steady.
Try thisIf your stove runs hot, reduce heat slightly after boil returns - you want rolling bubbles, not a volcano.
One warningDon't start timing the moment jars enter the water.
7. Cooling jars undisturbed
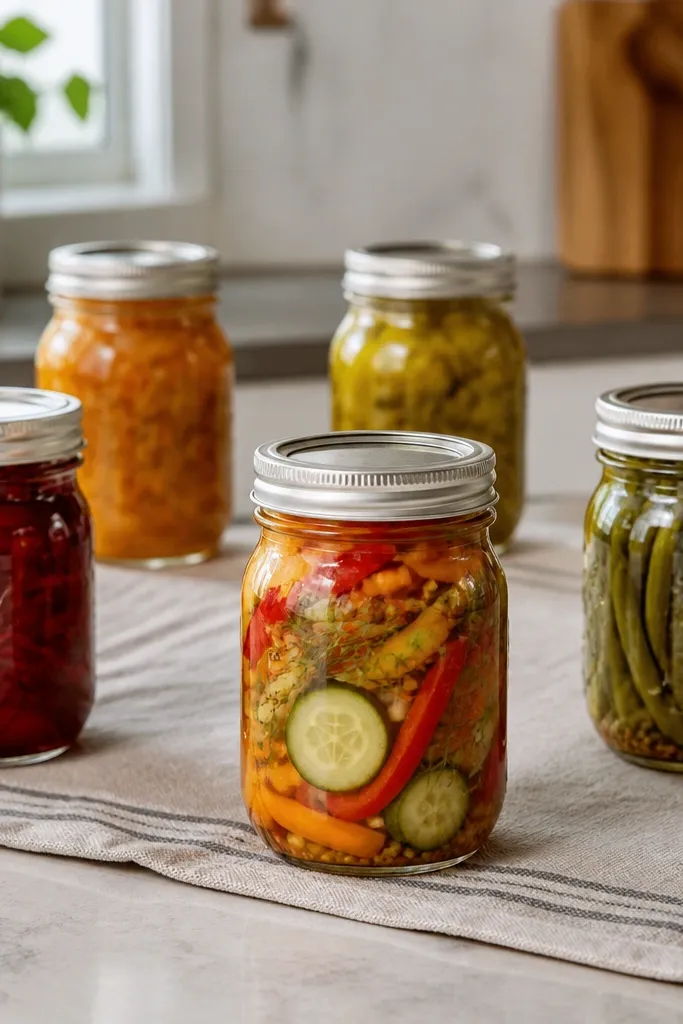
A calm cool-down helps seals form without leaks. I leave jars alone for at least 12 hours, often overnight, because moving them early can disrupt the seal. The jars should cool at room temperature, not in drafts or near heat sources.
Set jars on a towel or cooling rack so they don't rattle. Keep at least an inch between jars so air can circulate.
Try thisTurn off ceiling fans during cooling. Drafts cool the jar sides unevenly.
One warningDon't retighten bands after sealing - it doesn't fix a failed seal.
8. Seal check after 24 hours
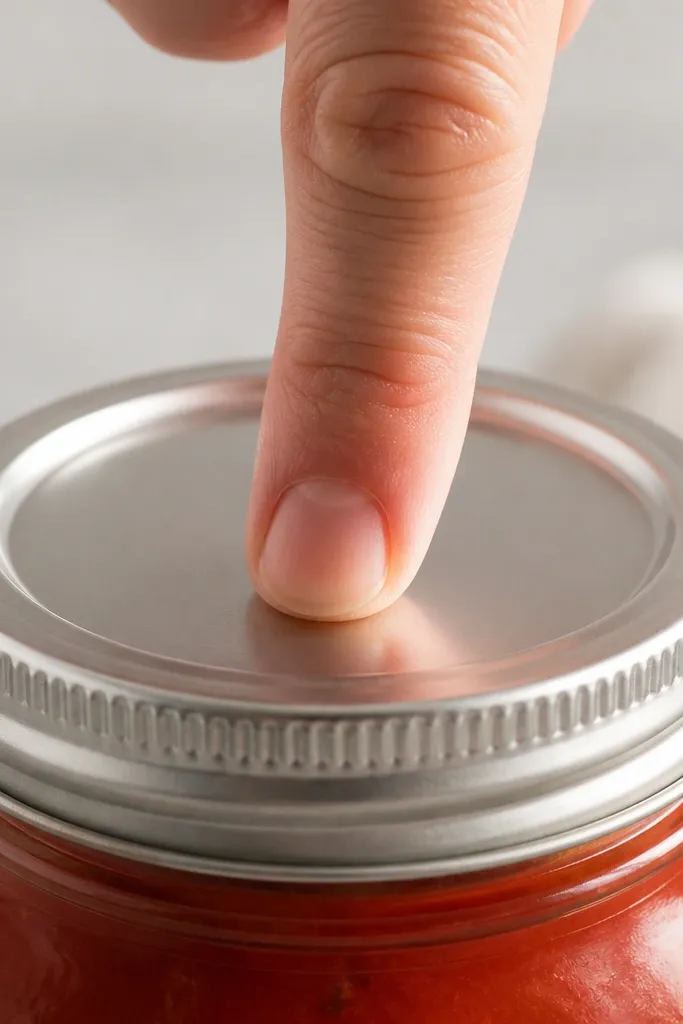
The center of a properly sealed lid stays firm and doesn't spring back. This is the quickest on-the-spot check before you store jars long-term. If the lid flexes, you need to refrigerate that jar and eat it first.
Remove the bands after cooling so you can better see whether the lid is concave. Press gently on the center - you should feel solid resistance.
Try thisWipe the lid and jar rim dry before storage so you can spot any leaks fast.
One warningDon't store jars that didn't seal - "it looks fine" fails later.
9. Shelf-ready jar labels
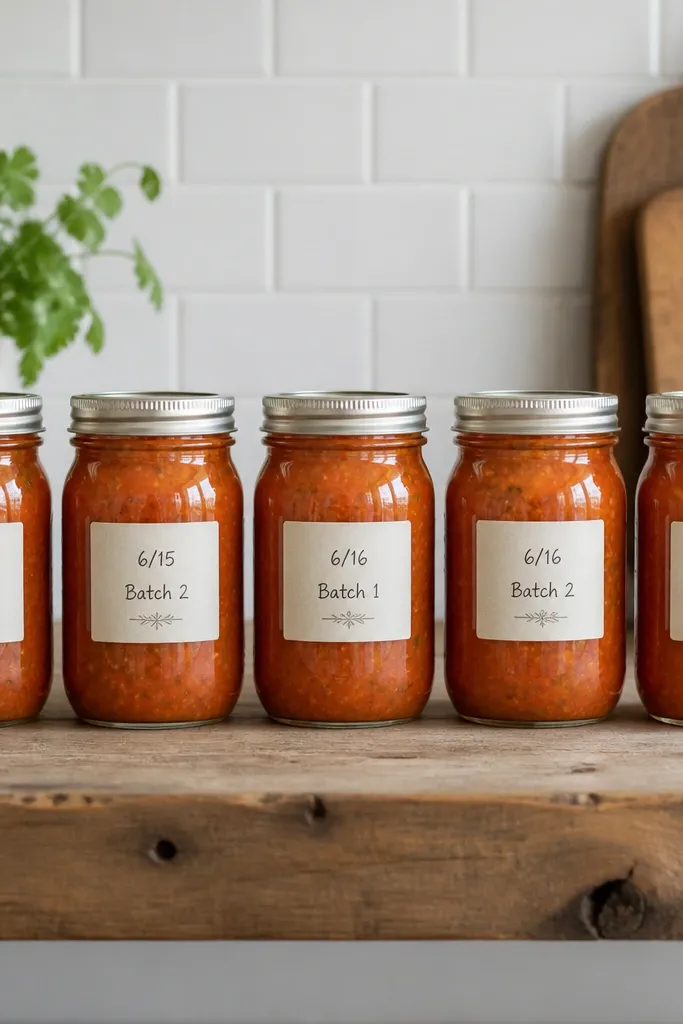
Labeling helps you rotate jars and use the oldest first. I write the date processed and the heat level on the lid so I don't guess later. Mango salsa tastes best in the first few months, and labels make that easy to follow.
Use a label on the lid or jar shoulder with a permanent marker. Note whether you used jalapeño or serrano so you remember the heat.
Try thisStore jars in a cool, dark cabinet and keep them away from the stove where heat dulls color.
One warningDon't rely on memory - color shifts over time and it's easy to mix batches.
10. Spoon test: thick, not runny
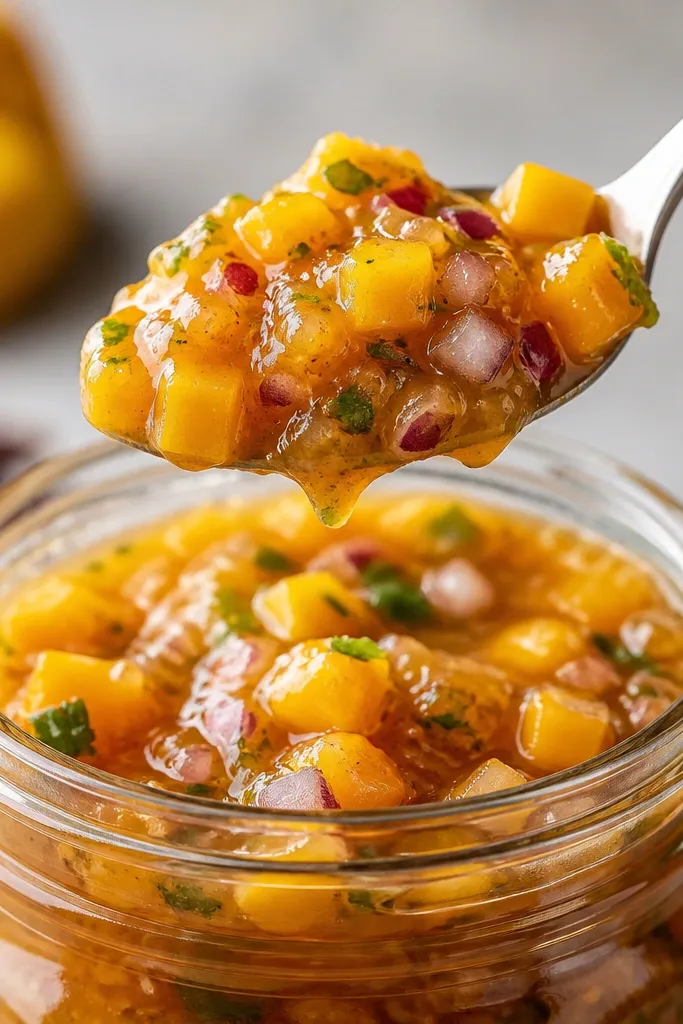
When you open a good jar, salsa should cling to the spoon instead of sliding off like juice. That thickness comes from the mango pieces plus a brief simmer that warms everything without cooking it down to thin syrup. You'll also notice the onion gives body instead of disappearing.
Stir the jar before serving so settled bits mix back in. If it pours like thin dressing, the batch likely needed a tighter fruit chop or a shorter cook.
Try thisWarm salsa 30-60 seconds in a pan for taco night. It tastes closer to fresh without changing texture too much.
One warningDon't serve straight from the fridge without stirring - separation looks worse than it tastes.