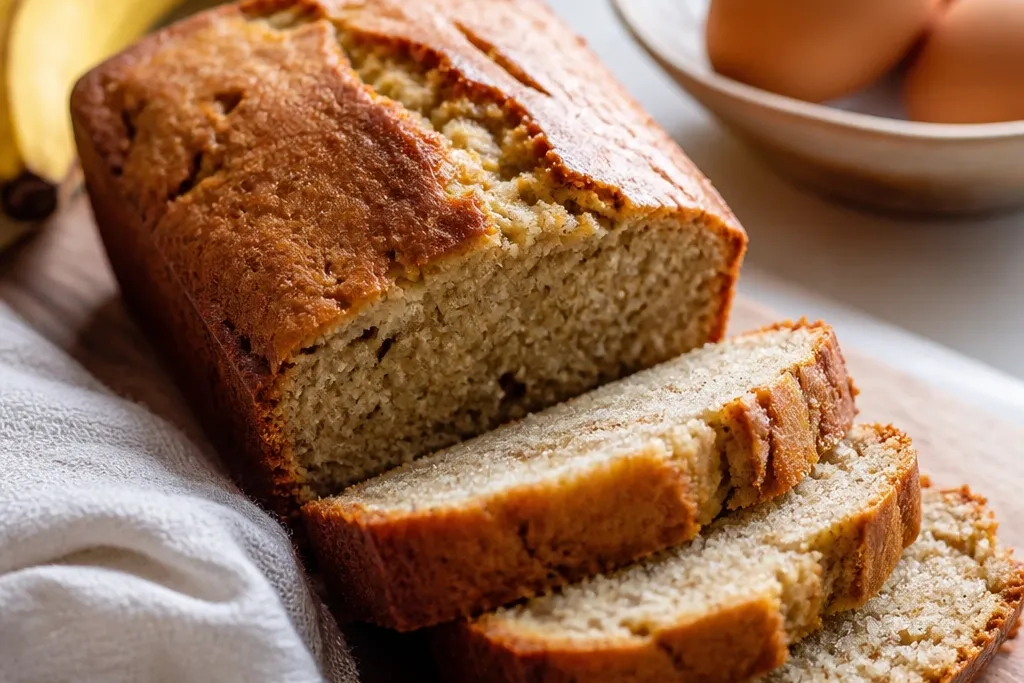
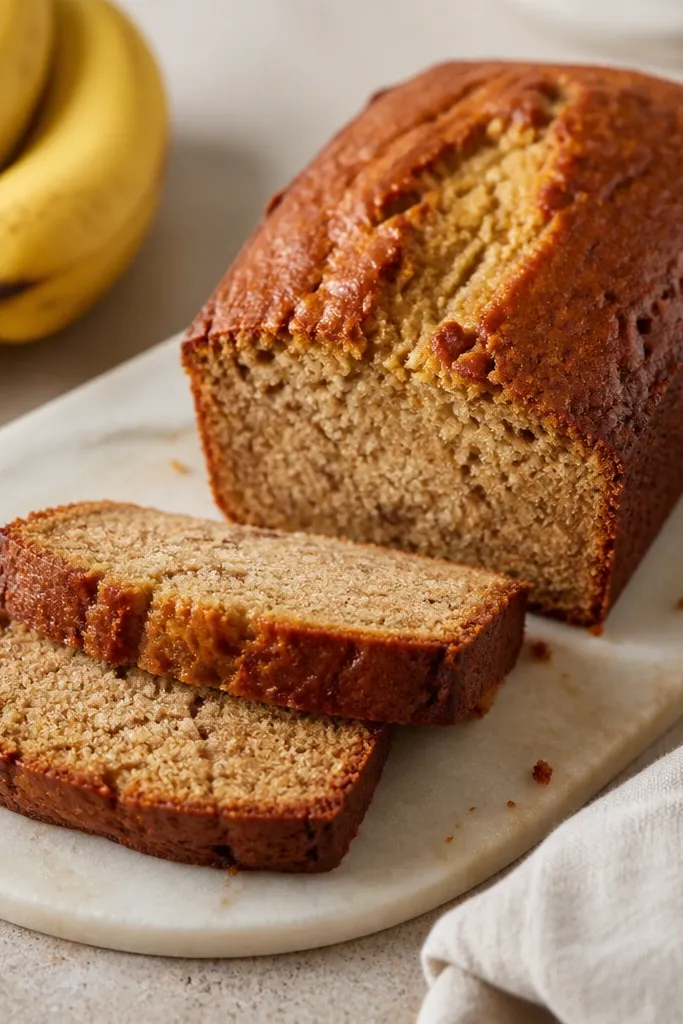
1. Golden loaf with domed top and fine cracks
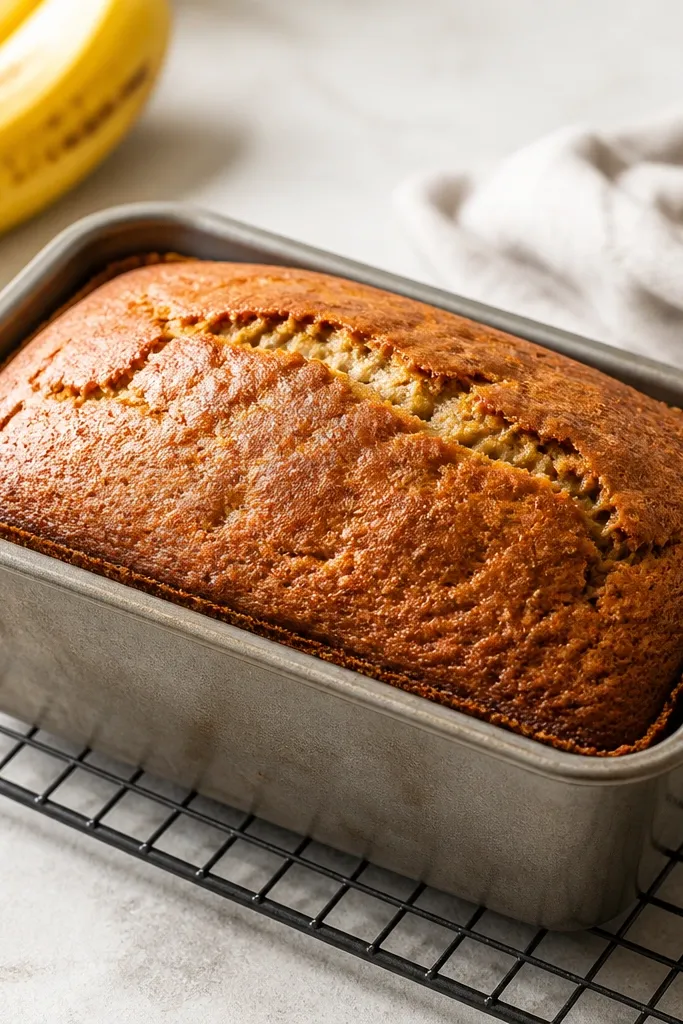
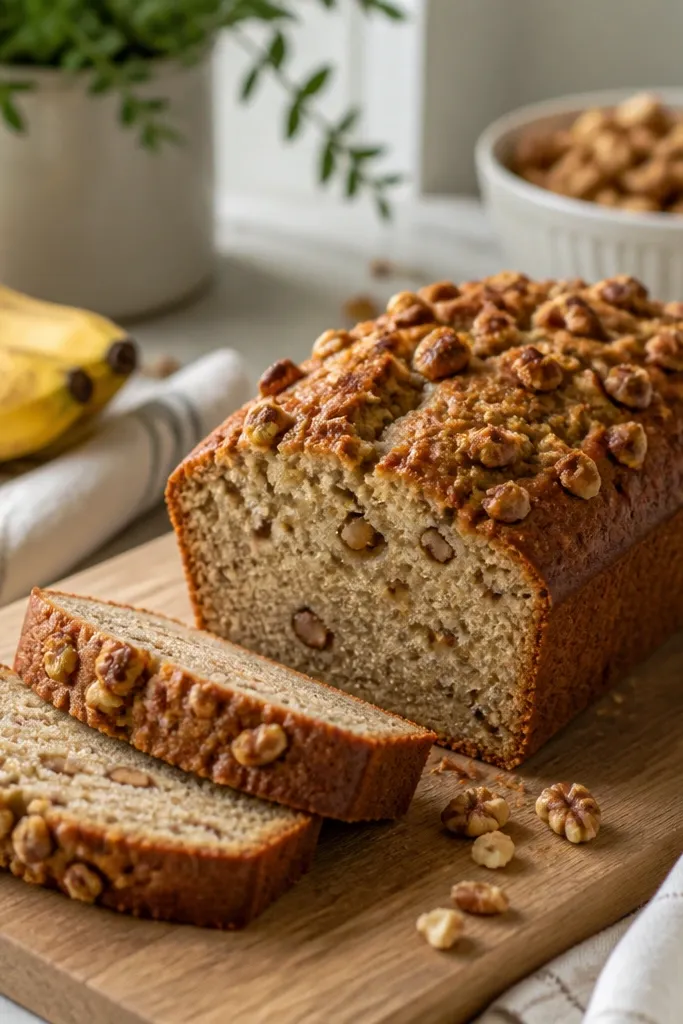
This look happens when the batter has enough banana moisture to steam from the inside and enough flour to set the structure. The dome forms as the loaf rises and the top dries first, then cracks lightly as it contracts. You want the crust to look dry and matte, not shiny - that means the surface water is gone.
Bake at 350F (175C) in a greased 9x5 loaf pan for about 45-55 minutes. When it's ready, the top should be evenly browned and the center should spring back when you press lightly with a fingertip through a towel.
Try thisStart checking at 40 minutes. If the top is browning fast, tent with foil for the last 10-15 minutes.
One warningDon't pull it when the toothpick comes out wet - you'll slice gummy bread even if the edges look done.
2. Pale-gold loaf with a softer, custardy center
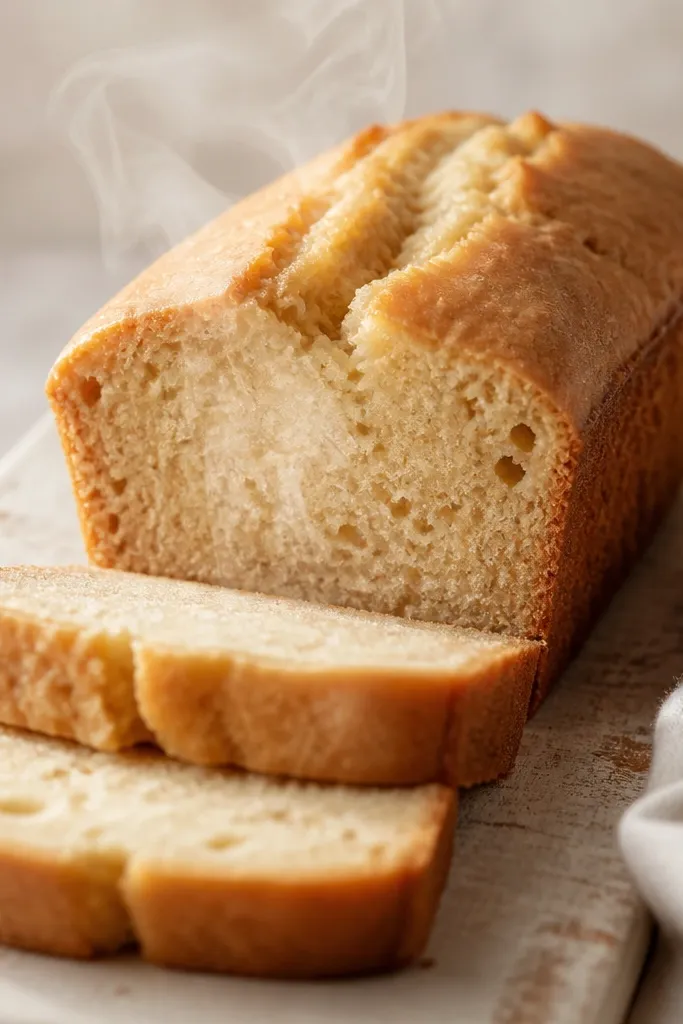
A paler crust usually means either slightly underbaked or your bananas were very wet. The center stays custardy because it hasn't finished setting. This texture can be delicious, but it needs a longer rest to stop the gummy feeling.
Bake until the edges look set and the toothpick has a few moist crumbs, not wet batter. Rest at least 40 minutes before slicing, then cool fully for cleaner cuts.
Try thisIf you prefer this style, reduce bake time by 3-5 minutes and rely on rest time, not extra heat.
One warningAvoid slicing immediately. Warm centers smear and look underdone even when they're setting.
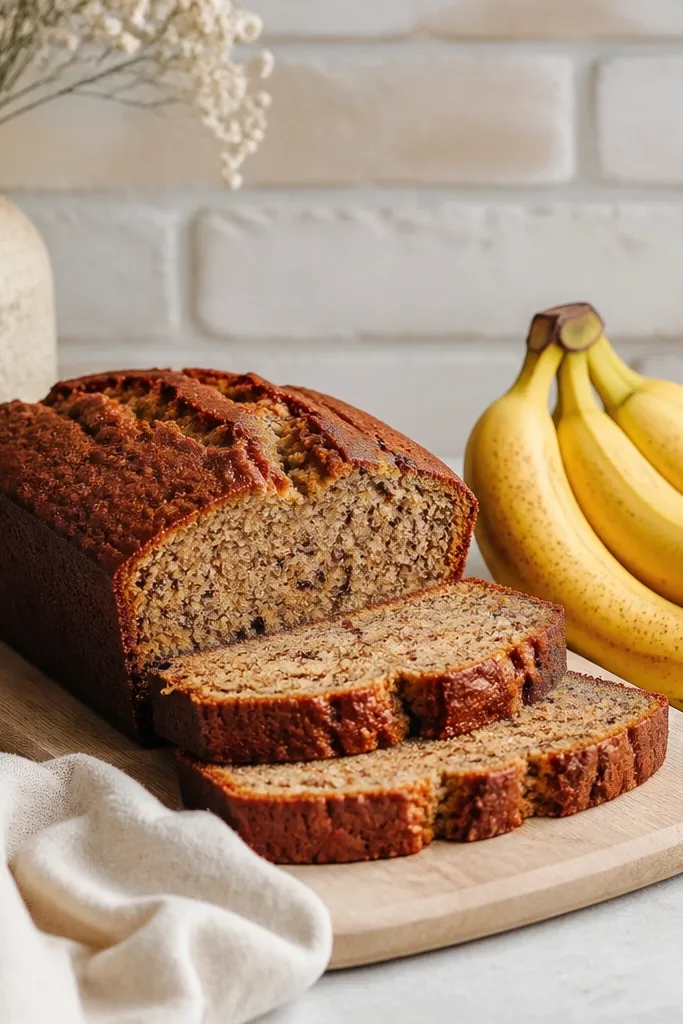
3. Swirled banana speckle crumb
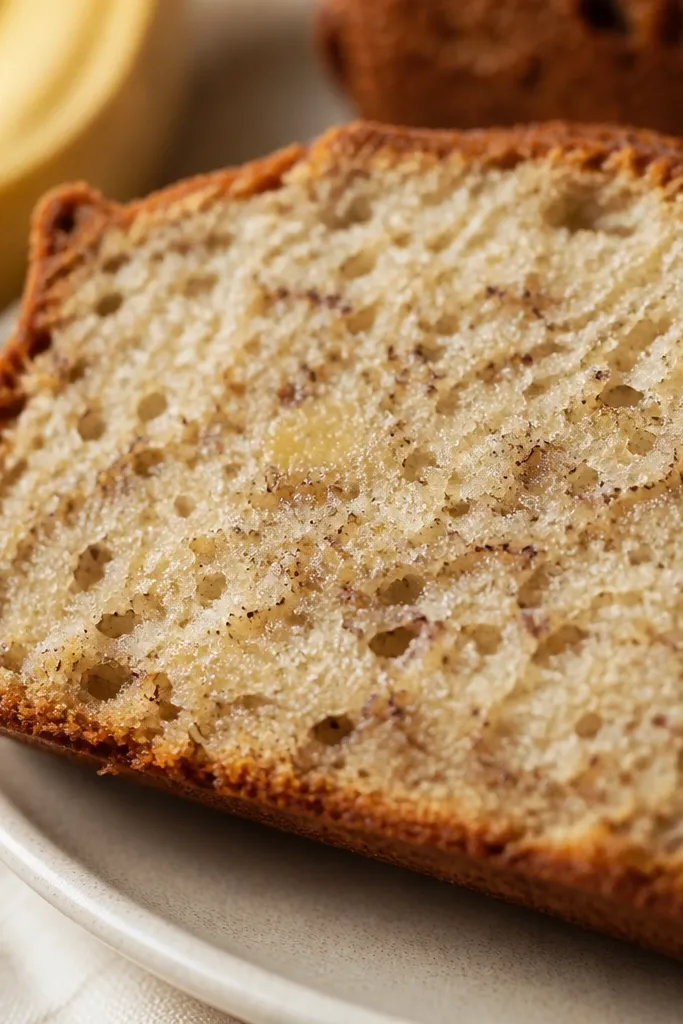
Uneven banana mashing creates natural speckles and faint streaks. It also keeps some pieces slightly chunkier, which makes the crumb feel more interesting than uniform cake. I like this look because it shows you used real bananas, not flavoring.
Mash bananas with a fork instead of blending. Leave a few small lumps - about pea to dime-sized. Stir just until flour disappears; overmixing makes the crumb more uniform and tighter.
Try thisFold in flour gently with a spatula for 20-30 seconds, then stop. Lumps can stay.
One warningDon't use a blender. Smooth batter bakes up tighter and less speckled.
4. Butter-scented loaf with darker edges
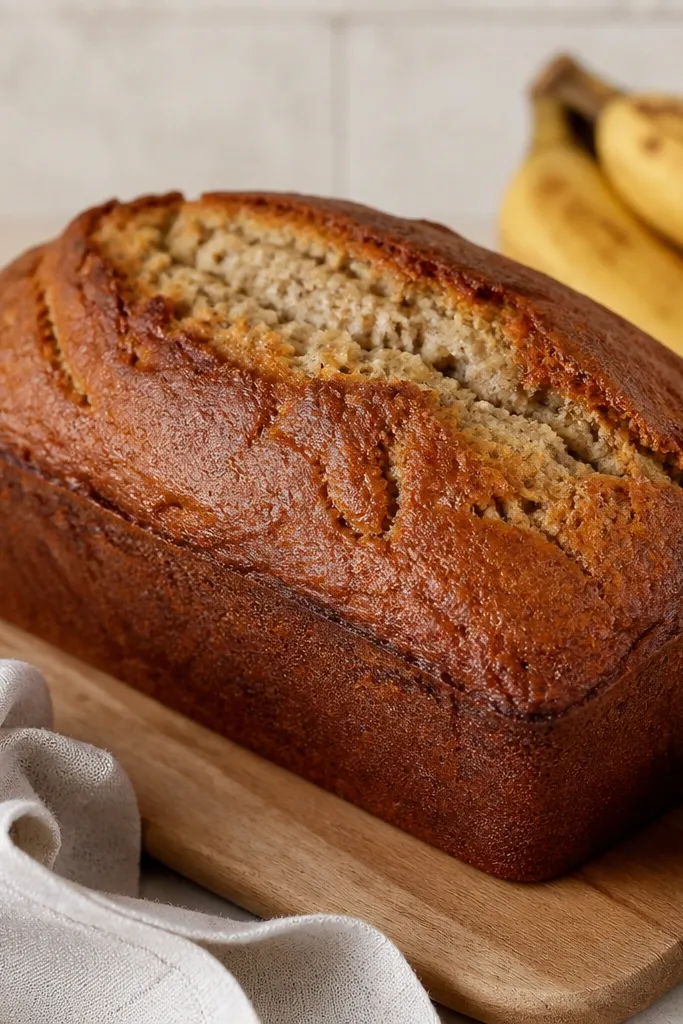
Butter browns and adds flavor faster than neutral oil. You'll see slightly darker edges and a more pronounced aroma as it bakes. The crumb still stays tender, but it tastes more rounded and bakery-like.
Melt the butter and cool it for 5 minutes so it doesn't cook the banana. Stir butter in after bananas, then add flour last. Use the same bake time cues so it doesn't dry out.
Try thisLet the butter cool just enough to be warm, not hot. Hot butter can make the loaf bake unevenly.
One warningAvoid adding melted butter straight from the microwave if it's piping hot.
5. Oil version with lighter crumb and softer crust
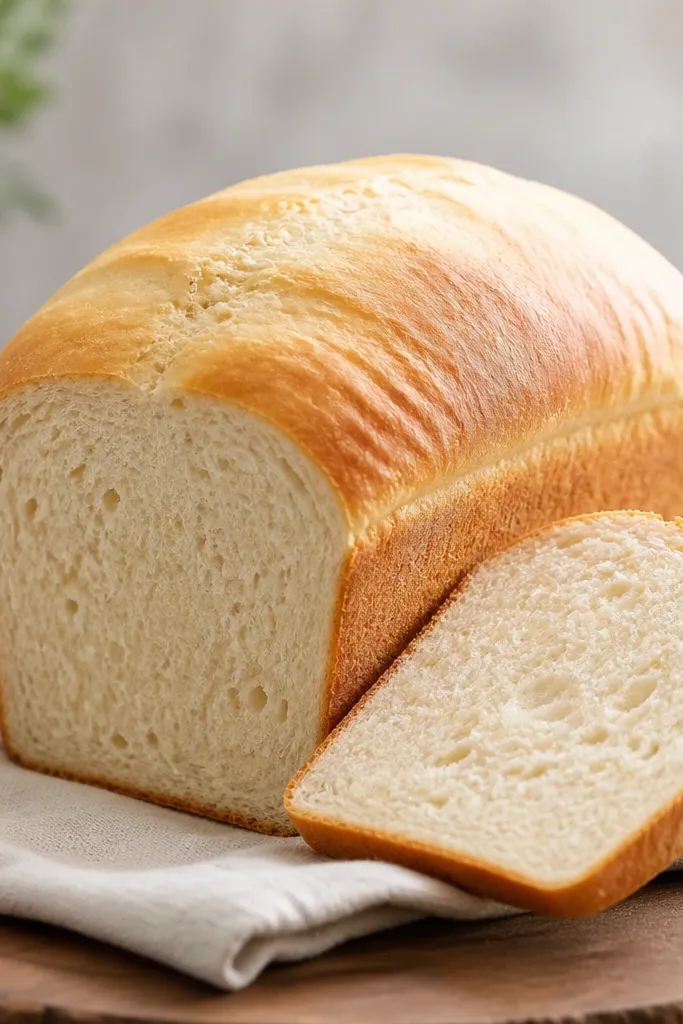
Oil keeps the crumb more uniform and slightly softer on the edges. It also helps if your bananas are extra ripe and already watery - oil balances the texture. The flavor still comes through from bananas, but the buttery browning is less dramatic.
Use neutral oil like avocado or canola. Mix oil into mashed bananas before adding flour. Bake in the same pan and check doneness at 40 minutes.
Try thisIf your top isn't browning by 45 minutes, bake 3-5 minutes longer rather than adding sugar.
One warningDon't overmix to "fix" a loose batter. It turns gummy faster than you think.
6. Sliced loaf with clean edges and visible steam holes
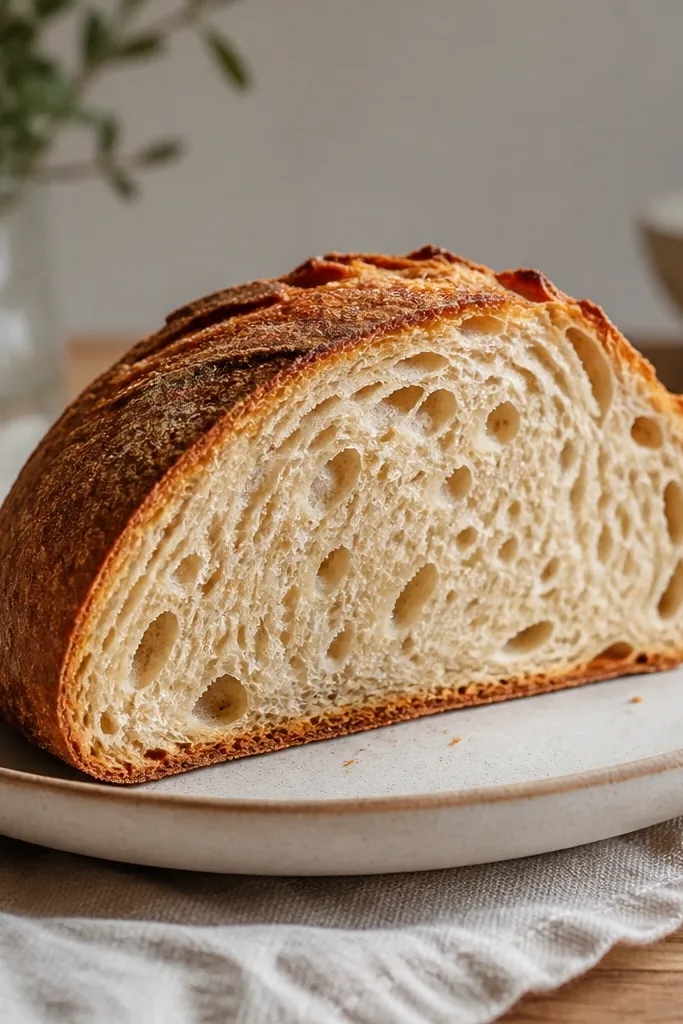
Steam holes show the loaf rose and set at the right time. Clean edges mean the crumb structure held after resting. This is the slice you get when you bake until the toothpick has crumbs and the top is dry to the touch.
Cool the loaf on a rack for 30 minutes, then slice with a serrated knife. If you slice earlier, the steam holes collapse and the crumb smears.
Try thisWipe the knife between cuts for the neatest edges.
One warningAvoid cutting with a flat butter knife. It compresses the crumb and makes it look dense.
7. Toasted banana bread with crisp top
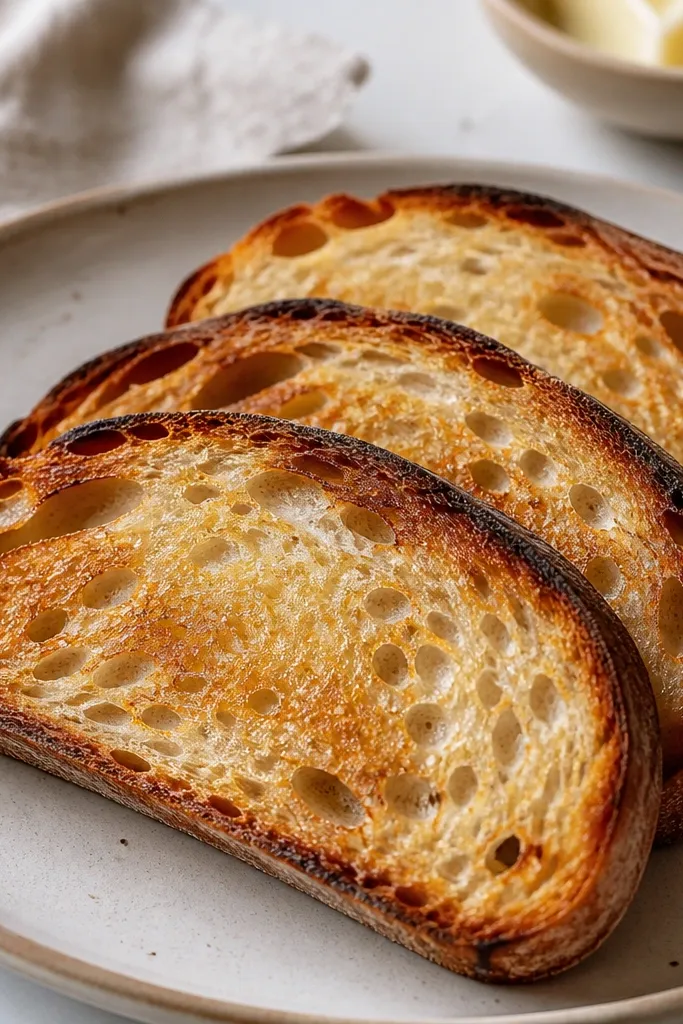
Toasting concentrates banana sweetness and makes the crust crackly. If your loaf is slightly pale, a quick toast fixes it and makes the crumb taste more "dessert-y." I do this the next day after the loaf fully cools.
Toast slices in a toaster or skillet for 2-3 minutes per side. If using a skillet, add no butter - the bread already has fat. Let it sit 60 seconds so moisture redistributes.
Try thisSprinkle a pinch of flaky salt on warm toast. It makes the banana flavor pop.
One warningDon't toast fresh-out-of-the-oven slices. They're too fragile and can turn gummy.
8. Mini loaf pan version with faster bake time
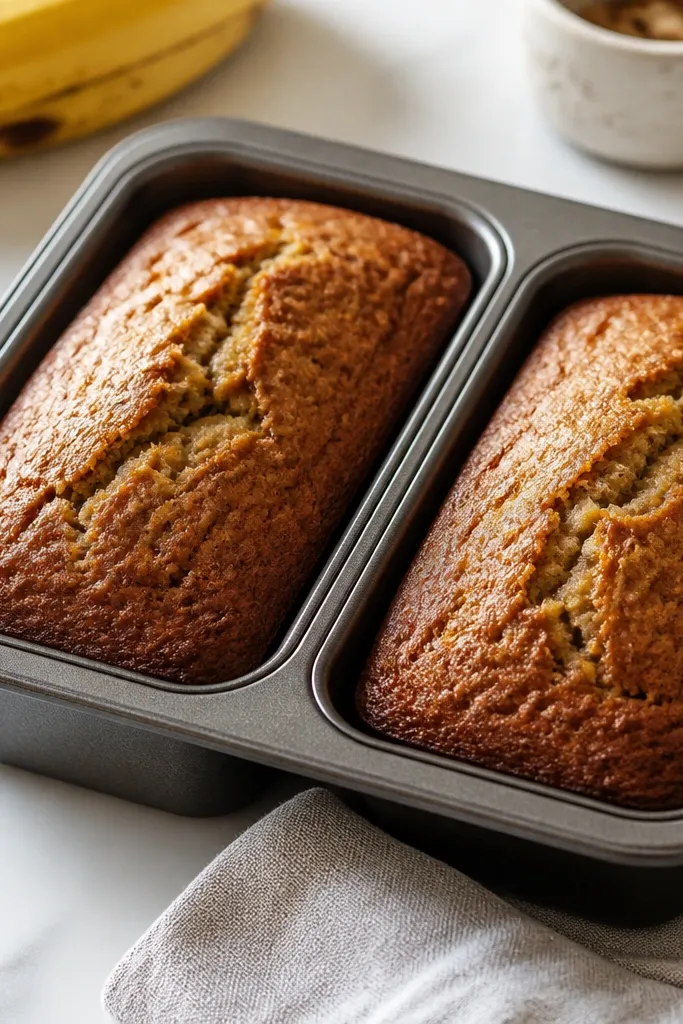
Smaller pans bake faster and give you more crust surface area. The texture comes out more "cookie-like" on the outside while staying tender inside. This is great when you want individual servings without slicing a full loaf.
Use a mini loaf pan (or standard muffin tin if that's what you have). Fill about 3/4 full. Bake at 350F for 18-26 minutes, checking early.
Try thisStart checking at 15 minutes for mini loaves. Toothpick should show moist crumbs, not batter.
One warningDon't fill beyond 3/4. Too much batter domes over and bakes unevenly.
9. Banana bread muffins with rounded tops
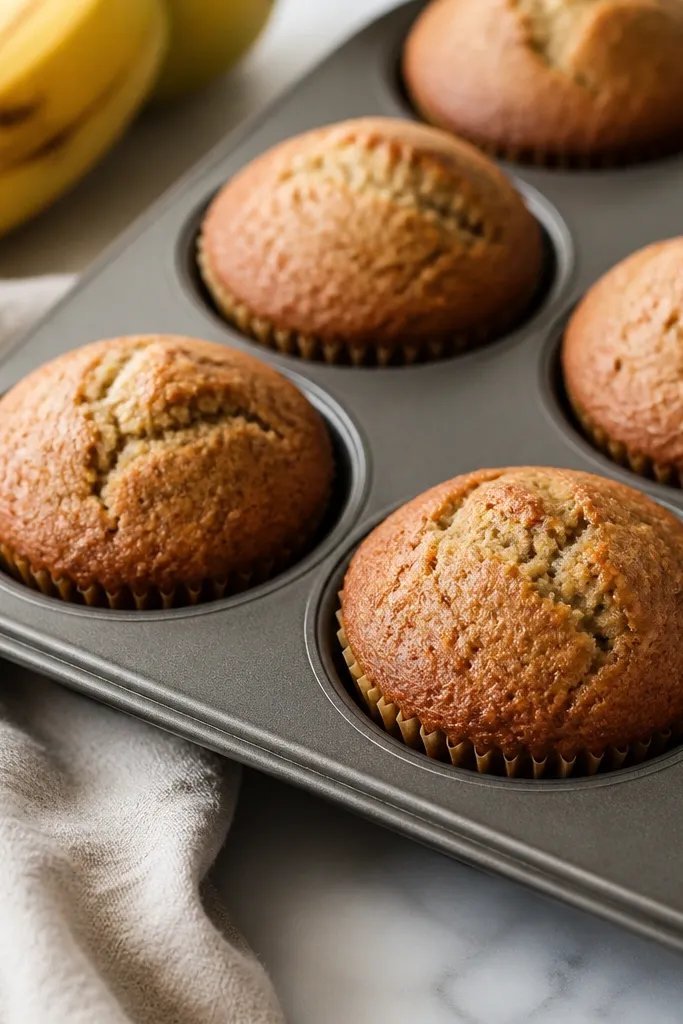
Muffins use the same beginner 3 ingredient banana bread base but bake up with higher surface and more even rise. You get snack-size portions and you can freeze them easily. The crumb sets faster, so they're harder to overbake than a loaf.
Spoon batter into lined muffin cups, fill 2/3 to 3/4. Bake at 350F for 15-20 minutes. Let cool 10 minutes in the pan, then move to a rack.
Try thisFor extra height, fill cups higher and rotate the pan at the 10-minute mark.
One warningAvoid skipping liners. Greased pan alone can tear the muffin tops.
10. Overmix look: tight crumb and cracked, dry top
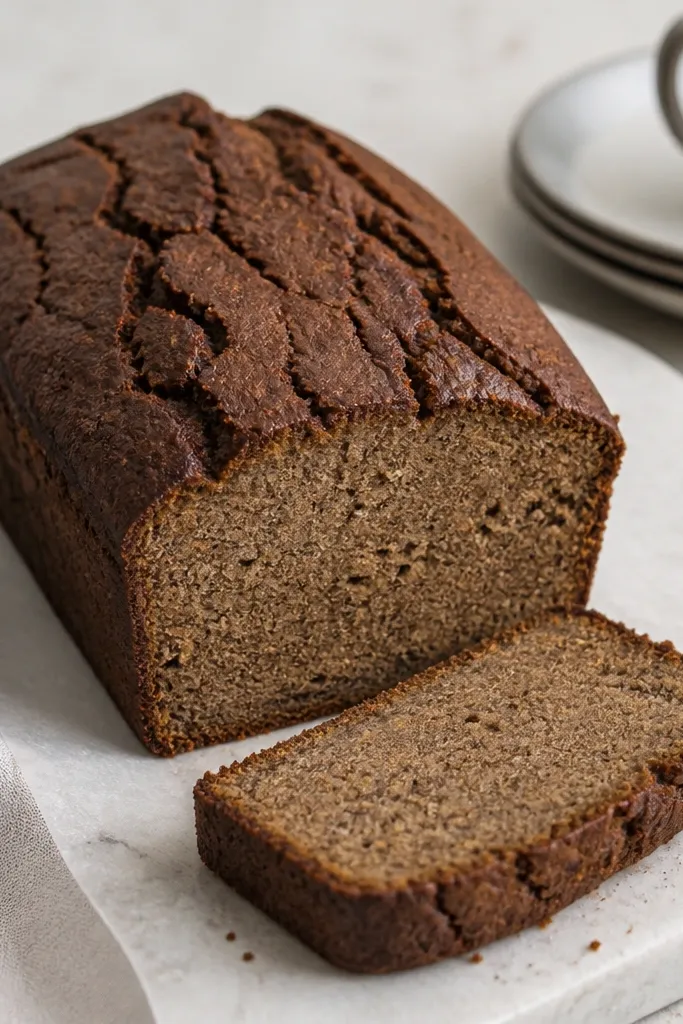
This is what happens when you stir flour too long. The crumb tightens and the loaf rises less evenly, so the top dries and cracks harder. It still tastes like banana bread, but the texture feels heavier.
Mix until flour disappears, then stop. If you see streaks of flour, press them out with the spatula for a few extra strokes - not continuous mixing.
Try thisSet a timer for 20-30 seconds after adding flour. That's usually enough.
One warningDon't "beat it" with a spoon. Stirring hard makes bread-like gluten.