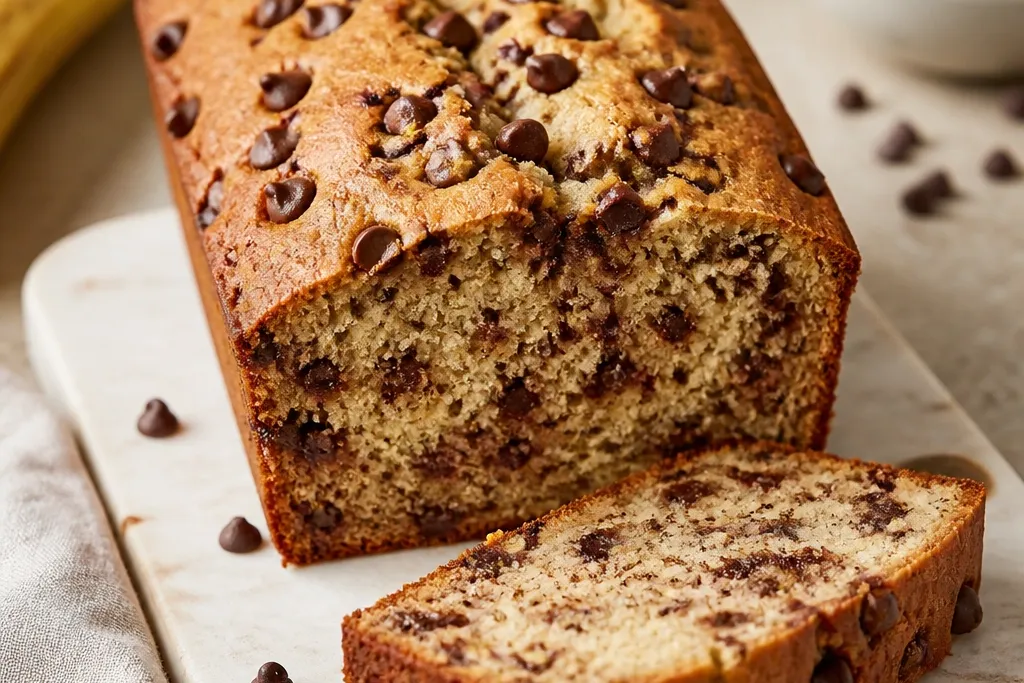
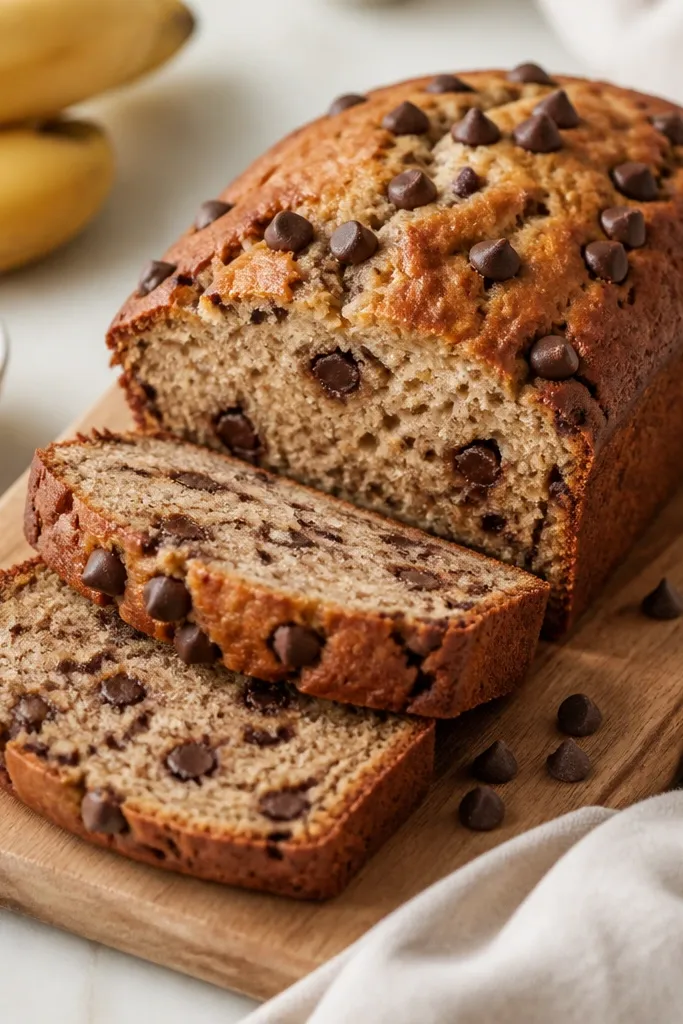
1. Crackly Dome with a Dark Chocolate Top
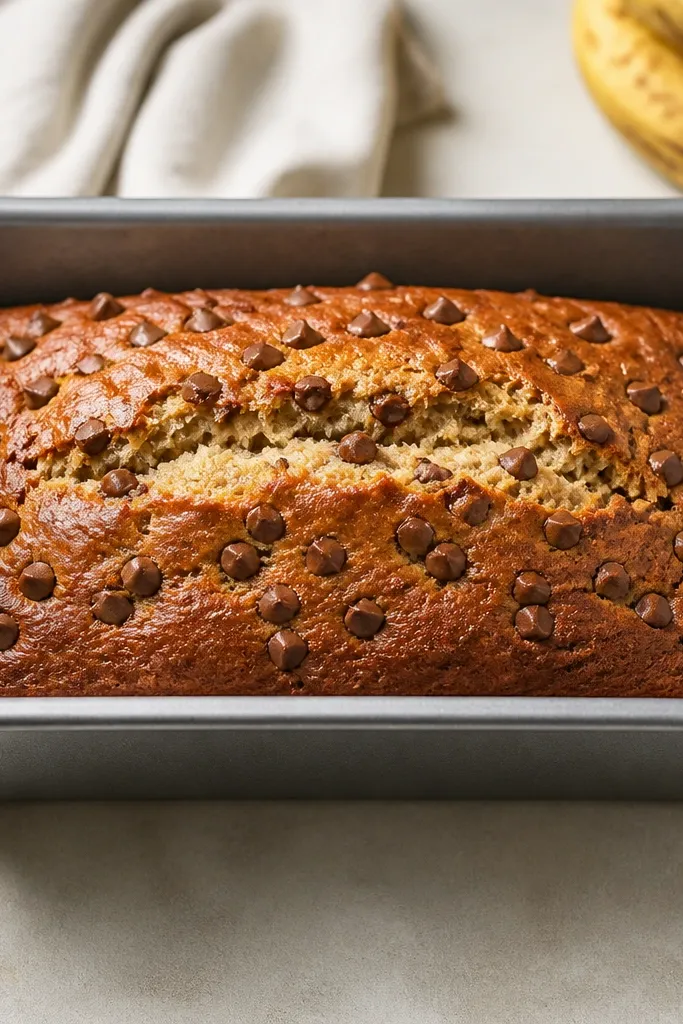
A crackly dome happens when your top dries slightly before the loaf fully sets. The chocolate chips on top catch heat and create little dark specks that look like bakery-style "sparkle." I aim for a deep golden crust, not pale - it signals the center has baked through.
Bake in a metal 9x5-inch loaf pan for even heat. Right after you spread the batter, press 2 to 3 tablespoons of chocolate chips into the top so they stay visible. When the top is set and the loaf looks firm around the edges, you're close.
Try thisIf your oven runs hot, bake 3-5 minutes less and let residual heat finish the center.
One warningDon't tap the pan hard right after baking - the dome can collapse and turn patchy.
2. Swirled Chocolate Chip Speckles
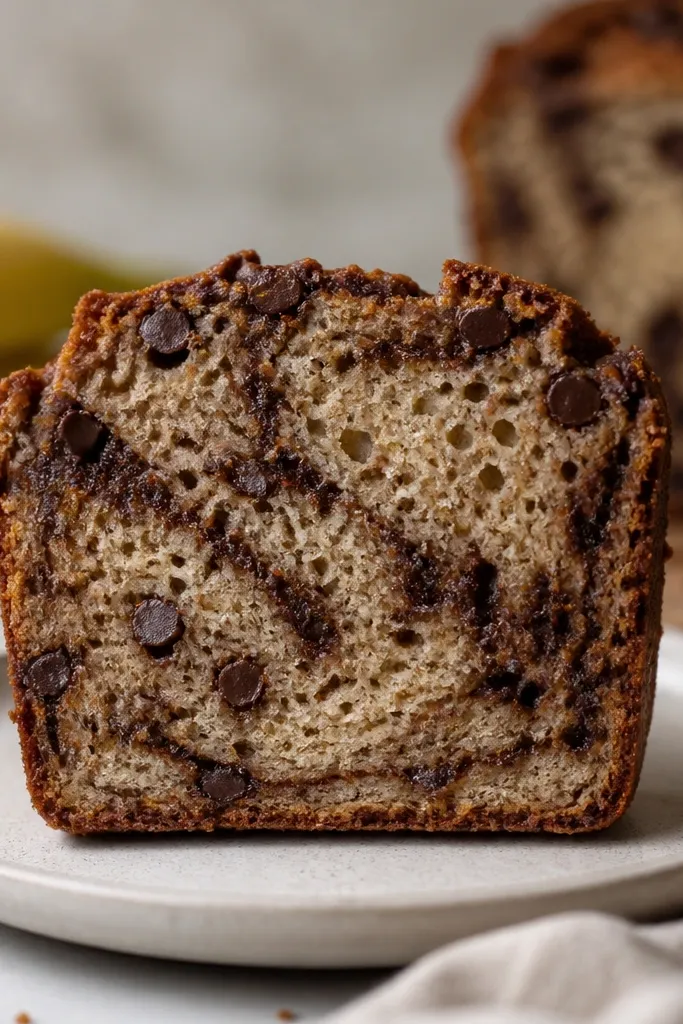
Speckles look more "made at home but still pretty" when the chips aren't all clustered in one area. Stir just until you don't see dry flour, then fold in chocolate chips gently so chips distribute instead of sinking straight down.
Use semi-sweet chips and keep your batter thick. If it's runny, add 1 to 2 tablespoons more flour; runny batter makes chips sink and leaves you with a chocolate layer at the bottom. For the swirl look, drag a spoon through the batter once after folding in chips.
Try thisLet the batter sit 5 minutes after mixing - flour hydrates and chips spread more evenly.
One warningDon't over-stir; it makes the crumb tight and the chips look streaky instead of evenly speckled.
3. Golden-Edge Crumb with Soft Center
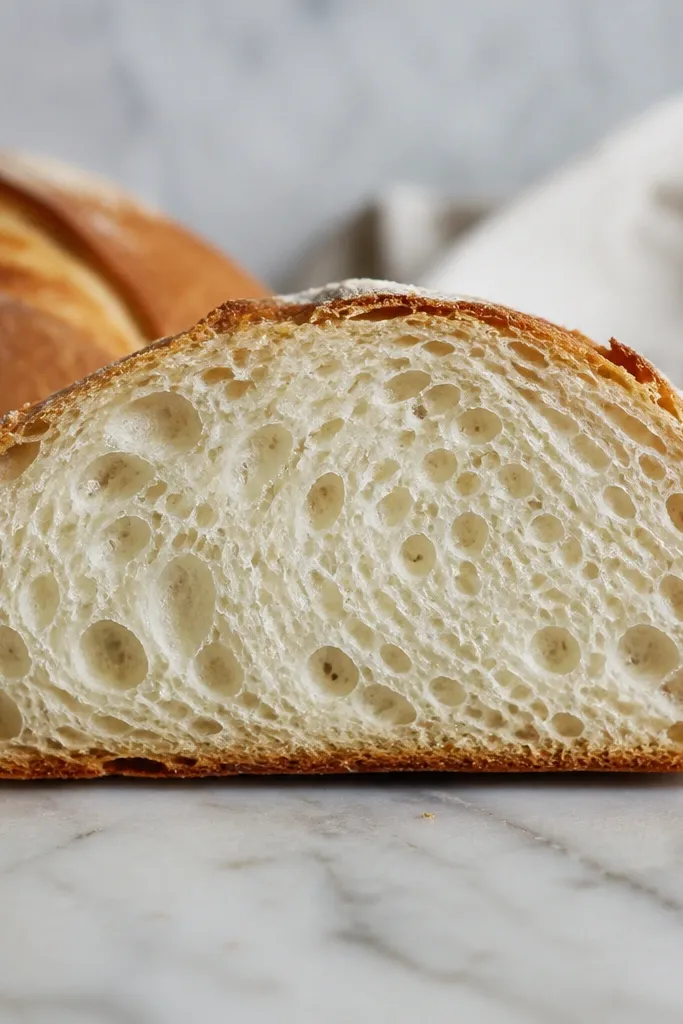
You want the edges to look baked and the center to look moist, not raw. That contrast comes from proper pan temperature and a batter that's thick enough to set without drying. The banana moisture keeps the middle tender even with a darker edge.
Use room-temperature eggs if you add them - cold eggs can slow baking. Bake until a toothpick comes out with moist crumbs, not wet batter. If the top browns early, loosely tent with foil and keep baking.
Try thisRotate the pan once halfway through for a more even edge color.
One warningDon't rely on a toothpick that comes out clean - this bread usually needs moist crumbs to stay soft.
4. Banana-Rugged Texture (Not Smooth Cake)
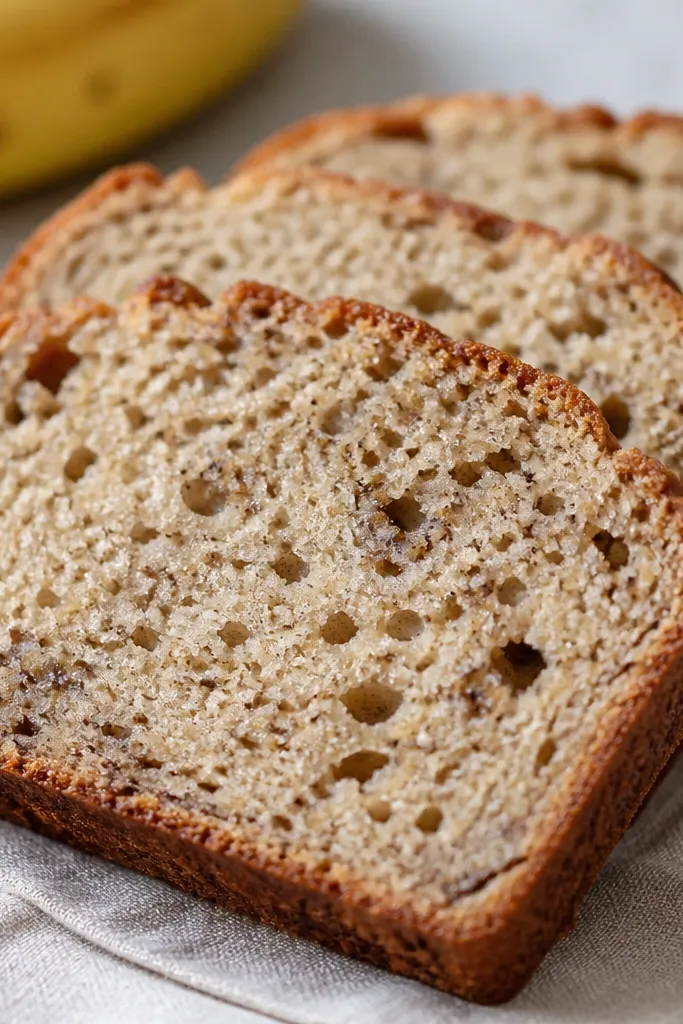
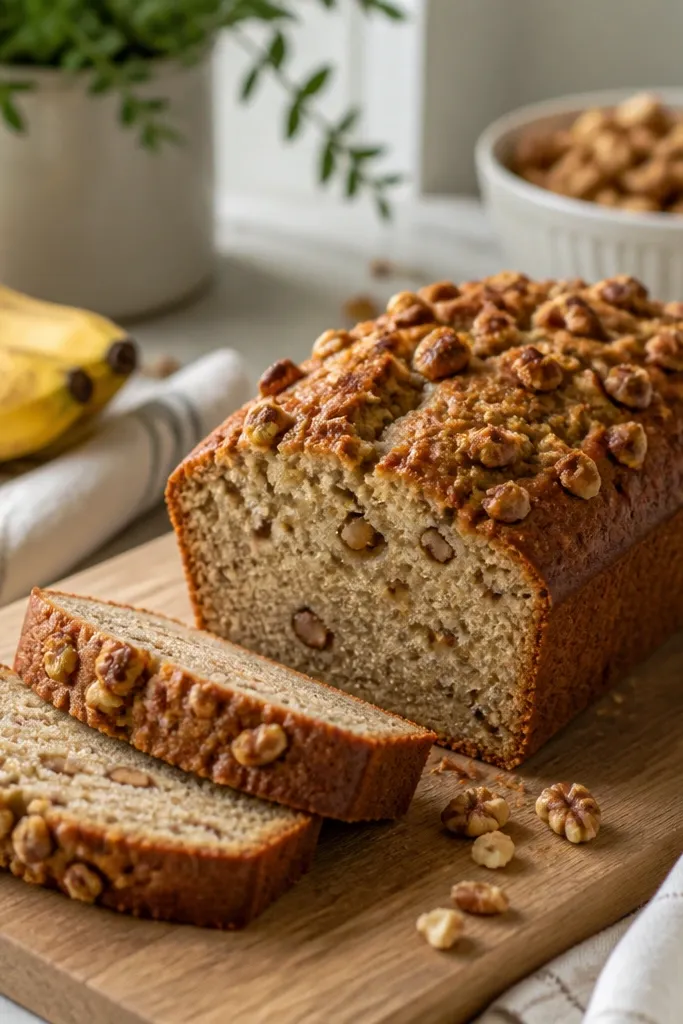
A rustic crumb looks better and tastes better because banana flecks and tiny air pockets hold moisture. When you mash thoroughly but not to baby-food paste, you get those flecks - they also help the bread taste like banana instead of "sweet bread."
Mash bananas with a fork for 30-45 seconds. Leave a few small lumps. Stir dry into wet just until combined so the crumb stays tender and a little rough.
Try thisIf your bananas are watery, mash, then drain off a spoonful of excess liquid before measuring.
One warningDon't blend bananas smooth with a blender - it can make the loaf gummy.
5. Chocolate Chip Crown (Top-Pressed Chips)
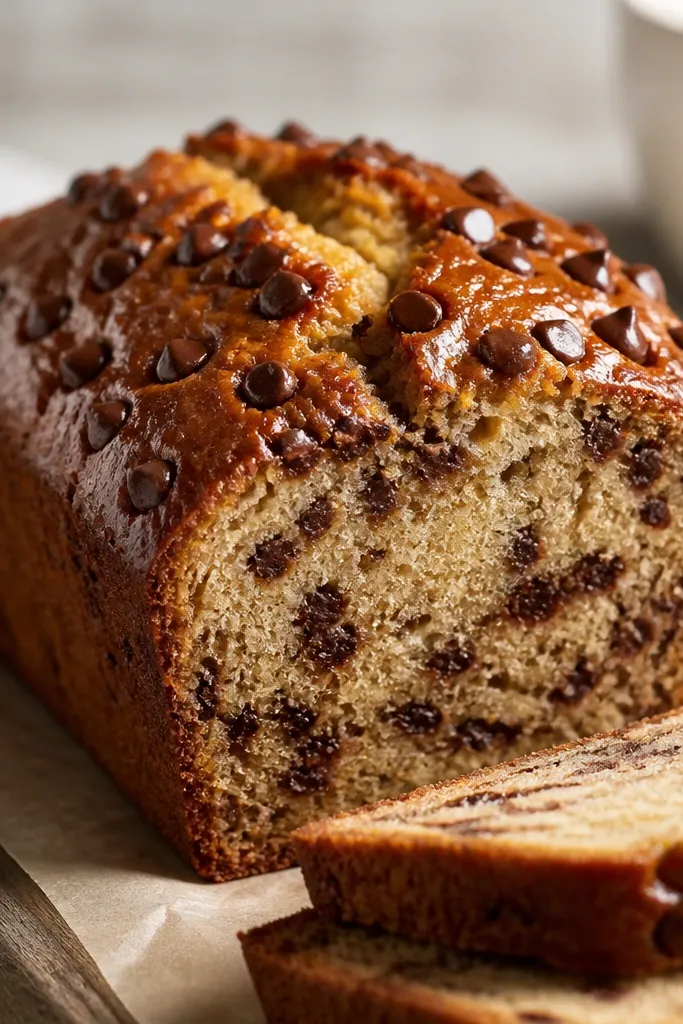
Pressing chips into the surface makes them fuse just enough to look like a crown. It also stops chips from floating away during the first 15 minutes of baking. The result is a shiny top with visible chocolate pockets.
After pouring batter, sprinkle a thin layer of chips and press lightly with your fingertips. Don't dump a mountain - heavy piles create dense pockets and can delay center baking.
Try thisFor extra contrast, use dark chocolate chips (60% to 72% cacao) so the top looks almost black.
One warningDon't cover the loaf with foil from the start; you need that early top set for the crown to form.
6. Cocoa-Dusted Loaf for a Bakery Look
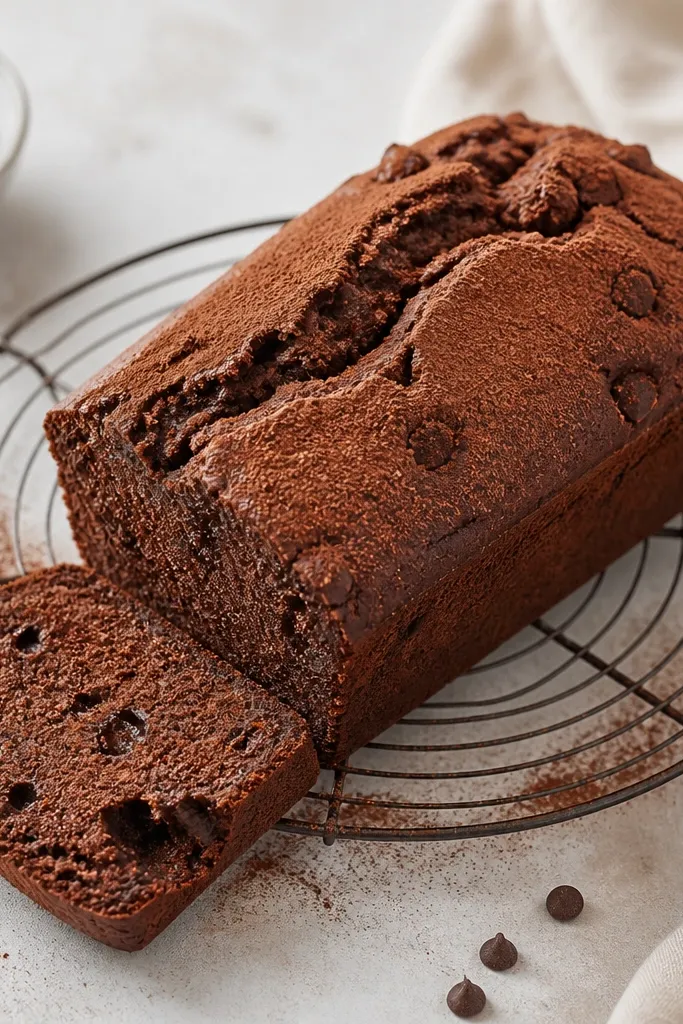
A light cocoa dust makes the loaf look intentional and darker without adding more sweetness. It also hides any slight unevenness in browning. I do this after cooling because cocoa clumps on a warm crust.
Cool the loaf at least 30 minutes. Sift cocoa powder through a fine mesh strainer over the top and sides. Use a small amount so you still see the chip texture.
Try thisMix cocoa with a pinch of powdered sugar if you want a softer look - but keep it faint.
One warningDon't dust right after baking; the heat makes cocoa melt into streaks.
7. Sliced Layers with a Clean, Moist Cut
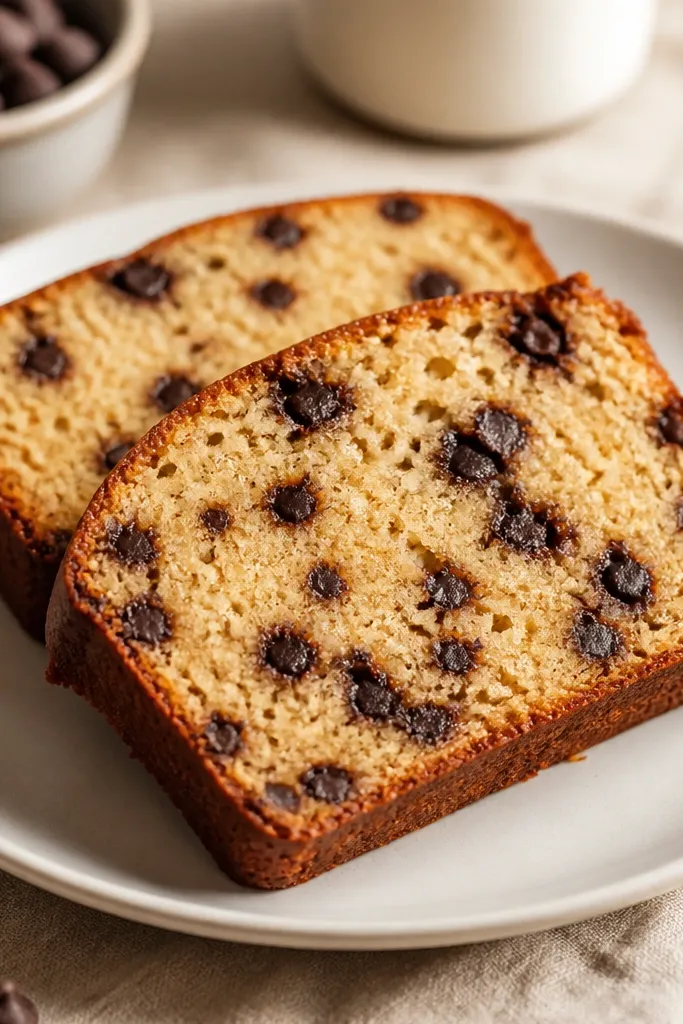
Clean slices happen when the loaf has cooled enough for starches to set but not so long that the loaf dries out. The banana crumb should look moist and slightly glossy, not crumbly. A good cut also makes the chocolate look like it's embedded, not smeared.
Cool in the pan 10 minutes, then lift and cool on a rack. Slice with a serrated knife using a gentle sawing motion. Cut thick - about 3/4-inch slices - so you don't tear the center.
Try thisWipe the knife blade between slices for the prettiest look.
One warningDon't slice while the loaf is steaming; you'll get smears and a dense center.
8. Brown Sugar Crunch on the Top
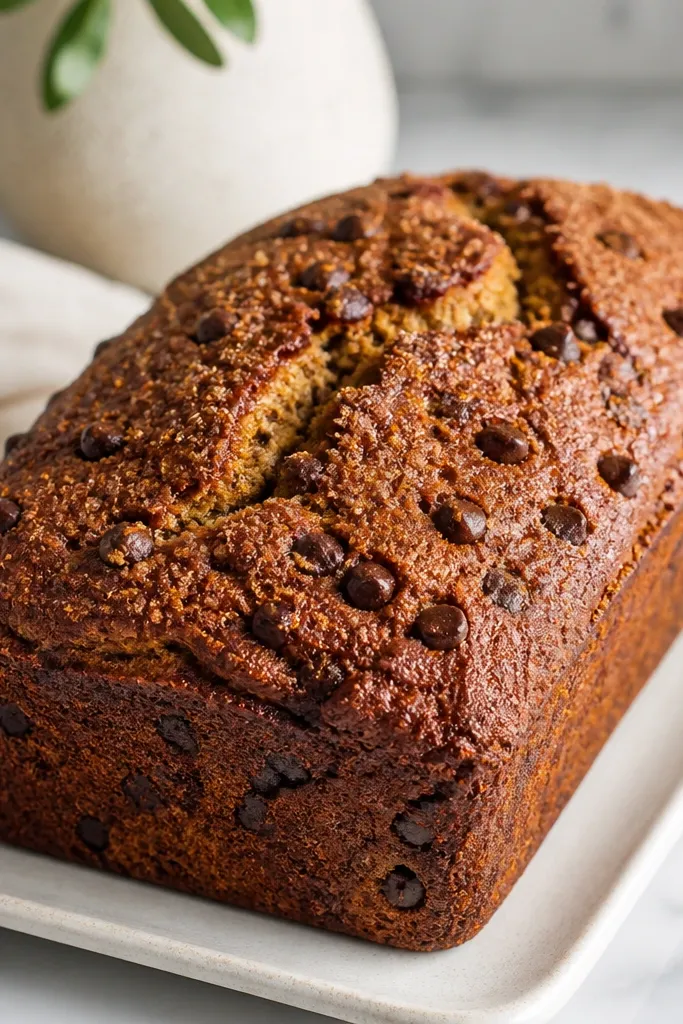
Brown sugar creates a thin crunchy layer on top that contrasts with the soft crumb. It also deepens the color to a caramel-gold that looks great beside coffee. The crunch is subtle, not like a cookie crust.
Sprinkle 1 to 2 tablespoons brown sugar over the batter before baking. If you press it in lightly, it adheres and caramelizes into a neat top. Pair with semi-sweet chips so the sweetness doesn't overwhelm.
Try thisIf you like more crunch, add a pinch of flaky salt on top right before baking.
One warningDon't use too much sugar - it can form a thick hard cap that makes slices feel dry.
9. Toasted Edge Contrast with Foil Tent Timing
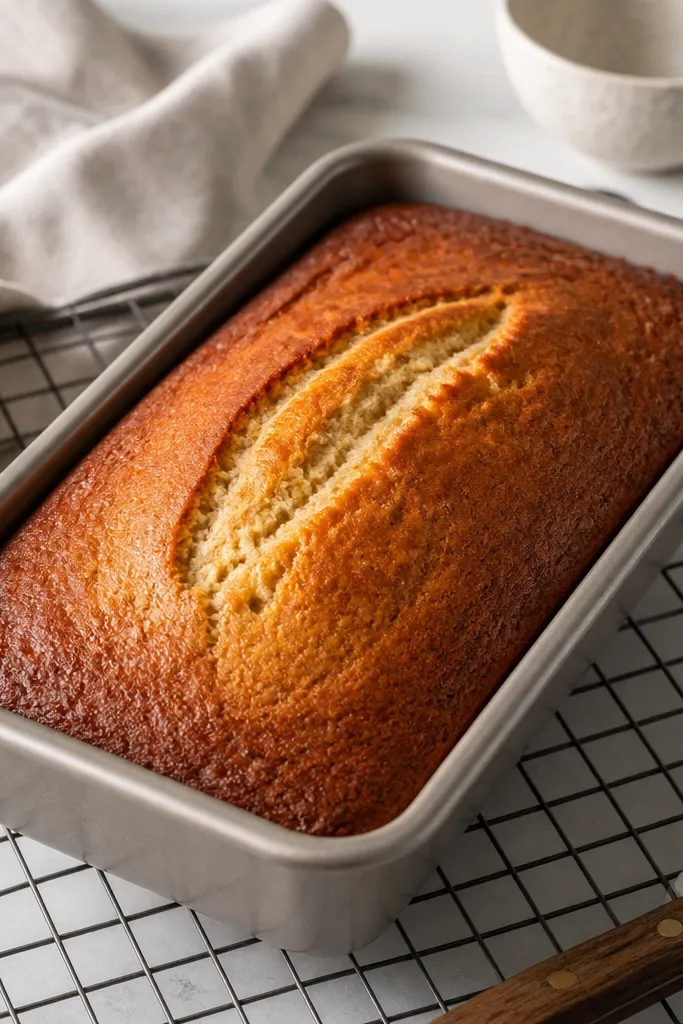
Foil tenting at the right time protects the top while letting the interior finish. You get a darker, toasted edge and a center that stays moist. The look is more "baked properly" than "overcooked top, undercooked middle."
Start baking uncovered at 350°F. When the top is deep golden but the center still needs time, loosely tent with foil. Continue until a toothpick shows moist crumbs.
Try thisTent loosely so steam can escape; tight foil traps moisture and softens the crust.
One warningDon't ignore the color - if your top is already too dark at minute 35, foil helps.
10. No-Mixer Batter Thickness That Holds Shape
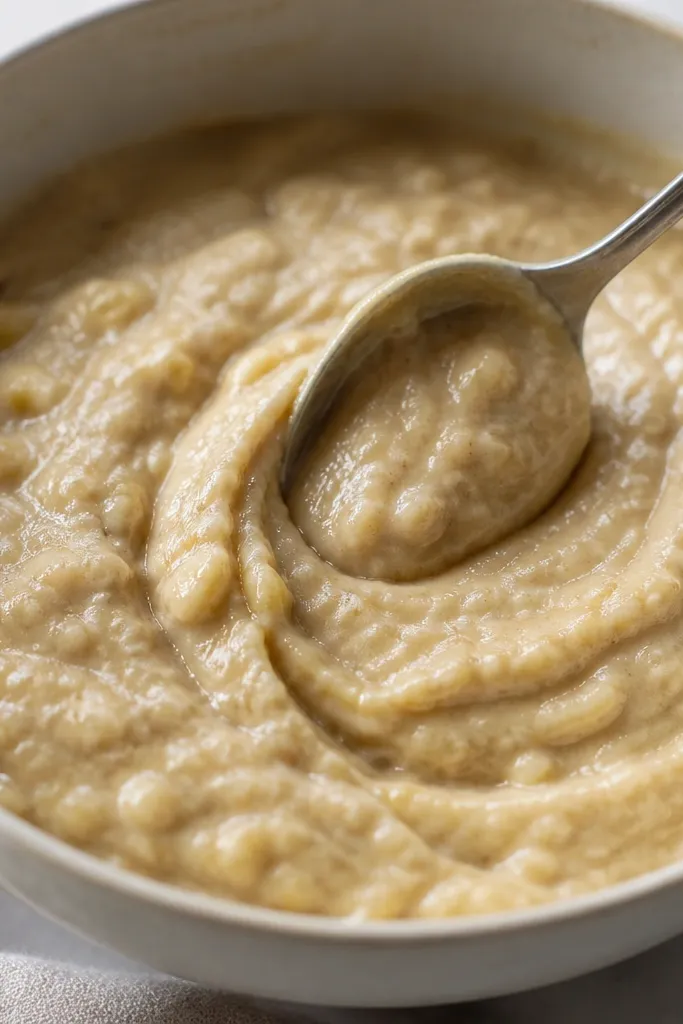
The "looks" of a good loaf start in the bowl. Thick batter spreads slowly and bakes into a domed top with a tender crumb. If your batter is too thin, it spreads flat and makes uneven chip distribution.
After mixing, lift a spoon: batter should fall in a slow ribbon and sit on the surface for a second. If it runs like pancake batter, add 1 tablespoon flour at a time. Stir just enough to keep it smooth.
Try thisMeasure banana after mashing, not before. Banana sizes lie.
One warningDon't add flour blindly without checking thickness; too much flour makes the loaf dry.