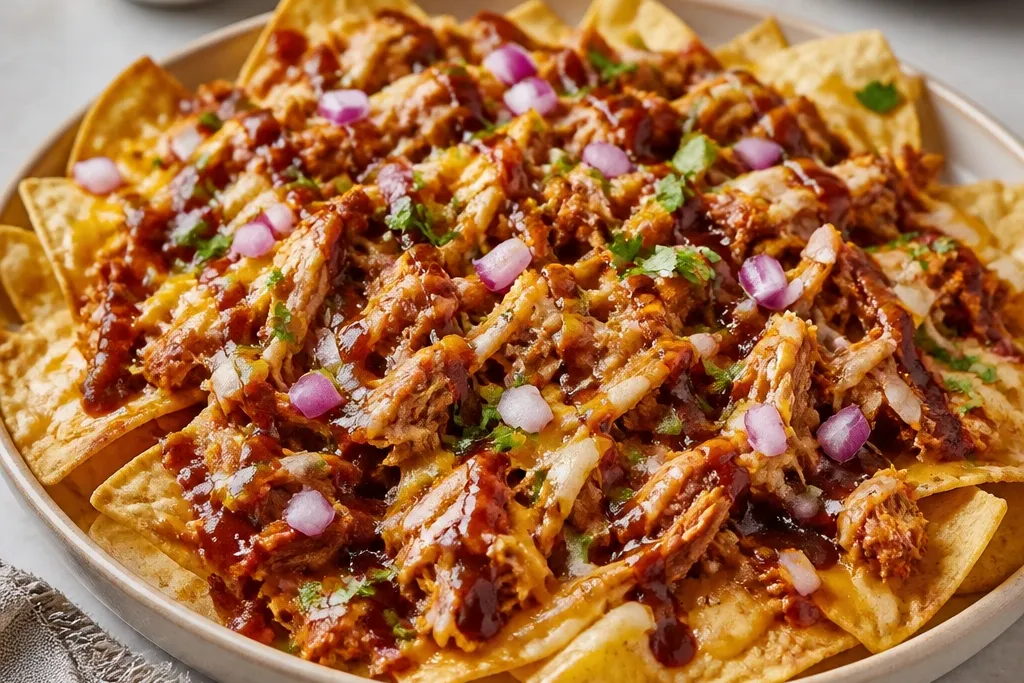
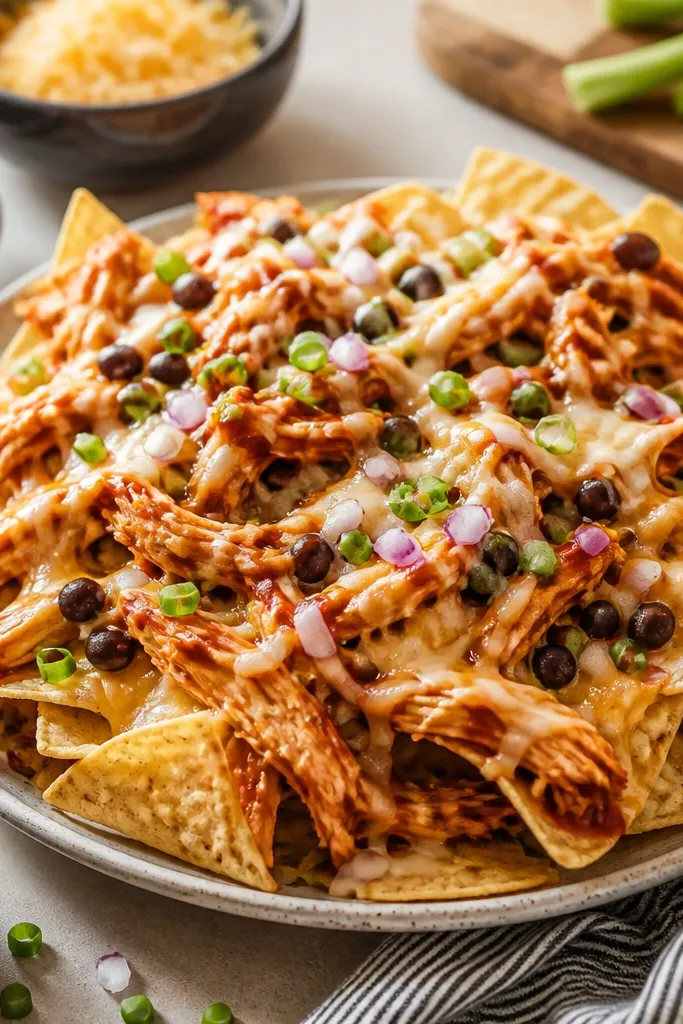
1. Sheet-Pan Chip Base With a Saucy Chicken Ridge
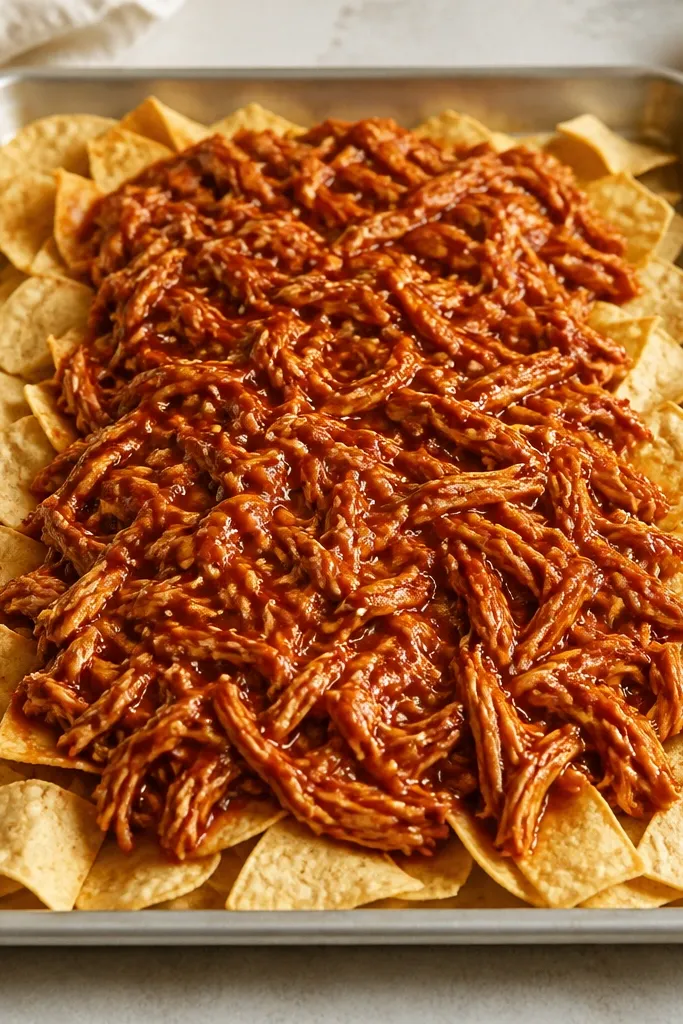
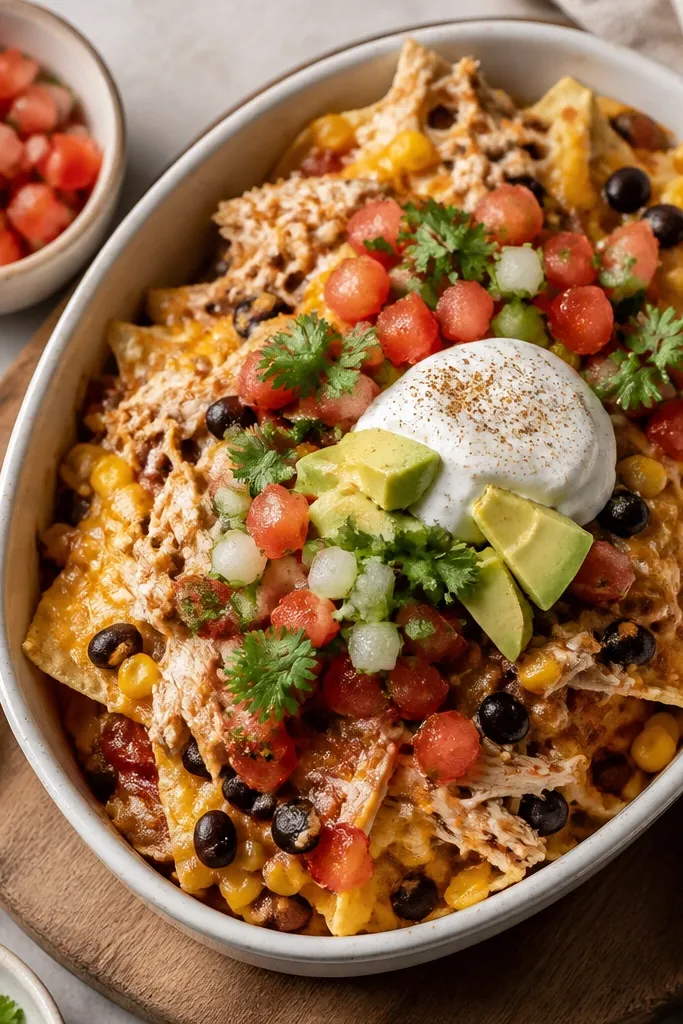
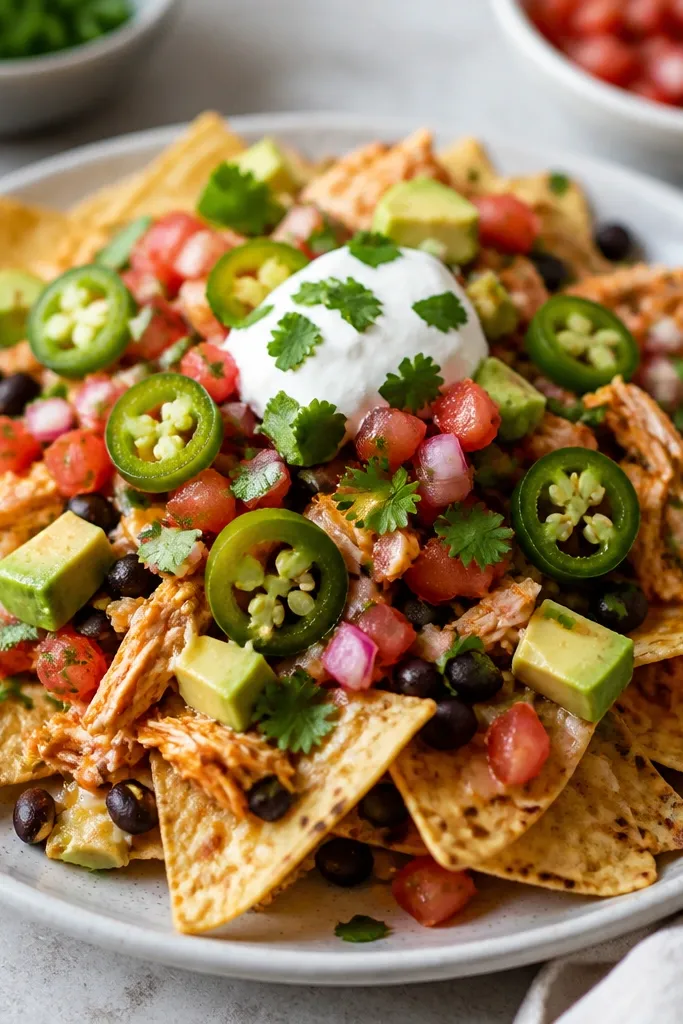
This look starts with a real foundation: a single chip layer you can still see through. I spread chips to the edges so every bite has crunch, then I mound the chicken slightly off-center to create a ridge. The chicken's shine matters; it should look lacquered, not dry or watery. That glossy BBQ surface catches the oven heat and browns in spots, which makes the whole pan look restaurant-made.
Use a rimmed sheet pan and preheat it while you prep toppings. Spread chips in one layer, about 2-3 bags worth for a standard half-sheet pan (adjust to your size). Cook chicken with 1 cup BBQ sauce and 1 tablespoon smoked paprika, then simmer until it coats a spoon. Spoon chicken in a line so it covers the middle third, leaving chip edges uncovered.
Try thisWarm the sheet pan for 2-3 minutes before adding chips - the first hit of heat helps the bottom stay crisp.
One warningDon't dump chicken sauce straight from the bottle onto chips; it soaks in and kills crunch.
2. Two-Cheese Melt Cap With Browning Spots
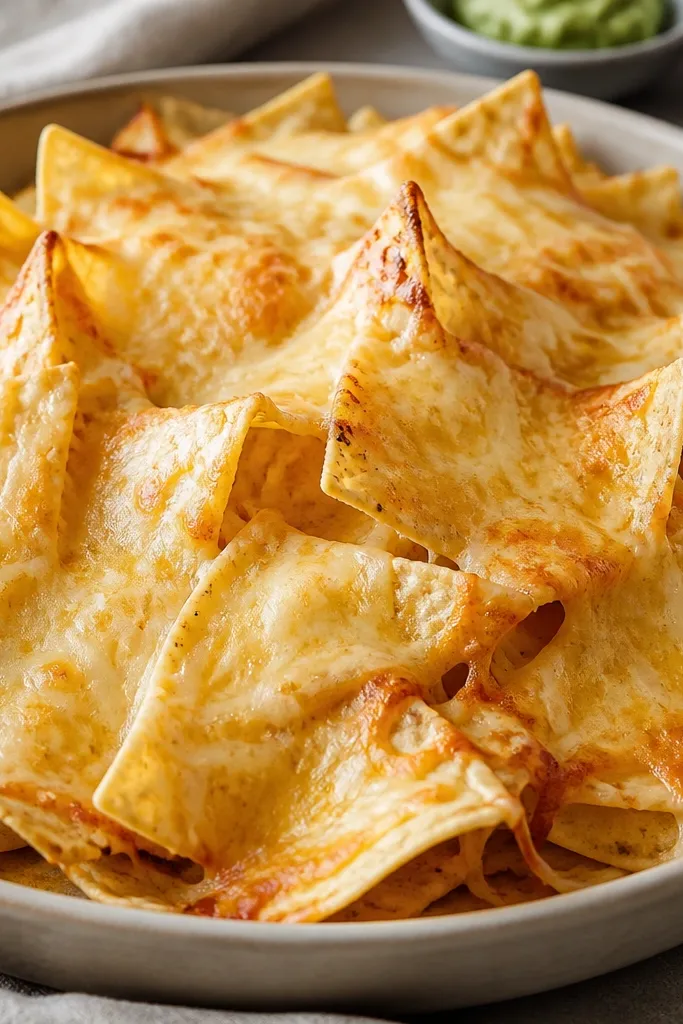
I use two cheeses so you get both melt and color. Cheddar gives that familiar orange pull, while a second cheese like Monterey Jack melts smoother and helps the top look creamy. The uneven sprinkle is the point - chips should peek through, and cheese should blister in little freckles. Those browned spots smell like real nachos, not just melted dairy.
For a small-to-medium pan, use 1 cup shredded cheddar and 1 cup shredded Monterey Jack. Sprinkle cheddar first, then Jack on top so the top layer melts fast and spreads. Bake until the cheese looks bubbly and slightly browned, about 8-10 minutes at 425°F.
Try thisGrate your own cheddar if you can; it browns faster than pre-shredded and tastes sharper.
One warningDon't go heavy with cheese - a thick blanket makes everything steam and turns chips soft.
3. Smoky BBQ Chicken With Chipotle Heat That Lingers
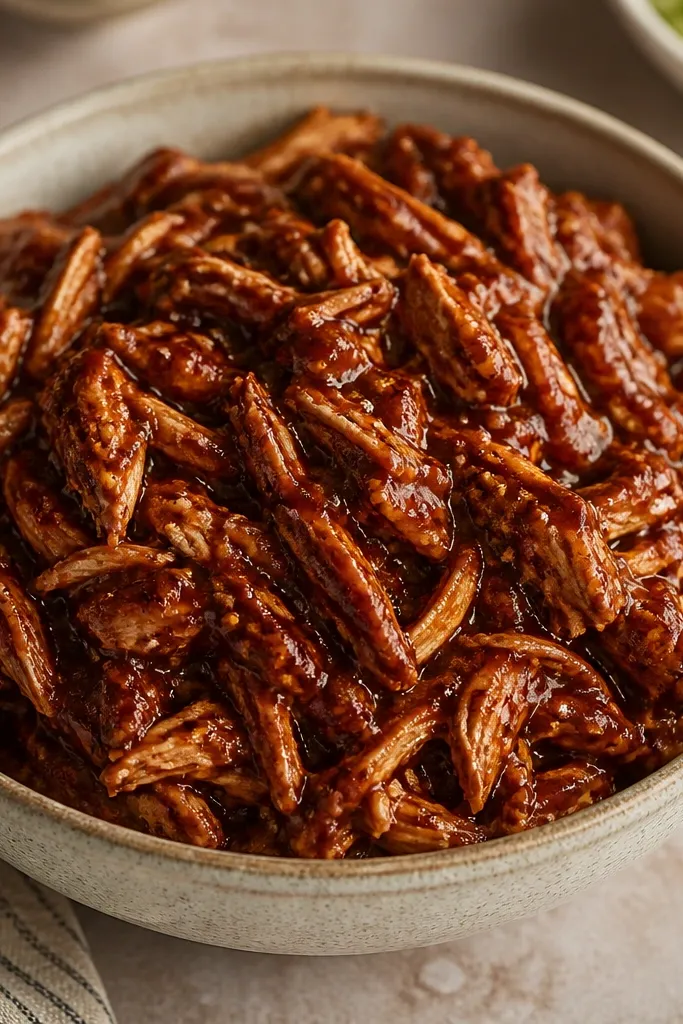
This chicken has a smoky heat that shows up in the aroma before you even taste it. I add chipotle powder in small amounts so it's not fiery, just lingering. The sauce clings to the chicken because I simmer it down. That cling makes the chicken taste bold even when you stretch it across nachos.
In a skillet, heat 1 tablespoon oil, add shredded chicken (about 2 cups), then stir in 3/4 cup BBQ sauce, 1 teaspoon chipotle powder, and 1 teaspoon smoked paprika. Simmer 3-5 minutes until glossy. If it looks thick, loosen with 1-2 tablespoons water; if it looks thin, keep simmering.
Try thisTaste the chicken on its own; you want it a little stronger than you'd eat plain because chips dilute flavor.
One warningDon't skip simmering; thin sauce makes a puddle under cheese.
4. Quick Pickled Red Onion for a Sharp Pop
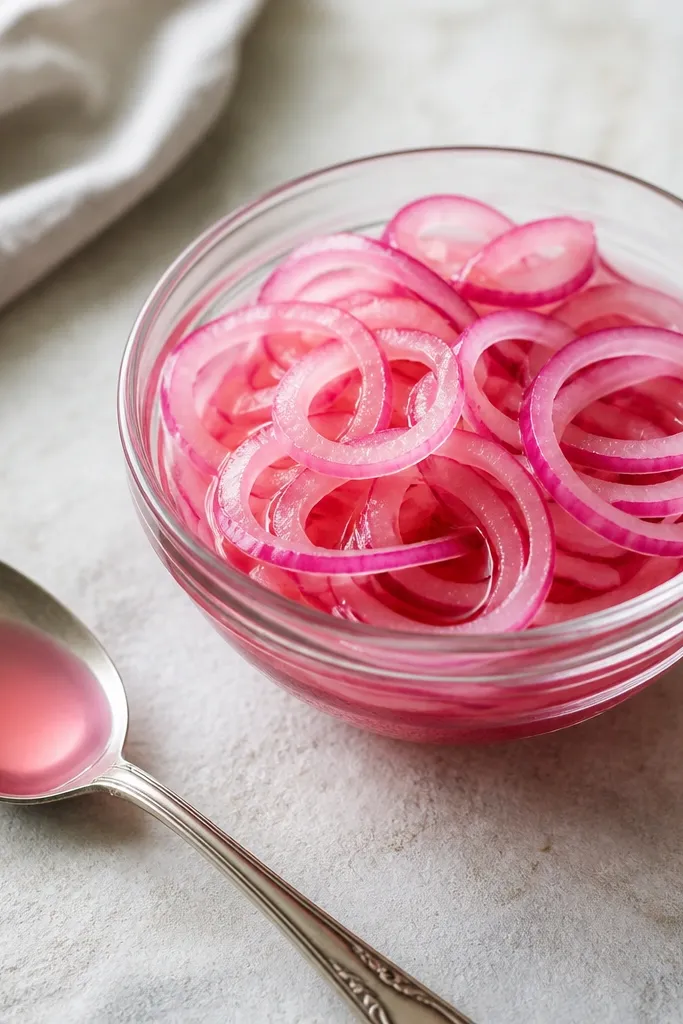
Pickled red onion makes the whole pan taste louder. The crunch stays crisp because you add it after baking. The pink color looks great against orange cheese and reddish BBQ chicken. It also cuts the sweetness of BBQ so every bite feels balanced, not sticky.
Slice 1 small red onion thin. Toss with 1/2 cup apple cider vinegar, 1 tablespoon sugar, 1/2 teaspoon salt, and a pinch of black pepper. Let sit 15 minutes while you bake the nachos. Drain lightly before adding so it doesn't water down toppings.
Try thisMake extra and keep it in the fridge; it upgrades tacos, burgers, and salads for days.
One warningDon't add thick-cut onion; it stays crunchy but bites in the wrong way.
5. Cilantro Lime Crema Swirl
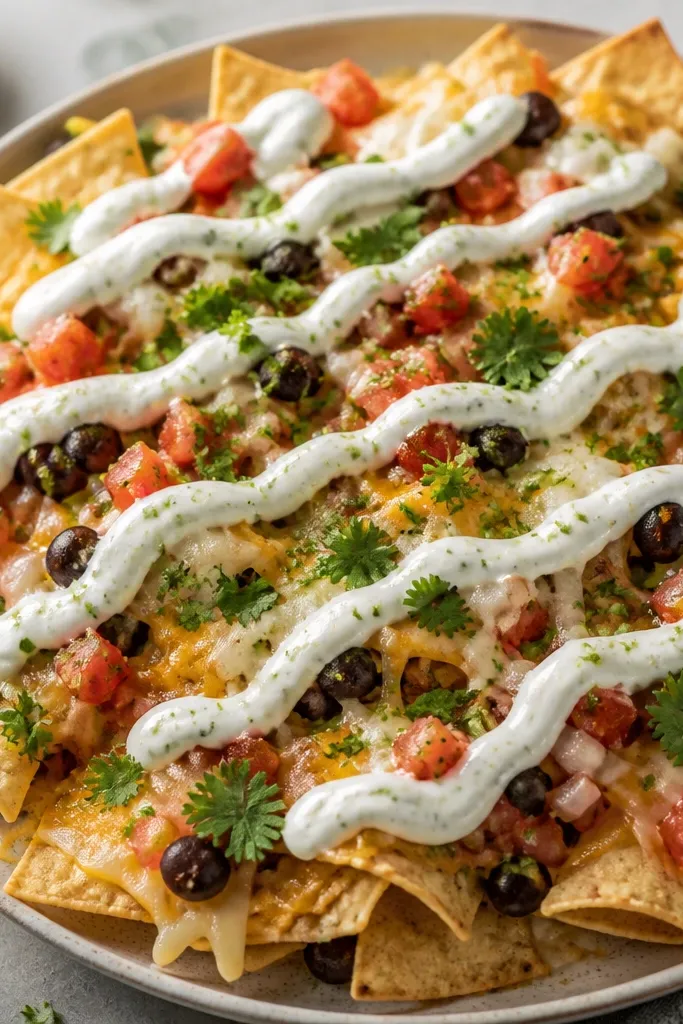
Crema makes nachos feel creamy without turning them into mush. The lime keeps it tangy, and cilantro adds that fresh green smell you get from street-style toppings. The swirl looks intentional, not like you dumped a tub. Plus, the cold temperature helps keep chips crisp.
Mix 1/2 cup sour cream or Greek yogurt, 1-2 tablespoons lime juice, 1 tablespoon finely chopped cilantro, and a pinch of salt. Add lime zest if you want extra aroma. Drizzle with a spoon in lines after the oven.
Try thisUse a zip-top bag with the corner snipped for thin drizzle control.
One warningDon't add crema before baking; heat curdles and separates it.
6. Pico de Gallo Added After Baking
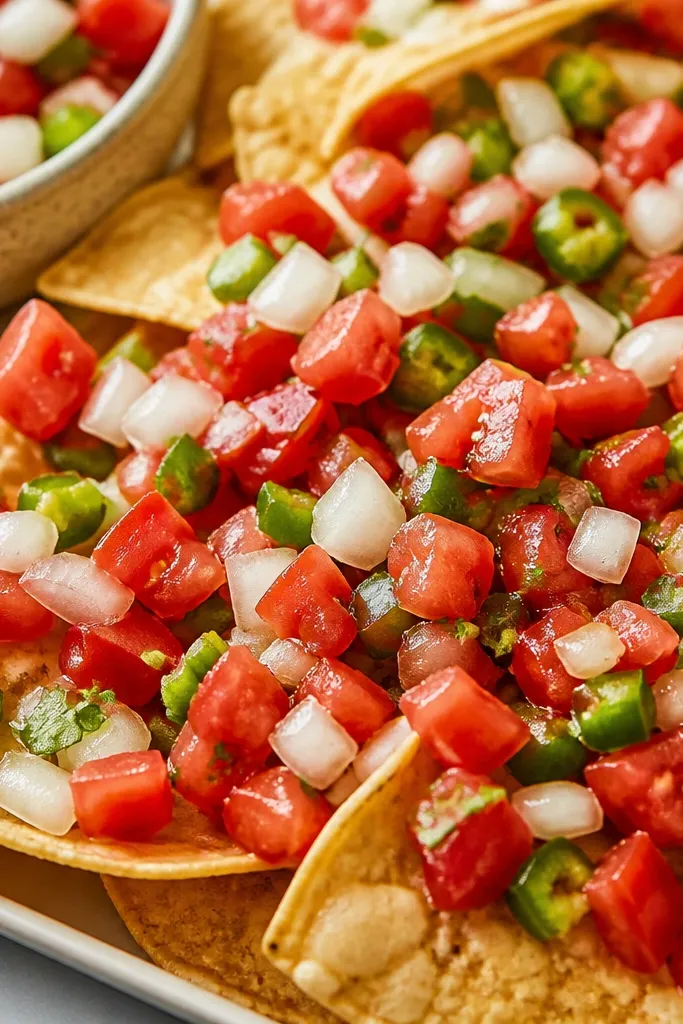
Pico is the flavor reset between bites of cheese and BBQ. I keep it juicy but not watery by draining diced tomatoes if they're extra wet. The bright tomato color also makes the pan look fresh instead of one-note brown. Adding it after baking keeps the tomatoes from steaming and softening.
Dice 2 tomatoes, 1/4 small white onion, and 1 jalapeño. Stir with lime juice, chopped cilantro, and salt. If the bowl pools with liquid, spoon off the liquid before topping. Add pico right after cheese comes out of the oven.
Try thisUse Roma tomatoes for less juice and less sogginess.
One warningDon't use salsa that's too thin; it seeps and turns the top layer greasy.
7. Pickled Jalapeño Coins for Texture
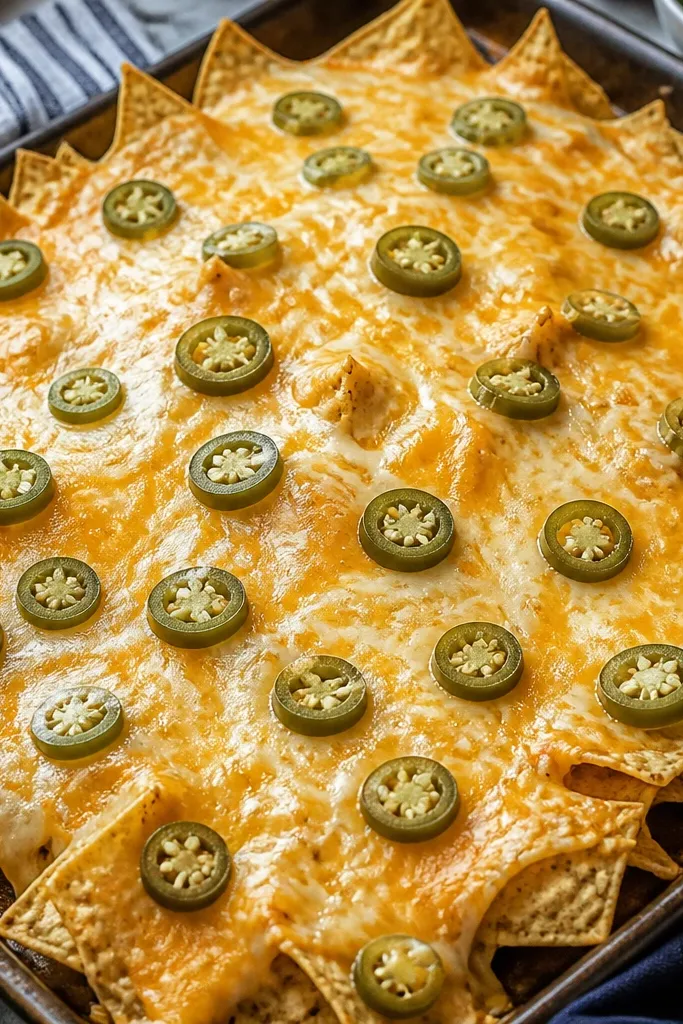
Pickled jalapeño coins give you snap and tang in one bite. They also add little green pops that break up the orange-and-red color scheme. The brine cuts through the fattiness of cheese, and the vinegar smell hits right away. I like them because they're predictable and don't get mushy.
Drain jalapeños well and pat lightly with a paper towel. Scatter coins over the cheese right before you add cilantro and crema. Use them sparingly so the nachos still taste BBQ-first.
Try thisIf you like heat, add a few extra coins only on the edges where chips are crunchiest.
One warningDon't add jalapeño brine; it makes cheese slide and soak chips.
8. Toasted Corn and Black Bean Scatter
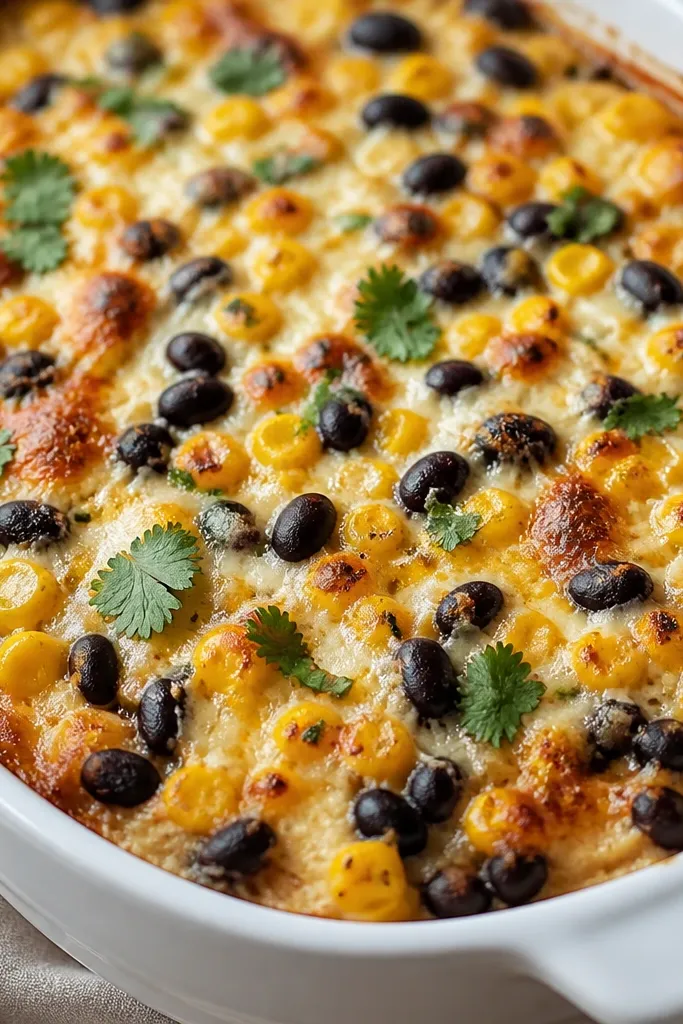
Corn and black beans make the nachos look fuller and taste more layered without adding much cost. I toast corn in a dry skillet so some kernels get browned, which keeps flavor from tasting flat. Beans add a creamy bite even when they're cold on top. The contrast - sweet corn, hearty beans, smoky chicken - keeps every scoop interesting.
Drain canned corn and black beans. Toast corn in a dry skillet for 3-4 minutes until a few kernels brown. Stir beans with a pinch of salt and a tiny squeeze of lime, then scatter after baking.
Try thisAdd corn only to the top third so the chicken ridge stays the star.
One warningDon't add raw canned corn; it tastes watery against warm cheese.
9. Crunchy Topping Ladder With Hot Sauce Drizzle
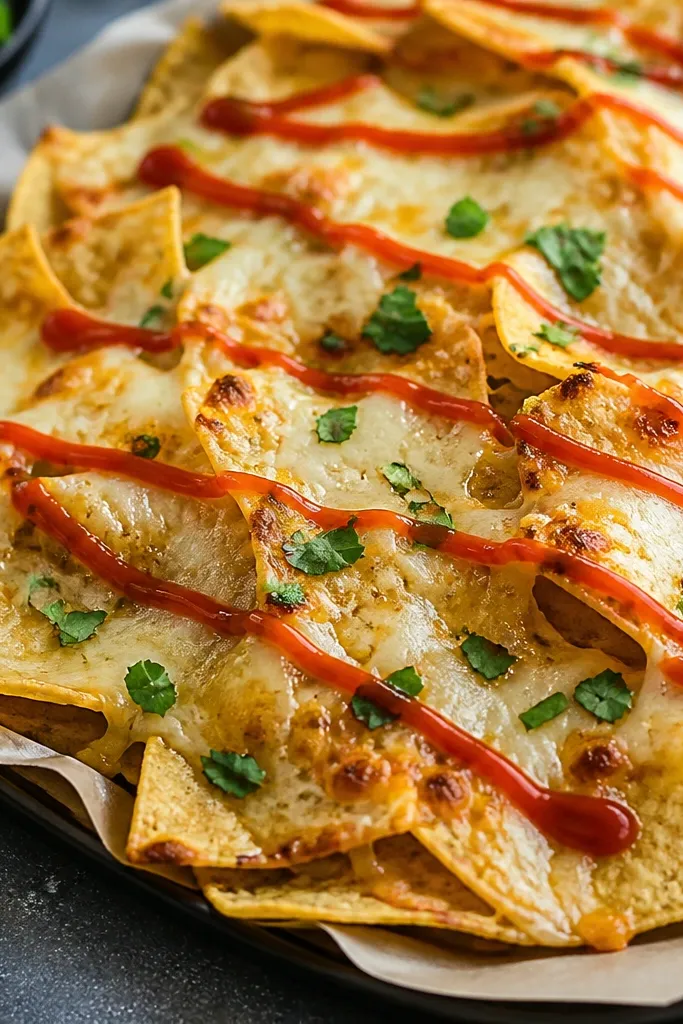
A hot sauce drizzle adds shine and heat without adding bulk. I use it like punctuation - a thin line over the center and a couple lines at the edges. The sauce color makes the nachos look glossy and finished. If you want the heat to stay crisp, drizzle after baking so it doesn't bake into bitterness.
Use a squeeze bottle or spoon. Drizzle lightly, then add chopped cilantro so it sticks to the sauce. If your hot sauce is thick, thin it with 1 teaspoon water so it flows in a clean line.
Try thisTry a sweeter hot sauce if your BBQ is smoky; it balances the bite.
One warningDon't drown the whole pan; soaked chips taste heavy.