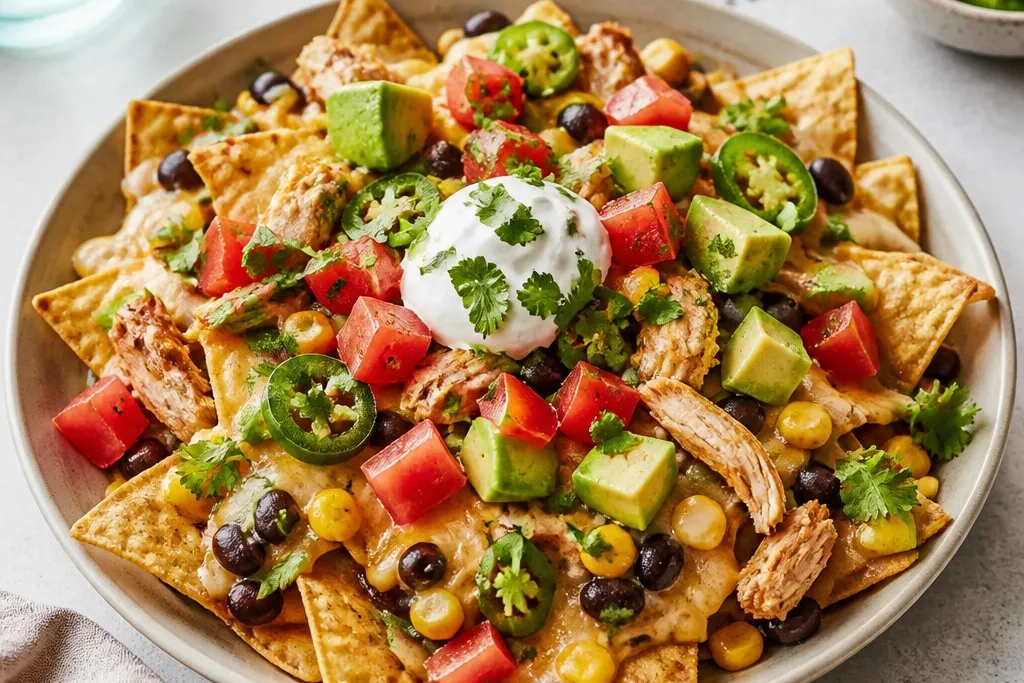
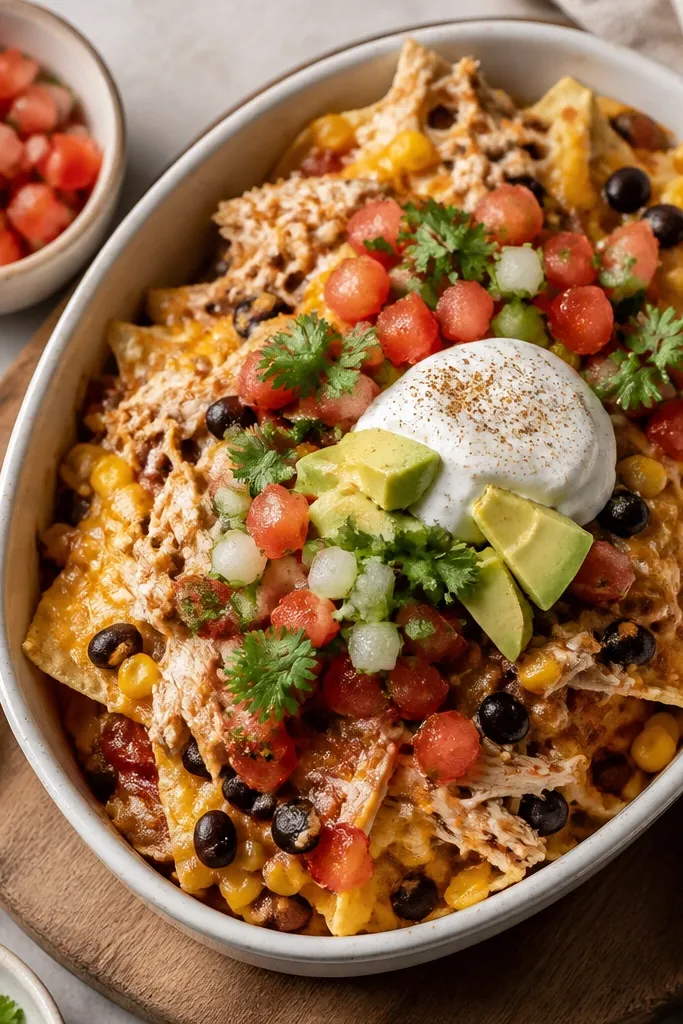
1. Cheese-First Melt Blanket
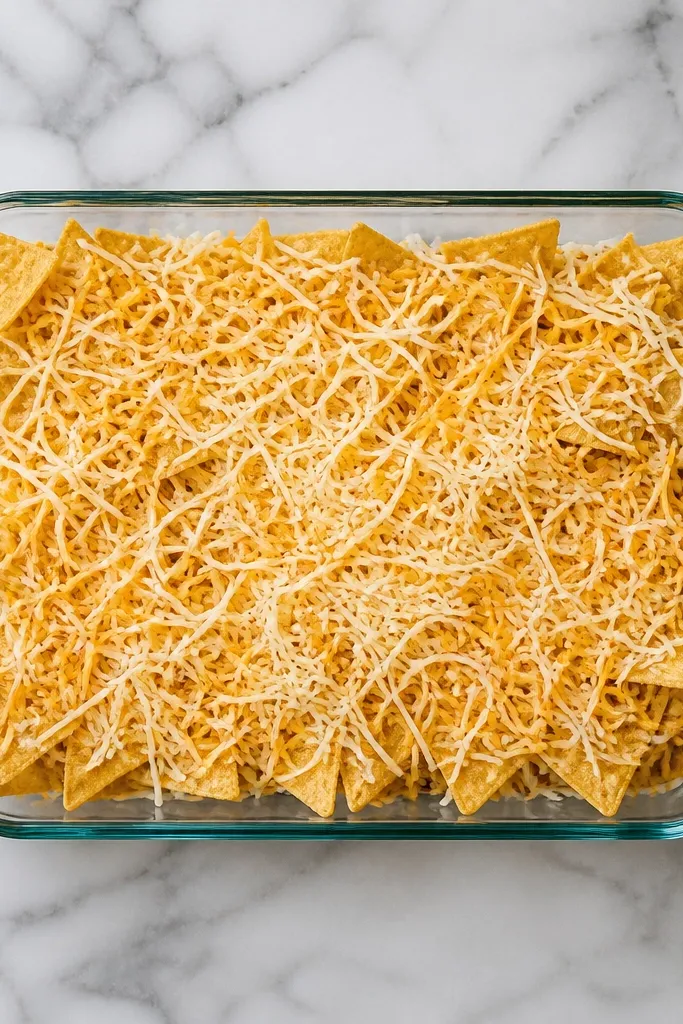
This look starts with cheese as the glue. When the cheese goes down first, it melts into a thin layer that helps everything else sit on top instead of sliding off. Use a mix of Monterey Jack for stretch and cheddar for color - the cheddar browns slightly at the edges and makes the whole tray look "finished" even before toppings.
Spread chips in a single layer, then add cheese so you see only a little chip peeking through. For a 9x13, I use about 2 cups shredded cheese total. Bake until the cheese is melted and lightly bubbling, usually 6-9 minutes depending on your oven.
Try thisGrate your own cheddar if you can - pre-shredded melts faster but can look a little dull and stringy.
One warningDon't pile chicken directly on raw chips - the moisture makes the bottom chips go soft.
2. Brick-Red Taco Chicken Layer
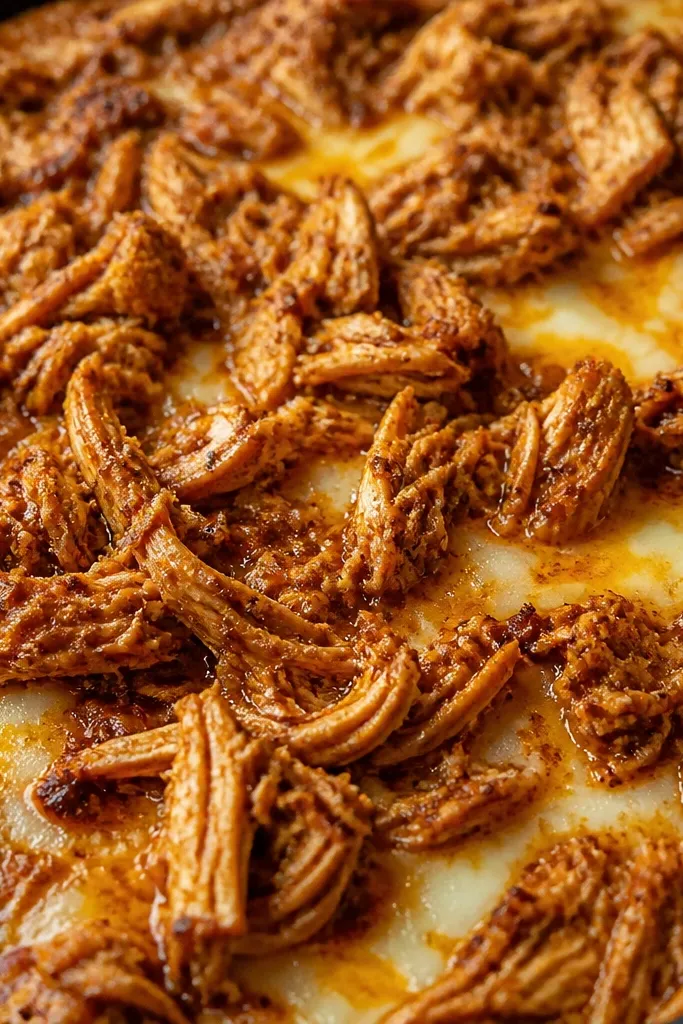
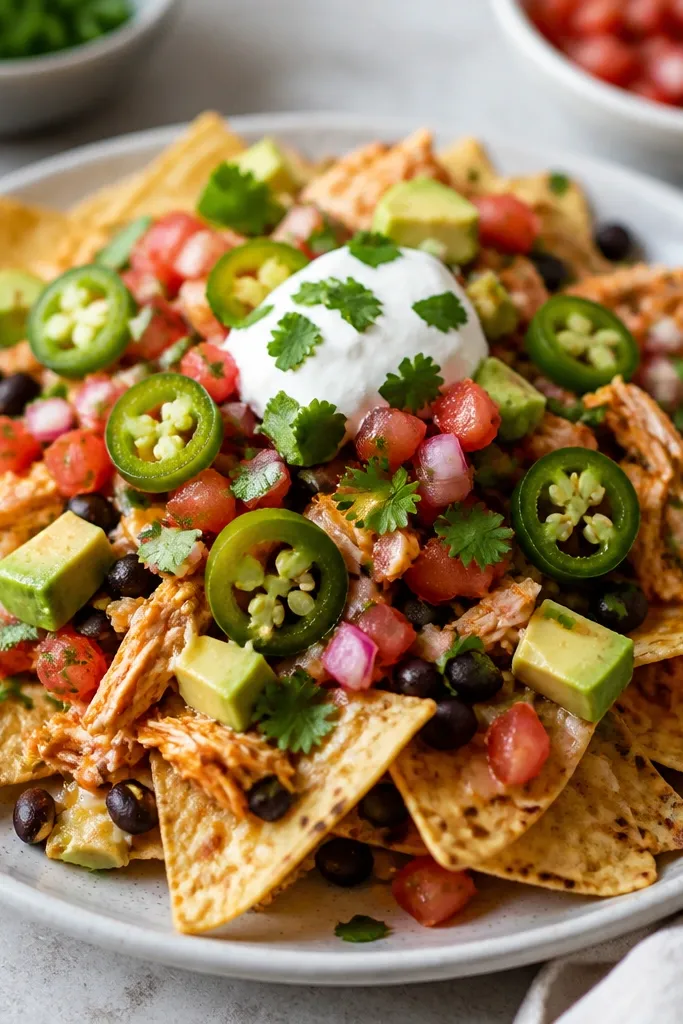
The chicken should look saucy but not wet. Taco seasoning plus a squeeze of lime gives that brick-red color and keeps the flavor bright when it's sitting under melted cheese. I spread the chicken in small clusters because it creates little "topping pockets" - every bite gets chicken without turning the tray into one big mash.
Use 3-4 cups shredded rotisserie chicken or about 1.5 pounds cooked diced chicken. Toss it with 2 tablespoons taco seasoning and 1 tablespoon lime juice, then taste for salt. Scatter over the cheese in a thin layer so you can still see cheese lines between chicken bits.
Try thisCook your chicken filling until the liquid looks gone - if it's wet in the pan, it will get wetter on the chips.
One warningSkip watery salsa inside the chicken - it makes the whole tray leak moisture.
3. Pico De Gallo Confetti
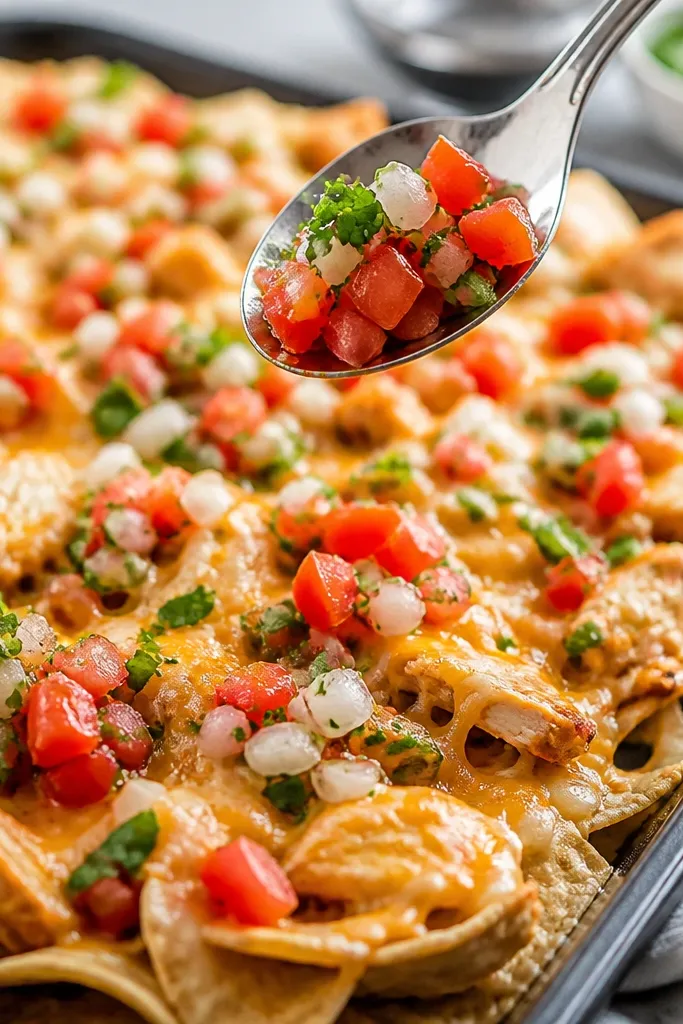
Pico goes on after baking so it stays juicy and fresh instead of wilting into a gray mess. The red tomato and green cilantro pop against the orange-brown chicken and the golden cheese. I like a rough chop so the pico has texture - it feels like "toppings" instead of a sauce.
Mix diced tomatoes, red onion, chopped cilantro, lime juice, and a pinch of salt. Use about 1 cup pico for a 9x13 tray so it shows up in every section. Spoon it on in small drops, not one big layer.
Try thisLet pico sit 5 minutes after mixing so the salt draws out juice - it spreads better without soaking chips.
One warningDon't bake pico - it turns watery and dull.
4. Jalapeño Rings With Crunch Peaks
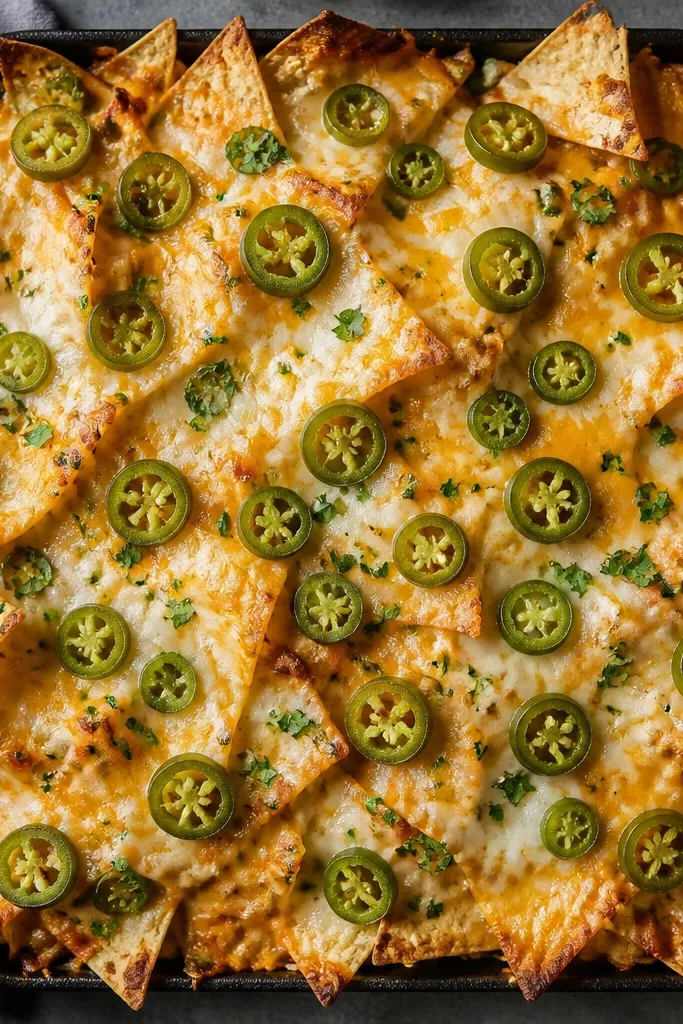
Jalapeños add heat and a visual punch. Fresh rings look greener and fresher, while pickled jalapeño rings give a tang that cuts through chicken and cheese. I place them after baking so they stay crisp and don't go limp.
Use either sliced fresh jalapeños (quick sauté for 1 minute helps) or pickled jalapeños from a jar. Scatter 2-4 tablespoons across the tray so you get spicy hits in multiple bites. If you like more heat, add a few extra rings along the center where toppings get heavier.
Try thisPat jalapeños dry with a paper towel if they're very wet - it stops extra liquid from puddling.
One warningDon't overdo jalapeños in one spot - it makes the rest of the tray feel under-seasoned.
5. Sour Cream Swirl Lines
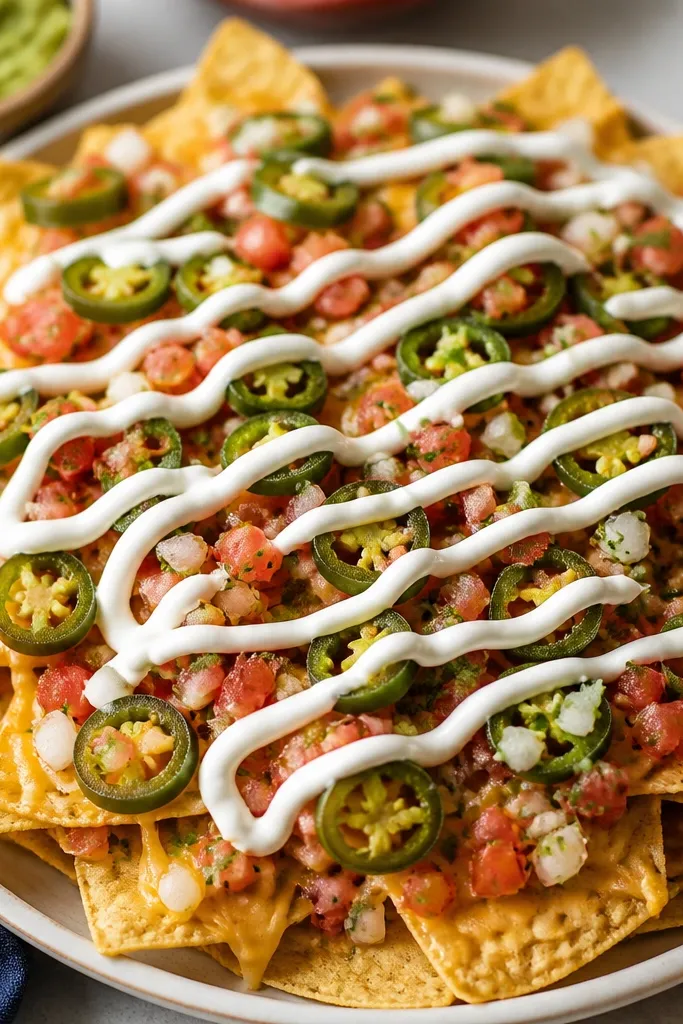
Sour cream makes the whole tray look creamy and cool without turning it into a dip bath. I use thick sour cream (or Greek yogurt thinned just a bit) so it stays in lines instead of soaking. The white lines also help you control coverage - every bite gets a creamy hit even if someone avoids pico.
Stir sour cream with a teaspoon of lime juice and a pinch of salt, then spoon it into a zip-top bag with the corner snipped. Pipe thin lines across the tray, then add a few dots in gaps. Keep it light - you want contrast, not a blanket.
Try thisIf your sour cream is runny, chill it 10 minutes before piping.
One warningDon't pour sour cream - it spreads fast and kills crunch.
6. Guacamole Dabs, Not a Spread
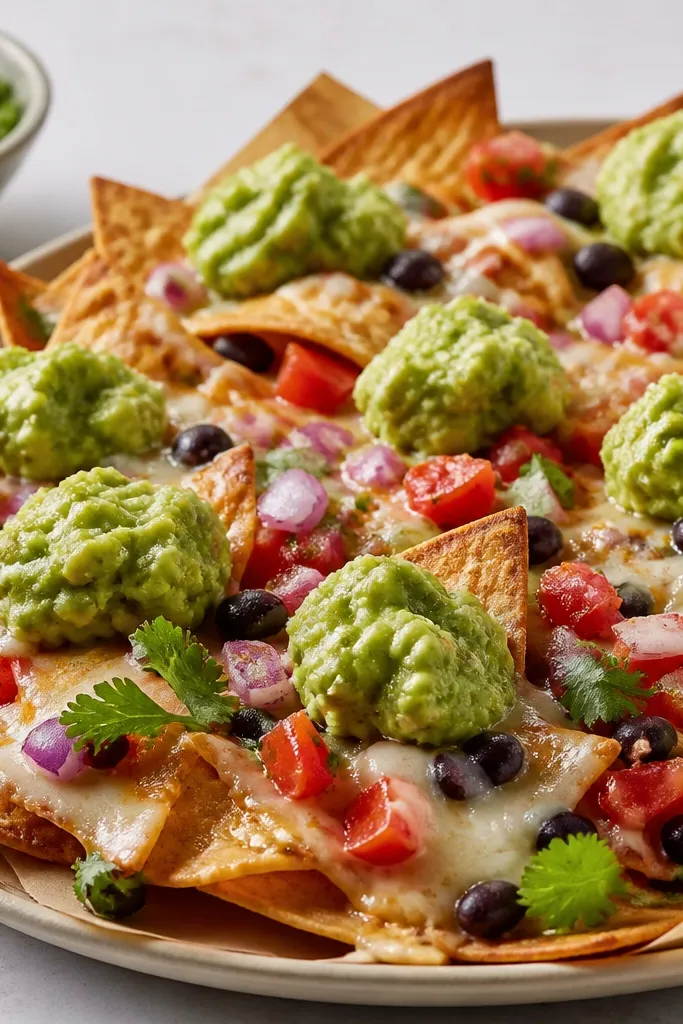
Guacamole adds fat and a fresh green look, but it needs restraint. Dabs keep it from soaking into chips and turning the whole tray greasy. I like chunky guac because it looks like actual topping pieces, not a smear.
Use store-bought chunky guac or mash avocado with lime juice, salt, and minced onion. Spoon into a small spoon and place 1-inch dollops across the tray after baking. For a 9x13, 3/4 cup guac is enough if you spread it evenly.
Try thisAdd a tiny pinch of smoked paprika to the guac - it makes the green taste deeper and warmer.
One warningDon't mash guac smooth - it looks like a sauce and spreads too far.
7. Tomato-Black Bean Spoon Spots
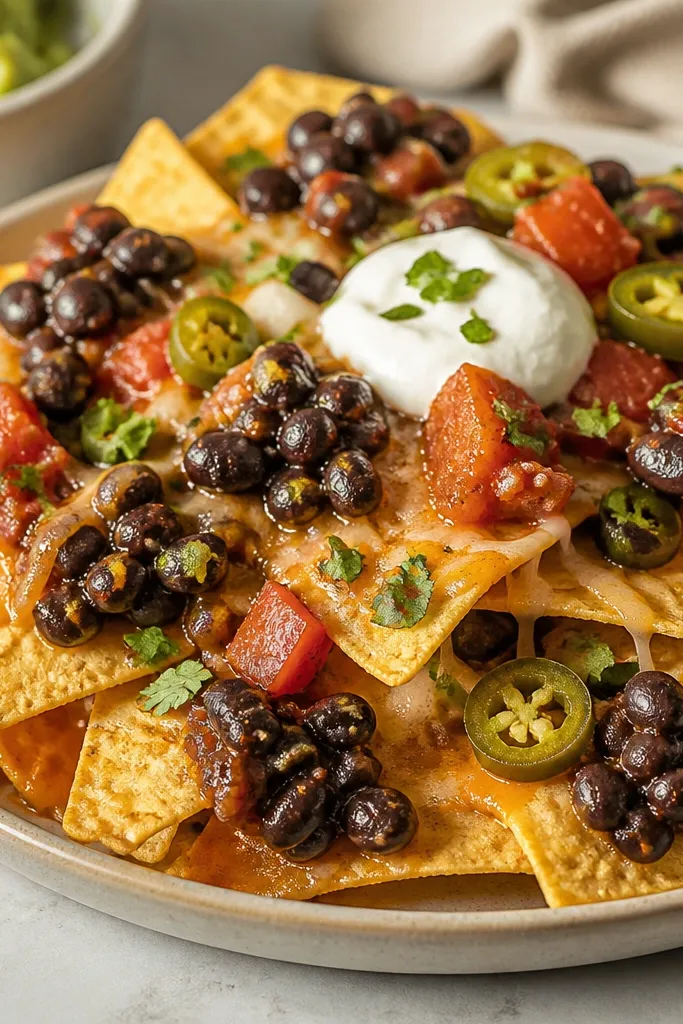
Beans make the nachos feel full without adding more chicken. The trick is seasoning and texture: you want beans that look saucy but not watery. Black beans also anchor the toppings visually - the dark specks break up the orange and white colors.
Warm 1 can black beans with 2 tablespoons salsa or crushed tomatoes plus 1 teaspoon cumin. Cook until thick, then let cool 2 minutes so they don't steam the chips. Spoon small clusters over the tray after the cheese melts.
Try thisTaste the beans before adding - salt makes the flavor pop even under cheese.
One warningDon't add beans straight from the can - the liquid spreads and softens chips.
8. Green Onion Crunch Finish
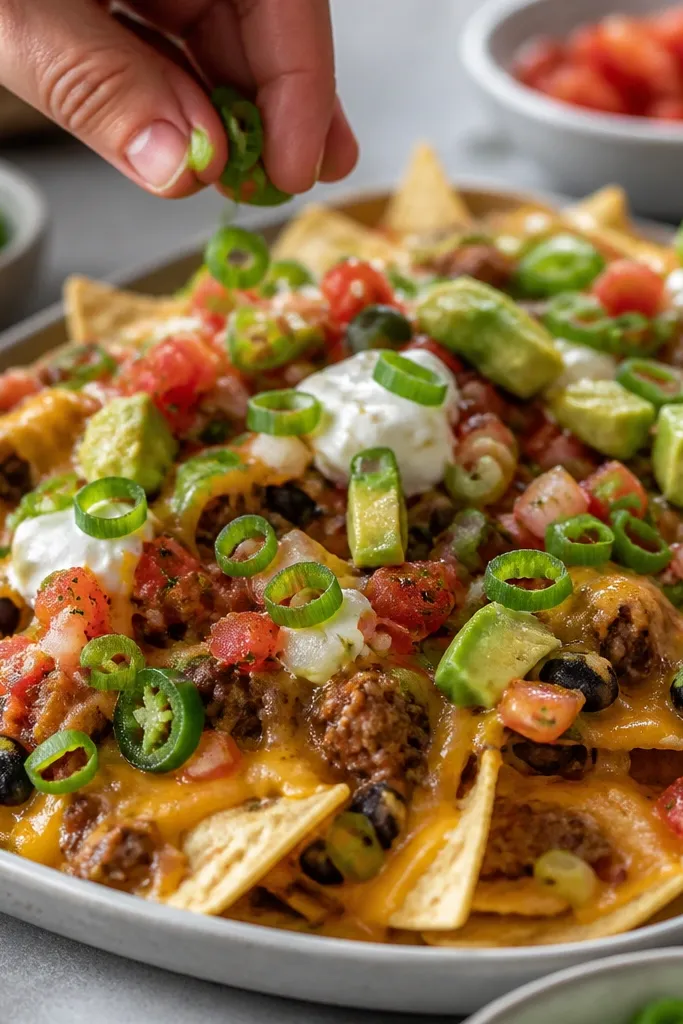
Green onion adds a sharp, fresh bite that makes the whole tray taste less heavy. It also adds a clean color highlight that looks good in photos and makes the toppings feel intentional. Add it right at the end so it stays crisp and doesn't go limp.
Slice 2 green onions thin. Sprinkle them across only the top third of the tray if you want a "chef finish" look. If you want more crunch, add them in the last 30 seconds after baking but before the sour cream goes on.
Try thisUse the white and light green parts for crunch, reserve the darker green for garnish.
One warningDon't use dried fried onions - they get chewy on hot nachos.
9. Crispy Corn Topping Dots
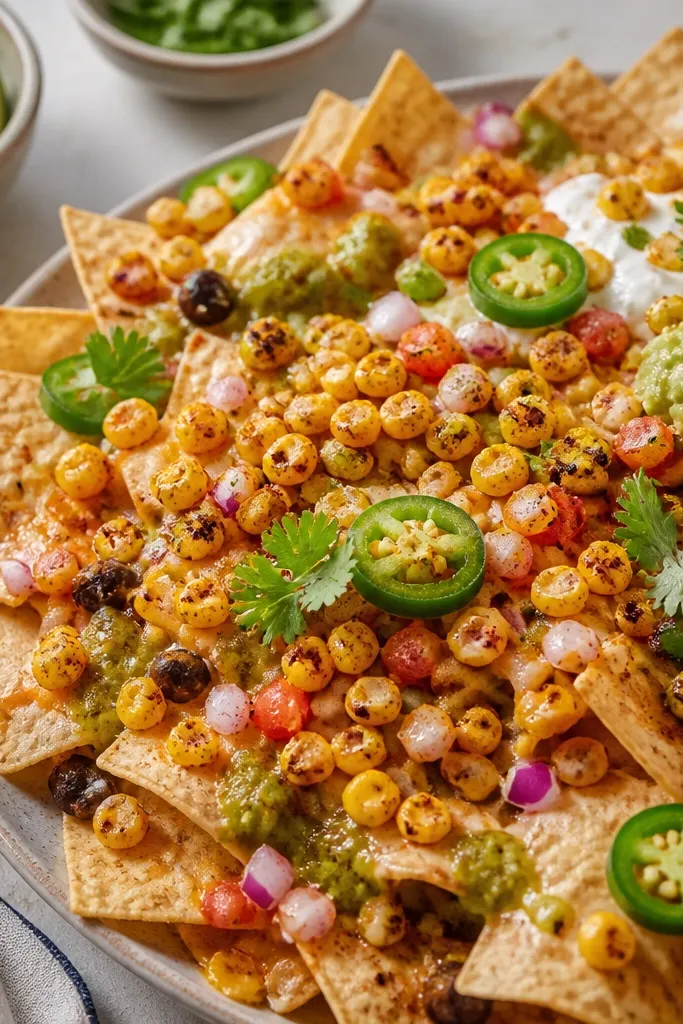
Corn adds sweetness and texture, and when it's lightly toasted it tastes like a real topping instead of a mushy add-on. The yellow also brightens the tray, especially next to red pico and white sour cream. Chili-lime seasoning keeps it from tasting bland against cheese.
Warm 1 cup corn in a skillet with 1 teaspoon oil, then sprinkle with 1/2 teaspoon chili powder and 1/2 teaspoon lime zest or a squeeze of lime juice. Cook until it looks dry and a little golden. Scatter after baking so the kernels stay crisp.
Try thisIf you use frozen corn, pat it dry after thawing for better browning.
One warningDon't bake corn into the cheese layer - it releases moisture.
10. Chili-Lime Drizzle for Heat
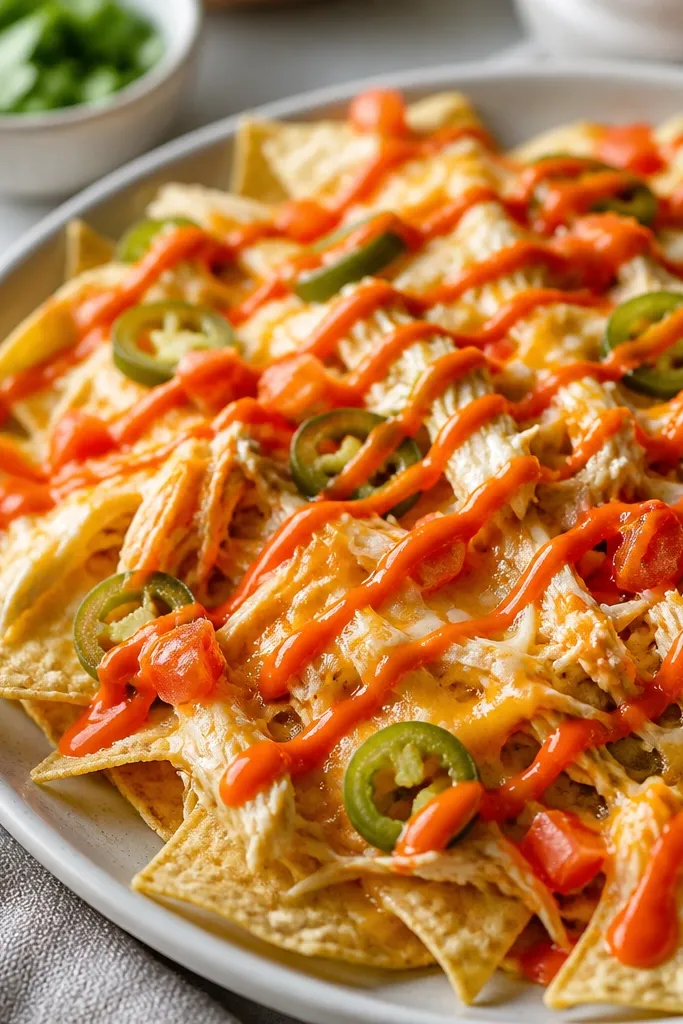
A quick drizzle adds heat without adding bulk. I like a chili-lime sauce made from hot sauce plus lime juice and a teaspoon of honey, because it tastes bright instead of just spicy. The drizzle also makes the tray look "designed," not random toppings dumped on.
Mix 2 tablespoons hot sauce with 1 tablespoon lime juice and 1 teaspoon honey. Add a pinch of salt, then drizzle with a spoon or squeeze bottle. Keep it light - 2-3 zig-zags across the tray is plenty.
Try thisWarm the drizzle for 10 seconds in the microwave so honey blends smoothly.
One warningDon't drown nachos in hot sauce - it floods chips and kills crunch fast.
11. Pickled Red Onion Pop
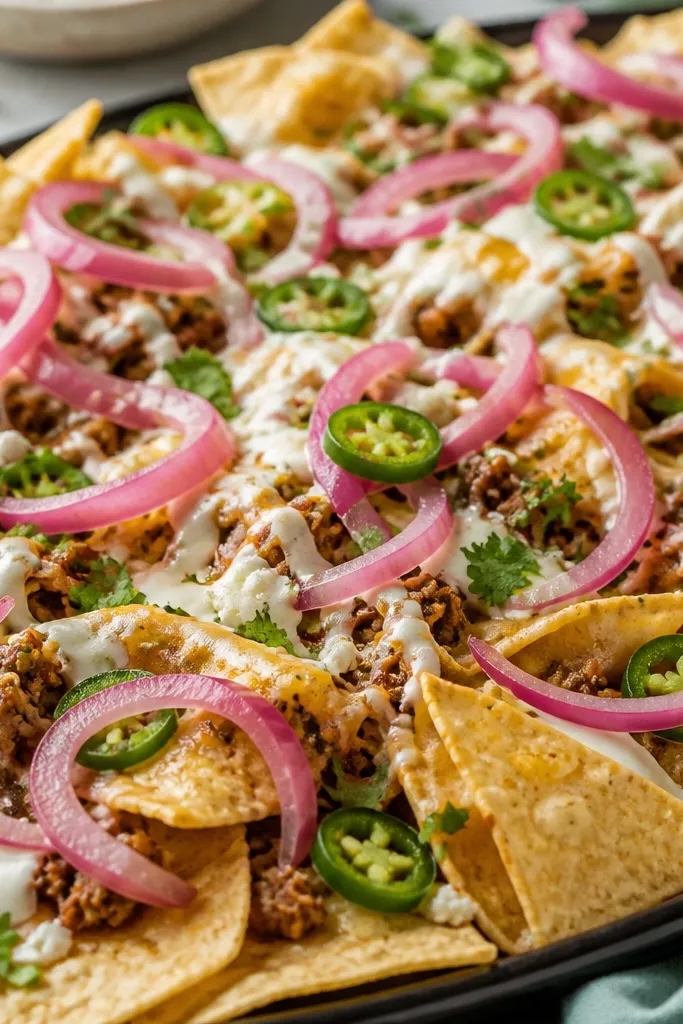
Pickled red onion brings tang and a clean bite that cuts through cheese and chicken. It also looks gorgeous - pink-purple strands over golden chips. Because it's acidic, it keeps flavors from tasting flat, especially if your chicken seasoning is mild.
Quick-pickle red onion with vinegar, a pinch of salt, and a little sugar. Slice thin so it curls. Drain well, then sprinkle 1/3 cup over the top after baking.
Try thisMake extra pickled onion - it keeps in the fridge for days and upgrades everything from tacos to bowls.
One warningDon't add onion with extra brine - it pools and softens chips.