1. Mini Loaf + Locking Lid Container for Clean Slices
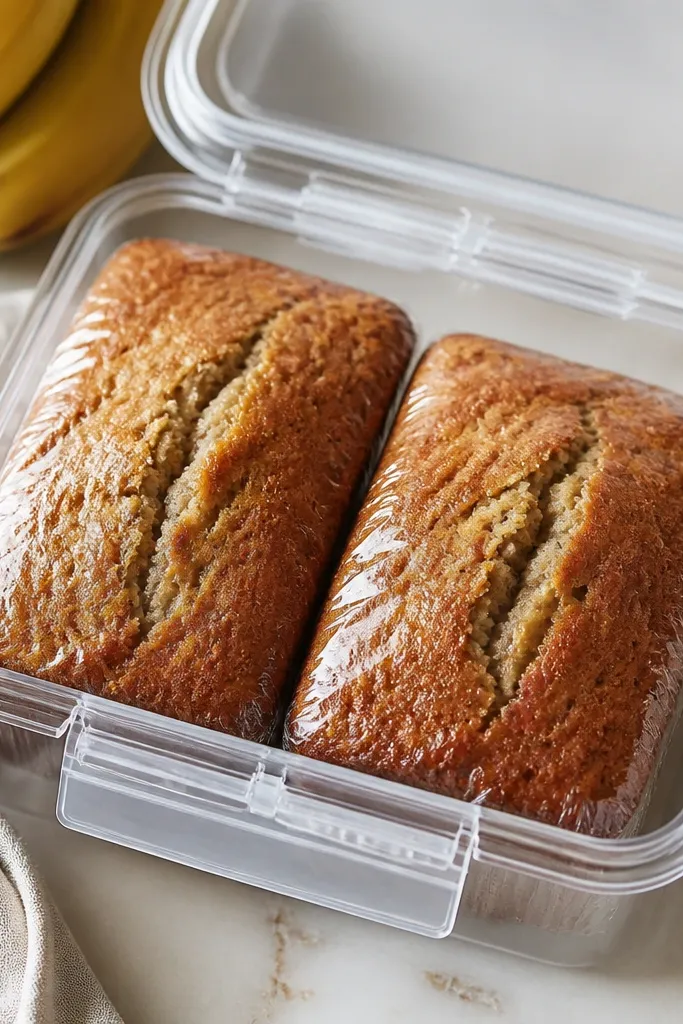
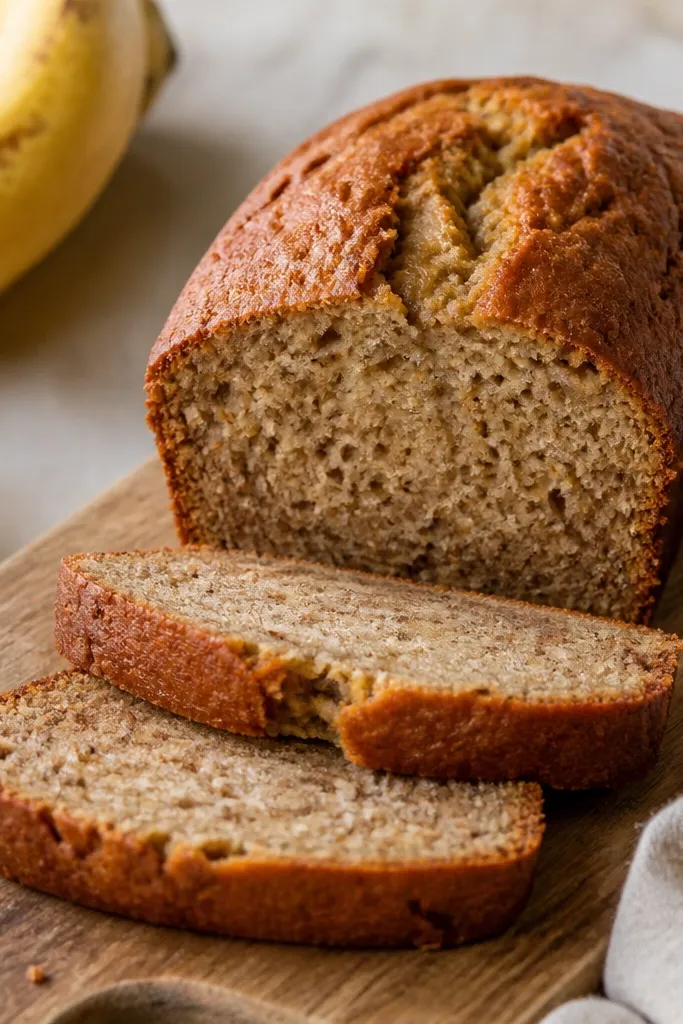
This setup looks tidy because the container forces the bread to stay aligned while it cools and stores. A clear locking lid also lets you see doneness without opening it and letting moisture escape. Mini loaves slice easier than one big loaf because the crumb sets more evenly, so the slices stay uniform.
Bake in two 5x3-inch mini loaf pans or one mini pan set. After baking, cool 15-20 minutes in the pan, then turn out and cool fully on a rack. Wrap each mini loaf tightly in plastic wrap before placing into the locking container.
Try thisAdd a strip of parchment between the loaf and the plastic wrap so the top crust doesn't stick when you rewrap.
One warningSkip storing the loaf while it's still warm - trapped steam makes the crust look flat and dull.
2. Slice-First Storage With Parchment Divider Layers
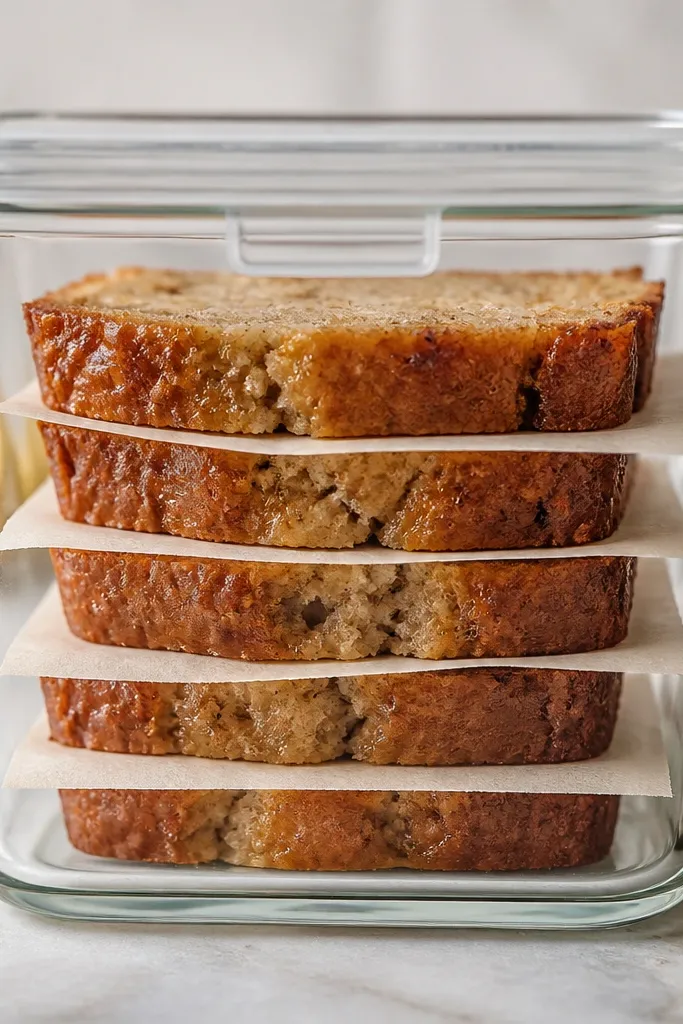
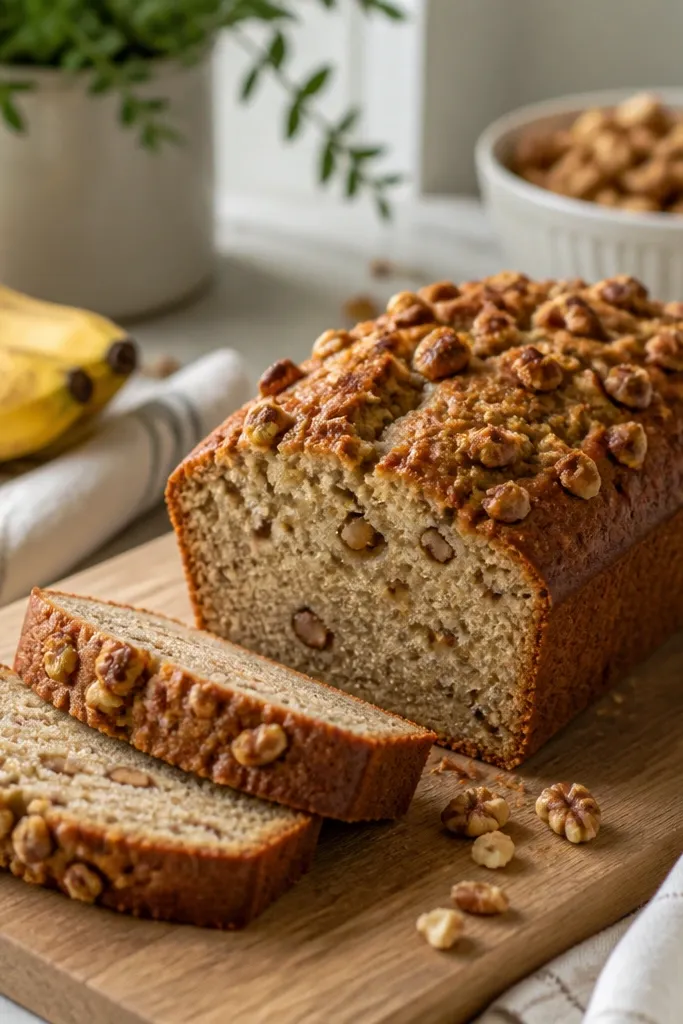
Slicing first makes the storage look intentional because every piece sits in its own little zone. Parchment dividers stop slices from welding together, so you can grab one without ripping the crumb. The glass container keeps the bread looking fresh and lets you see slice thickness at a glance.
Bake one loaf, cool fully, then slice to 1-inch thick pieces with a serrated knife. Cut parchment strips slightly wider than the slice and place one between each layer. Store in a glass container, then add a second layer of plastic wrap around the outside for extra protection.
Try thisIf the bread is warm when you slice, the slices smear - wait until the loaf is cool to the touch.
One warningDon't pack slices tightly without parchment - you'll end up with torn edges and uneven thickness.
3. Countertop Bakery Look With Foil-Lined Paper Wrap
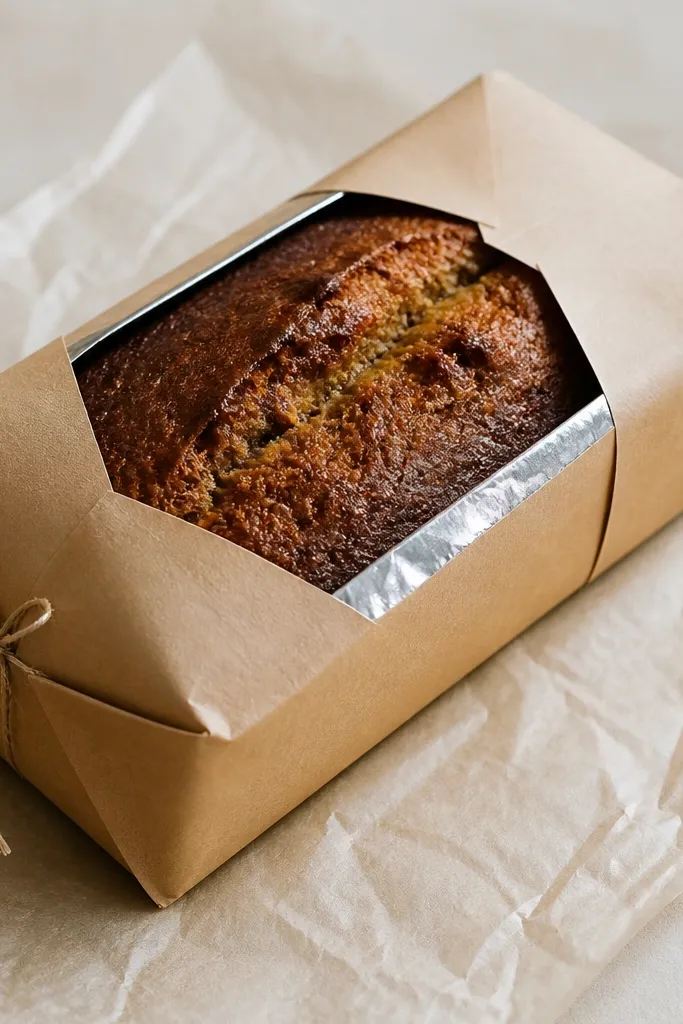
This is the prettiest way to store when you want it to look good sitting out. Foil-lined paper resists moisture changes better than plain paper, so the crust stays crisp-ish while the inside stays soft. Kraft paper looks warm and homey, and the neat folds make it feel like a bakery loaf.
Cool the loaf fully on a rack. Wrap the loaf in plastic wrap first, then cover with foil-lined paper, then kraft paper on the outside. Tie with twine at the ends so the wrap holds shape.
Try thisLeave it at room temperature for up to 24 hours, then move it to the fridge in the same wrap.
One warningDon't skip the plastic wrap inner layer - plain kraft paper alone makes the loaf dry out faster.
4. Fridge-Ready Whole Loaf in a Silicone Bag
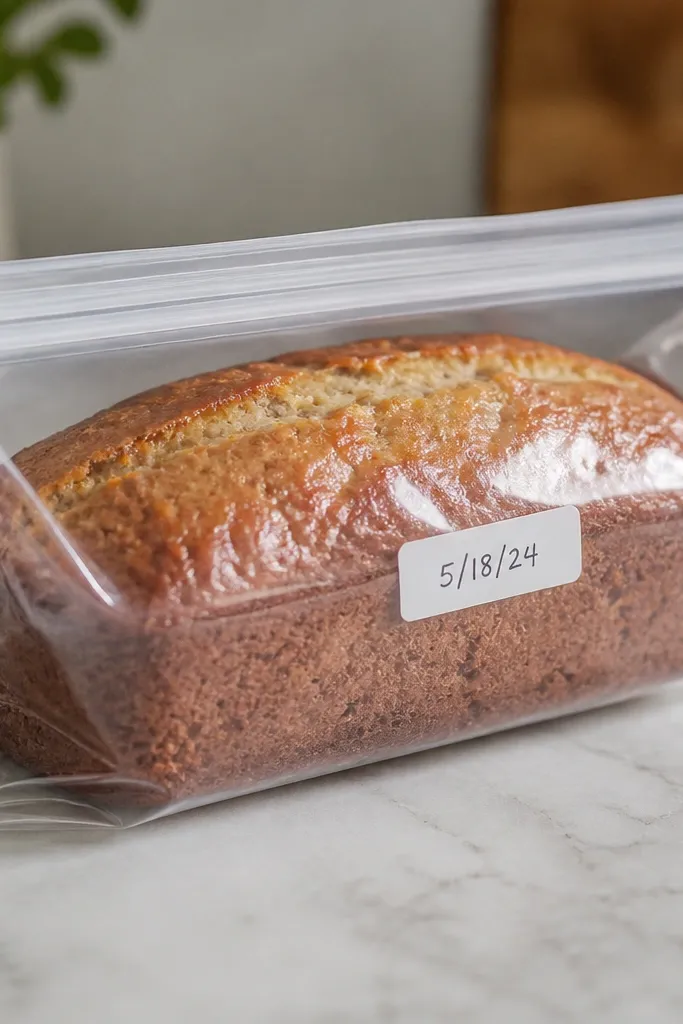
Silicone bags look clean and modern, and they keep the bread from absorbing fridge odors. The zipper closure gives a tight seal without crushing the loaf. This method keeps the crust from going rubbery because it reduces direct airflow rather than trapping lots of steam.
After the loaf cools completely, wrap it lightly in plastic wrap, then put it in the silicone bag. Press out excess air carefully so the top doesn't get pressed. Store on a flat shelf so the loaf doesn't tilt and crack at one edge.
Try thisAdd a small paper towel folded once inside the bag - it helps manage excess surface moisture.
One warningAvoid storing on the fridge door - temperature swings make the crust go stale unevenly.
5. Freezer-Flat Storage With Freezer Paper + Zip Bag
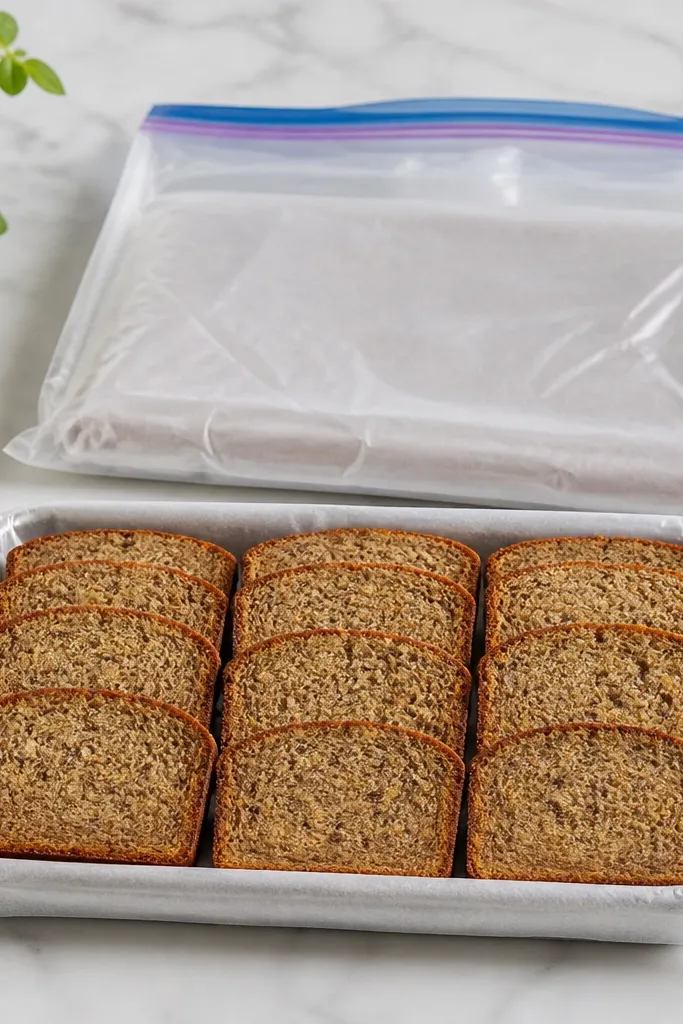
Freezer-flat storage keeps slices from turning into a crumbly mess when you thaw. Freezer paper blocks freezer burn and helps keep the edges from drying out. When you thaw, the slices still look bakery-ready instead of dull and brittle.
Slice the cooled loaf into 1-inch pieces. Wrap each slice in a small square of freezer paper, then pack them flat into a zip freezer bag. Label with the date, then freeze for up to 2-3 months.
Try thisTo thaw, place slices on a plate and microwave 10-15 seconds so the crumb softens without getting gummy.
One warningDon't freeze in a crumpled pile - stacked slices trap frost and tear during thaw.
6. Oven-to-Rack Finish for a Crust That Looks Right
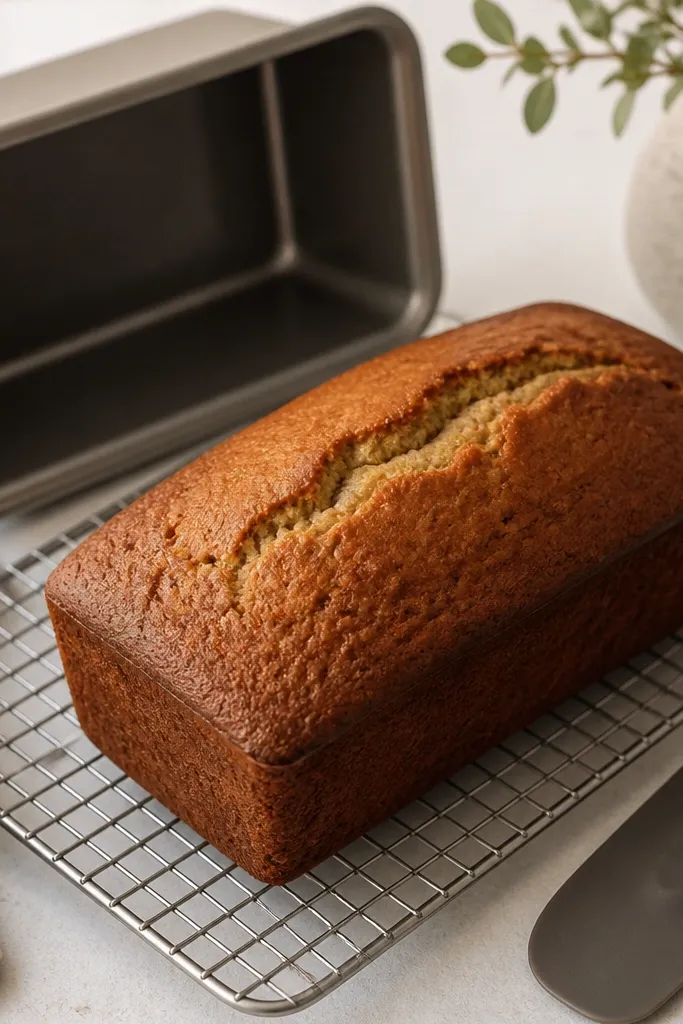
The way you cool it determines how the top looks in storage. Cooling on a rack lets steam escape upward instead of pooling under the loaf. When the crust sets properly, stored slices keep that bakery-style texture instead of going soft and flattened.
Let the loaf cool in the pan 20-30 minutes, then lift out and place on a rack. Avoid covering it while it's still warm. If your kitchen runs humid, use a fan for 10 minutes so the loaf cools faster.
Try thisTap the top lightly with your finger - if it feels springy, it's ready to move to the rack.
One warningDon't store directly in the pan - condensation makes the sides look damp.
7. Glaze Drip Look With a Thin Honey-Salt Finish
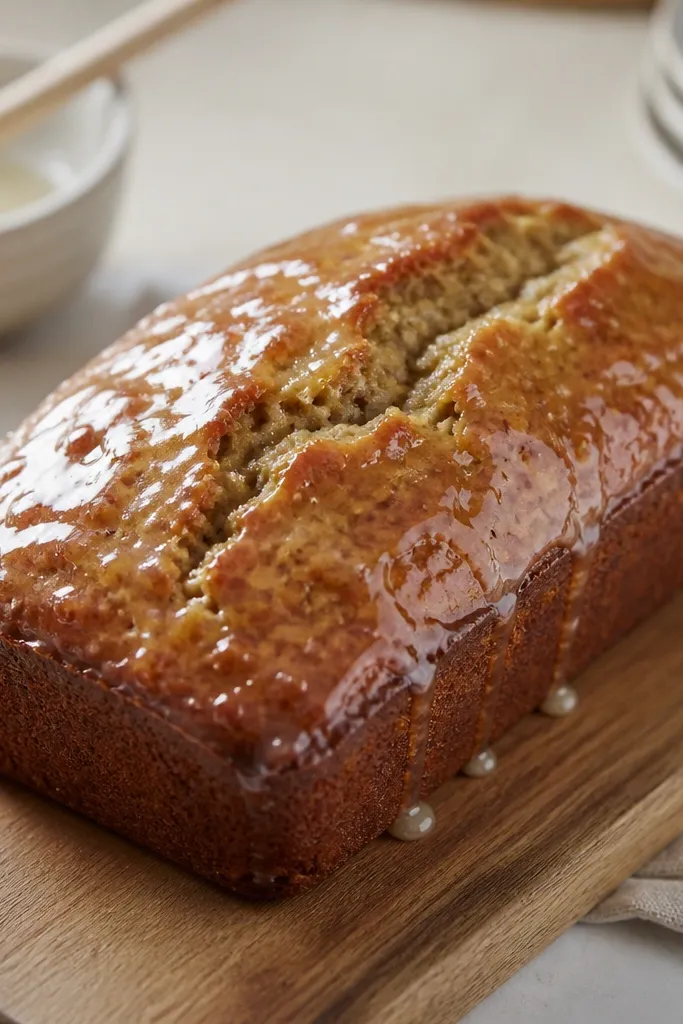
A light glaze makes the bread look "finished" even after gluten free baking, where the top can look a bit matte. Honey adds shine and helps the crust look smooth in photos and on a brunch table. Salt in the glaze makes the sweetness taste more like bakery banana bread instead of dessert bread.
Mix 1 tablespoon honey with 1 teaspoon warm water and a pinch of flaky salt. Brush on right after baking while the loaf is still hot. Let it set 10 minutes, then wrap for storage once the surface isn't tacky.
Try thisUse a pastry brush, not a spoon - thin strokes prevent thick sticky spots.
One warningDon't glaze too early while the loaf is still wobbling - it turns into sticky puddles.
8. Crisp-Edge Look Using a Light Pan + Parchment Sling
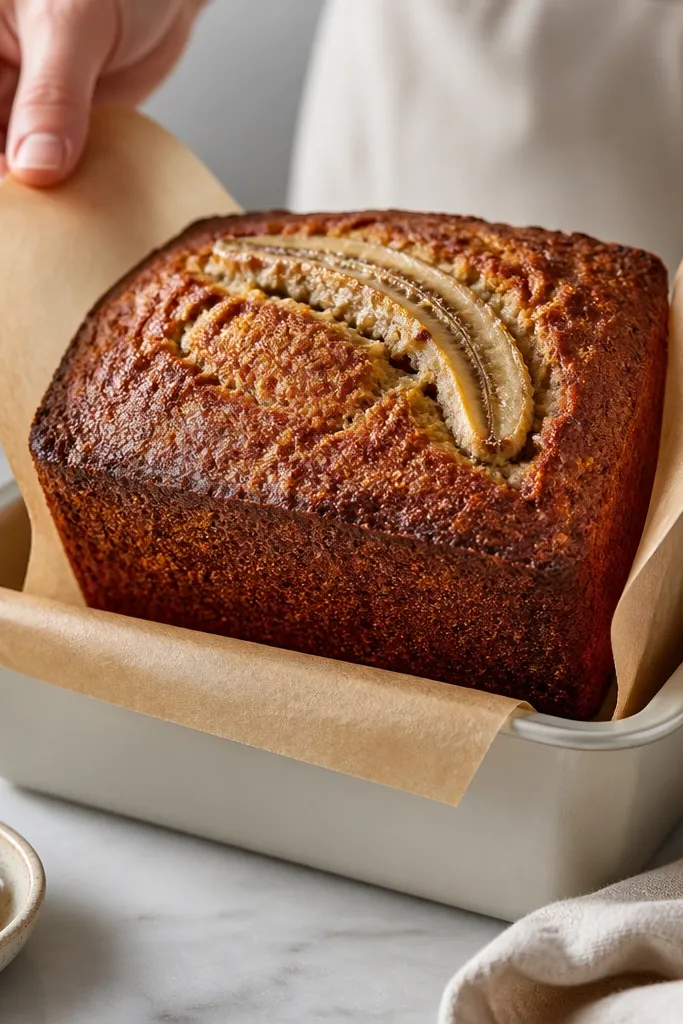
Light pans bake the outside more evenly, and crisp edges look better in storage because they resist softening. The parchment sling helps you lift the loaf cleanly without tearing the side crust. When the loaf comes out intact, the stored slices show clean edges instead of ragged crumbs.
Line the pan with parchment that overhangs like handles. Spray lightly with oil so the parchment sticks. Bake in a light metal pan instead of a dark nonstick - dark pans brown fast and can leave the center underbaked.
Try thisCheck the edges at 35 minutes - when they pull slightly from the pan, you're close.
One warningSkip dark pans for this recipe - the top can brown before the center sets.
9. Aesthetic Brunch Plate With Chilled Slices and Powdered Sugar
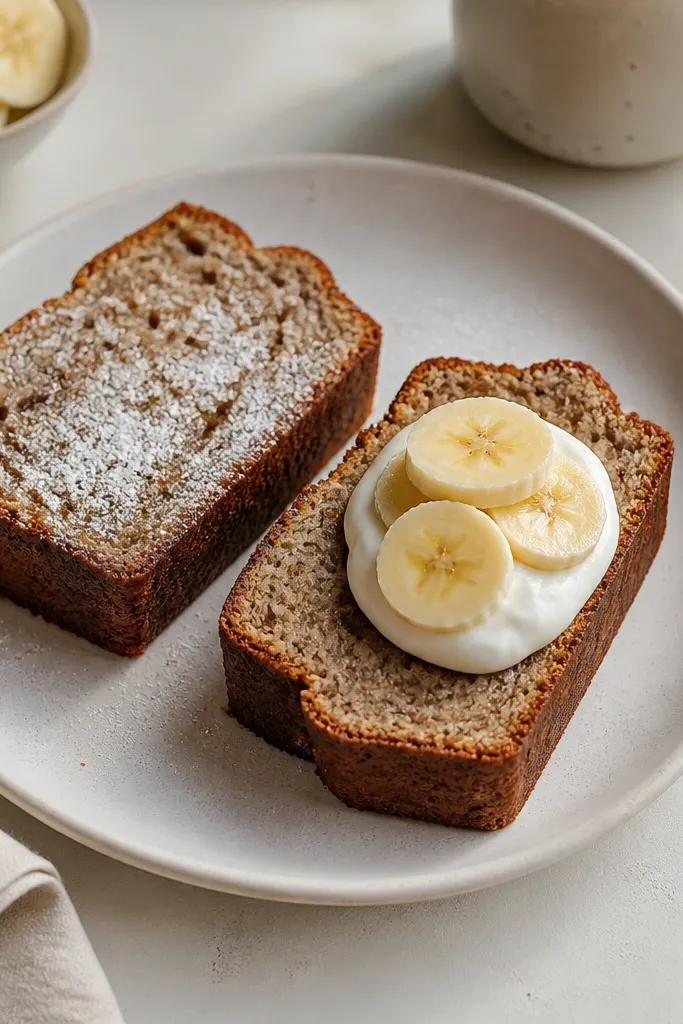
Chilling slices helps the crumb firm up, so powdered sugar sits on top instead of melting into streaks. A white plate makes the golden crumb look warmer and more appetizing. This is the quickest way to make gluten free banana bread look intentional without changing the recipe.
Store the loaf properly, then serve slices straight from the fridge. Dust with powdered sugar right before serving. Add yogurt or a few banana coins only after you plate - moisture from toppings can soften the crust fast.
Try thisIf you want clean sugar lines, dust from a small sieve held 8-10 inches above the plate.
One warningDon't plate and then wait - toppings soak in and the slice edges get mushy.
10. Storage Label That Looks Cute and Works
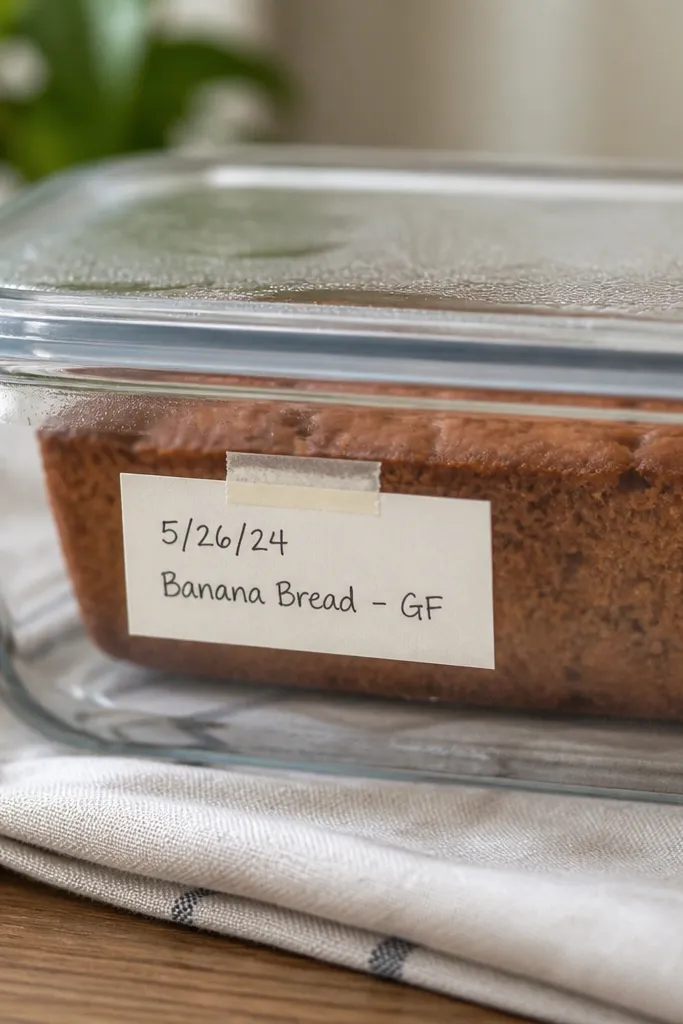
This sounds silly until you're halfway through a week of breakfasts and can't tell what's oldest. Labels keep the storage rotation clean, and they prevent you from leaving a loaf too long because you forgot. When you keep track, the bread stays at its best texture - not stale.
Use painter's tape so it peels off clean. Write the bake date and the number of days you want to keep it (I do 4 days for fridge). Put the label on the side so it's visible when you open the fridge.
Try thisWrite in a single line with a fine-tip marker - thick ink smears when the container sweats.
One warningAvoid masking tape - it tears and leaves sticky bits on plastic.