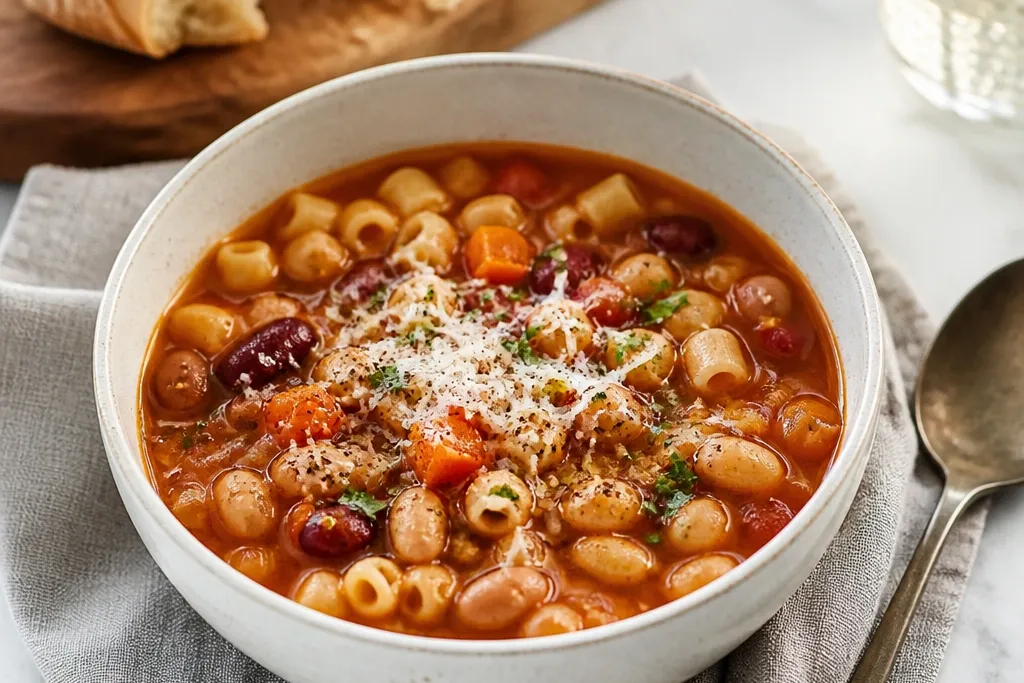
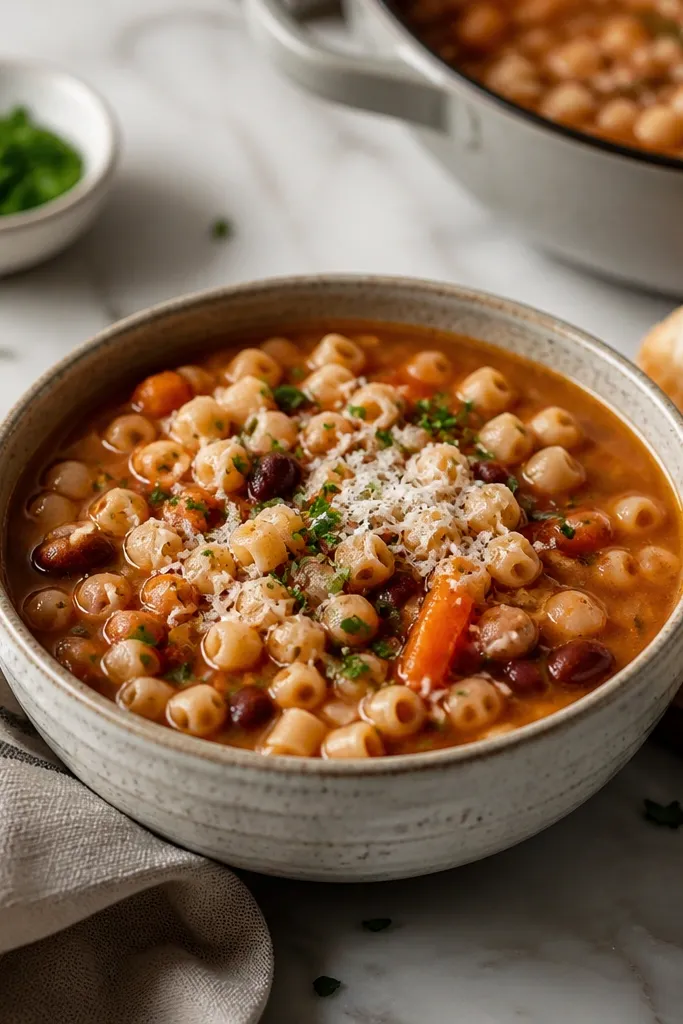
1. Cast-Iron Bowl with Dark Broth Swirl
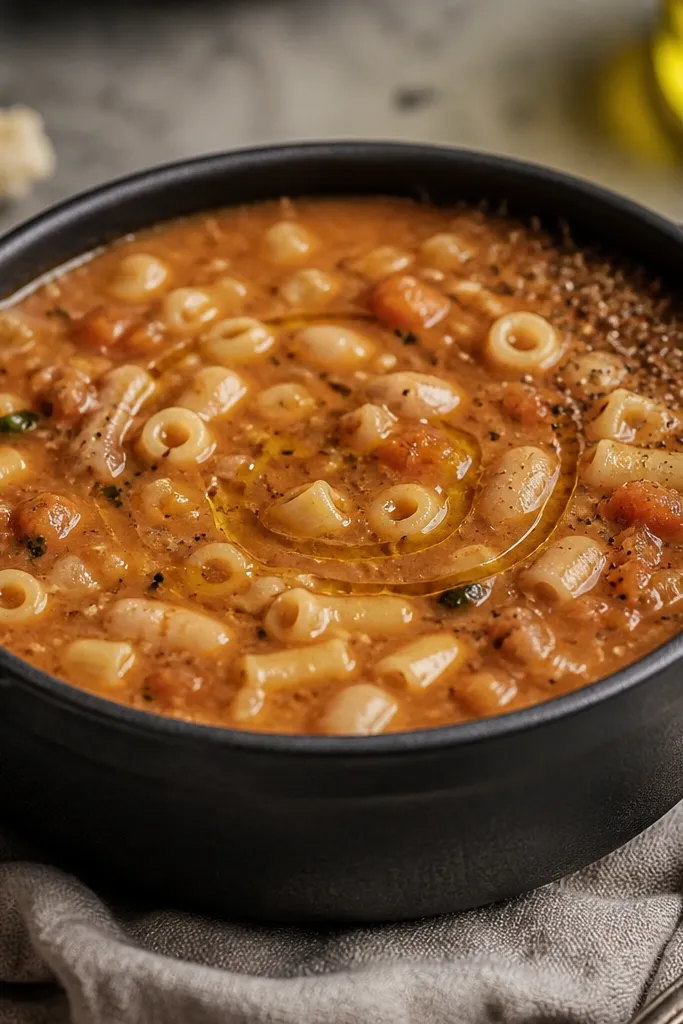
This look tells you the soup is thick and clings to the spoon. The olive oil sheen catches light on the bean-studded surface, and the pasta pieces create texture contrast against the dark broth. I like cast iron because it makes the broth look deeper, almost wine-colored, which fits winter serving.
Use a 10-12 inch cast-iron bowl or a dark ceramic bowl with a similar finish. Ladle the soup in so the surface is slightly domed. Add a thin ring of good olive oil and a few cracks of black pepper just before photographing.
Try thisStir the pot for 10 seconds right before plating so you get an even swirl instead of oil pooling.
One warningDon't photograph a watery batch - thin broth looks gray and flat in dark dishes.
2. Parmesan Rind Floating in the Simmer
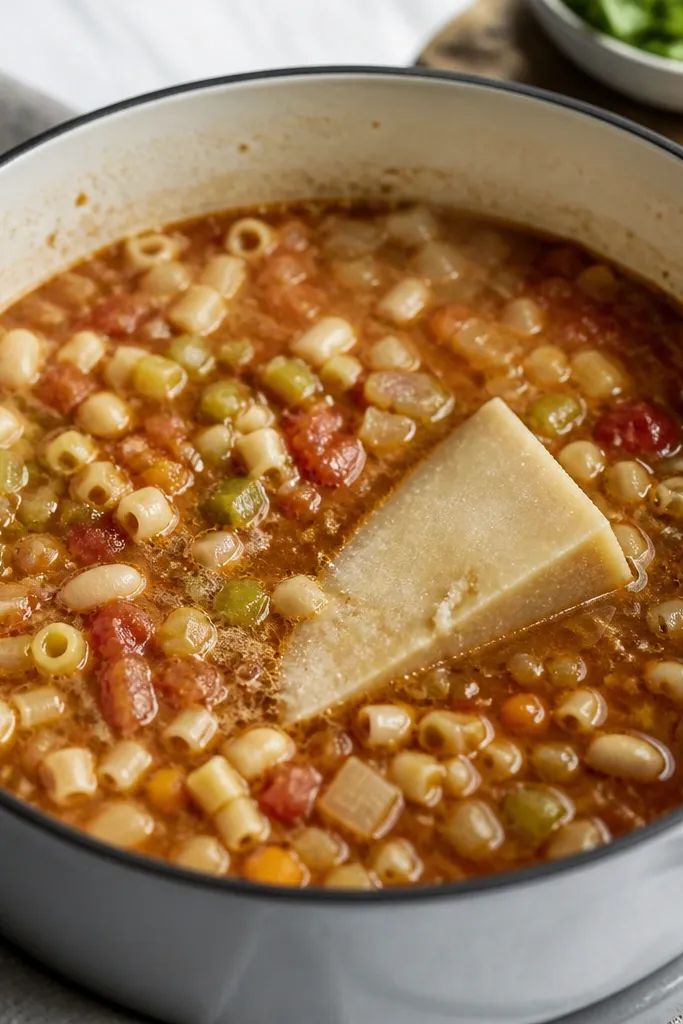
A Parmesan rind gives you a visual cue that the soup has real depth. During simmering, the rind turns slightly softer and darker at the edges, and that's what you want. It also signals that the flavor is built over time, not added at the last minute with powder.
Drop a rind about 2-3 inches long into the pot after your aromatics and tomato paste cook. Keep the simmer gentle - small bubbles around the edges, not a rolling boil. Remove the rind before you add pasta or blend beans.
Try thisWipe the rind quickly with a dry paper towel before adding - it removes excess waxy coating so it melts into the broth better.
One warningDon't leave the rind in after cooking - it can make the broth taste overly salty and waxy.
3. Bean-Blend Thickening Shot
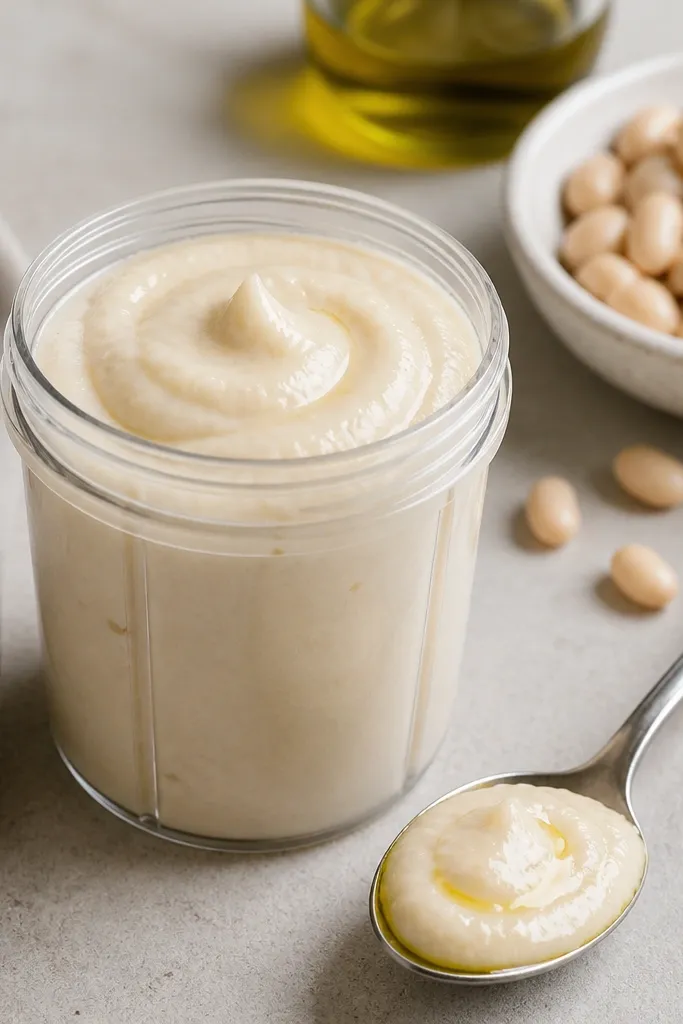
This is the step that makes the soup feel restaurant-thick. Smooth bean puree disappears into the broth, so you get body without a flour taste or a starchy haze. It also keeps the flavor creamy even if you skip heavy cream.
Blend 1 cup beans with 1/3 to 1/2 cup warm broth until silky. Stir it back in during the last 10-15 minutes so it thickens but doesn't scorch. If it gets too thick, loosen with a splash of pasta water.
Try thisBlend while the beans are hot - cold beans blend thicker and can taste slightly grainy.
One warningAvoid skipping the blending - whole beans alone won't thicken enough for that spoon-coating texture.
4. Separate Pasta Tray for Leftovers
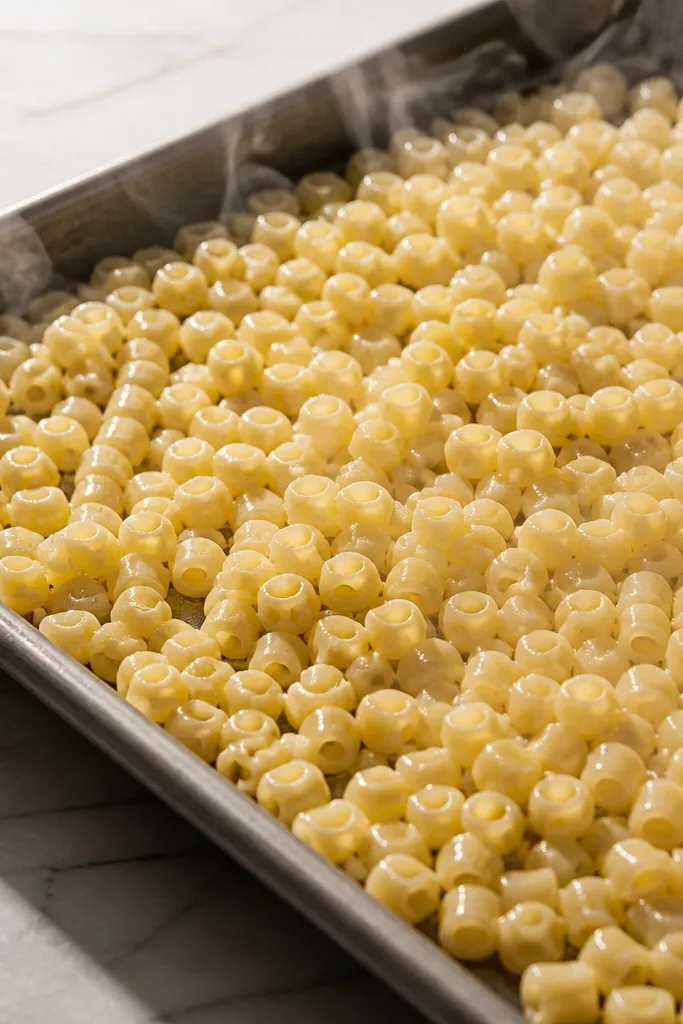
Cooking pasta separately is the difference between dinner and week-lunch. The pasta stays firm, so reheating doesn't turn it into a soft paste. The glossy coating keeps pieces from sticking into clumps.
Cook pasta until 1 minute under al dente. Drain and toss with olive oil, then spread in a thin layer on a sheet pan. Refrigerate until you're ready to portion into bowls and ladle hot soup over.
Try thisReheat pasta in the bowl with a little hot broth - it warms without overcooking.
One warningDon't store pasta mixed into the soup if you want texture on day three.
5. Tomato Paste Browning in the Pan
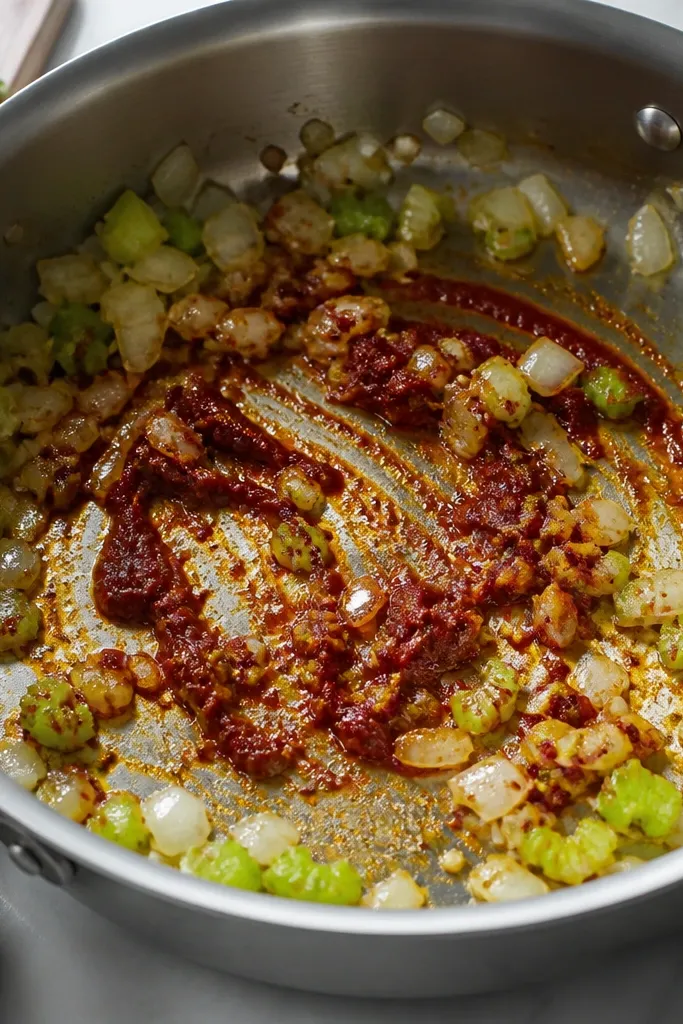
Browning tomato paste gives you a caramelized tomato flavor that reads as "deep" even without extra ingredients. The paste darkens from bright red to brick red and starts sticking lightly - that's your cue it's doing work. This is where many home versions fall flat.
Cook onions and celery in olive oil until softened, then add tomato paste and stir for 2-3 minutes. Keep the heat medium so it browns without burning. Add wine or broth to lift the browned bits before you add the rest of the liquid.
Try thisUse a wooden spoon and scrape the bottom - you want the fond to dissolve, not char.
One warningDon't add liquid immediately to fresh paste - it stays sharp and tastes raw.
6. Fresh Herb Scatter with Green Contrast
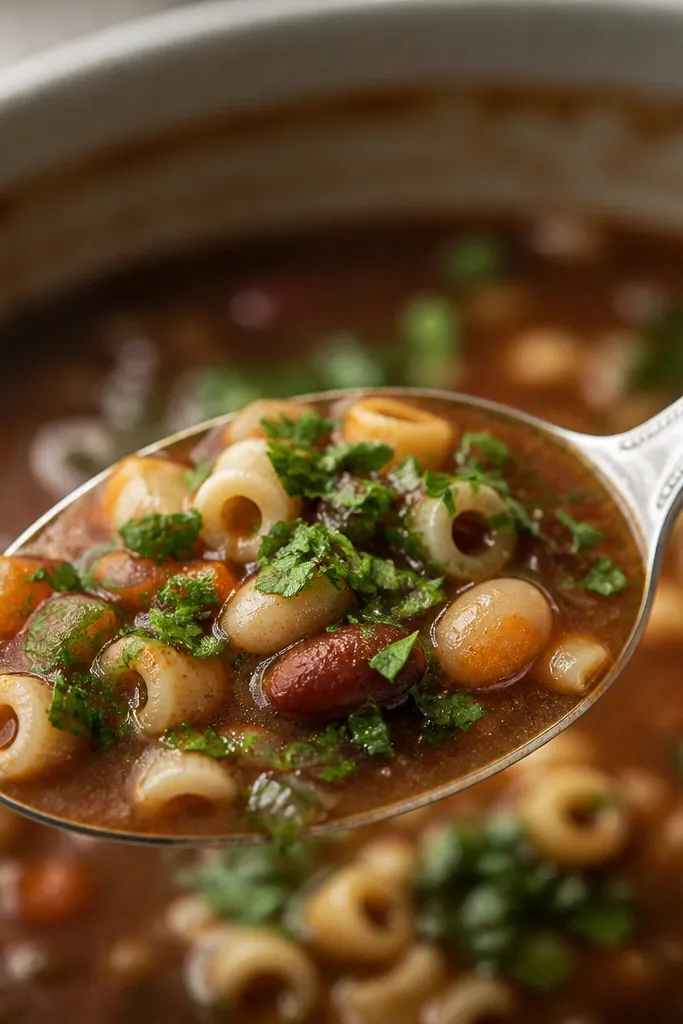
Parsley adds a clean green bite that cuts through the heaviness of beans and cheese. I use it as a finishing move, not a simmer ingredient, so it tastes fresh instead of cooked down. The color contrast also makes the bowl look more appetizing.
Chop parsley finely and sprinkle about 1 tablespoon per bowl. Add it right after ladling. If you want extra brightness, add a few drops of lemon juice to the bowl, not the pot.
Try thisUse flat-leaf parsley if you can - the flavor is sharper and holds up better.
One warningDon't add dried parsley during simmer - it turns muddy fast.
7. Red Pepper Flakes and Black Pepper Detail
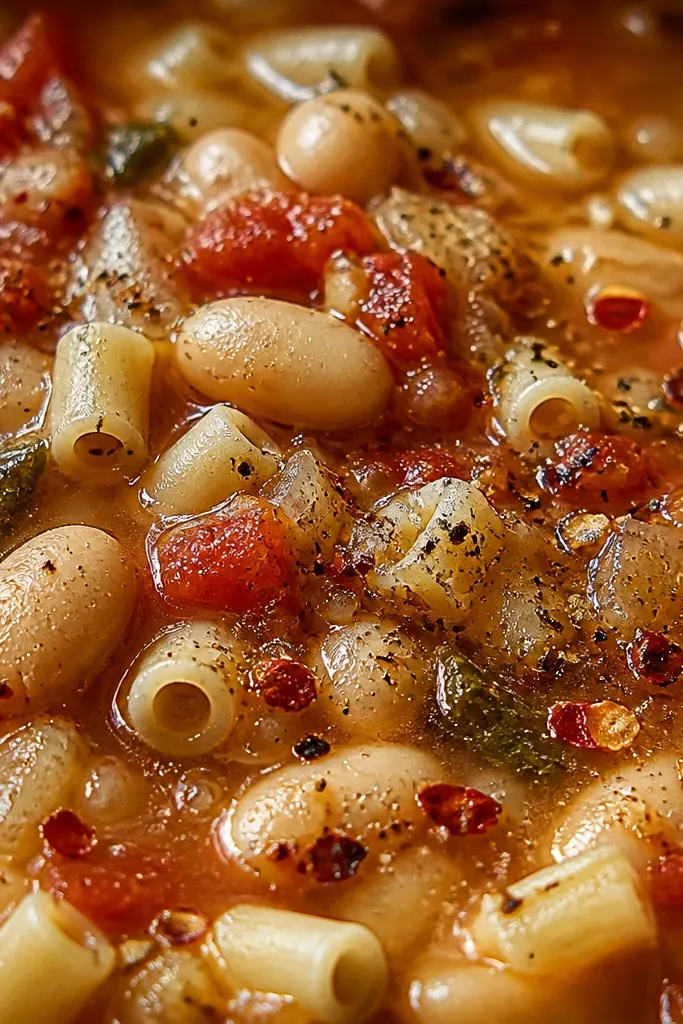
This is the winter flavor dial. Red pepper flakes warm the soup without turning it "spicy" and black pepper adds a peppery bite that makes the cheese taste less heavy. I like to see the flakes because it signals seasoning you can taste.
Use a pinch of chili flakes between your fingers so they fall in a light dusting. Crack black pepper right before serving. If the soup is already salty from Parmesan, go lighter on flakes and pepper.
Try thisTaste the broth first - if it needs lift, add chili and pepper, then add a teaspoon of pasta water to round it out.
One warningAvoid dumping a big pile of flakes - it looks harsh and can taste bitter.
8. Garlic and Onion Dice Visible in the Pot
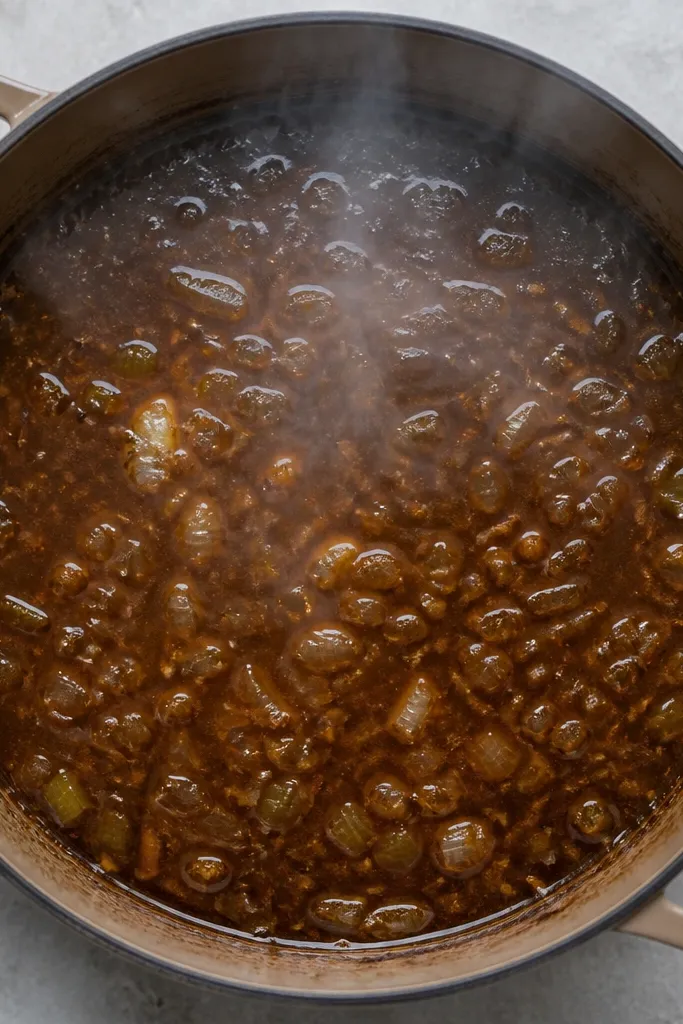
You want some texture from the vegetables, not a totally smooth stew. When onion and celery are cut small enough, they disappear into the broth's body, but they still read as cooked, not watery. That also makes the soup look hearty in the bowl.
Dice onion and celery to about 1/4 inch. Cook them long enough to soften - you should see translucent edges. Add garlic for 30-60 seconds only, then move quickly to tomato paste.
Try thisIf the onion is still crunchy after simmering, increase the initial sauté time before you add liquid.
One warningDon't add garlic with the tomato paste - it burns and tastes bitter.
9. Parmesan-Butter Finish on the Surface
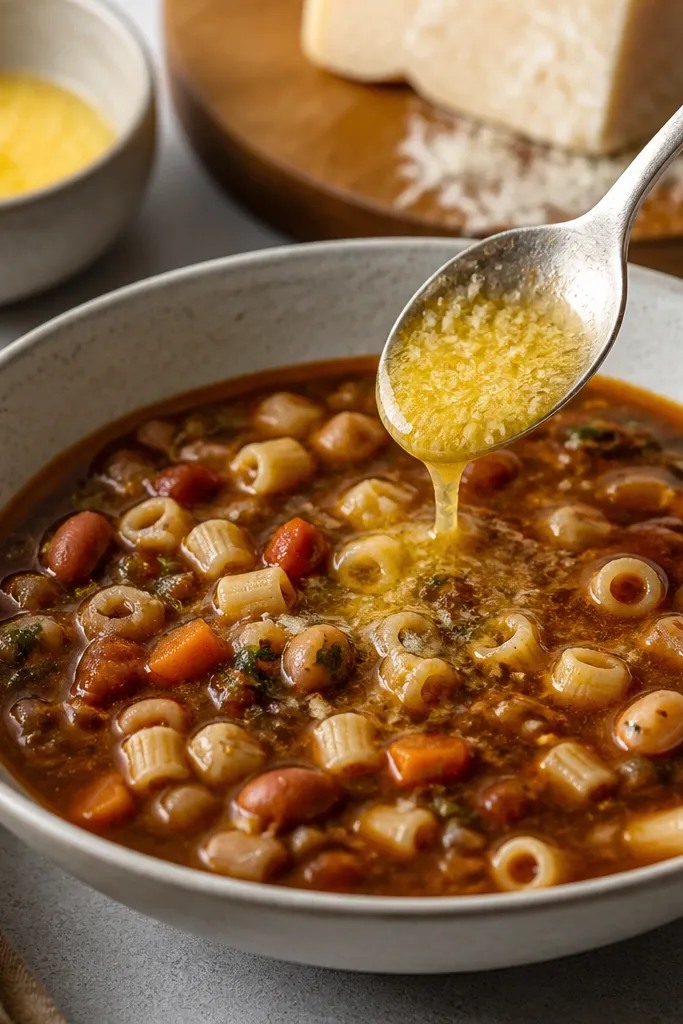
A small butter-Parmesan finish makes the broth feel silky without turning it greasy. The Parmesan melts and disperses, which smooths the flavor and makes the cheese taste round instead of salty. I use this when the soup tastes slightly flat after reheating.
Mix 1 tablespoon butter with 1-2 tablespoons finely grated Parmesan in a tiny bowl. Stir until it looks like loose paste, then drizzle 1 teaspoon per bowl. Keep it light so the soup doesn't separate.
Try thisUse finely grated Parmesan, not big shreds - it melts faster and looks better.
One warningAvoid adding cold cheese straight from the fridge - it clumps in hot broth.
10. Ladle Shot with Ditalini Portions
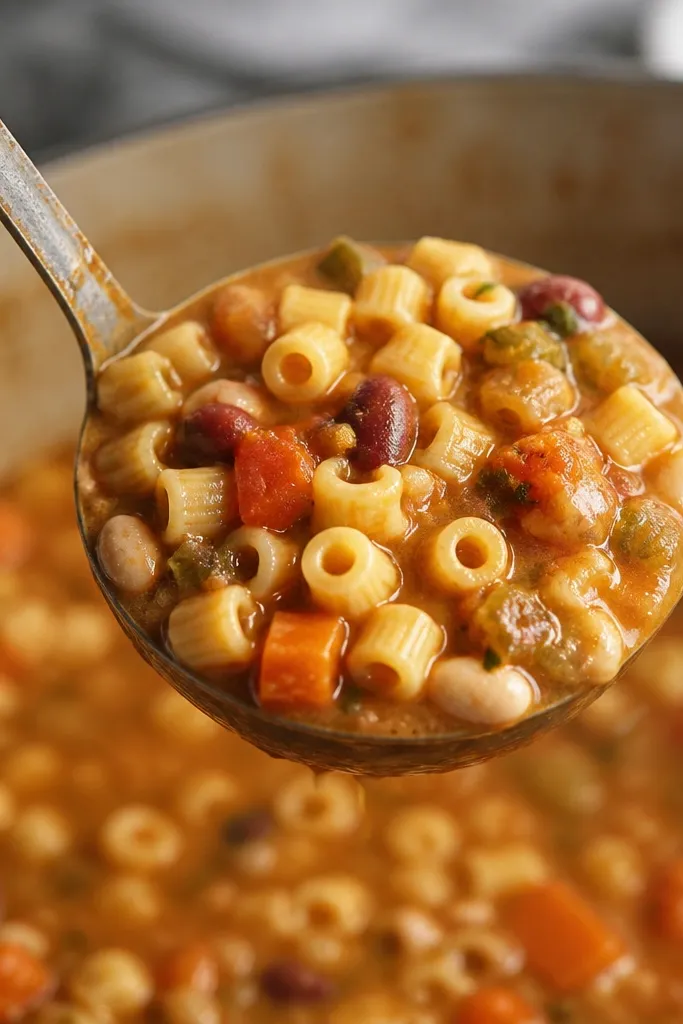
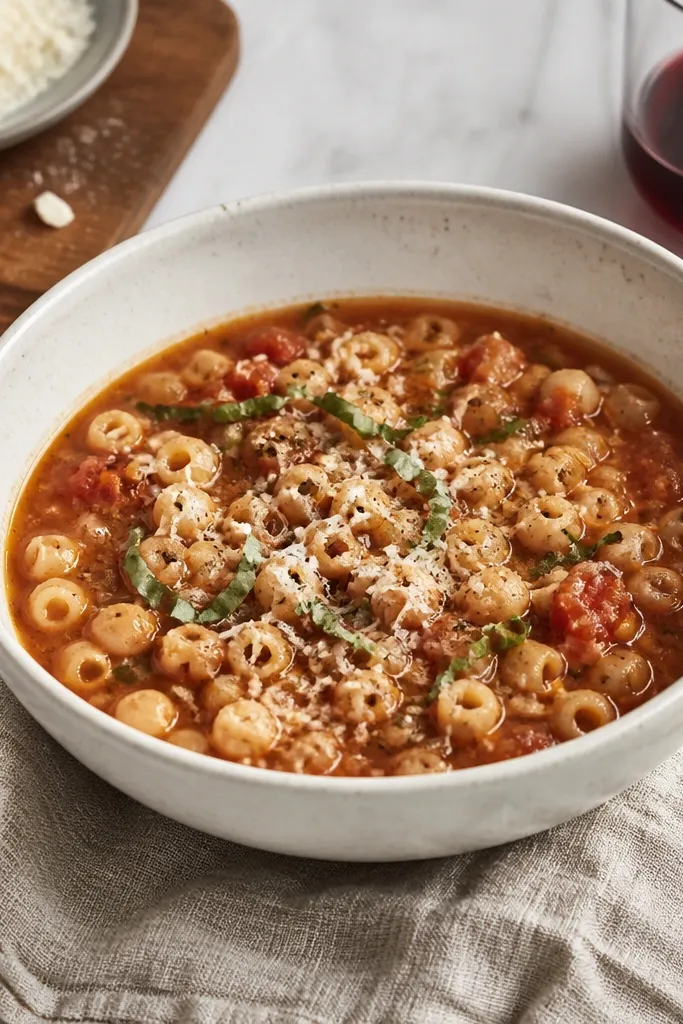
This is the "coat test." If the pasta holds broth and doesn't slide off, your thickness is right. Ditalini looks best because it's small and scoops well, so each bite has bean, pasta, and broth together. A ladle shot makes that visible.
Use a ladle to scoop and let it drip back into the bowl for 2-3 seconds. The drip should be slow. Portion pasta into bowls first, then ladle soup so pasta doesn't overcook.
Try thisIf the soup is thick, loosen with 1/4 cup broth before serving - it improves the cling.
One warningDon't overcook ditalini; it will look soft and the photo will look sad.