1. The Spoon-Coating Bean Base
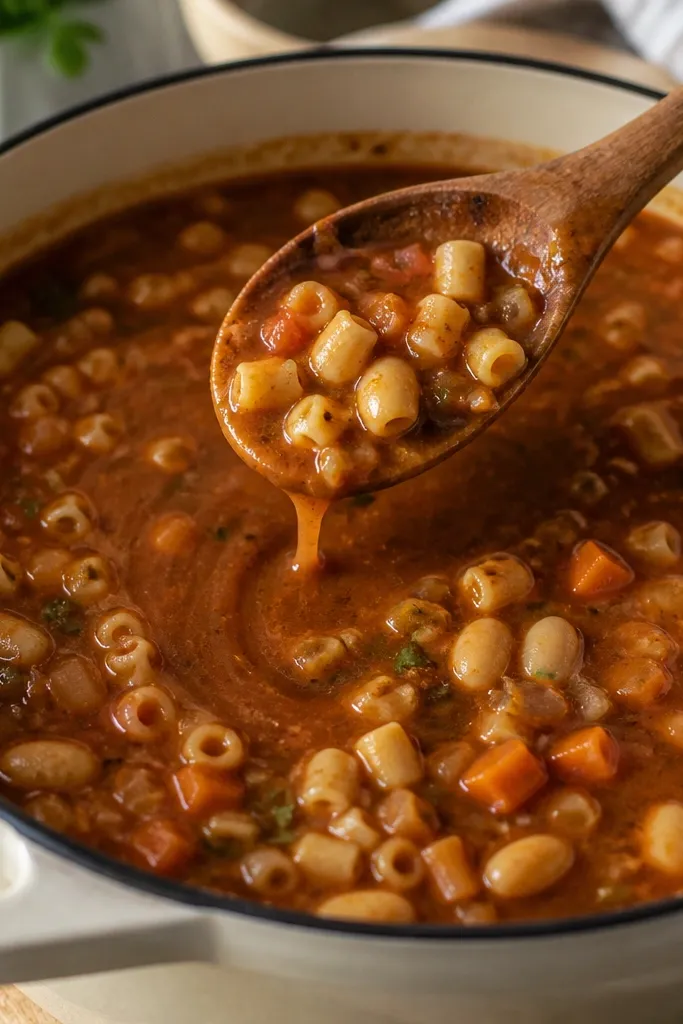
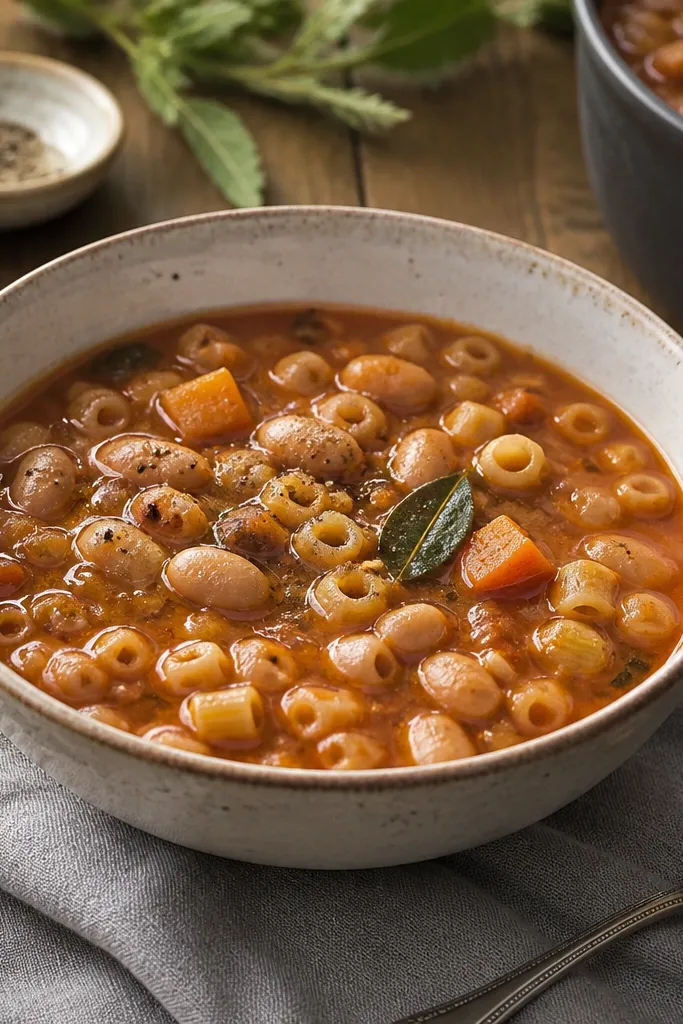
This look happens when you mash part of the beans and let them simmer long enough to thicken the broth. The mashed beans create a creamy texture without adding flour or cream, and the remaining whole beans keep it from looking like puree. I aim for a broth that clings to a spoon instead of running like tomato soup.
Use two cans of cannellini beans. Before you add pasta, scoop out about 1/2 cup of beans, mash them with a fork, and stir them back in. Simmer 8-12 minutes so the broth thickens to a slow drip.
Try thisIf the broth looks thin, simmer it uncovered for 5 minutes and stir every 30 seconds so it doesn't scorch.
One warningDon't add pasta early and then leave it in the pot - it keeps soaking and ruins the spoon-coating texture.
2. Tomato Paste Browning for Depth
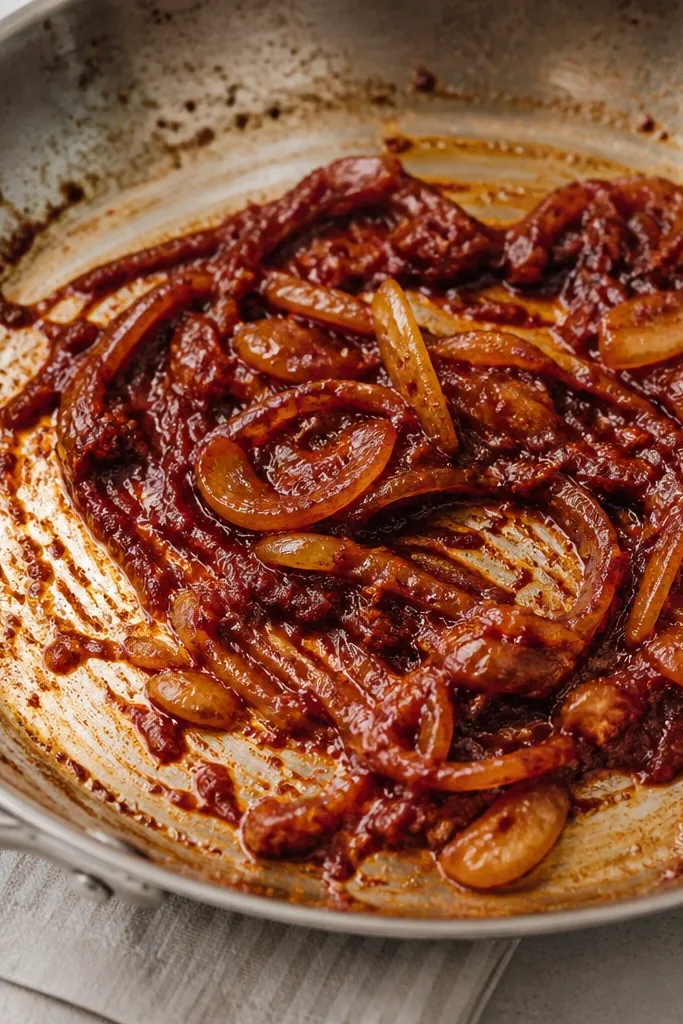
That deep red-brown color is from browning tomato paste in oil. Raw paste tastes flat; browned paste turns sweet and savory fast, which is why the soup tastes richer even when you're on a budget. It also helps the broth look darker and thicker once the liquid goes in.
Heat 3 tablespoons olive oil, cook diced onion until soft (about 6-7 minutes), then stir in 2 tablespoons tomato paste. Cook the paste 1-2 minutes until it darkens and smells a little caramelized. Add garlic for 30 seconds right after the paste.
Try thisScrape the pan bottom with a wooden spoon while the paste cooks - those brown bits melt into the soup.
One warningDon't dump tomatoes in immediately after adding paste - you'll get sour paste flavor and a pale broth.
3. Parmesan Rind Finish
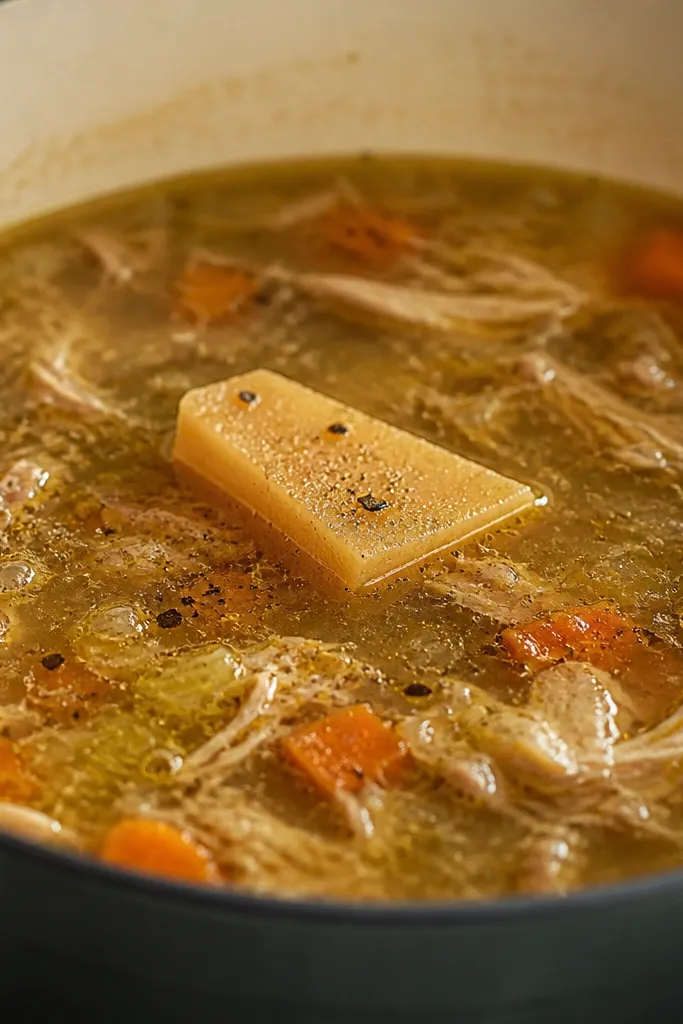
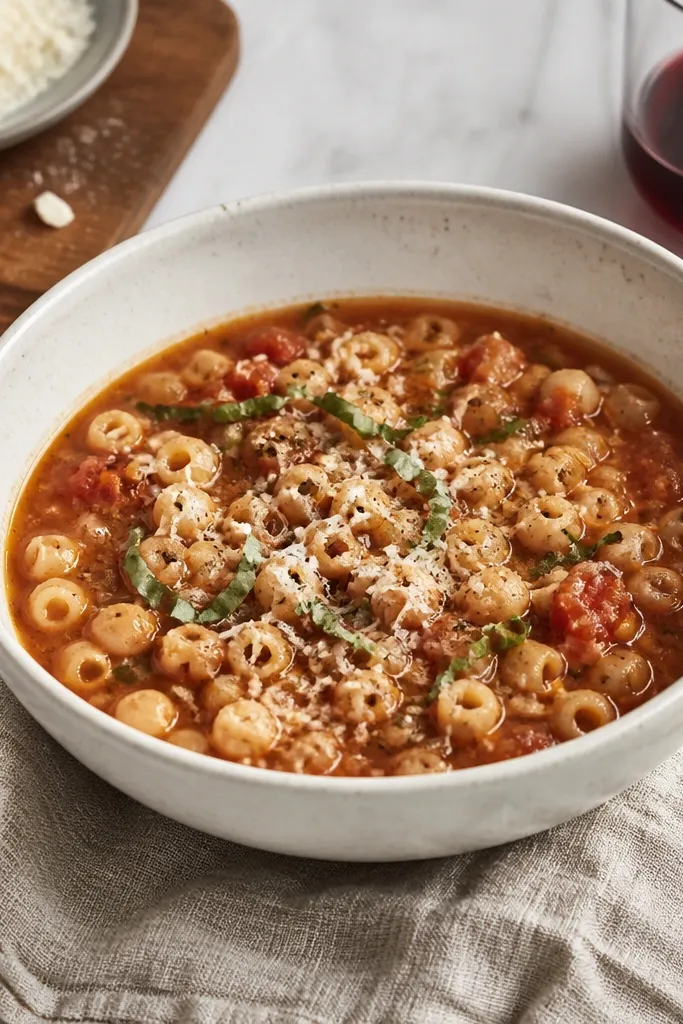
A Parmesan rind adds savory depth and makes the broth taste like it cooked longer than it did. The rind also helps thicken slightly as it releases collagen-like texture. You'll see a subtle speckled look from the rind and pepper, which makes the bowl feel more homemade.
Add one Parmesan rind (about a 2-inch piece) when you add the broth. Simmer 20-25 minutes, then remove the rind and discard or save for another pot. Finish with freshly cracked black pepper right before serving.
Try thisIf you don't have a rind, use 1/3 cup grated Parmesan at the end - stir off-heat so it doesn't clump.
One warningSkip pre-grated dust at the start - it can taste waxy and won't dissolve the same way.
4. Separate Pasta Bowls
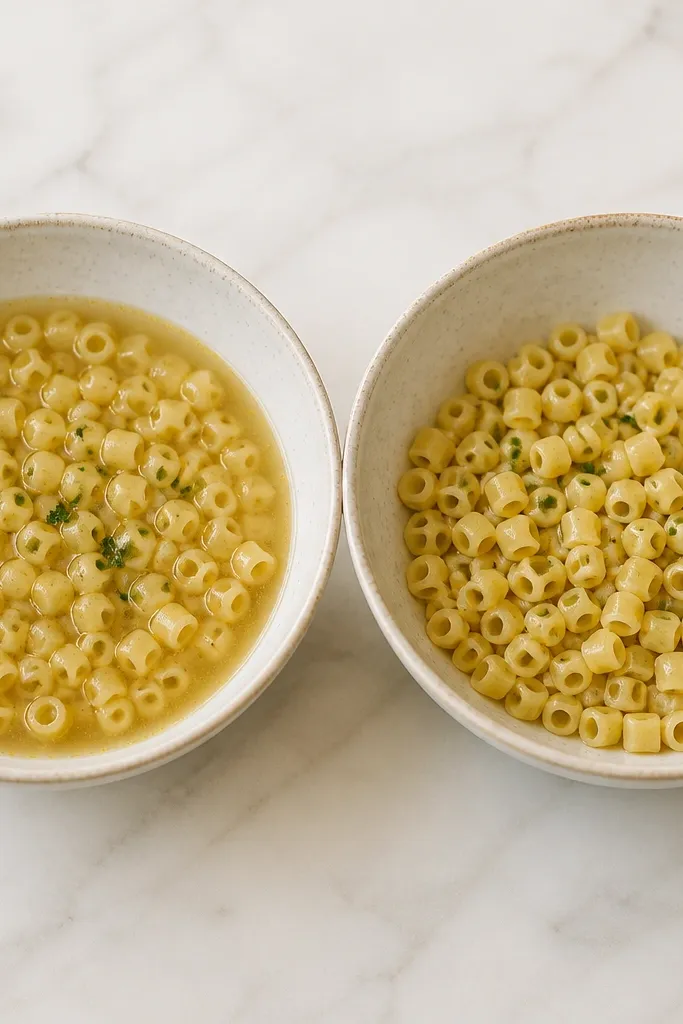
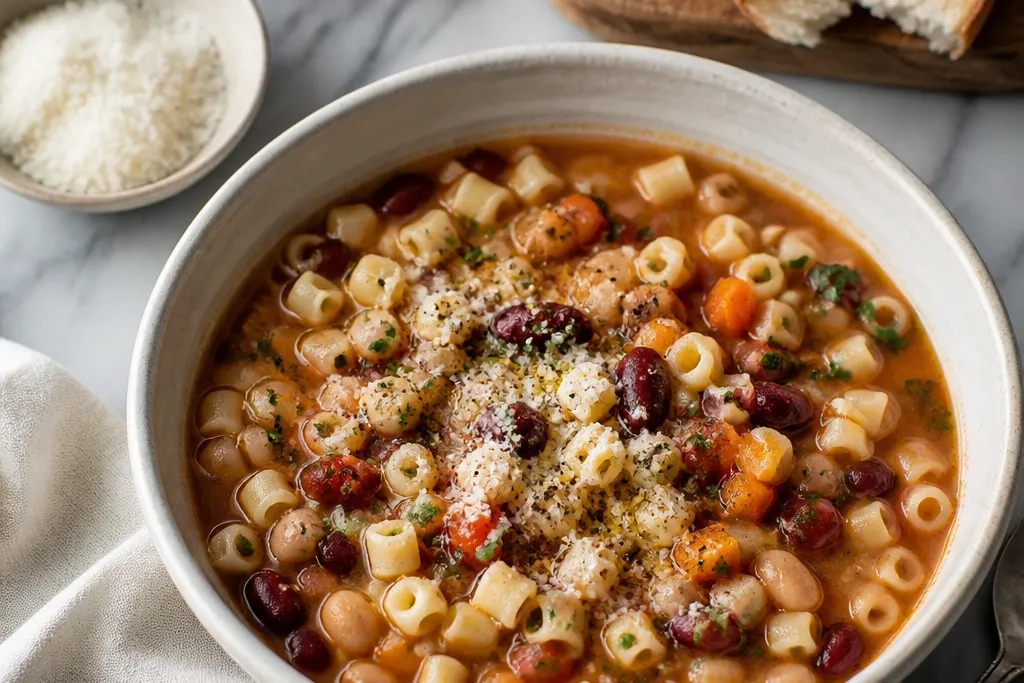
This is the look that makes people think you did a fancy multi-step recipe. Pasta that stays separate keeps the broth clear and makes the beans and tomato base stand out. It also stops the broth from turning starchy on day two.
Cook pasta separately in salted water for 6-8 minutes. Drain, then add 1-1 1/2 cups pasta to each bowl. Ladle hot soup on top so everything warms together for 1-2 minutes.
Try thisToss pasta with a teaspoon of olive oil after draining so it doesn't stick into clumps.
One warningDon't store leftovers with pasta mixed in - it absorbs broth fast and gets gluey.
5. Garlic-Black Pepper Top
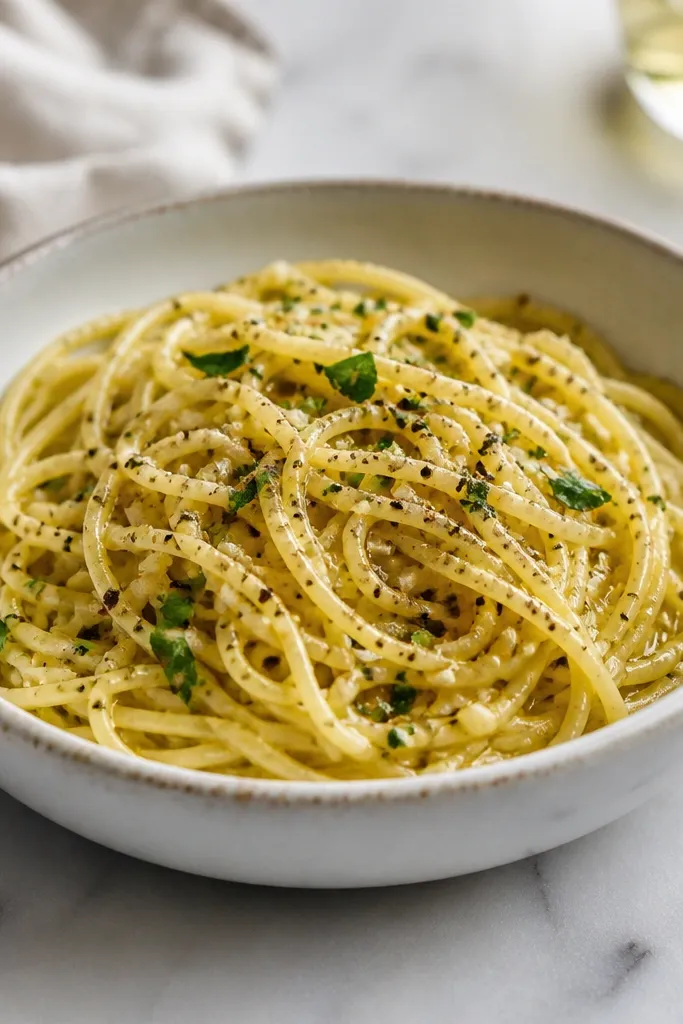
The surface flavor matters more than people admit. A pinch of black pepper right at the end makes the bowl smell sharp and fresh, and a small drizzle of olive oil makes the broth look glossy. Garlic cooked briefly avoids bitterness and keeps that warm aroma.
Sauté garlic for 30-45 seconds after tomato paste. At serving, add freshly cracked pepper and a teaspoon of olive oil per bowl. Stir once so pepper disperses but doesn't disappear.
Try thisUse coarse black pepper so you get visible specks - it photographs better and tastes stronger.
One warningDon't use pre-ground pepper - it loses punch and looks flat on top.
6. Celery-Carrot Sweetness
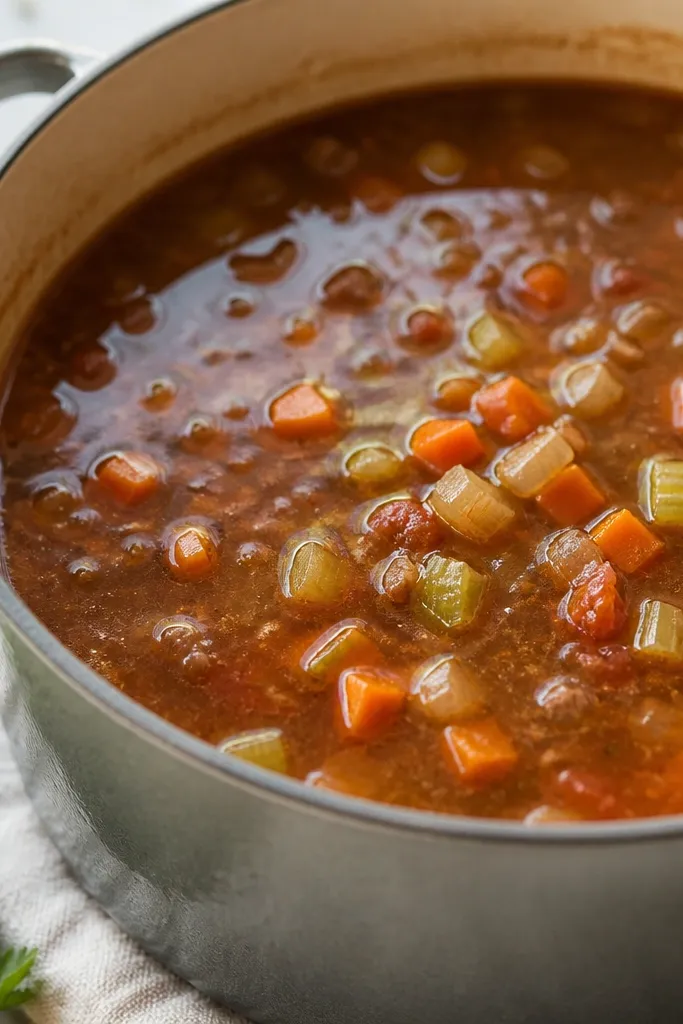
Celery and carrot make the soup taste round instead of just tomato and bean. They also add tiny bits that show up in the bowl, so it looks hearty rather than smooth. I keep the dice small so they melt into the broth and don't fight the beans.
Dice 1/2 cup celery and 1/2 cup carrot. Cook them with the onion in olive oil until soft, about 7-8 minutes, before adding tomato paste. Keep the heat moderate so they soften without browning too hard.
Try thisIf your soup tastes flat, add another pinch of salt after the simmer and stir - the veggies need seasoning time.
One warningDon't skip the soffritto base - plain onion alone makes it taste like canned tomato soup.
7. Crushed Tomatoes vs Diced Tomatoes
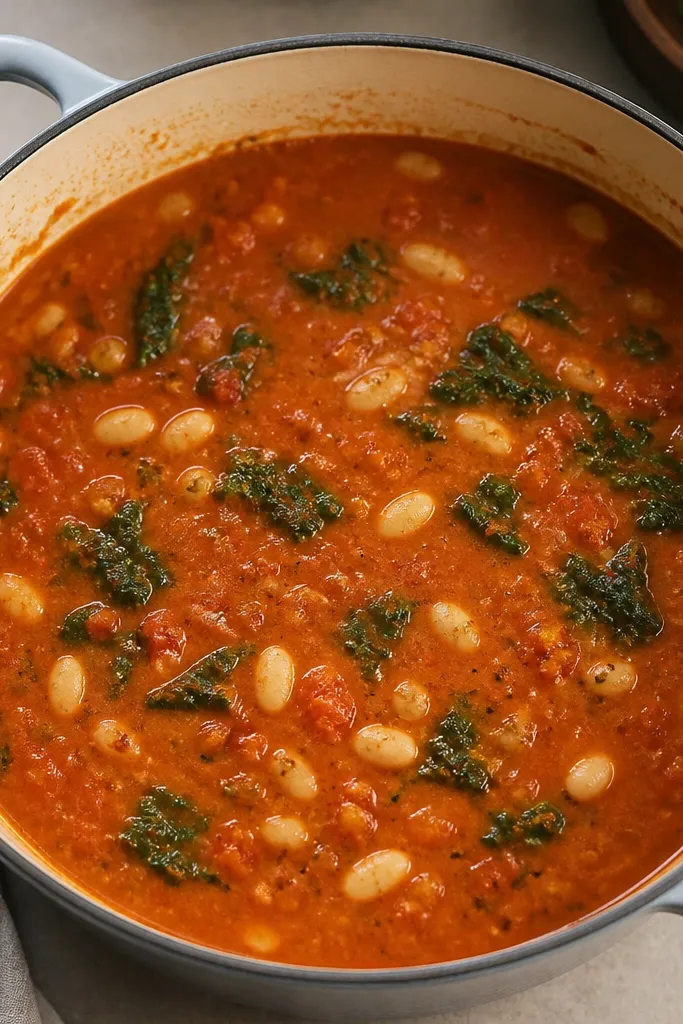
Crushed tomatoes blend into the broth and make it look thick even before the bean mash. Diced tomatoes can work, but they make the soup more chunk-forward and less like the silky internet version. If you want that spoon-coating look, crushed tomatoes are the easiest path.
Use one 28 oz can crushed tomatoes plus 2-3 cups broth. Stir them in after tomato paste and simmer 15 minutes before adding beans. If it looks too thick, add broth 1/2 cup at a time.
Try thisTaste after 15 minutes of simmering; if it's too acidic, simmer 5 more minutes instead of adding sugar.
One warningDon't add too much liquid early - you can always loosen later, but you can't unthin fast.
8. The Olive Oil Sheen
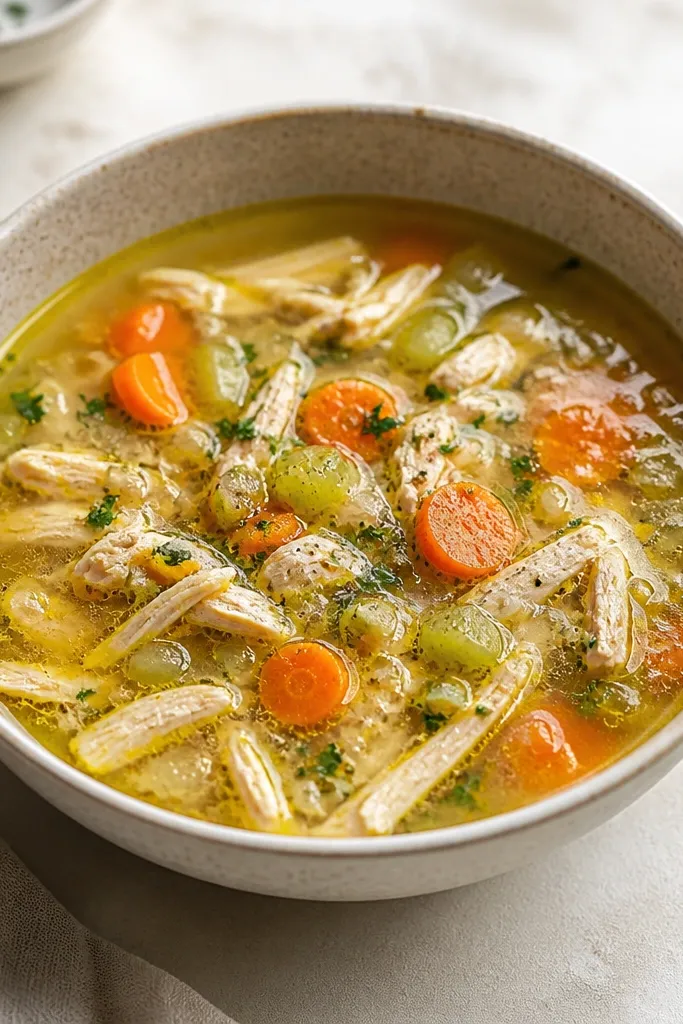
That shiny surface is partly fat and partly temperature. When the soup is hot and you add olive oil at the end, it spreads and catches light. It also makes the tomato-liqueur taste feel smoother without adding cream.
After you ladle soup into bowls, drizzle 1 teaspoon extra-virgin olive oil per bowl. Use small amounts so the soup doesn't taste greasy. Stir once, then stop - over-stirring makes the sheen disappear.
Try thisWarm the olive oil briefly in a spoon over hot water if it's very cold from the fridge.
One warningDon't pour a heavy glug - it turns the surface slick and tastes separate from the broth.
9. Leftover-Friendly Thickness
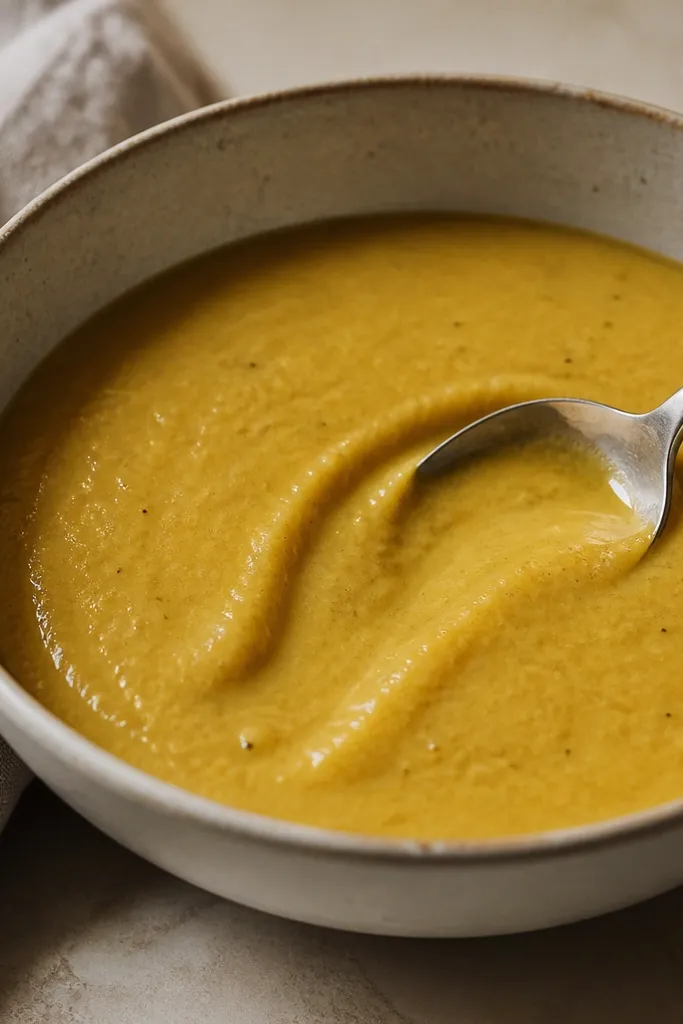
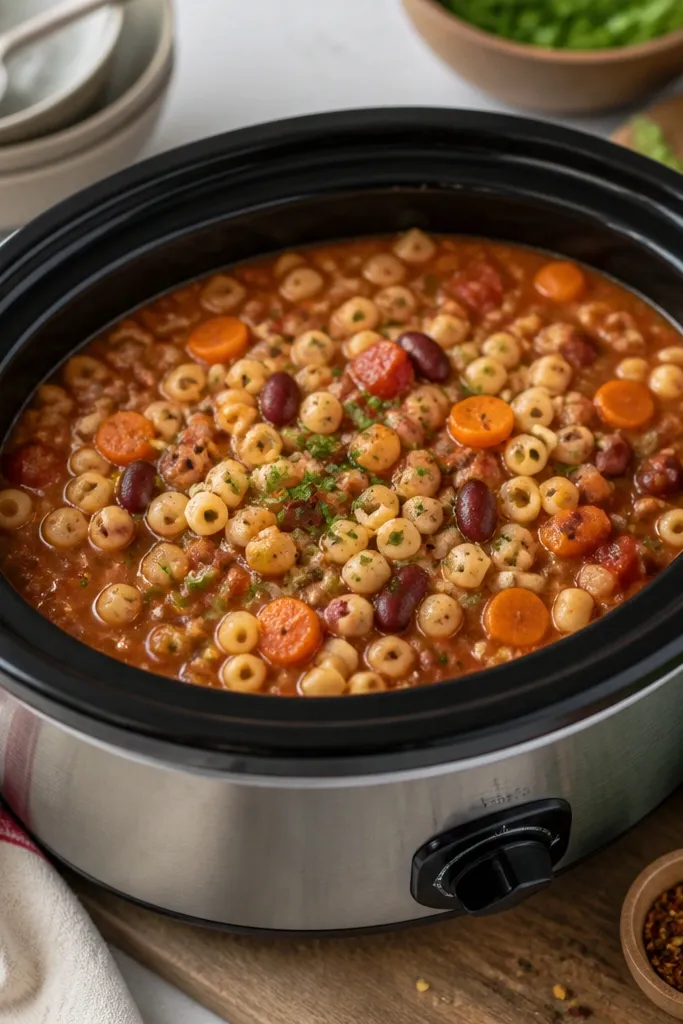
Leftovers should still look thick and spoonable. The trick is to store soup without pasta and let it relax in the fridge; it thickens as it cools, then loosens when reheated with a splash of broth. This is how you keep the same Instagram-looking texture on day two.
Store soup in a container and keep pasta separate. When reheating, add 1-3 tablespoons broth per cup of soup and stir. Heat until simmering, then taste for salt and pepper.
Try thisReheat in a pot, not the microwave, if you care about the texture - you get fewer starchy hotspots.
One warningDon't reheat with pasta already mixed in - it keeps breaking down and turns the broth cloudy and gluey.