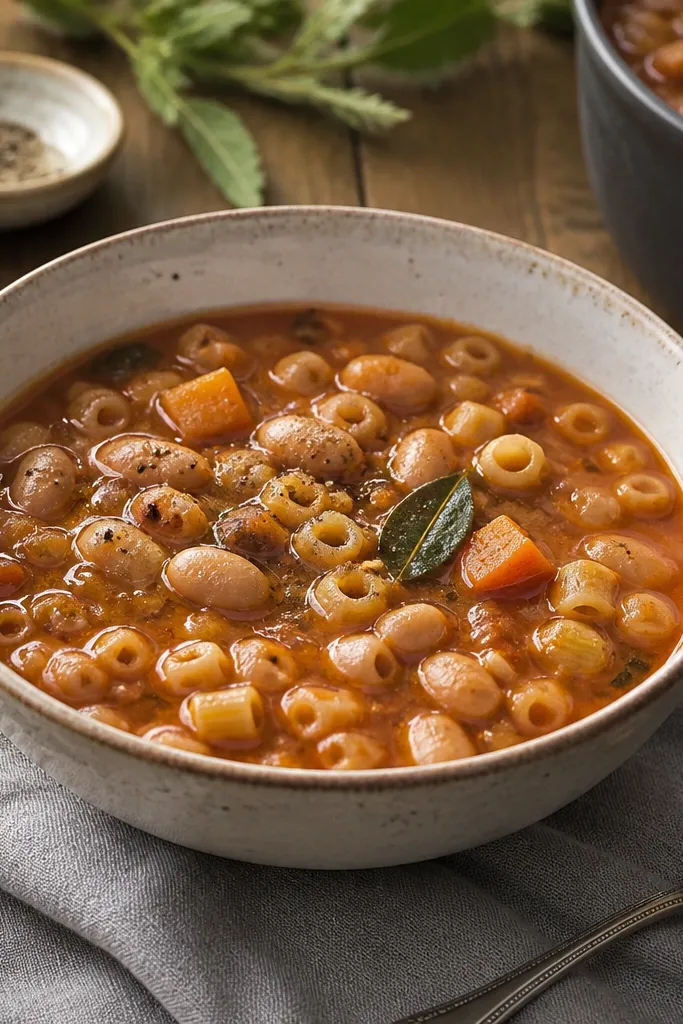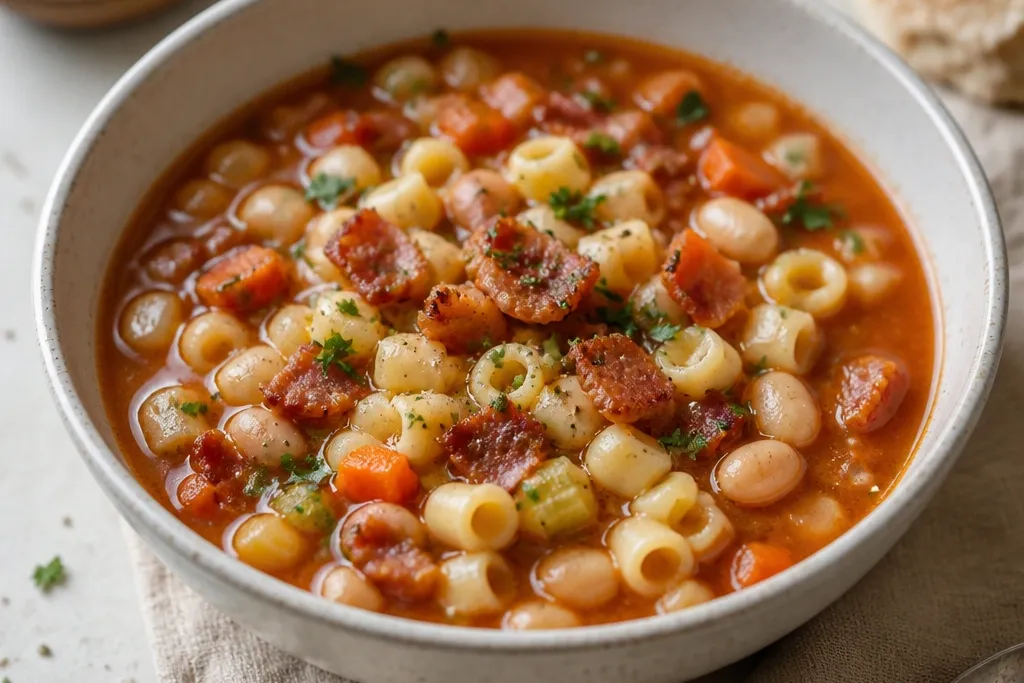
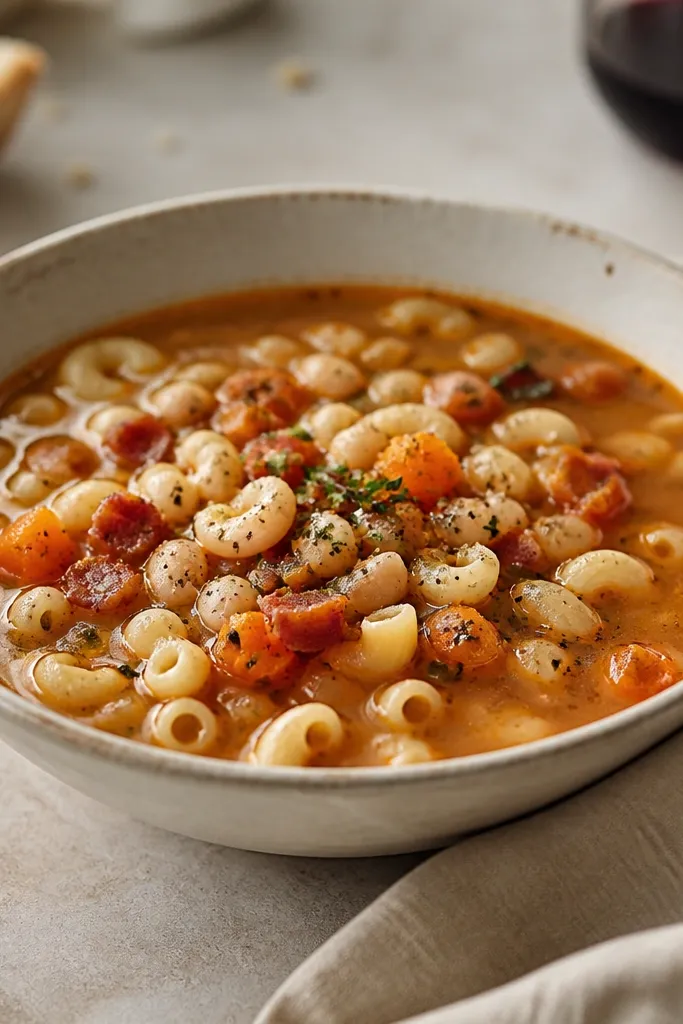
1. Shallow Jar Layers That Look Like a Weekend Meal Prep
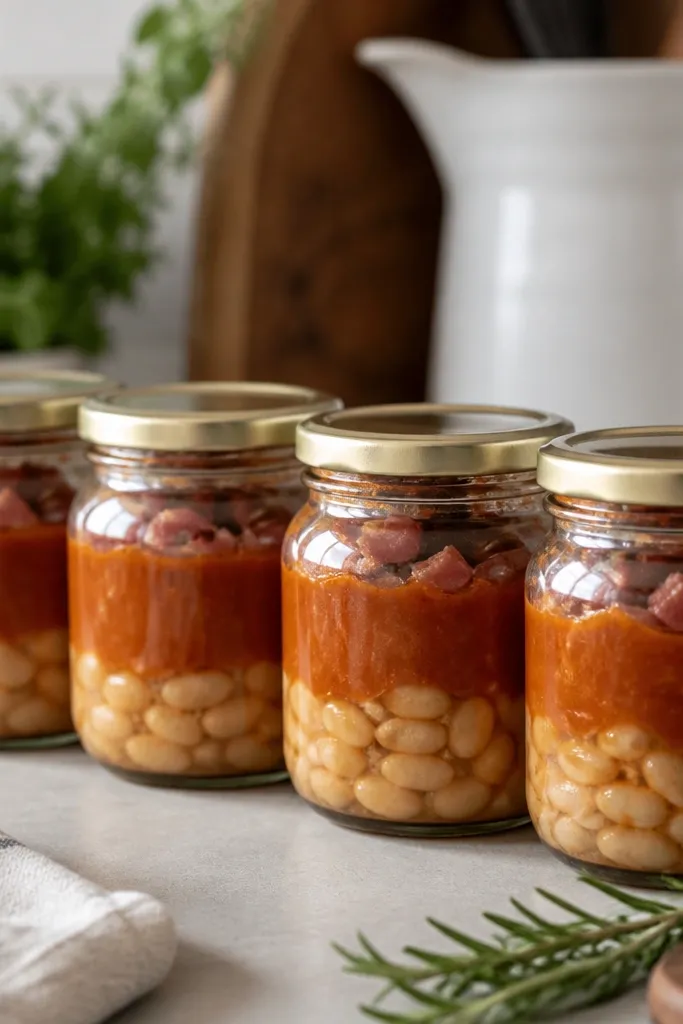
This look happens when you store in shallow jars instead of one tall container. The beans and broth cool quickly, so you get a smooth, creamy top layer rather than a gritty, separated mess. The pancetta bits stay suspended and you can actually see them - that's the smoky promise of the dish. It's also the easiest way to portion for two dinners without guessing.
Use 8-ounce or 12-ounce jars with straight sides. Fill each jar about 3/4 full, leaving a little headspace for expansion. If you cooked pasta in, keep jars smaller so you can reheat without over-thickening. Chill uncovered for 20 minutes after portioning, then cap and refrigerate.
Try thisLabel the lid with the date and whether the pasta is mixed in. When you reheat, you can adjust liquid based on the label.
One warningDon't store in a deep container - it cools slowly and reheats unevenly, so the texture turns chalky.
2. Crisp Pancetta Bit Top for That 'Fresh From the Pot' Look
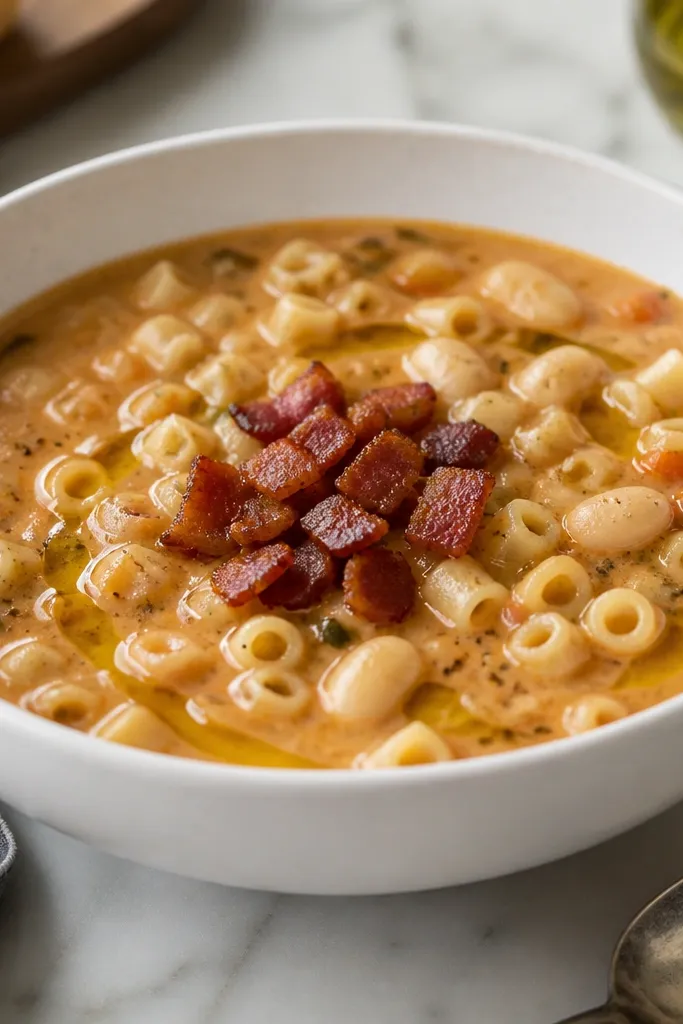
The visual trick is simple: keep some pancetta aside so it lands on top right before serving. When pancetta sits buried, it softens and the bowl loses that smoky, crisp contrast. A few crisp bits on the surface also signal that the soup has depth, not just beans and tomato. It makes the bowl look intentional even when you're eating leftovers.
Cook pancetta until the edges are dark golden, then remove about 1/4 of it to a small bowl. Store the rest mixed into the soup base. When reheating, warm the soup until steaming, then scatter the reserved pancetta on top and add a thin drizzle of olive oil.
Try thisRe-crisp the reserved pancetta for 2 minutes in a dry skillet before topping if it softened in the fridge.
One warningDon't add all pancetta at the start and expect it to stay crisp after storage.
3. Pasta Served Separate for Springy Texture
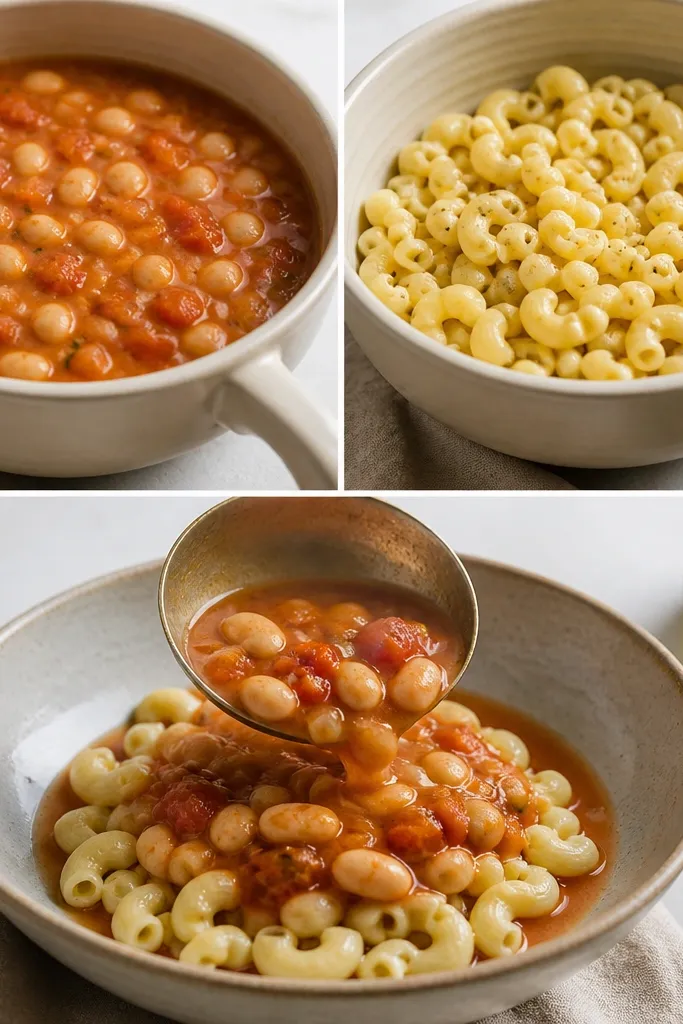
This is the clearest storage win. Pasta cooked separately keeps its bite after chilling, and the broth stays thick without turning the pasta into mush. It also lets you adjust thickness per bowl - you can add more broth for a looser soup or less for a thicker, spoon-sticking bowl. The result looks restaurant-clean even if you made it the day before.
Cook pasta 1-2 minutes less than package time. Drain and toss with 1 tablespoon olive oil per 1/2 pound cooked pasta to prevent sticking. Reheat broth to a simmer, then add pasta to the bowl and ladle hot broth over it.
Try thisStore pasta in a separate container with a lid that seals tight. Stir once after reheating so it warms evenly.
One warningDon't store pasta submerged in broth if you care about texture - it keeps absorbing liquid in the fridge.
4. Toothsome 'Thicker Reheat' Pot for Pasta-in-the-Box Convenience
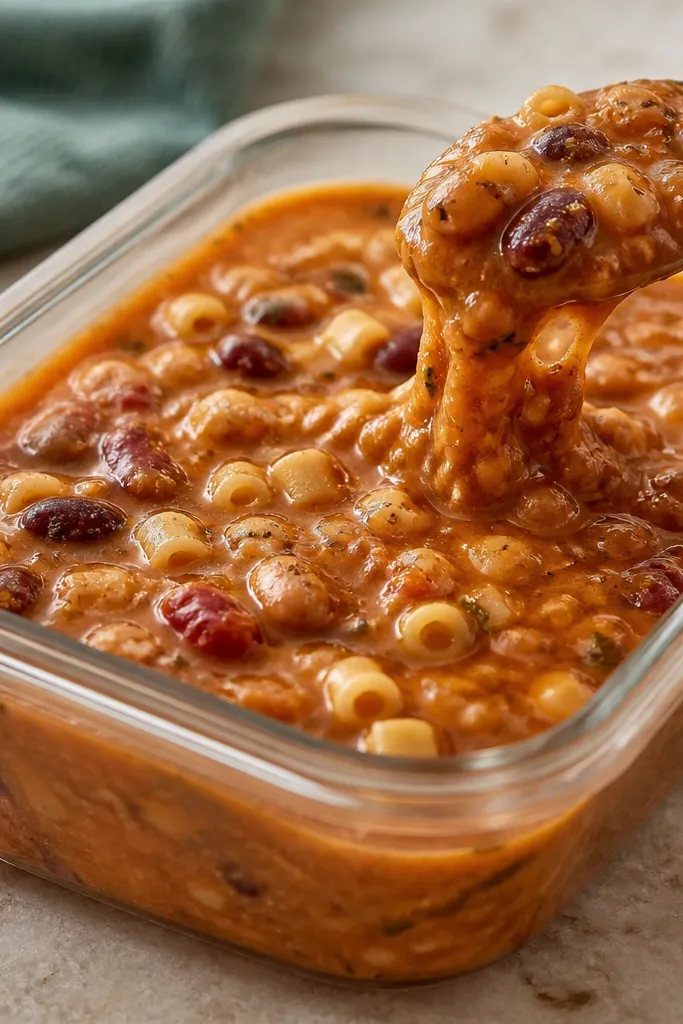
When you cook pasta in the pot, you need the base thicker than you think. I aim for a spoon that leaves a slow trail, not a watery pour. During storage, pasta absorbs broth and thickens further, so starting thick keeps it satisfying on day two. This look is practical: one container, one reheat, no extra pots.
Cook pasta 2 minutes shorter than package time and keep the soup slightly thicker at the end. Cool uncovered for 20 minutes, then cover and refrigerate. Reheat with 1/4 to 1/2 cup hot water or broth per container, stirring until it loosens.
Try thisStir every 30 seconds while reheating - pasta can settle and over-thicken at the bottom.
One warningDon't add extra pasta after reheating - it keeps soaking and makes the pot overly dense.
5. Olive Oil Sheen and Parm Dust on Top
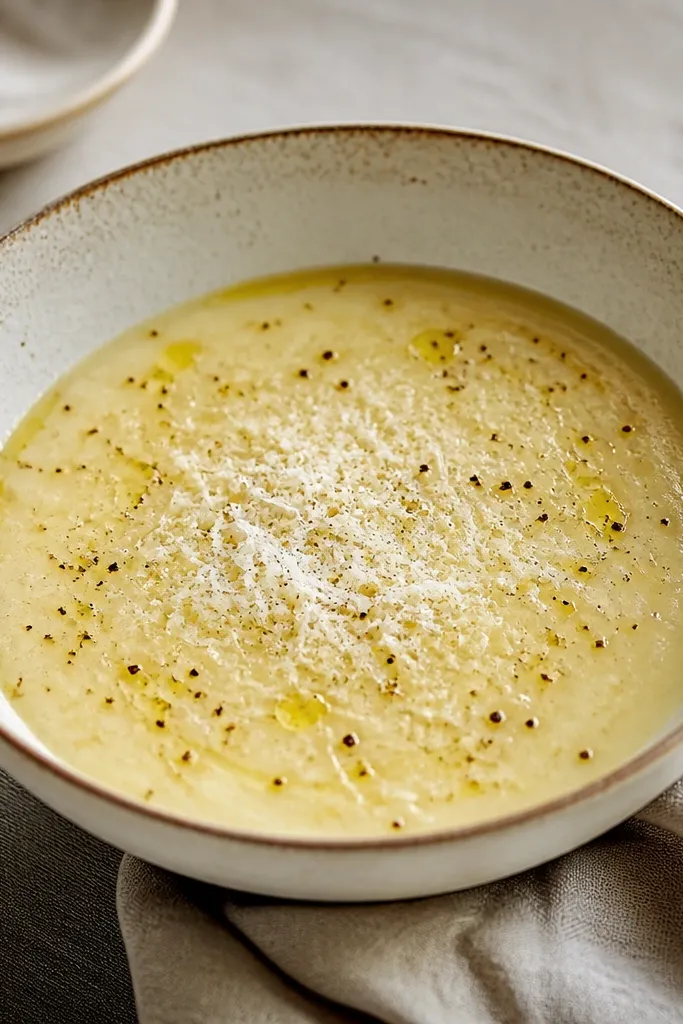
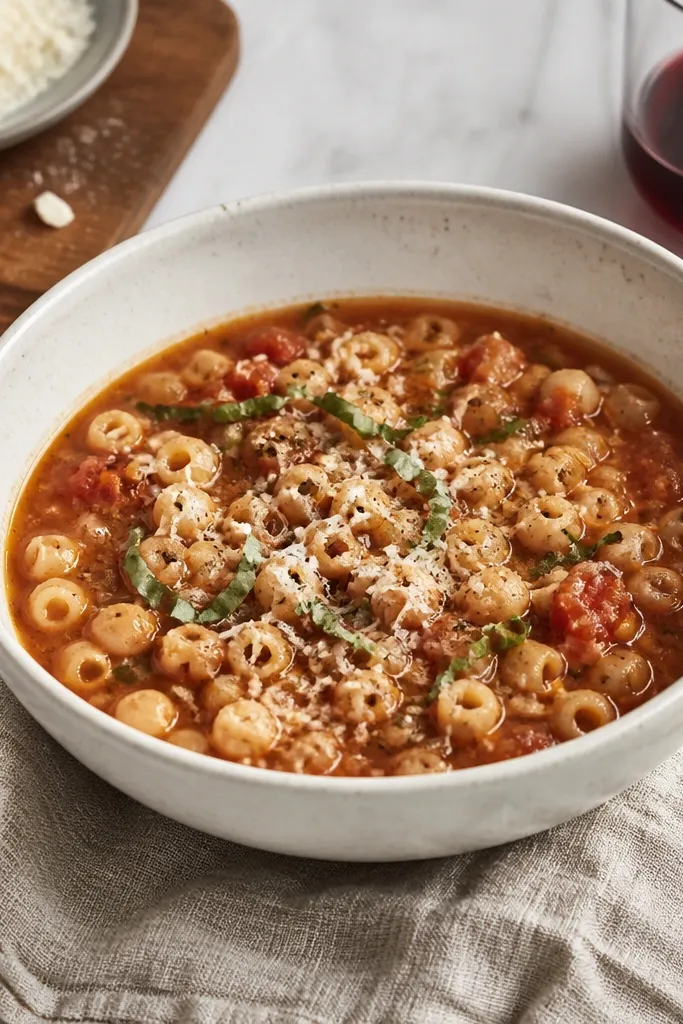
That glossy oil sheen is what makes leftover soup look fresh. When you reheat, the surface can go flat. A small drizzle of good olive oil wakes it up visually and tastes better too. Parmesan dust adds a pale, salty contrast against the red-brown broth, making the bowl look higher effort.
Reheat soup until it's steaming, then drizzle 1 teaspoon olive oil per bowl. Add Parmesan right at the end - don't dump it into the whole container or it thickens and dulls. Grind black pepper over the top and serve with a spoon.
Try thisUse microplane Parmesan. The fine texture melts into the surface without clumping.
One warningDon't stir Parmesan into the entire batch before storing.
6. Extra Bean Garnish for a Creamy, Speckled Surface
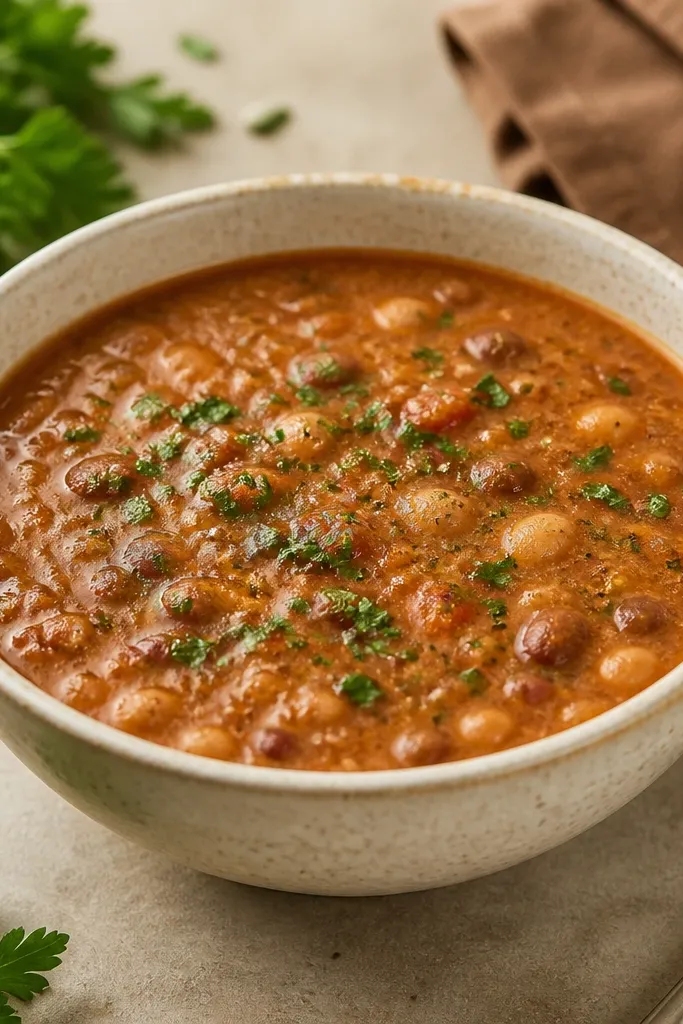
This is the aesthetic of 'homemade' - speckles. If you blend part of the beans into the broth, the soup looks creamy. If you reserve a few whole beans and spoon them on top, it looks textured instead of uniform. That contrast keeps it from looking like plain tomato soup.
In the last 10 minutes of simmering, scoop out 1 cup beans, blend them with some broth until smooth, then stir back in. Reserve 1/2 cup whole beans for garnish. When serving leftovers, scatter those whole beans on top.
Try thisWarm the reserved beans with the soup so they don't cool the center of the bowl.
One warningDon't blend all the beans - you lose the speckled texture that makes it look hearty.
7. Garlic-Pepper Crumble Swirled Into the Bowl
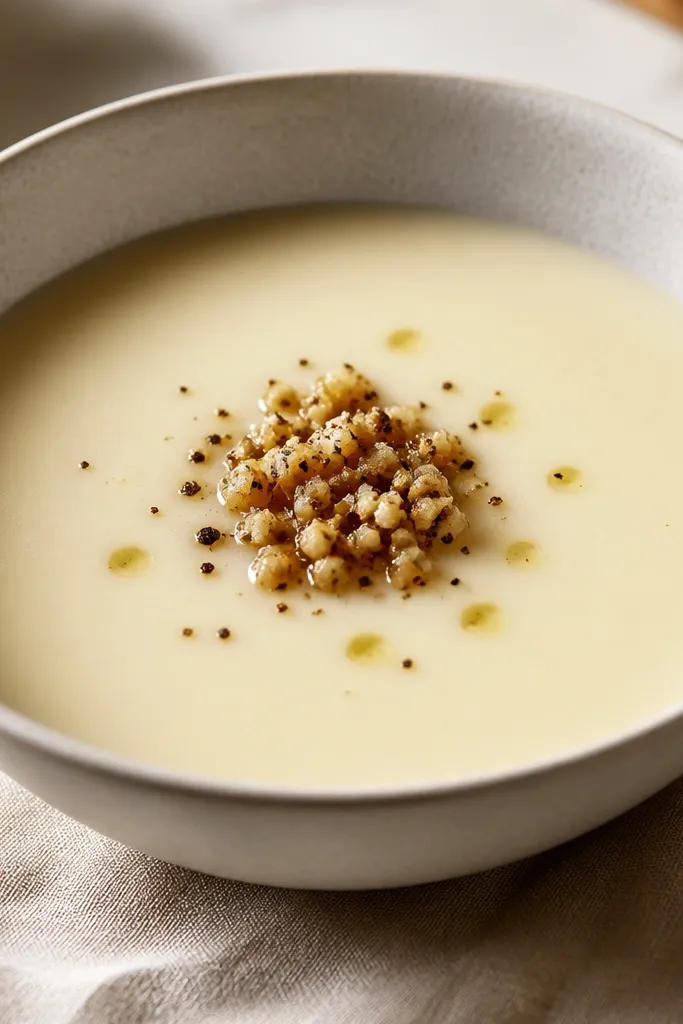
This topping gives you smoky aroma without extra simmer time. When you toast garlic and pepper in a little pancetta fat, it smells like the pot just started cooking. Swirling it into the bowl makes the surface look marbled and intentional. It's especially good on day two when the base tastes a little calmer.
After rendering pancetta, sauté minced garlic in the pancetta fat for 30-45 seconds. Add cracked black pepper and a pinch of red pepper flakes. Cool slightly, then store the crumble separately or use immediately on serving.
Try thisKeep the garlic topping separate from storage so it stays fragrant instead of mellowing into the soup.
One warningDon't burn the garlic. Dark bits taste bitter and look ugly floating in soup.
8. Cool-Down Correctly: The 'No Skin' Method
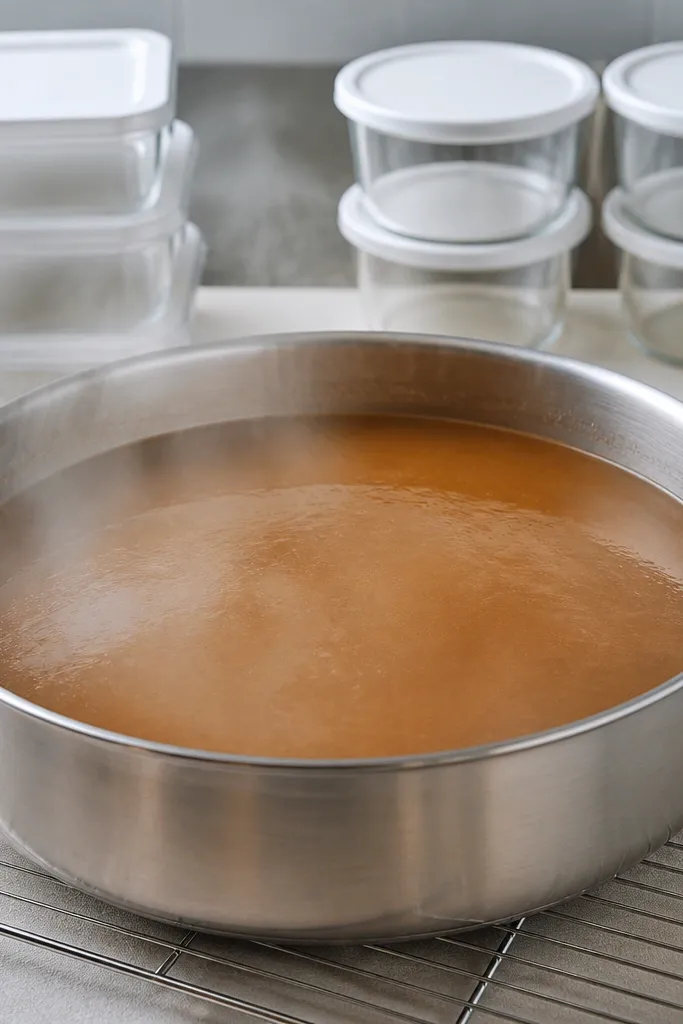
Soup skins look gross and they also change mouthfeel. I've learned that cooling faster and portioning quickly keeps the surface smooth. When you store too long in a deep pot, the top layer thickens and forms a film that reheats unevenly. The taste still works, but the bowl loses that fresh, clean look.
After cooking, pour the soup into a wide metal bowl or shallow pot for 20 minutes of cooling. Stir once after 10 minutes so heat drops evenly. Then portion into containers you can refrigerate immediately.
Try thisIf you're short on time, set the pot in a sink with a thin layer of cool water under it, stirring every few minutes.
One warningDon't cover the pot while it's still steaming hard.
9. Reheat Container Choice That Keeps the Texture Tight
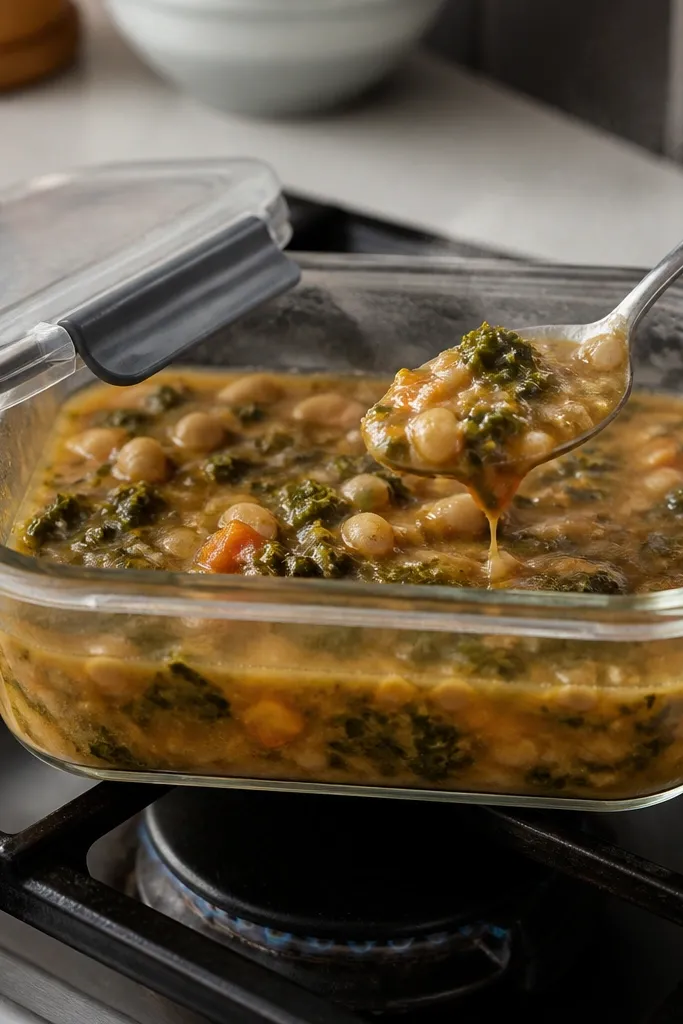
Reheating is where leftover pasta fagioli can go wrong. If you reheat too aggressively, pasta can break and beans can turn grainy. Using a glass or ceramic container with gentle heat keeps the broth stable and lets you add liquid gradually. The soup ends up glossy instead of dull and separated.
Reheat on the stove over low to medium-low heat, stirring every minute. Add 1-2 tablespoons broth or water at a time until it looks right. Stop when it's steaming and the spoon leaves a slow trail.
Try thisUse a thermometer if you have one. Pull it when it hits about 165°F in the center.
One warningDon't microwave a full container on high without stirring - hot spots ruin the texture.
10. Portion Labels That Make Storage Actually Work
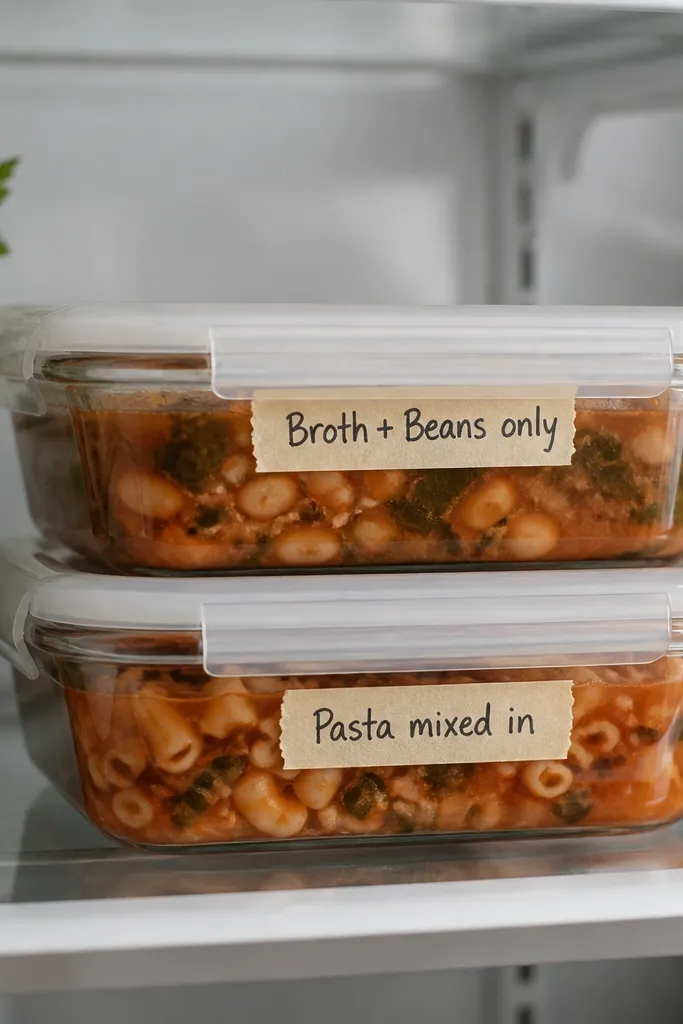
Storage fails when you forget what's inside. I label every container because pasta mixed in behaves differently when reheated. Broth-only portions stay thinner and loosen easily, while pasta-in-pot portions thicken fast. This small habit keeps meals from turning into "oops, it's too thick" situations.
Write two things: pasta status and date. For example: 'Beans + broth. Pasta on side.' or 'Pasta mixed in.' Place labels on the side so they're readable even when stacked.
Try thisStore broth-only portions on the top shelf and pasta-mixed portions on a middle shelf so you use the right one first.
One warningDon't rely on memory. The fridge turns every container into a guessing game.