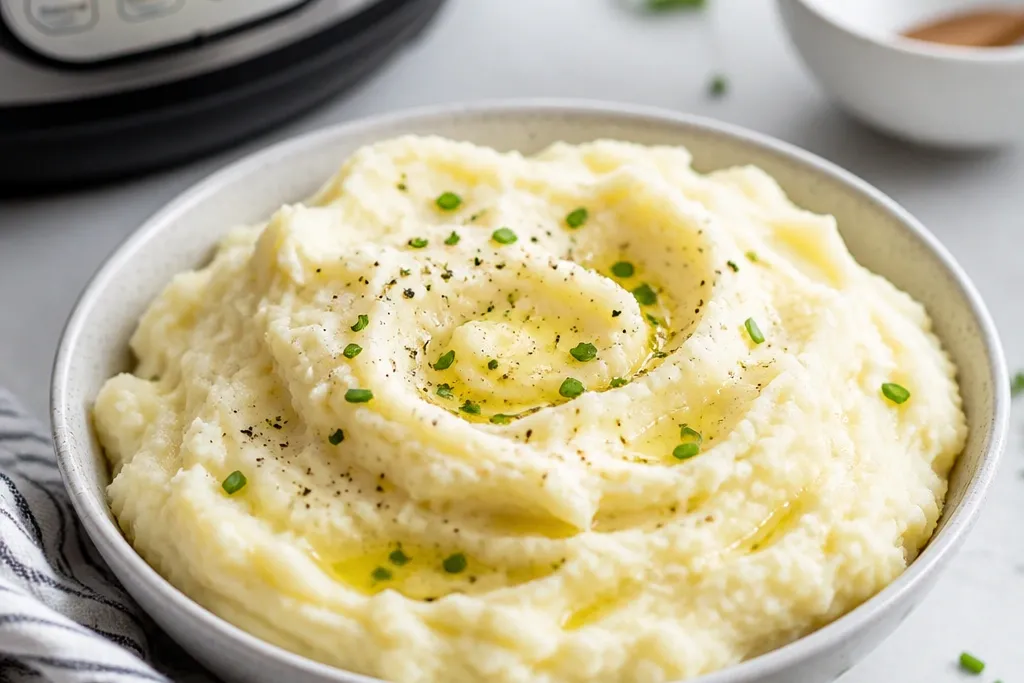
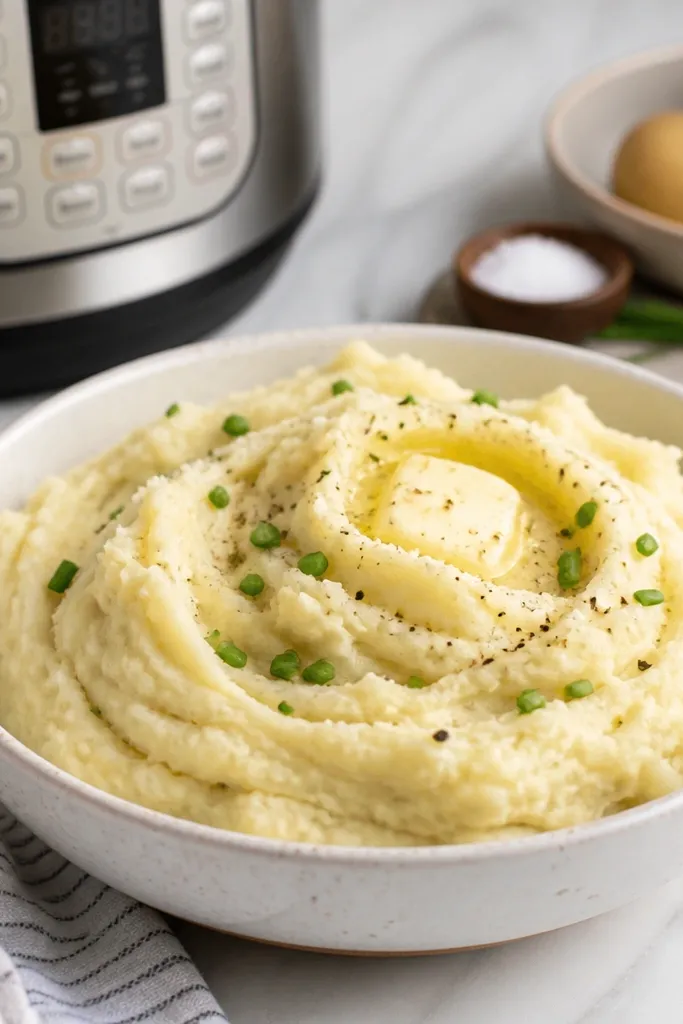
1. Garlic Butter Gloss Mash
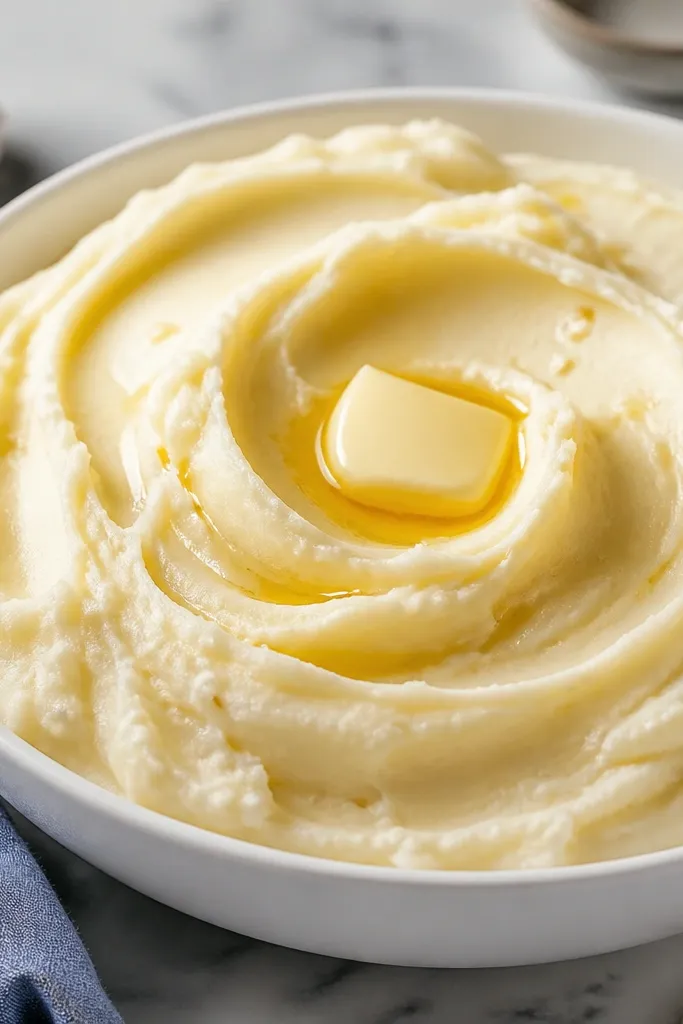
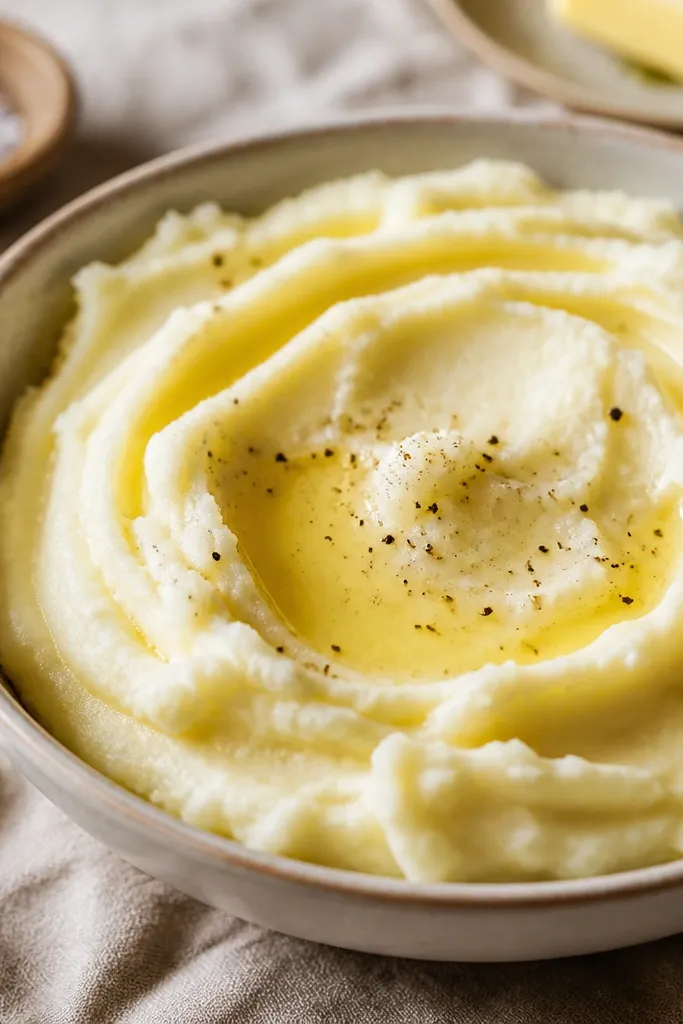
This look is all about shine and a clean surface. You get it by mashing hot potatoes and adding warm butter and milk off the heat, then stirring until the mash turns silky instead of matte. The garlic flecks stay small so they don't look greasy. It photographs like "restaurant mash" because the spoon grooves hold for a moment before settling.
Use Yukon Gold potatoes for a buttery color (golden, not chalky). Warm 1/2 cup whole milk and 4 tablespoons butter until steaming, then add after draining. Keep the garlic either finely minced and cooked briefly in the butter, or use garlic powder so the flecks stay tiny. Finish with flaky salt on top right before serving.
Try thisMash with a potato masher first, then do 6-8 slow turns with a whisk to smooth the surface without overworking.
One warningDon't add cold milk - it makes the mash look dull and lumpy.
2. Sour Cream Cloud Swirl
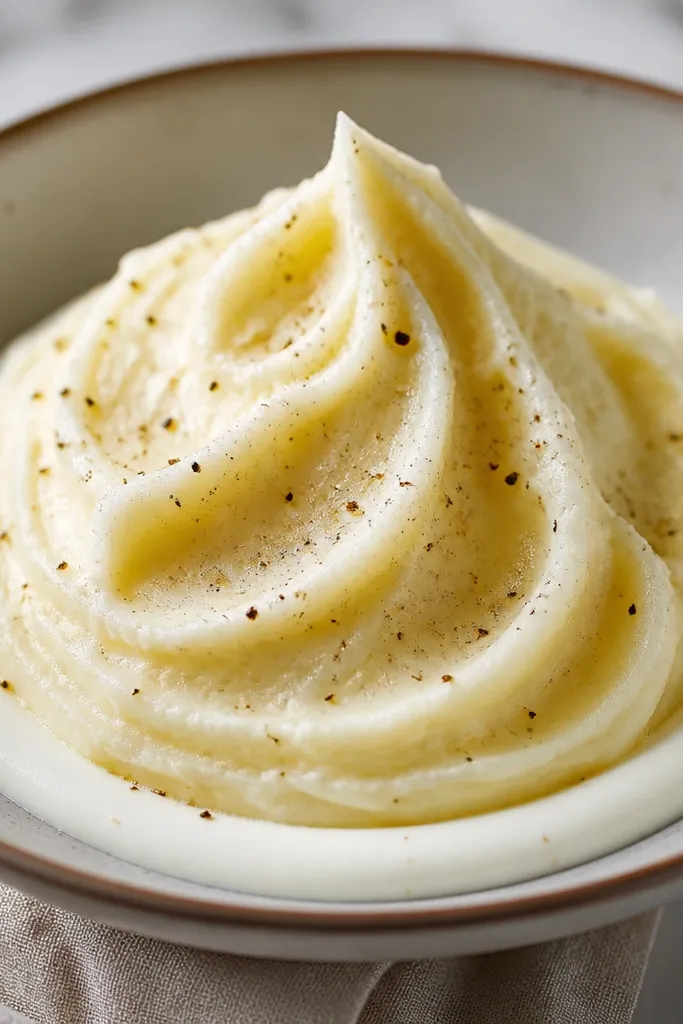
This version looks airy but still creamy because sour cream tang thickens and brightens the color. The swirl pattern matters: you want peaks that soften slightly, not flat smears. Black pepper specks make the top look lively in photos and taste more layered. It's the mash that holds up next to roast chicken or meatloaf without turning watery.
After draining, mash until smooth, then stir in 1/2 cup sour cream and 2-4 tablespoons warm milk as needed. Keep the mash slightly thicker than you think - it loosens as it warms in the bowl. For the swirl, spoon into the serving bowl and drag a spoon through the center, then lift to make a soft peak.
Try thisAdd sour cream a little at a time and stop when the mash looks thick and glossy.
One warningAvoid using a food processor - it makes the mash look pasty and shiny in a bad way.
3. Riced Potato Snow
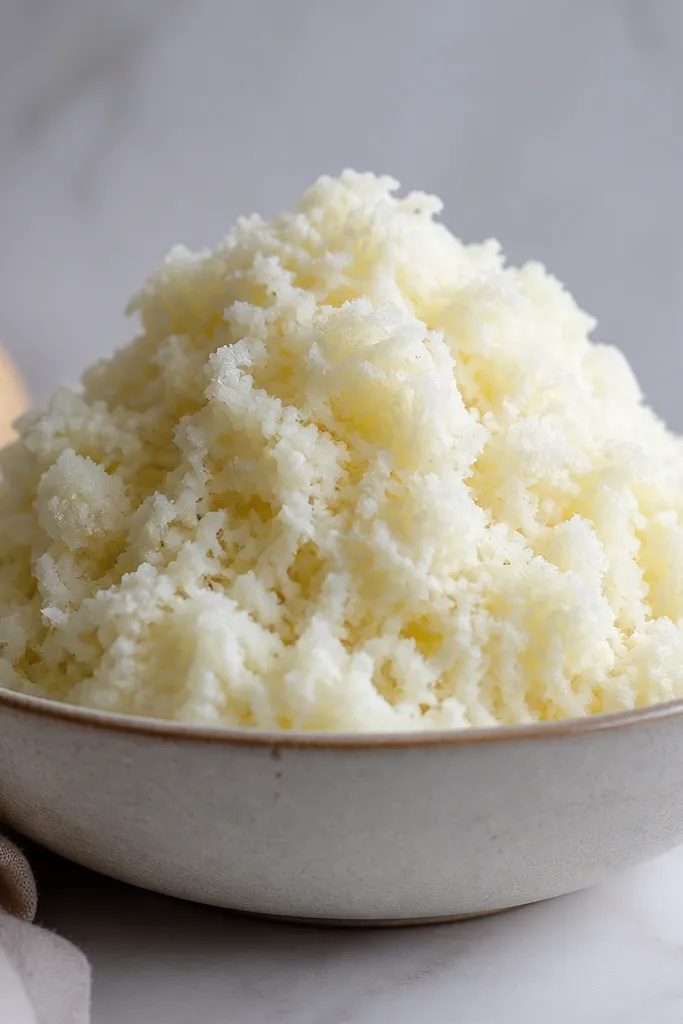
Ricing gives that light, delicate texture that looks like it came from a fancy kitchen. The strands trap air and make the mash look fluffy even when it cools slightly. Because riced potatoes are drier than mashed ones, you control creaminess with measured warm liquid. This is the "cleanest" look for plated dinners.
Use Yukon Gold or red potatoes for the best bite. After pressure cooking and draining, rice the potatoes while they're still hot. Then fold in 3-4 tablespoons butter and warm milk until glossy. Keep stirring to a minimum so the strands stay fluffy.
Try thisRice in small batches - if you dump everything in at once, it turns into a heavy mass.
One warningDon't let riced potatoes sit uncovered; they dry out and lose that snow texture.
4. Half-and-Half Cream Drape
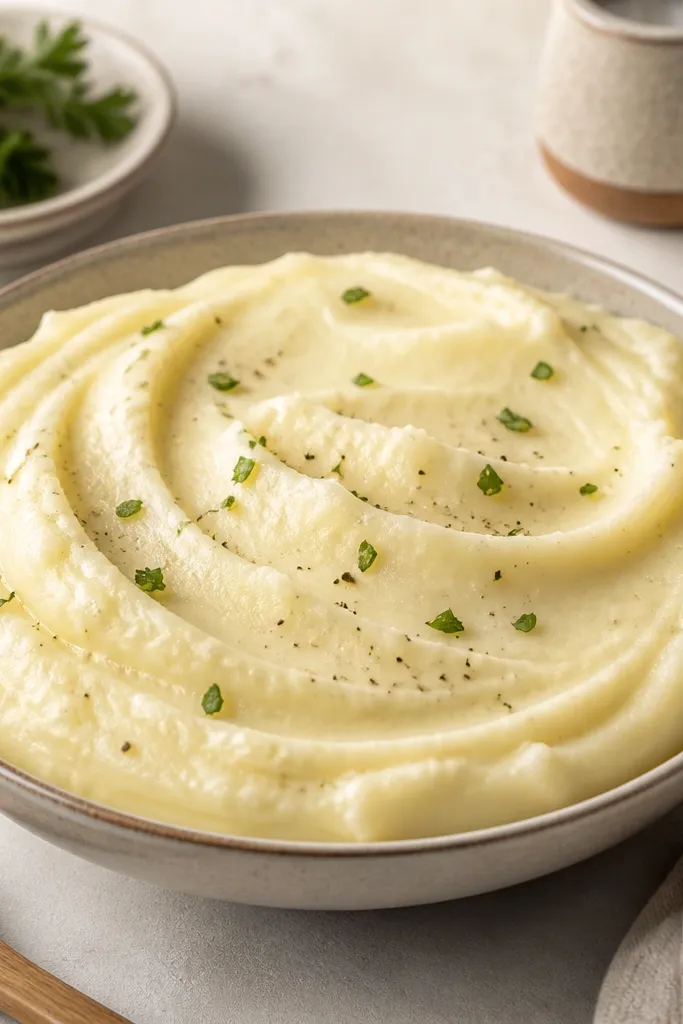
This look is smooth and pourable, with a "drape" that spreads like satin. Half-and-half gives a richer mouthfeel than milk, but it stays lighter than all-cream. You get the drape by loosening the mash slightly right before serving, then smoothing with the back of a spoon.
Pressure cook 2 pounds of potatoes cut into 1-inch chunks. Drain thoroughly, then add 6 tablespoons butter and about 3/4 cup warm half-and-half. Stir until it flows slowly off the spoon. For a smooth top, tap the bowl on the counter once to settle air bubbles.
Try thisIf it thickens while you're plating, add 1 tablespoon warm half-and-half and stir briskly.
One warningDon't mash too long after adding dairy - it turns gluey and loses the drape.
5. Chive-Studded Green Top
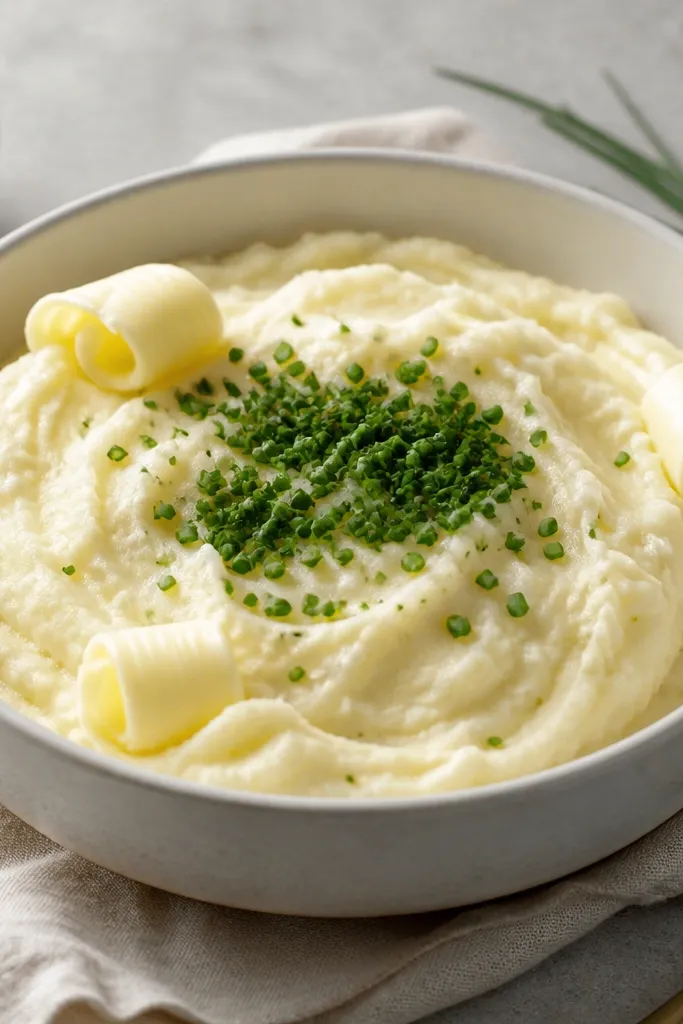
Chives make the whole bowl look fresher and more "finished." The green pops against the pale gold of Yukon Gold mash, and it gives you a clear flavor cue without adding chunks. I like to add chives right at the end so they stay bright and don't darken.
Mash your potatoes normally, then stir in 2 tablespoons chopped fresh chives. Add butter curls on top by shaving cold butter with a knife and letting it melt in the warm mash. Keep chives coarse (about 1/4-inch pieces) so they show up in every bite.
Try thisMix chives with 1 teaspoon softened butter first, then fold into the mash for even distribution.
One warningSkip dried chives - they look dull and taste flat in hot mash.
6. Roasted Garlic Mash
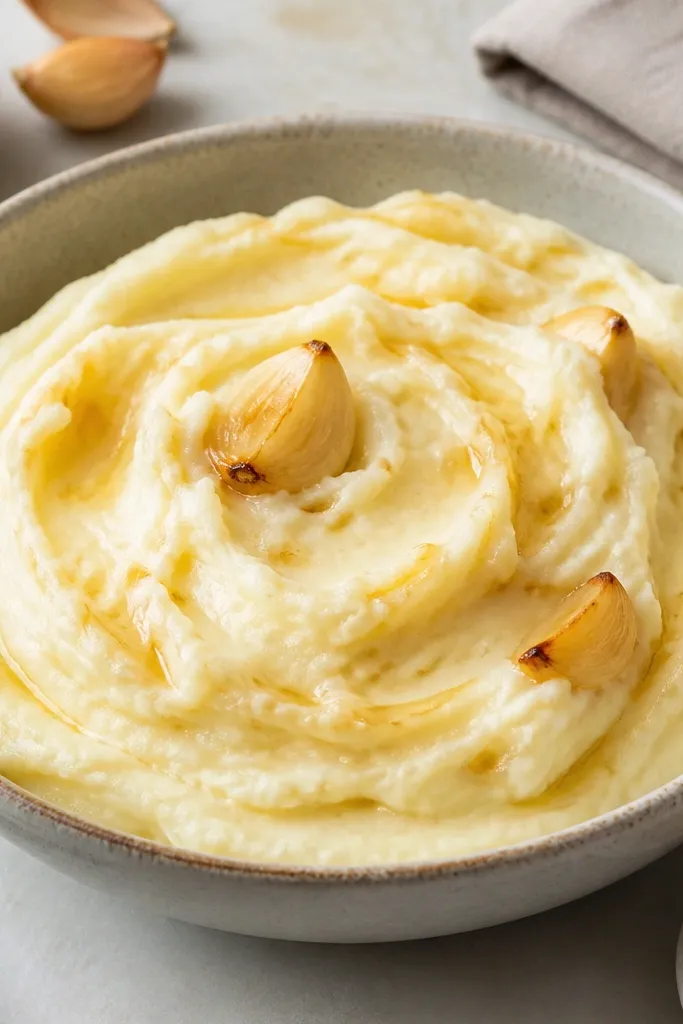
Roasted garlic turns sweet and mellow, and it blends into the mash without tasting sharp. The paste swirls look creamy and slightly speckled, which makes the bowl feel homemade. This is the mash I make when I want the flavor to stand out even if I'm serving it plain.
Squeeze roasted garlic cloves from a whole head that's been roasted until soft. Add 2-3 tablespoons garlic paste to the hot, drained potatoes, then stir in butter and warm milk gradually. Keep the mash slightly thicker since roasted garlic can make it taste rich fast.
Try thisAdd garlic paste off the heat first, taste, then adjust salt before adding more dairy.
One warningDon't use raw garlic for this look - it turns sharp and watery in mashed potatoes.
7. Smashed Peppercorn Finish
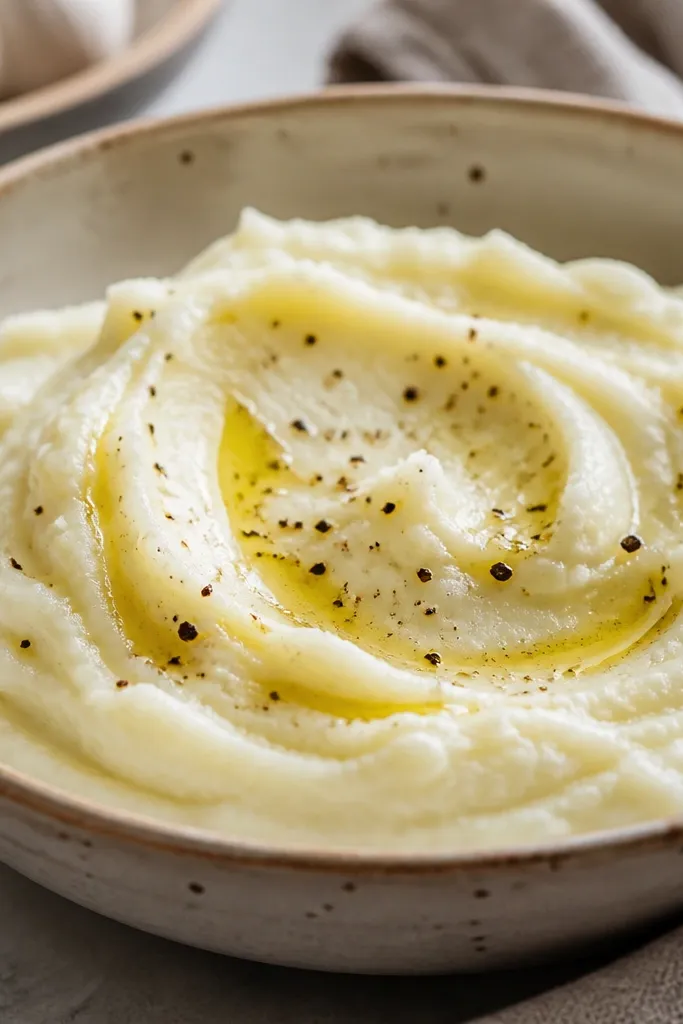
Cracked pepper gives a speckled, restaurant-style top that looks intentional. A tiny drizzle of good olive oil makes the surface glisten and helps pepper stick to the mash. It's a simple aesthetic trick that also changes the taste - pepper hits brighter when there's a little oil.
Crack pepper fresh right before serving. After mashing, stir in a tablespoon of butter for shine. For the oil, drizzle 1 teaspoon olive oil over the finished bowl and lightly swirl once.
Try thisUse a coarse pepper grind - fine pepper disappears into the mash visually.
One warningDon't add pepper while the potatoes are boiling-hot and unattended; it can taste harsh.
8. Smoked Paprika Dust Bowl
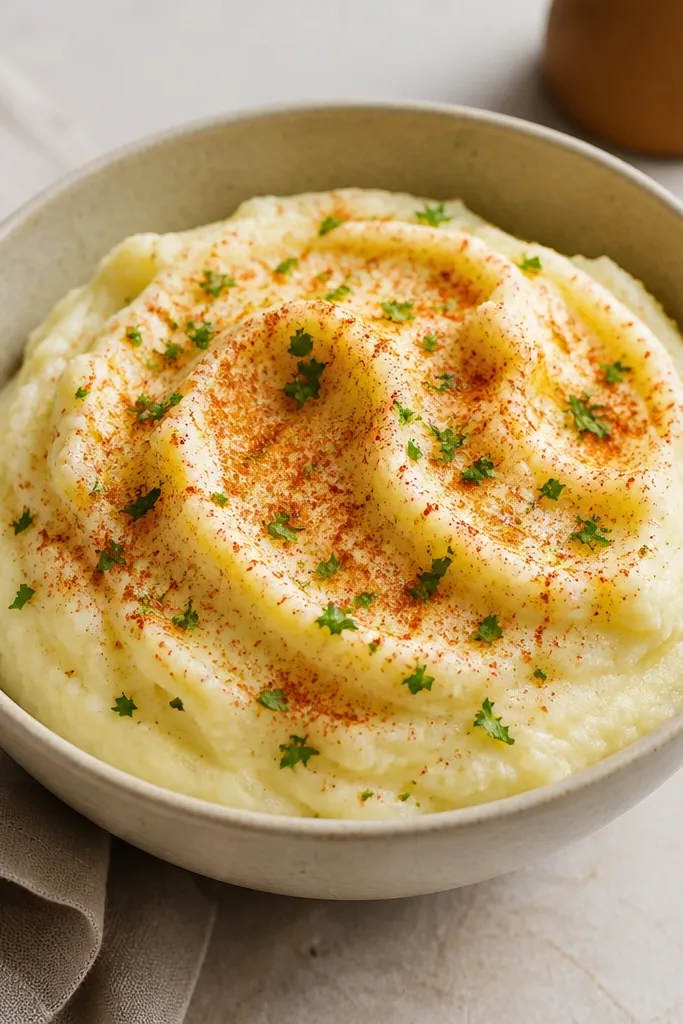
Smoked paprika adds a warm color that makes the mash look richer and more autumnal. The dusting should be light so it looks like a finish, not a powdery coating. Parsley keeps the top from looking one-note and gives a clean green accent.
After you stir in butter and warm milk, sprinkle smoked paprika from a small spoon held high. Use about 1/2 teaspoon paprika for a 6-person bowl, then add 1 tablespoon chopped parsley. Stir gently so paprika stays mostly on top for the look.
Try thisMix paprika with a teaspoon of butter first, then spoon it onto the surface for a smoother color.
One warningAvoid regular sweet paprika if you want that smoky, photo-friendly warmth.
9. Cheddar Melt Marbling
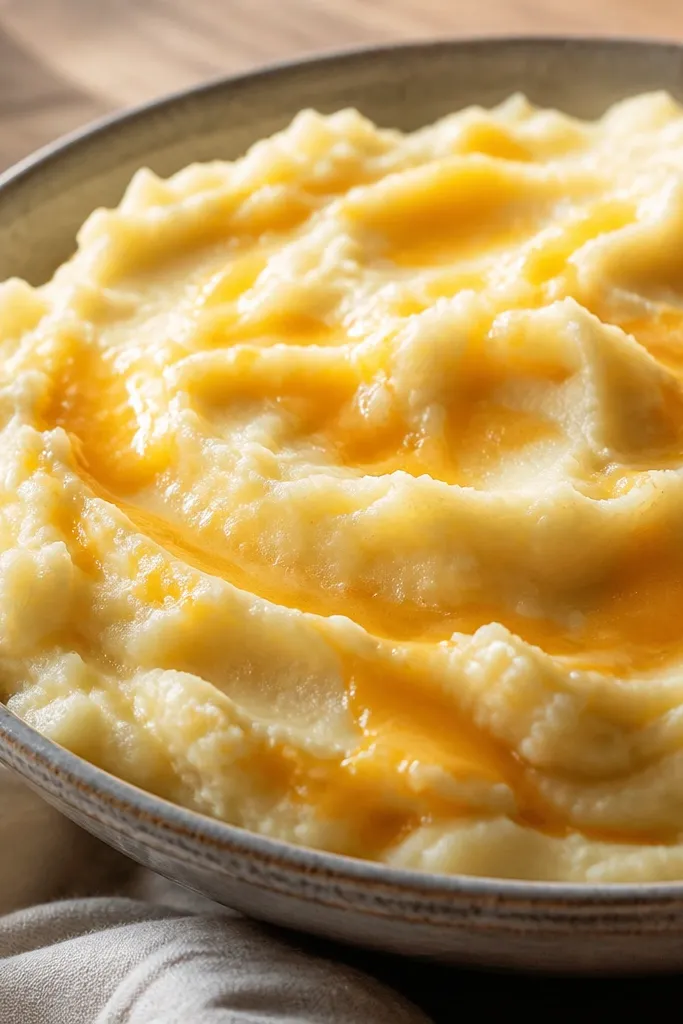
Cheddar marbling looks homemade and indulgent. You get that ribbon effect by adding shredded cheddar while the mash is hot and stirring in short motions. The cheese melts into streaks instead of fully disappearing, so the top looks textured and "real."
Use sharp cheddar, shredded, and keep it finely shredded so it melts quickly. Add 1 cup cheddar to the hot drained potatoes, stir 10-15 times, and stop while it still looks a little marbled. If it thickens, add 1-2 tablespoons warm milk to loosen.
Try thisShred cheese fresh from a block - pre-shredded coatings can prevent smooth melt.
One warningDon't over-stir after adding cheddar or it turns into uniform paste and loses the marbling.
10. Brown Butter Sage Finish
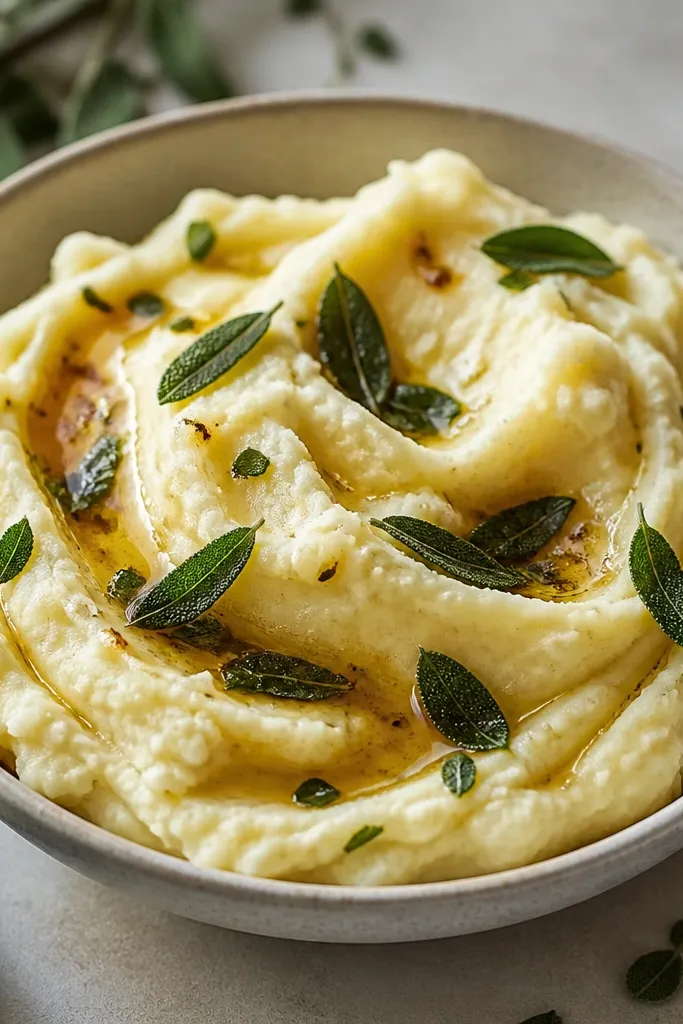
Brown butter gives a deeper golden tone and a glossy coating. Crisp sage leaves add a speckled green-brown contrast that looks gorgeous on creamy mash. This is a "holiday plate" look that still takes under 20 minutes because the Instant Pot does the heavy lifting.
Brown 6 tablespoons butter in a small pan until it smells nutty and turns amber. Stir in 1-2 teaspoons chopped sage or lay a few crisp sage leaves on top. Pour a spoonful of brown butter over the mash and sprinkle a pinch of salt.
Try thisKeep sage leaves dry before frying so they crisp instead of steaming.
One warningDon't burn the butter; it turns bitter fast and ruins the whole bowl.