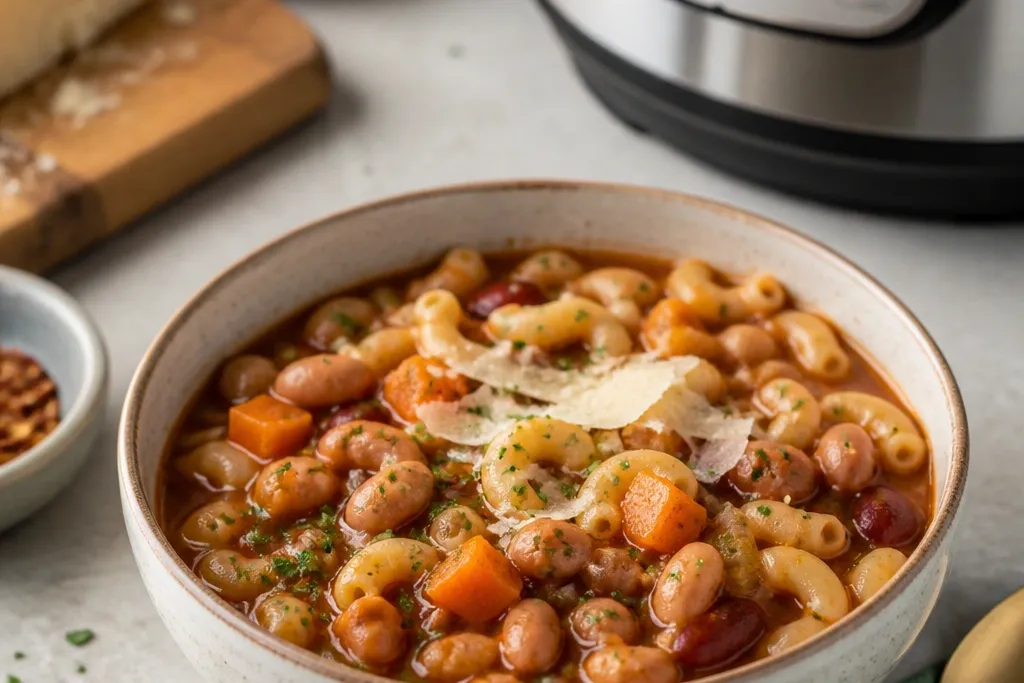
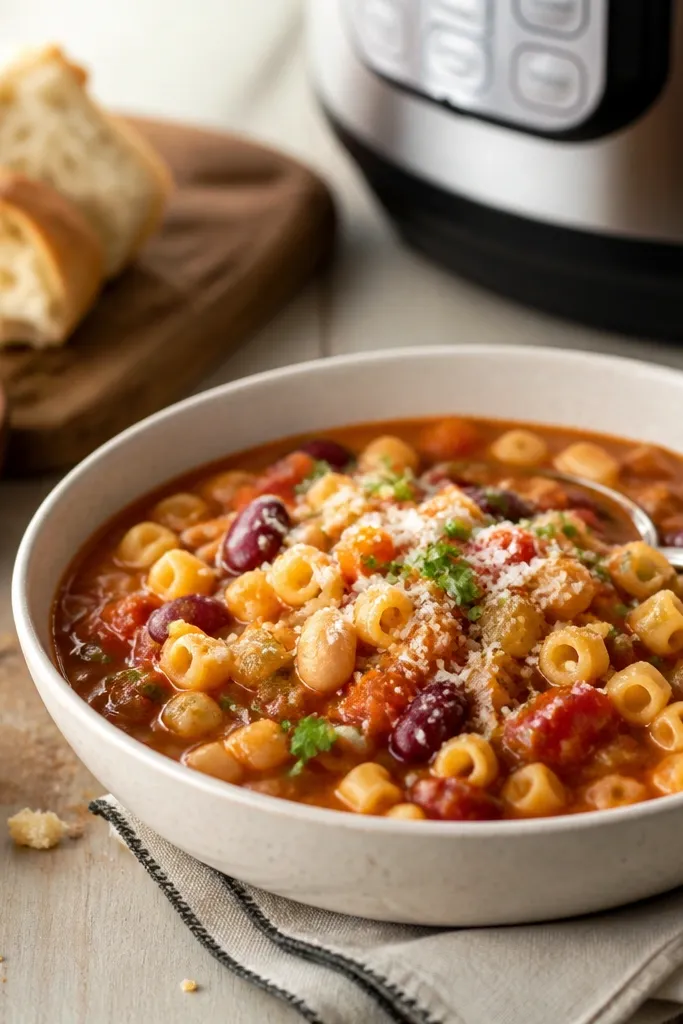
1. Glossy Red Broth Bowl with White Bean Specks
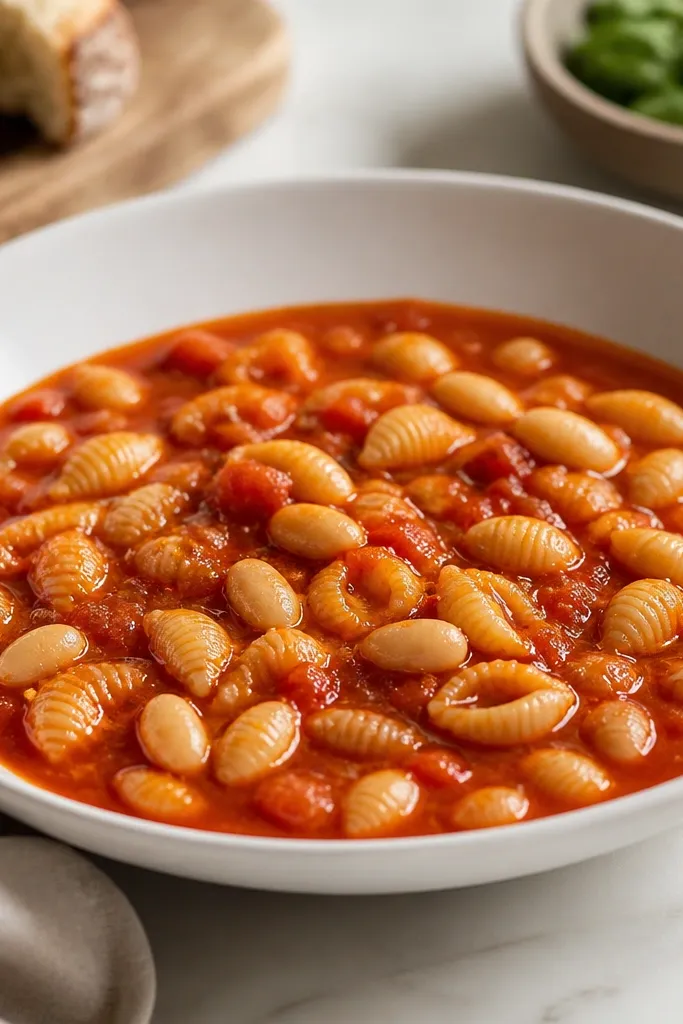
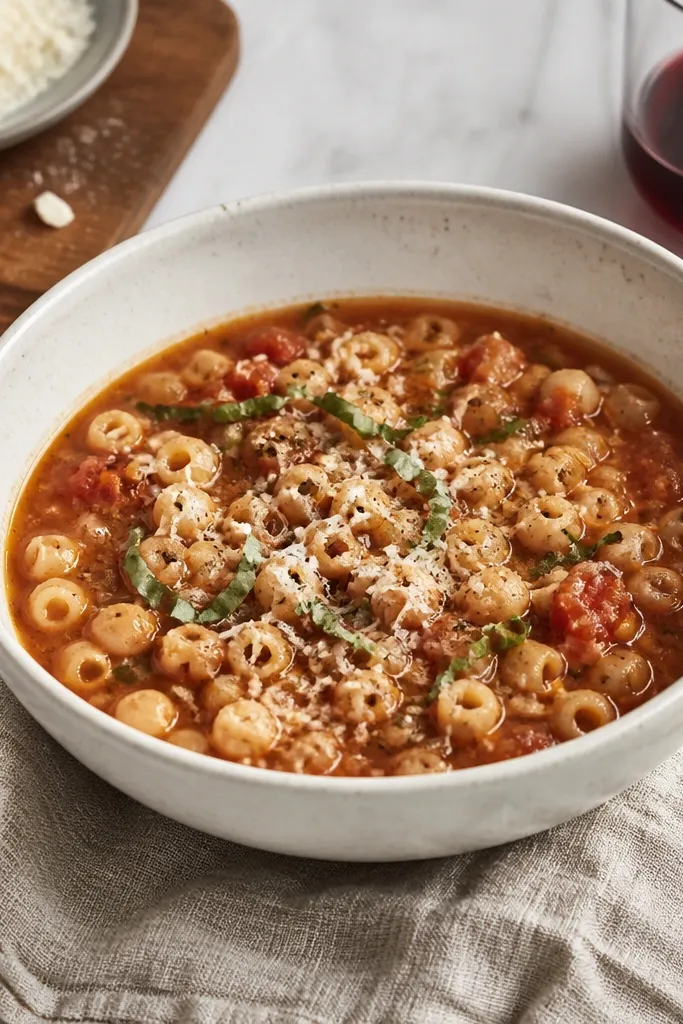
This look comes from keeping the sauce shiny and not too thick. Tomato paste + broth gives a deep red sheen when you stir right after pressure cooking. The white beans create contrast, and the pasta pieces look coated instead of dry. A small olive oil drizzle on top catches light and makes the surface look fresh.
Serve in a wide bowl so the sauce spreads. Use grated Pecorino Romano or Parmigiano-Reggiano - it melts in the hot broth and leaves tiny snowy flecks. Drizzle olive oil in a thin ribbon right before eating, not during cooking, so it stays glossy.
Try thisWarm your cheese by adding it off-heat and stirring for 30 seconds - it melts smoothly and makes the broth look silkier.
One warningSkipping the tomato paste step makes the broth look flat and more orange than deep red.
2. Soffritto Base Visible at the Bottom
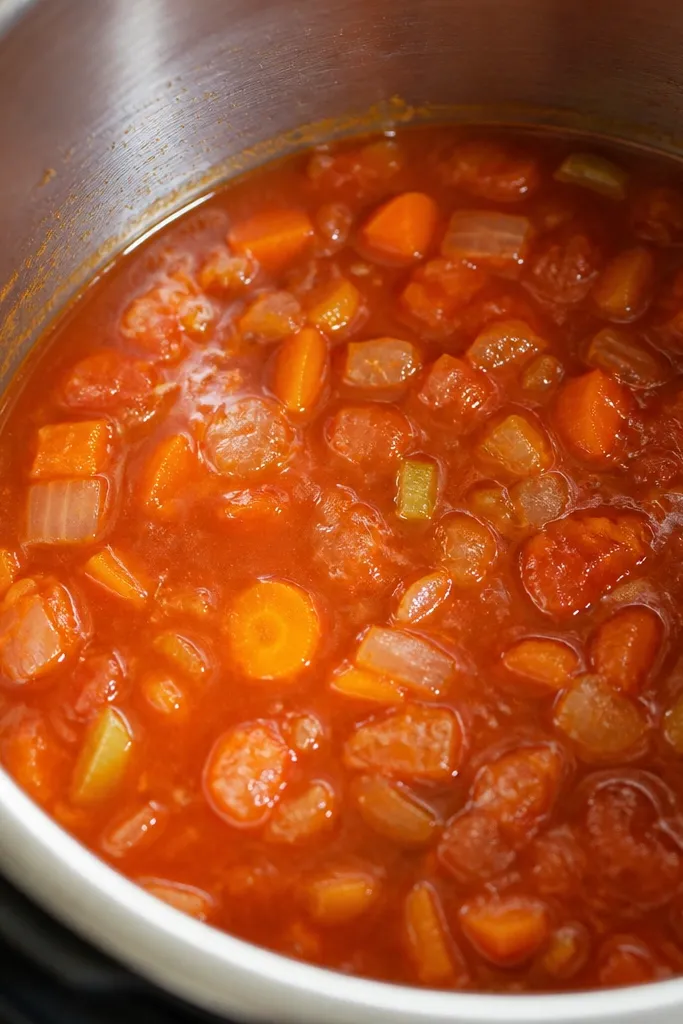
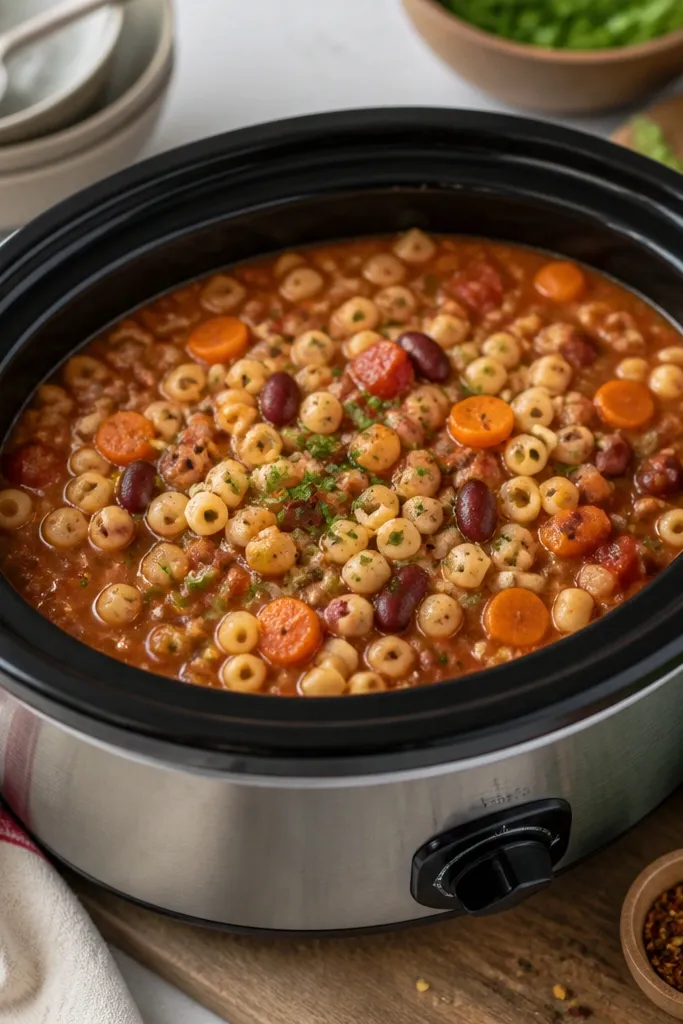
When the soffritto is cooked until soft, it blends into the broth and creates that "slow-simmer" taste. Visually, you want the onion to lose its sharp edges and go slightly translucent. The carrot and celery melt into the sauce and add sweetness and body. This is where the flavor starts building before pressure cooking ever happens.
Use a wooden spoon to scrape the pot after adding tomato paste, so the paste lifts and coats the vegetables. Keep the heat at "Sauté" until you see tomato paste darken by one shade, then stop. If the pot smells burnt, you've gone too far - add a splash of broth immediately to cool it down.
Try thisBrown the tomato paste in the empty pot for 30-45 seconds before adding liquid - it deepens color without drying out the vegetables.
One warningRushing the soffritto - raw onion bits show up as sharp flavor and pale streaks.
3. Cheese Snow Cap Finish
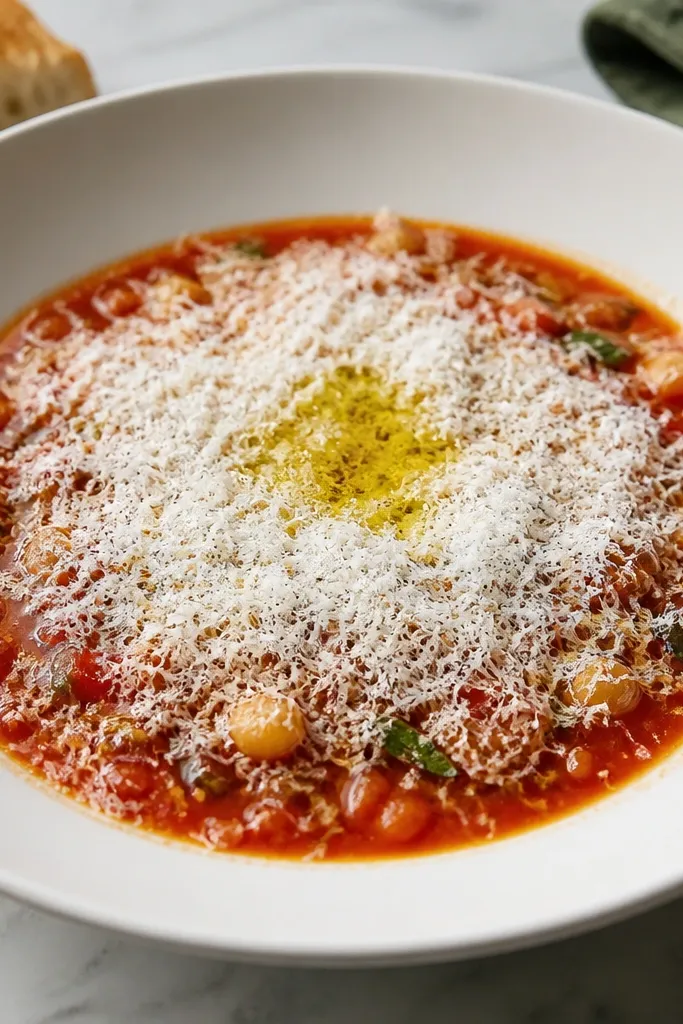
This is the "restaurant bowl" finish. Finely grated cheese melts quickly into the hot liquid but also stays visible as a light cap. It makes the surface look thick and creamy even when the broth is loose. The salty, nutty taste rides on every spoonful.
Use a microplane for a powdery texture. Add cheese right after you open the Instant Pot and stir once, then add a second pinch on top for looks. Keep the drizzle small - about 1 teaspoon per serving.
Try thisIf the cheese clumps, stir for 20 seconds and add 1 tablespoon hot water to smooth it out.
One warningAdding shredded pre-bagged cheese too early - it can clump and look oily instead of snowy.
4. Pasta Shells Coated, Not Floating
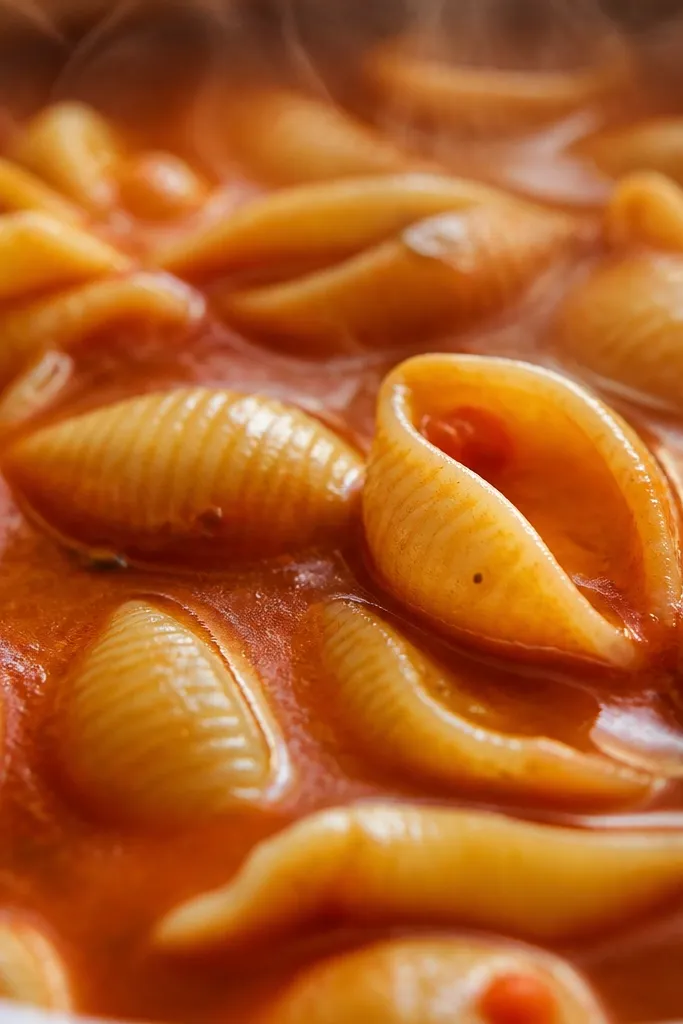
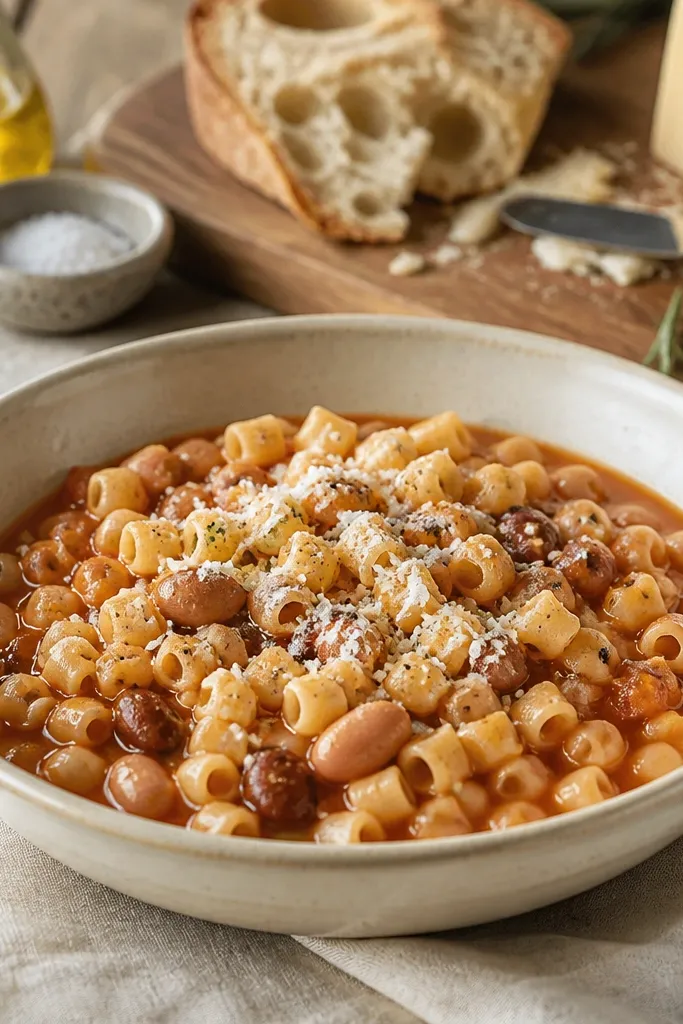
Coated pasta tells you your liquid ratio is right. If the shells float far above the sauce, you're missing enough broth or the sauce is too thick. When the pasta is cooked briefly and the pot is loosened after pressure, the shells absorb just enough sauce and look glossy. That coating also prevents the dish from tasting bland.
Choose small pasta shapes like ditalini or small shells so they're easy to scoop. After pressure cooking, stir and check consistency - you should see liquid pooling around shells, not a thick paste. Add hot water in 1 tablespoon increments until it looks saucy but not heavy.
Try thisLet the pot sit 3 minutes after opening, then stir - it thickens slightly and clings better to the pasta.
One warningOvercooking pasta under pressure - it turns the broth cloudy and makes shells collapse.
5. Herb Speckled Top with Flat-Leaf Parsley
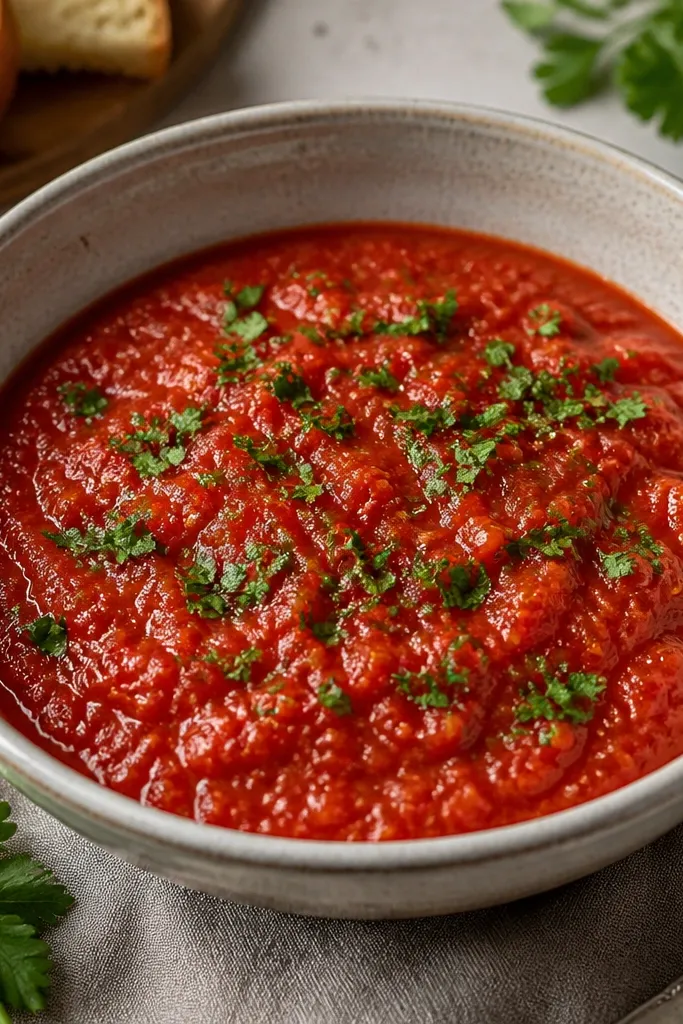
Parsley adds a fresh green contrast that makes the bowl look alive. It also cuts the heaviness of beans and cheese. I like flat-leaf parsley because the leaves stay a bit brighter and don't turn stringy. You get tiny green flecks that spread across the surface with each spoon.
Chop parsley fine - about 1/8 inch pieces. Add it at serving or during the final 1-2 minutes of low simmer, then turn off heat. If you add parsley right at the pressure step, it goes dull fast.
Try thisPat parsley dry with a paper towel before chopping so it doesn't water down the top layer.
One warningThrowing in whole sprigs - they look decorative but don't distribute flavor.
6. Pepper-Red Heat Swirl
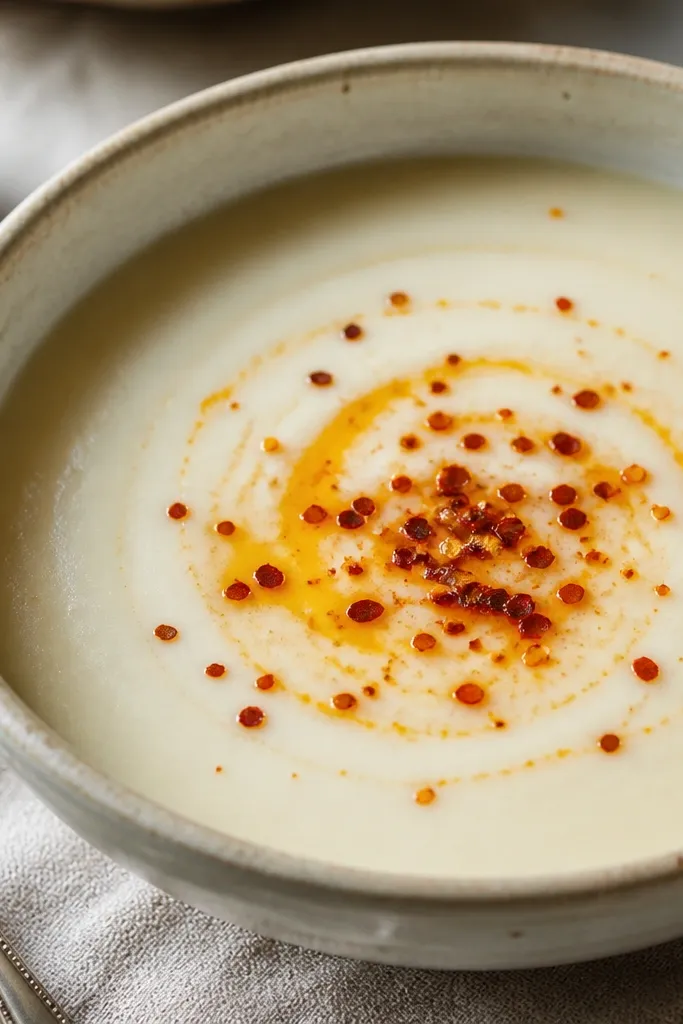
A pinch of crushed red pepper gives warmth and a visual pop. When you bloom pepper flakes in hot olive oil for 20-30 seconds, they smell sharp instead of bitter. The oil carries the spice through the broth, so you taste it without needing extra salt. The orange-red flecks also make the surface look textured.
Stir 1/4 teaspoon crushed red pepper into 1 tablespoon olive oil in a small ramekin, then drizzle over the bowl. Or sprinkle flakes directly and stir once - just don't cook them under pressure. Use a gentle hand so it stays red, not fiery.
Try thisTaste a spoon after stirring - adjust with a second tiny pinch rather than dumping more.
One warningCooking pepper flakes too long - they darken and taste harsh.
7. Thick-Creamy Texture with Visible Bean Integrity
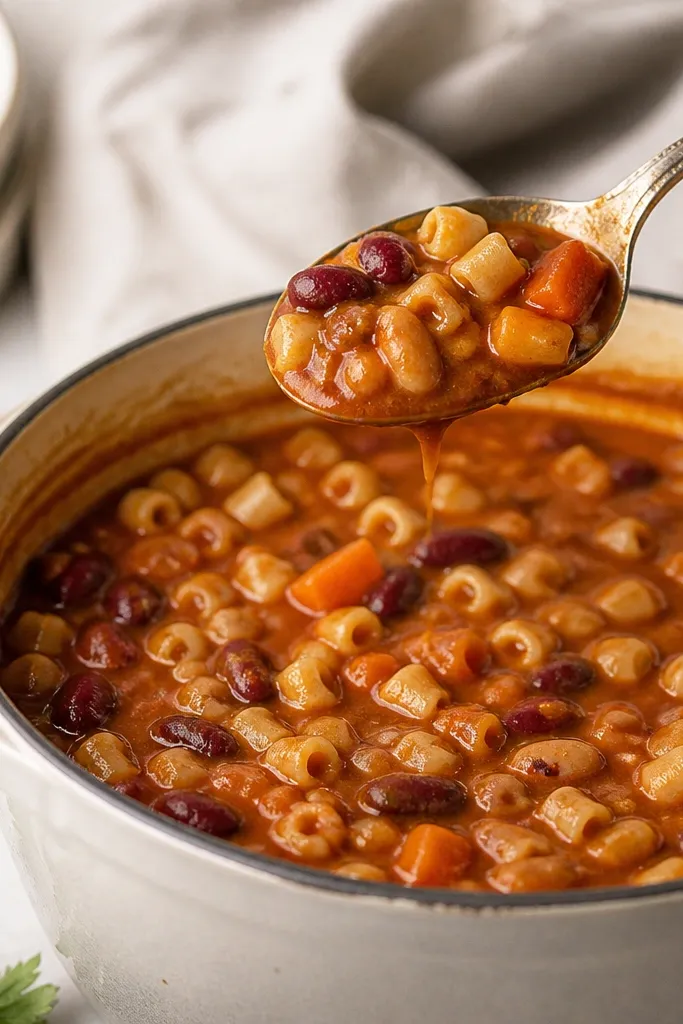
This look is about bean integrity. With the right liquid and time, beans thicken the broth but still hold their shape. The spoon coat test is my go-to: it should coat the back of a spoon and then slowly slide off. That tells you you're in the creamy zone without turning it into bean puree.
If using dried beans, soak is optional but time needs to be dialed in. If using canned beans, add them after pressure. When it's too thick, loosen with hot water - cold water can drop the temperature and make it clump.
Try thisMash 2-3 beans against the side of the pot to thicken without breaking everything.
One warningAdding all beans under pressure then cooking pasta too long - you get mushy beans and cloudy broth.
8. Garlic and Tomato Paste Darkening in the Pot
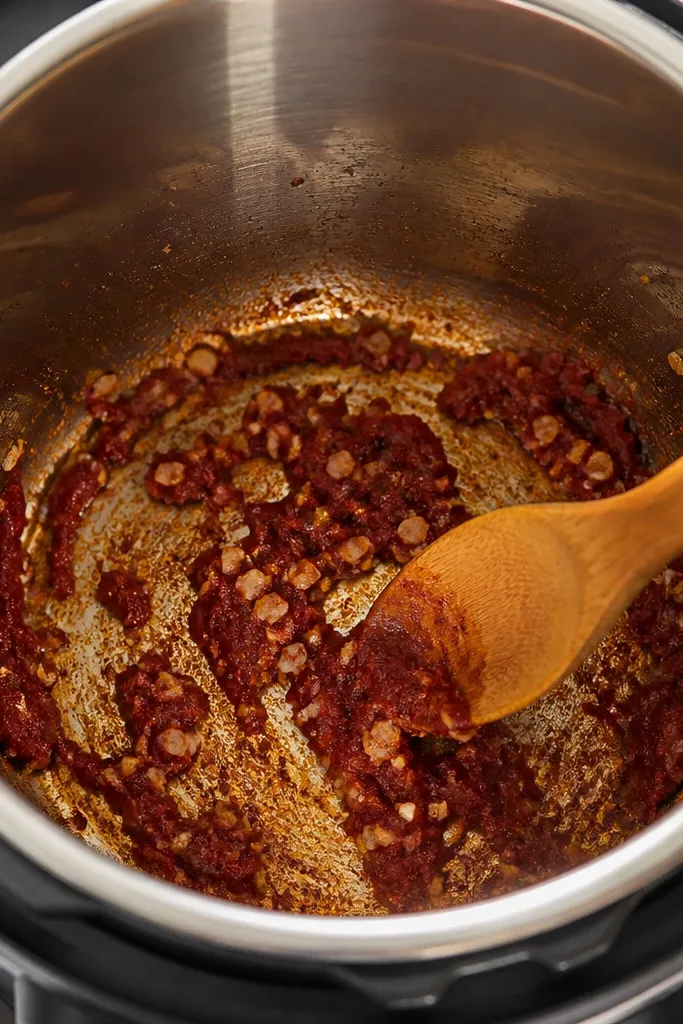
The brick-red paste is what you're aiming for. It smells sweet and savory, not raw. Garlic adds aroma, but it needs short contact time so it doesn't burn and go bitter. This step makes the final broth smell like it cooked longer than it did.
Add tomato paste after sautéing vegetables, then stir constantly for 60-90 seconds. Add garlic for the last 15-30 seconds so it stays pale. Deglaze with broth or water right after - scrape up any stuck bits.
Try thisIf the pot looks dry while sautéing, add 1-2 tablespoons broth to keep the paste moving.
One warningDumping garlic in with tomato paste and leaving it - you get burnt garlic taste.
9. Side Car of Extra Olive Oil and Cheese
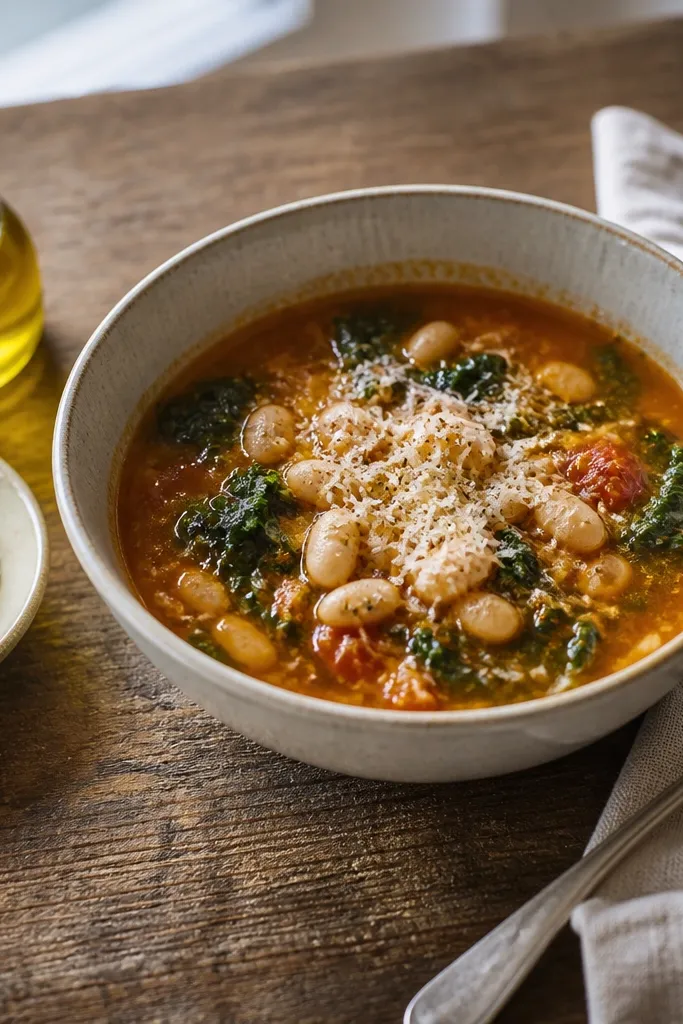
This is how you control saltiness and richness at the table. Some people want extra Pecorino, others want more oil. When you serve it this way, everyone gets the bowl they like without changing the base pot too much. It also makes the meal look intentional instead of thrown together.
Put cheese in a small bowl and olive oil in a ramekin. Keep portions small: about 1 tablespoon cheese per person and 1 teaspoon oil. Stir a spoonful into each bowl only after the soup is in the bowl.
Try thisOffer cheese first, then oil - cheese clings better when the broth is hottest.
One warningMixing everything into the whole pot if you plan to store leftovers - it thickens fast.