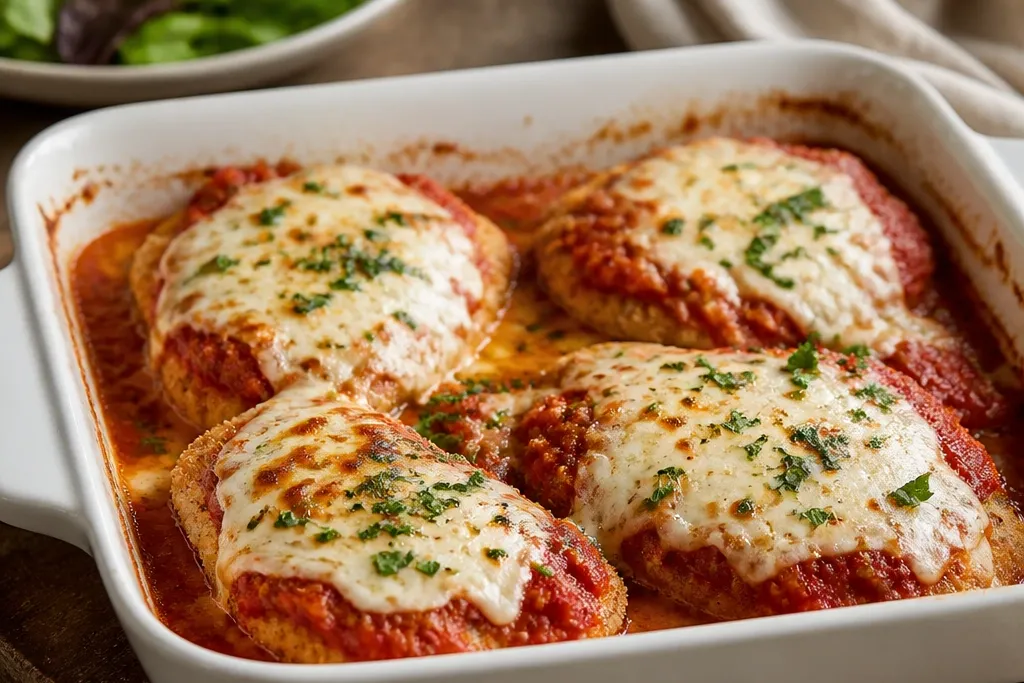
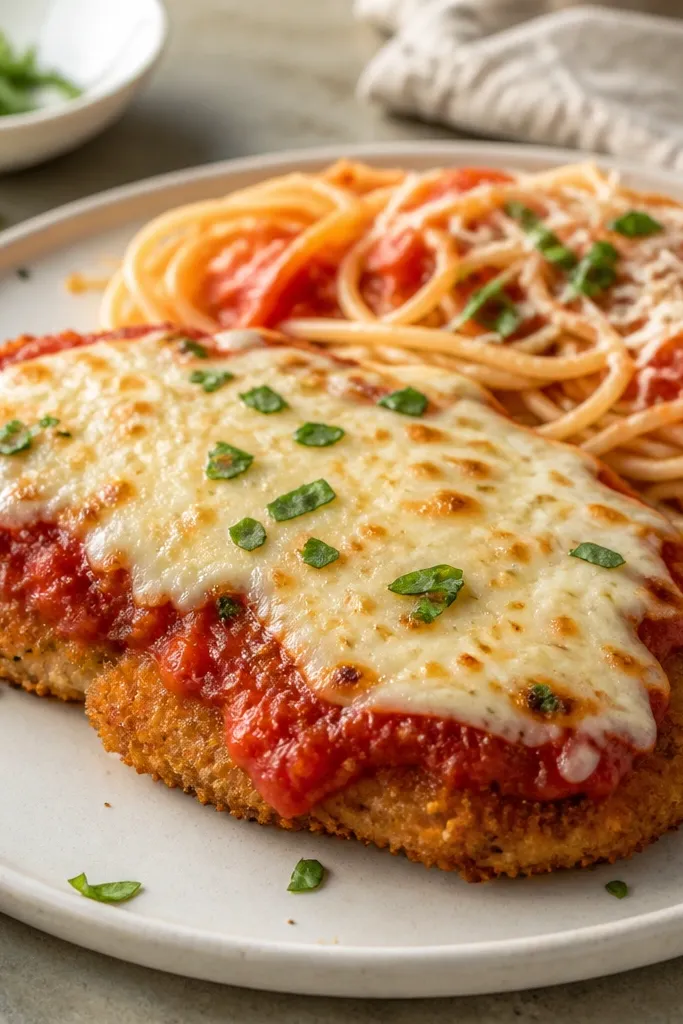
1. Wire-Rack Sheet Pan Crunch Look
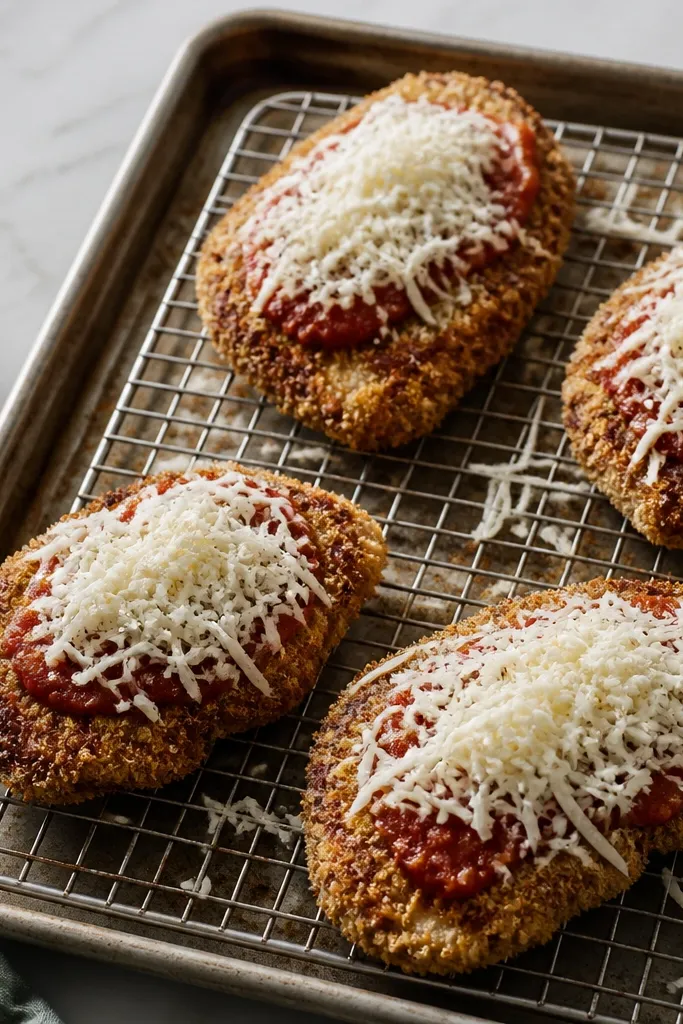
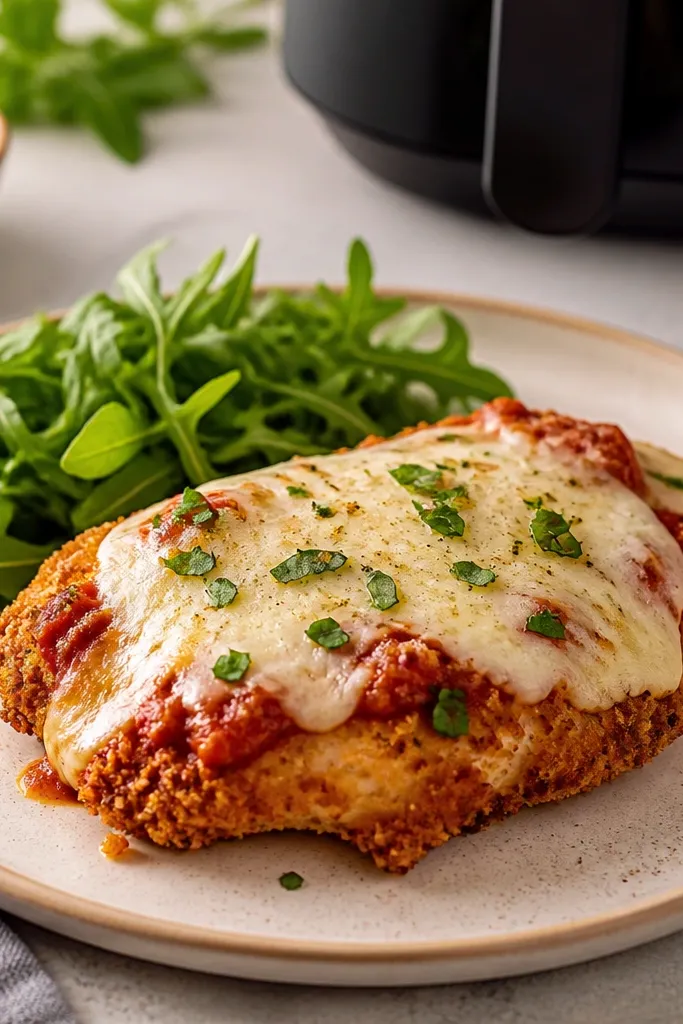
This look comes from airflow. The wire rack lets hot air circulate under the chicken so the crumbs dry and brown instead of steaming. The browned edges show through the cheese layer, which is what makes it feel "baked but fried."
Use a rimmed baking sheet and a rack that fits inside it. Arrange cutlets with at least 1 inch between them so steam doesn't pool. Bake breaded chicken first until golden, then add sauce and cheese for the final melt.
Try thisPut the rack on a preheated sheet pan. The extra heat at the start helps the coating set in the first 5 minutes.
One warningDon't bake breaded chicken directly on a flat pan if you care about crisp bottoms.
2. Panko + Parmesan Crust Close-Up
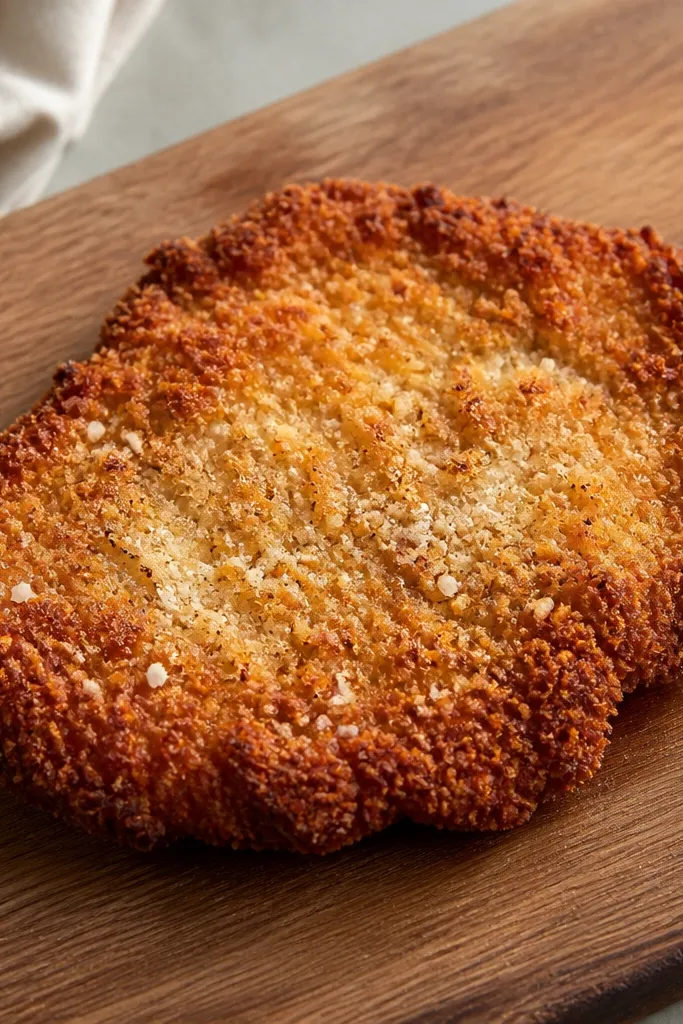
Panko makes the crust look crunchy because the flakes stay distinct as they toast. Parmesan adds little salty white bits that melt slightly and help the crumb layer brown faster. Together, they give you that "shattered breadcrumb" texture you get from frying, minus the oil.
Mix 3/4 cup panko with 1/3 cup finely grated Parmesan. Season that dry mix with 1/2 tsp garlic powder and 1/2 tsp dried oregano. Press the chicken into the crumbs firmly so the coating isn't just sitting on top.
Try thisLet the breaded cutlets rest 5 minutes before baking. The crumbs hydrate slightly from the egg and stick better.
One warningDon't use fresh, moist breadcrumbs for this look - they brown slower and go soft.
3. Sauce-Over-Bake Layering
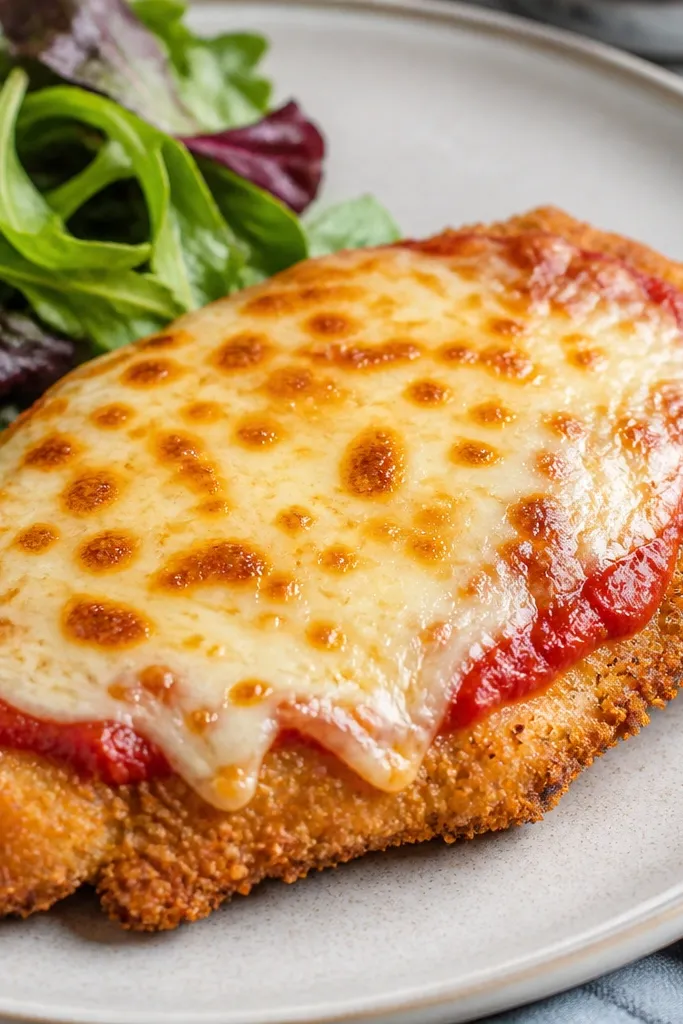
This layering is why the crust stays crisp. If you bake the chicken with sauce on from the start, the breading takes on moisture and turns spongy. Baking first, then adding sauce and cheese for a short second bake keeps the texture intact and makes the top look glossy.
After the first bake, spread a thin layer of marinara (about 2-3 tbsp per cutlet) and top with mozzarella. Bake another 6-8 minutes just until cheese melts and bubbles at the edges.
Try thisWarm the marinara in a microwave for 20-30 seconds so it spreads easily without cooling the pan too much.
One warningDon't drown the cutlet in sauce - thick sauce pools and ruins the crumb texture.
4. Two-Cheese Budget Melt
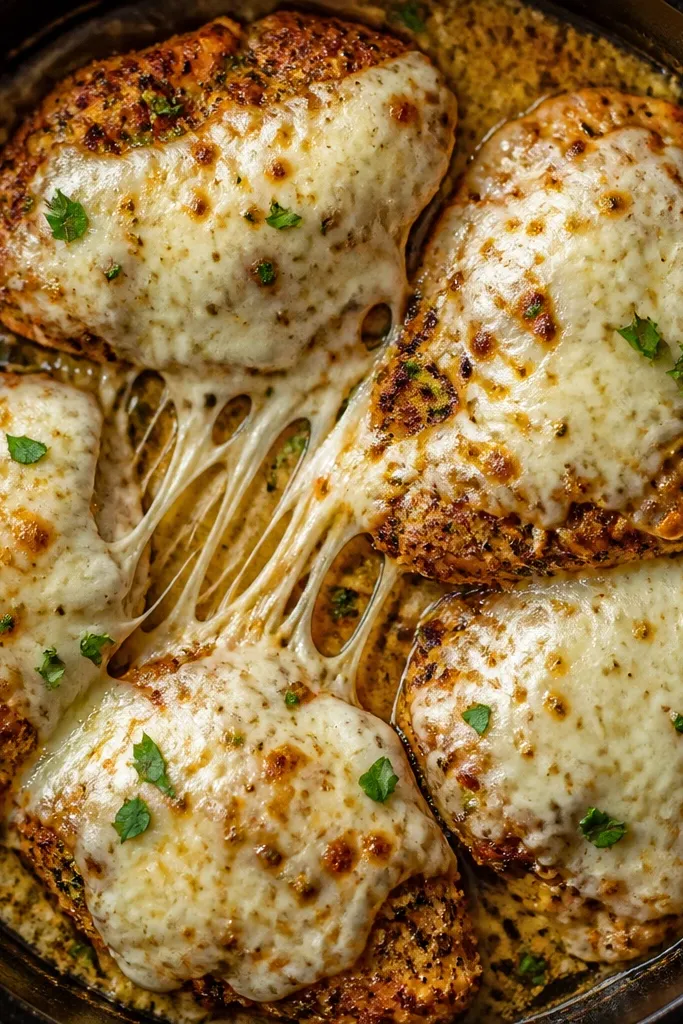
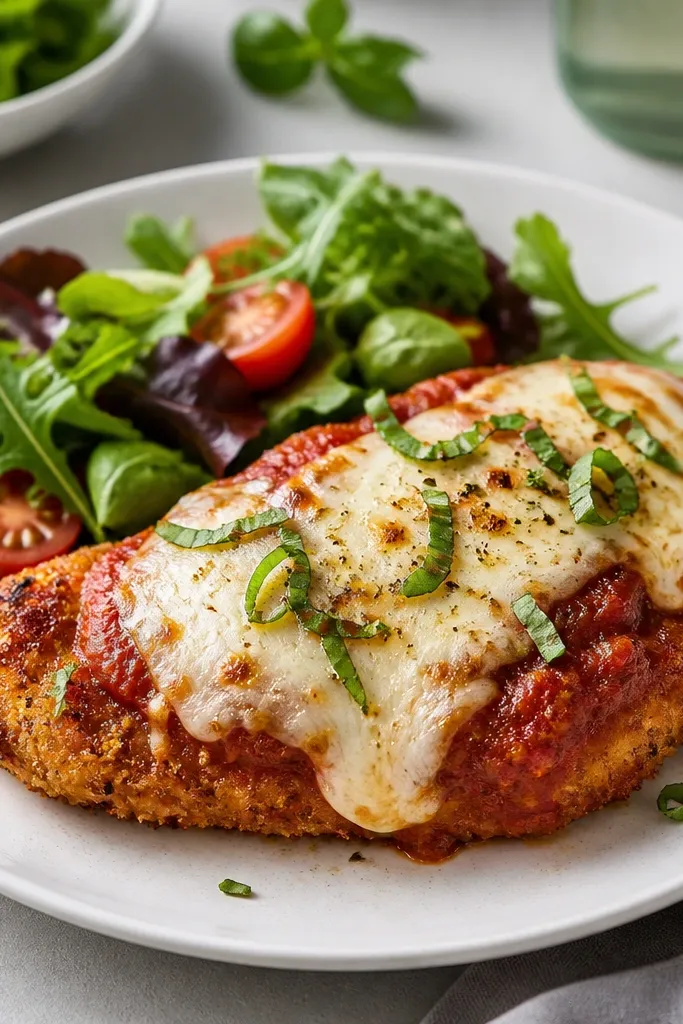
Using two cheeses gives you the taste and the look without paying for fancy brands. Mozzarella gives you the stretchy melt and that familiar golden bubble. A little extra Parmesan in the top layer browns and adds salty depth that reads as "authentic parmesan," even on a budget.
Top the sauce with 1/2 to 3/4 cup shredded mozzarella per two cutlets (depending on size). Sprinkle 2-3 tbsp Parmesan over the mozzarella right before the second bake for speckled browning.
Try thisShred mozzarella from a block if you can. Pre-shredded can brown unevenly and sometimes melts with a film.
One warningDon't use only mozzarella - the flavor reads flat and the surface won't brown the same.
5. Lemon-Herb Garnish Pop
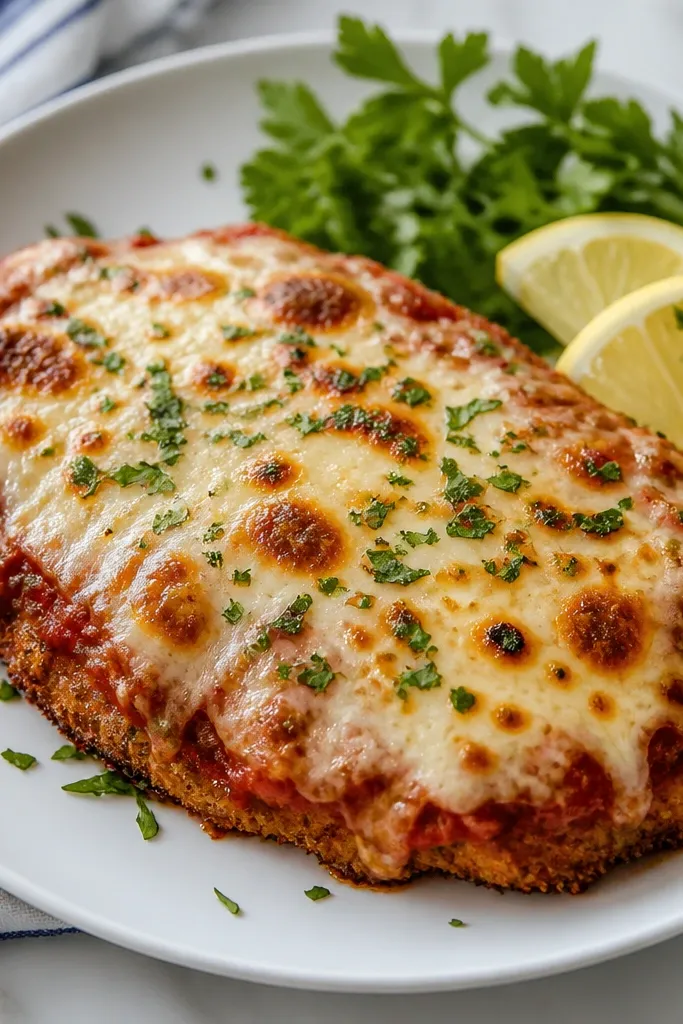
A little acid makes the whole dish taste less heavy, and it also makes the photo look fresher. Lemon zest or chopped parsley adds green contrast against the red sauce and golden cheese. I add it right after the final bake so it looks lively, not wilted.
Use chopped fresh parsley (about 1 tbsp per serving) and a few lemon wedges. If you have dried oregano in the pantry, a pinch over the cheese looks good too, but parsley is the cleaner color pop.
Try thisAdd lemon zest with a microplane right before serving. It clings to the cheese and smells sharp.
One warningDon't garnish early. Parsley turns dark in minutes under hot cheese.
6. Cutlet Thickness for Even Browning
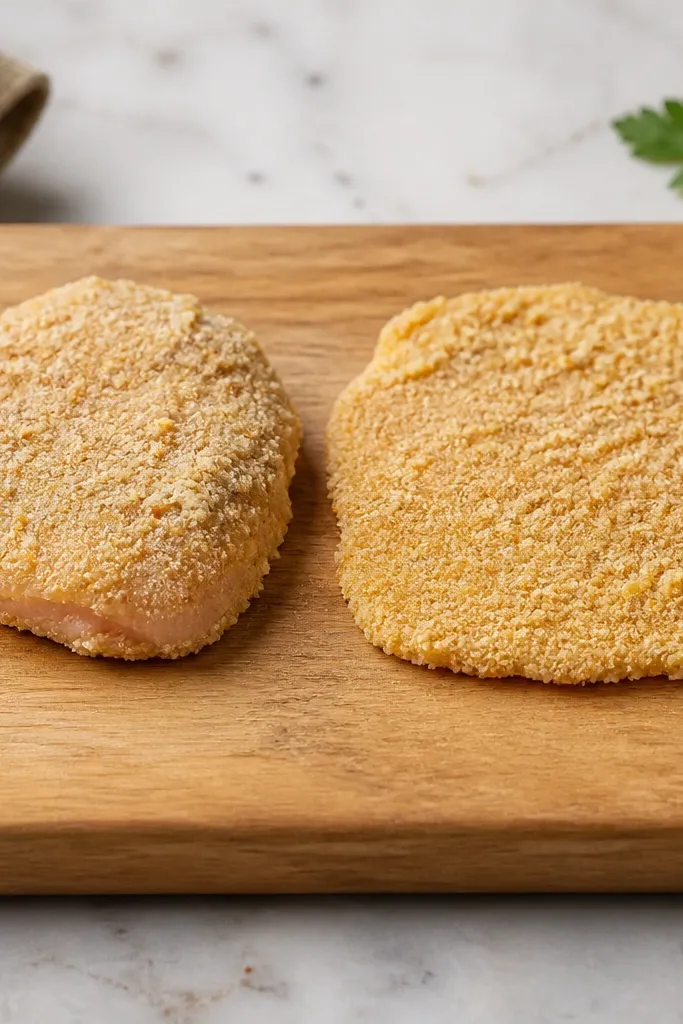
Even thickness is what makes "crispy on the outside" actually mean crispy, not burnt on one side and undercooked on the other. When cutlets are too thick, the crumbs brown before the center reaches safe temperature. When they're even, you get a uniform golden crust.
Pound chicken cutlets to about 1/2 inch thick. If you start with chicken breast, slice horizontally to create cutlets, then pound lightly. Aim for the same thickness before breading.
Try thisUse a instant-read thermometer. Pull at 160°F in the thickest spot before sauce and cheese.
One warningDon't skip pounding. "Thick breast" is the most common reason baked parmesan looks uneven.
7. Nonstick Pan With Crisp Edges
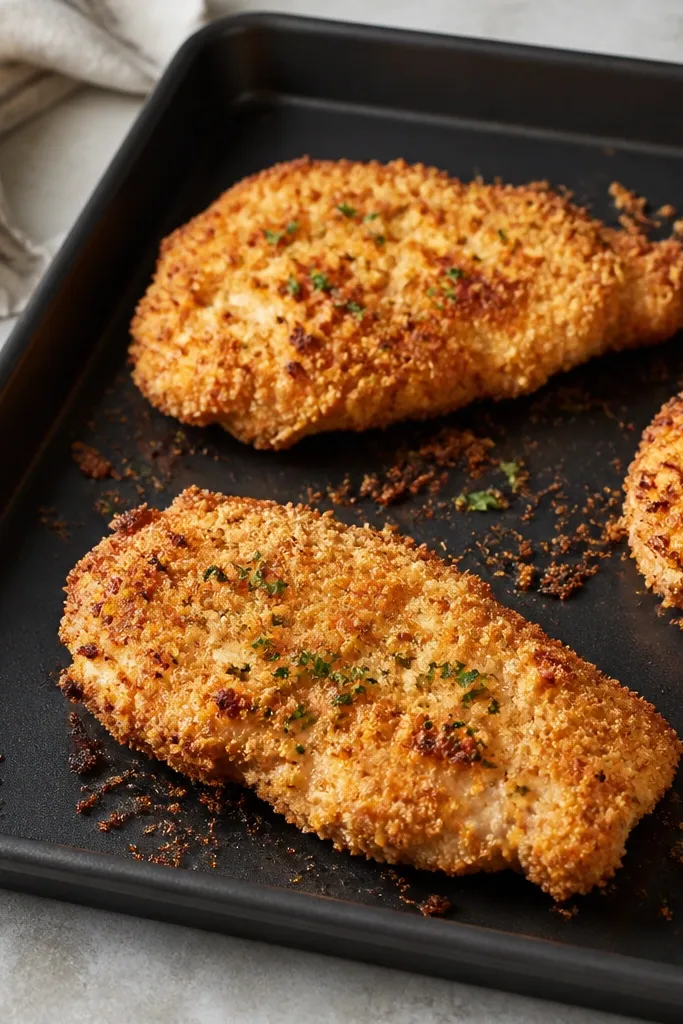
A dark pan speeds browning because it holds and radiates heat. That helps the crumb layer set quickly, which keeps sauce from soaking in later. The edges look crisp because the coating dries faster at the perimeter.
If you don't have a wire rack, use a dark sheet pan and preheat it for 5-8 minutes. Place cutlets directly on the pan and leave space between them. Bake first until golden, then move quickly to sauce and cheese.
Try thisLightly oil the pan with a folded paper towel, not a heavy pour. Too much oil makes the crust greasy.
One warningDon't use a shiny aluminum pan. It browns slower and makes the crust look pale.
8. Resting Time Before Baking
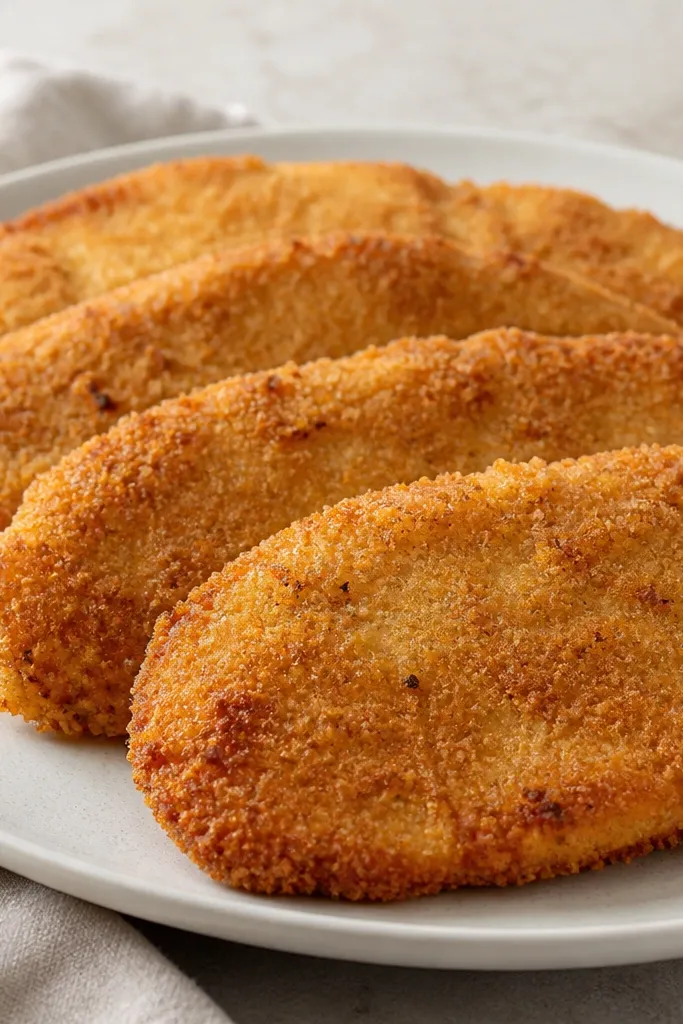
Resting gives the crumb layer time to hydrate and stick. You want the coating to look dry on top, not tacky. That small change makes browning more even and helps the crumbs cling when you add sauce.
After breading, rest cutlets on a plate for 5 minutes. If your kitchen is humid, rest 8 minutes. Don't cover them with plastic - trapped moisture softens the crust.
Try thisIf the coating looks loose, press again right before the oven.
One warningDon't bake immediately after breading if the crumbs slide when you nudge the cutlet.
9. Spreading Sauce Like a Thin Roof
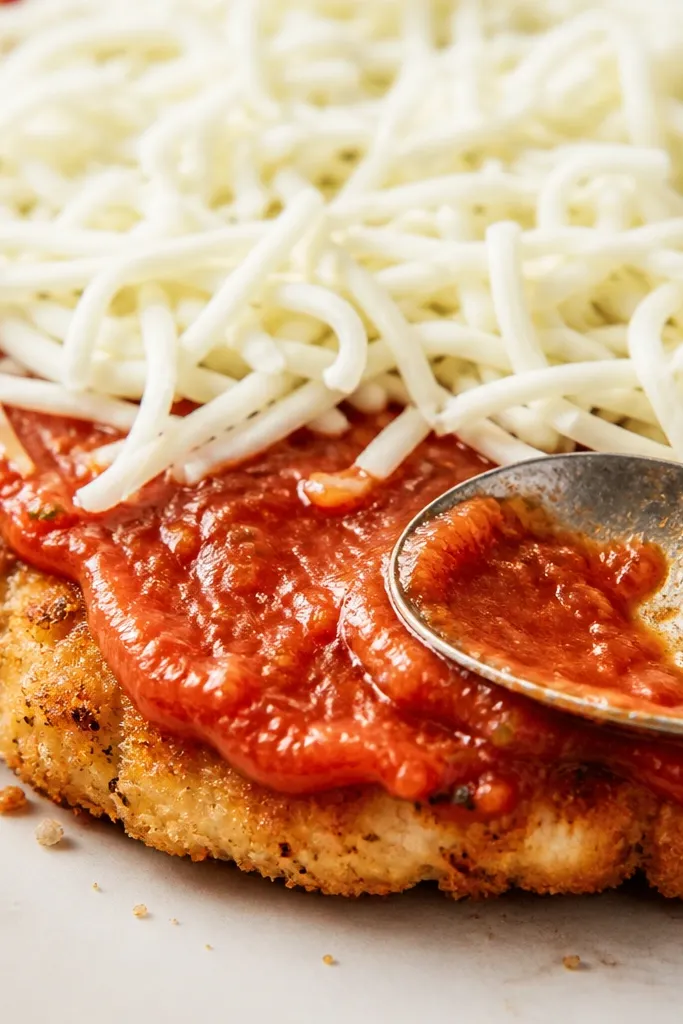
Thin sauce gives you flavor without killing the crust. When sauce stays shallow, it warms through quickly and doesn't soak deep into the breading. That's what keeps the cutlet looking crisp even after the cheese melts.
Use the back of a spoon to spread sauce to the edges, leaving a 1/4 inch border so the sauce doesn't run down the sides. Keep mozzarella coverage even, then add Parmesan on top for browning.
Try thisSpread sauce in small circles, then smooth. It prevents thick ridges that look messy in the final bake.
One warningDon't dump sauce in the center and hope it spreads. It creates thick pools.
10. Broiler Finish for Spotty Gold
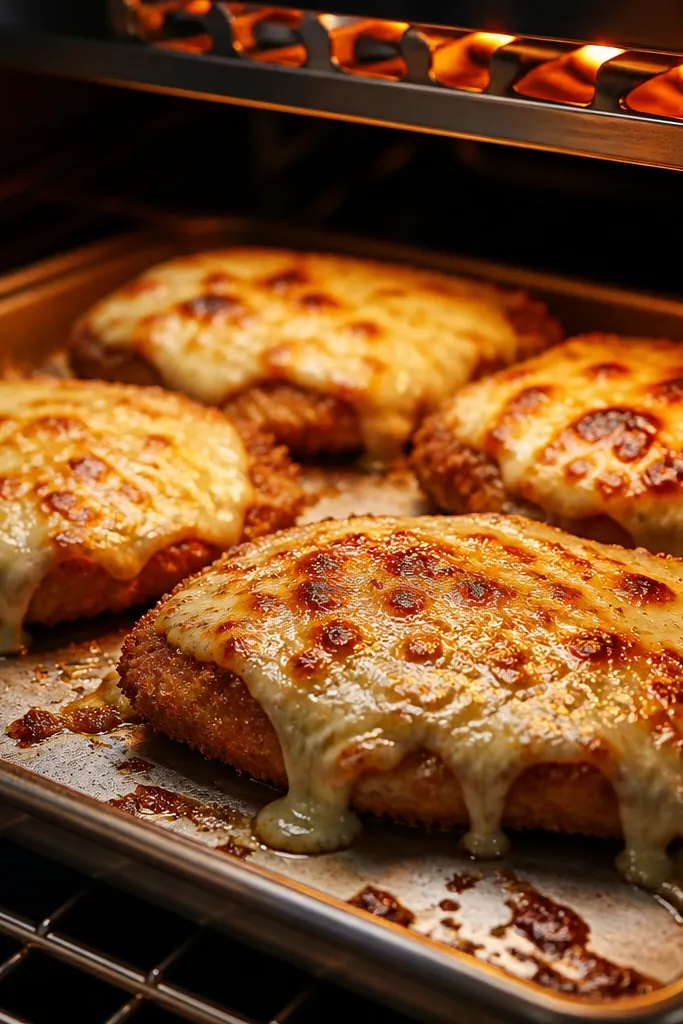
A short broil gives you that "restaurant" speckled browning. It also tightens the surface of the cheese so it looks set, not watery. I use broiler time like a finishing step, not the main cook.
After the second bake, broil on high for 1-2 minutes. Watch the oven closely - cheese can go from golden to browned-black fast. Keep cutlets on the middle rack so they brown evenly.
Try thisTurn on the broiler only after the cheese is fully melted. That way, you're browning, not melting.
One warningDon't broil from the start. The crumbs can burn before the center heats through.