1. Tray-Ready Mini Ravioli Rows
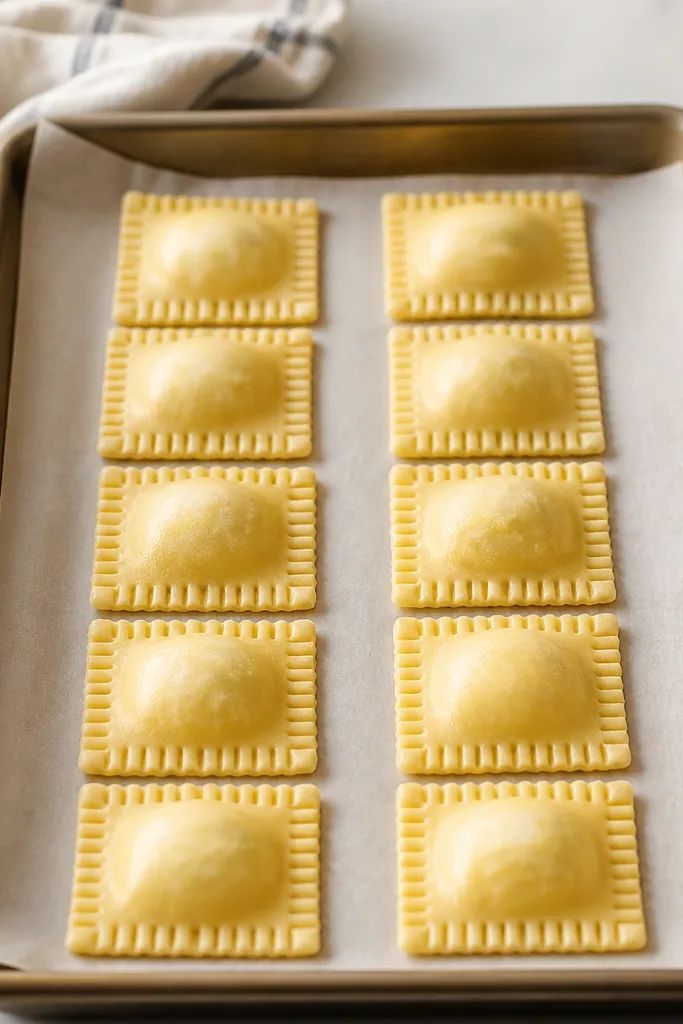
This look is what makes small-space ravioli feel doable. The parchment keeps the dough from sticking while you work, and the rows stop you from crowding the pan like a puzzle you can't solve. Because the pasta is thin, the filling outline shows just enough to look handmade. It also helps you track how many you've assembled without losing them in the mess.
Line a 13x18 inch sheet pan with parchment. Assemble ravioli in tight rows with about 1 inch between each one so they don't fuse while resting. Keep a light dusting of flour on the parchment only where needed - too much flour looks chalky on the finished pasta.
Try thisStage the empty rows first. Once the tray is partitioned with parchment marks, you fill and seal in one direction so your hands don't smear dough everywhere.
One warningAvoid piling ravioli into a heap on the tray - they stick together and the edges lose their clean crimp.
2. Fork-Crimped Edge With Visible Seal Line
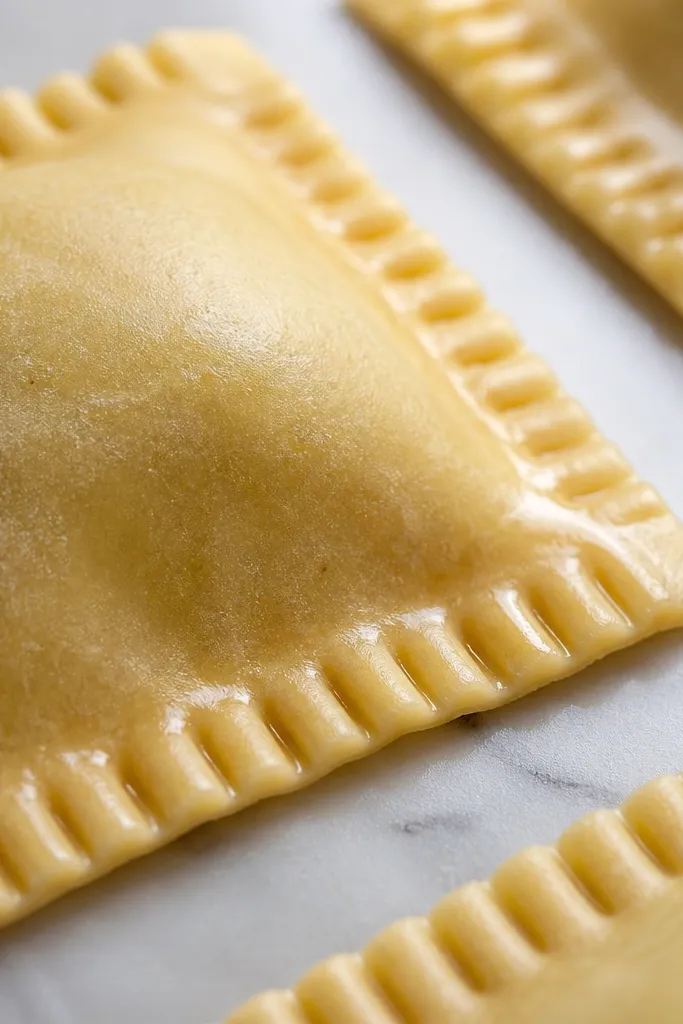
The fork pattern gives you that crisp, homemade edge without fancy tools. You want a seal that looks intentional, and a visible seam tells you the ravioli won't split in the pot. The glossy line forms where the egg wash hits the dry pasta edge, then the press locks it in. This is especially helpful for small ravioli because any gap cooks fast and opens quickly.
Brush egg wash only along the edge line - not over the filling. Press with the fork tines firmly enough to flatten the seam but not so hard that you squeeze filling out. Trim uneven pasta edges with a small knife so the crimp looks straight.
Try thisWipe your fork tines every few ravioli with a damp paper towel so the press stays sharp and doesn't smear dough.
One warningDon't press the fork through wet filling. If the filling hits the seam, the ravioli look messy and leak.
3. Ricotta-Rich Filling Flecks
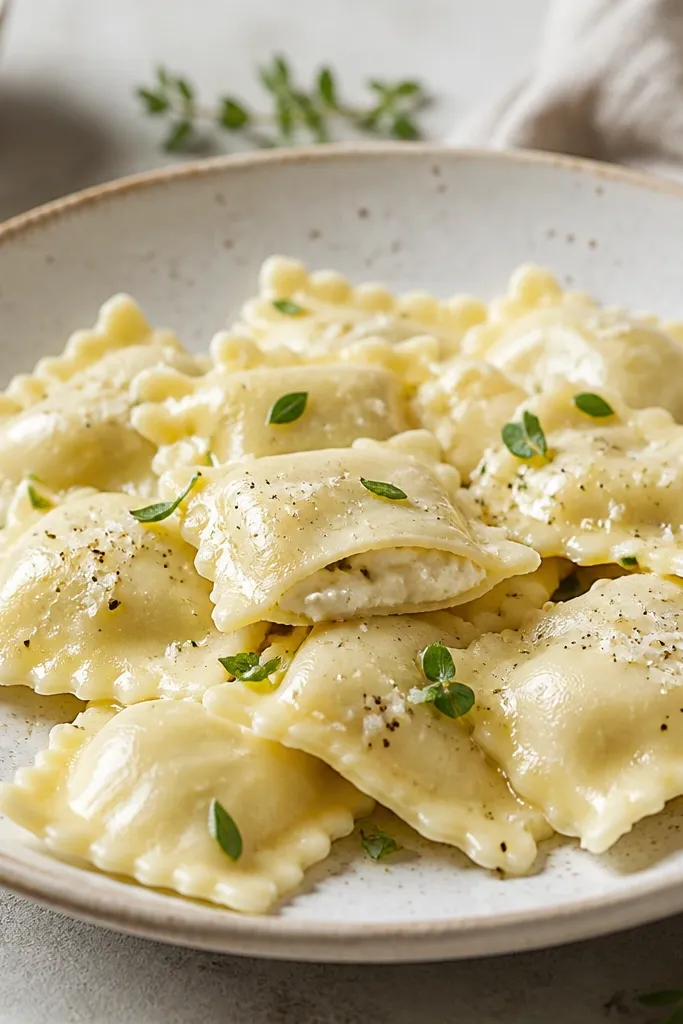
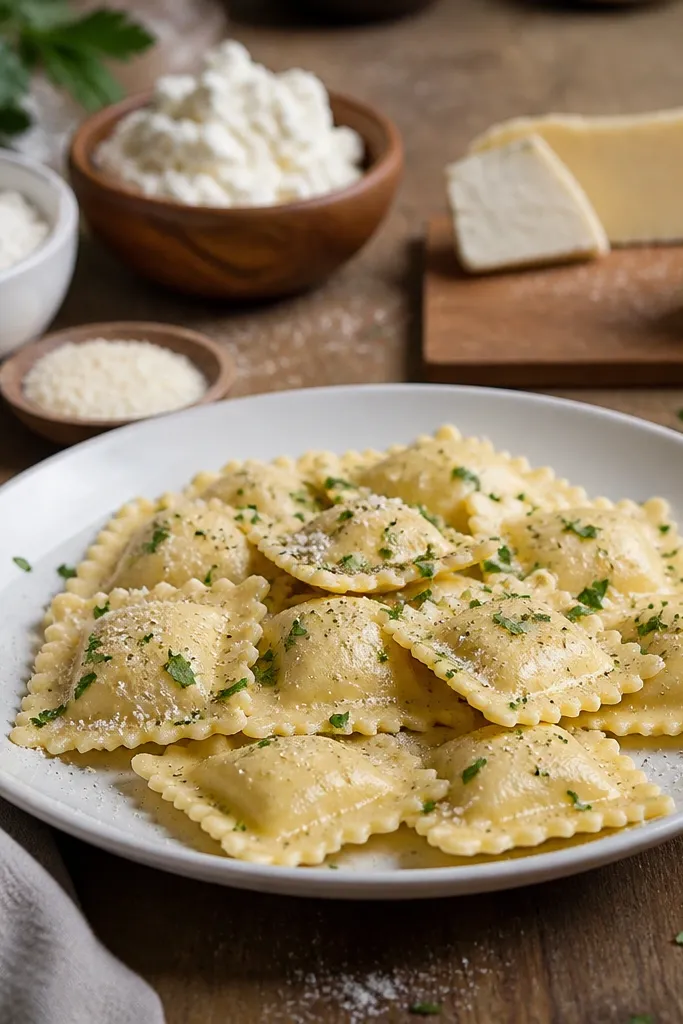
This look comes from mixing drained ricotta with finely grated Parm and a small amount of mozzarella. The ricotta stays pale and creamy, while the Parm gives tiny golden specks. After boiling, you see little flecks because the filling doesn't fully blend into one blob - it melts just enough. It also tastes better than a filling that's too smooth, because you get different cheese notes in each bite.
Use ricotta that has been drained until it holds a spoon shape. Mix in Parm off the heat so it doesn't clump. Add mozzarella last and keep it in small bits so it melts into soft pockets.
Try thisGrate Parm very fine. Fine flakes melt and create those pinpoint flecks instead of gritty crumbs.
One warningSkip watery ricotta - it turns the filling into a slide-out puddle and your ravioli look pale and underfilled.
4. Sauce That Clings Without Drowning
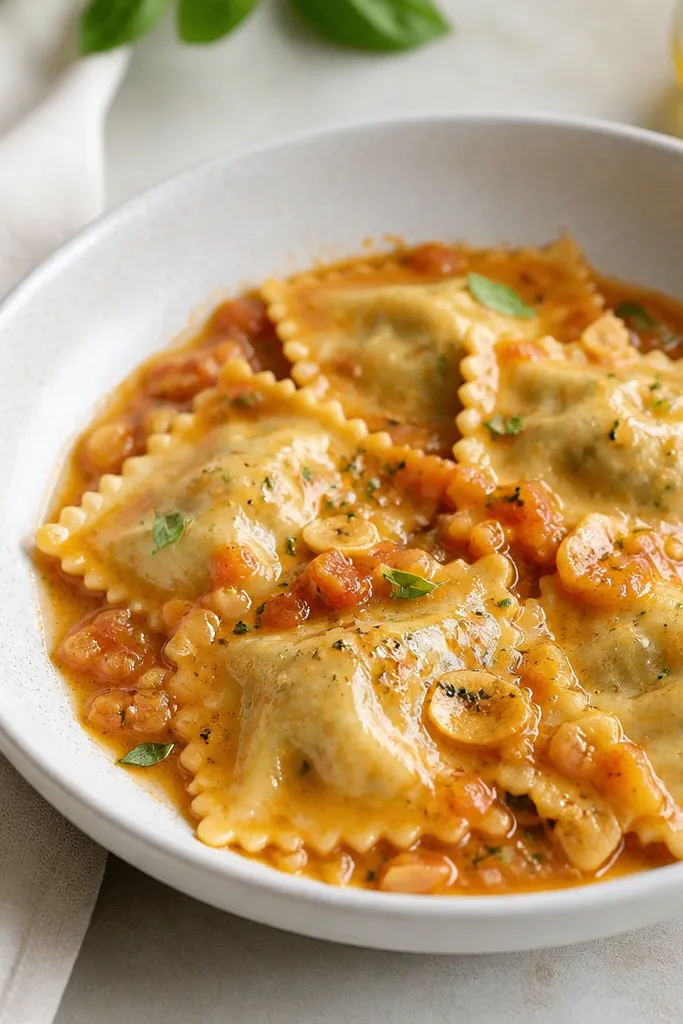
Small ravioli look best when the sauce coats the pasta lightly instead of pooling around it. I use a quick tomato-garlic sauce and toss the ravioli gently for 30 to 45 seconds so the sauce clings from starch in the water. The crimp stays visible, and the cheese center peeks through. This is what makes it look "planned" instead of "thrown together."
Cook sauce in a wide pan, then add a splash of pasta water. When ravioli are drained, toss them directly in the sauce - don't ladle sauce on top. A shallow layer keeps the pasta from steaming itself into mush.
Try thisReserve pasta water and add it a teaspoon at a time. You want a glossy slip, not a watery puddle.
One warningDon't drown ravioli in sauce and let them sit. They keep absorbing liquid and the pasta edges blur.
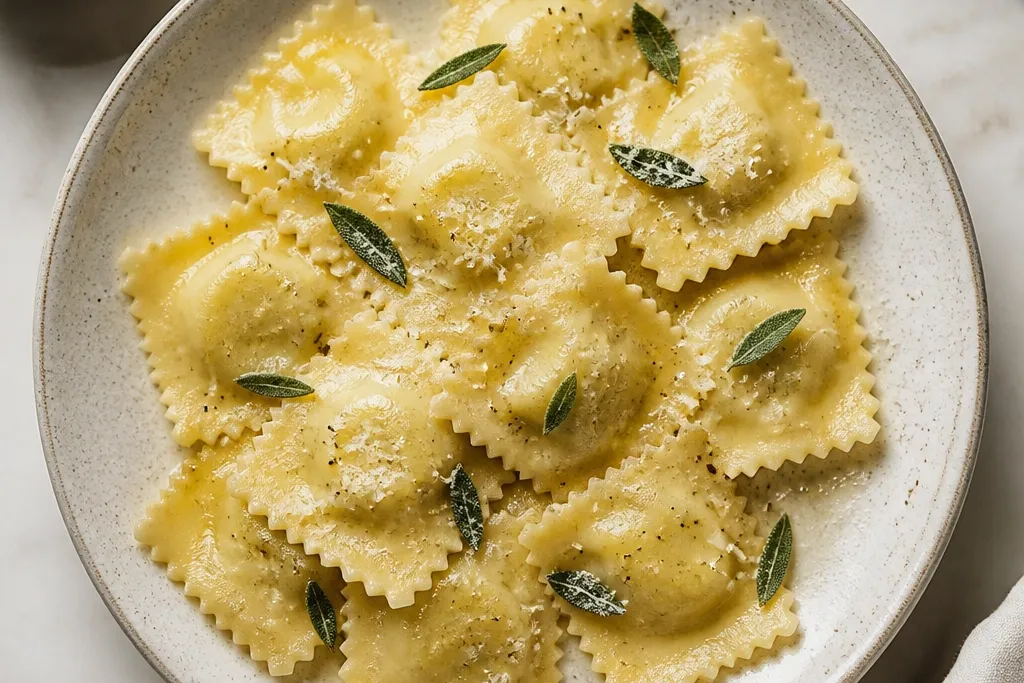
5. Lemony Brown Butter Finish
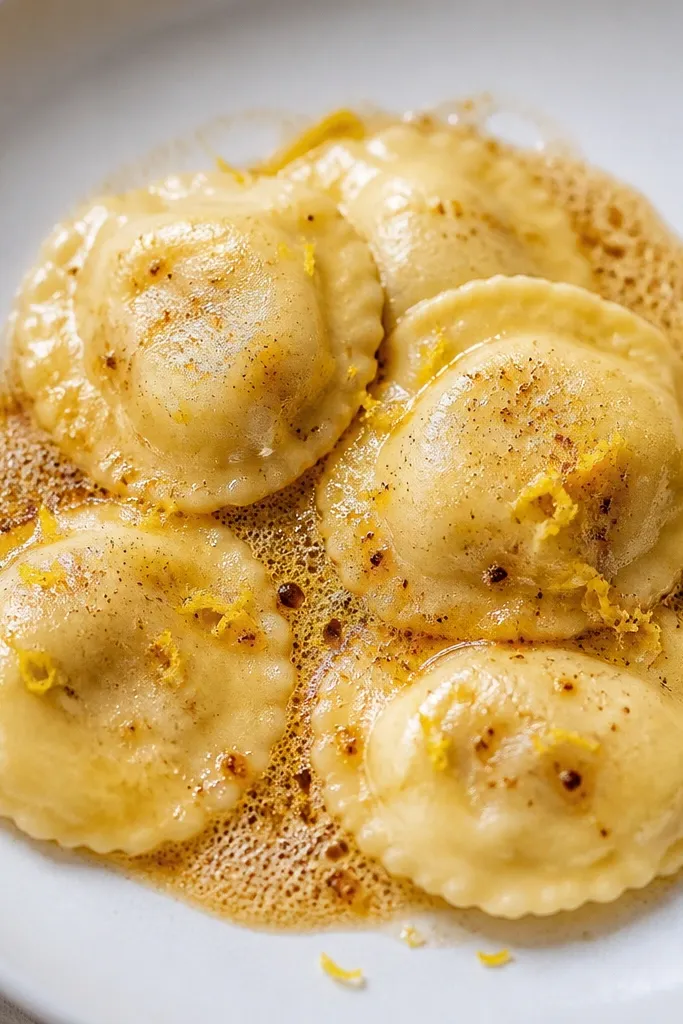
If you want the ravioli to look extra golden, brown butter changes the whole vibe. The nutty color makes the pale cheese filling look richer, and the lemon zest adds tiny bright flecks on top. Small ravioli get a lot of surface area, so butter clings fast and you get that glossy coat quickly. It also feels like a treat without heavier sauces.
Brown butter until it smells like toasted nuts, then pull it off heat and stir in lemon zest and a pinch of salt. Toss ravioli briefly, then plate immediately. Add more zest at the end so it looks fresh, not muted.
Try thisUse a microplane for zest. Big strips melt and look wet on hot pasta.
One warningAvoid cooking lemon zest in the pan. It turns bitter and the plate looks dull.
6. No-Machine Dough Sheets on a Light-Flour Board
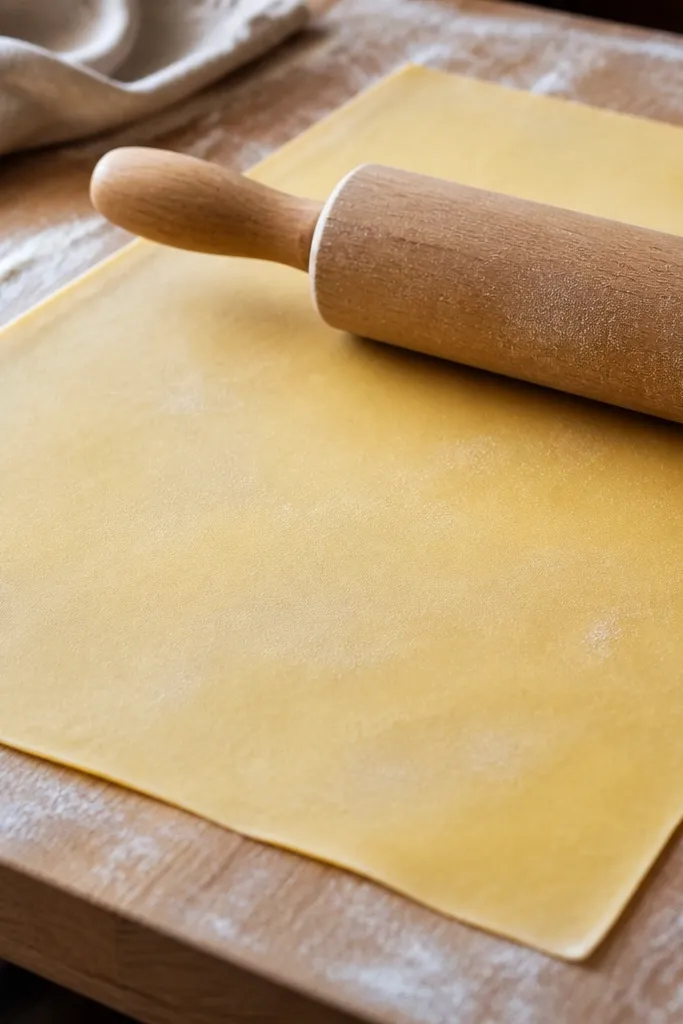
You don't need a pasta machine for small-space ravioli, but you do need a consistent thickness. I roll on a board dusted with a very light flour layer so the dough doesn't grab. The thin sheet lets you see the filling outline after sealing, which makes the finished ravioli look neat. It also means you can cut and assemble smaller portions without the dough tearing.
Roll in short passes, rotating the sheet a quarter turn to keep it from shrinking back. Aim for a sheet that bends without cracking. When trimming, use a sharp knife so the edges are straight for clean crimp lines.
Try thisIf the dough fights you, rest it 5 minutes under a towel. The sheet relaxes and rolls flatter.
One warningDon't add heavy flour to the dough sheet. It dries the surface and the seam seal gets weak.
7. Two-Piece Assembly Station Setup
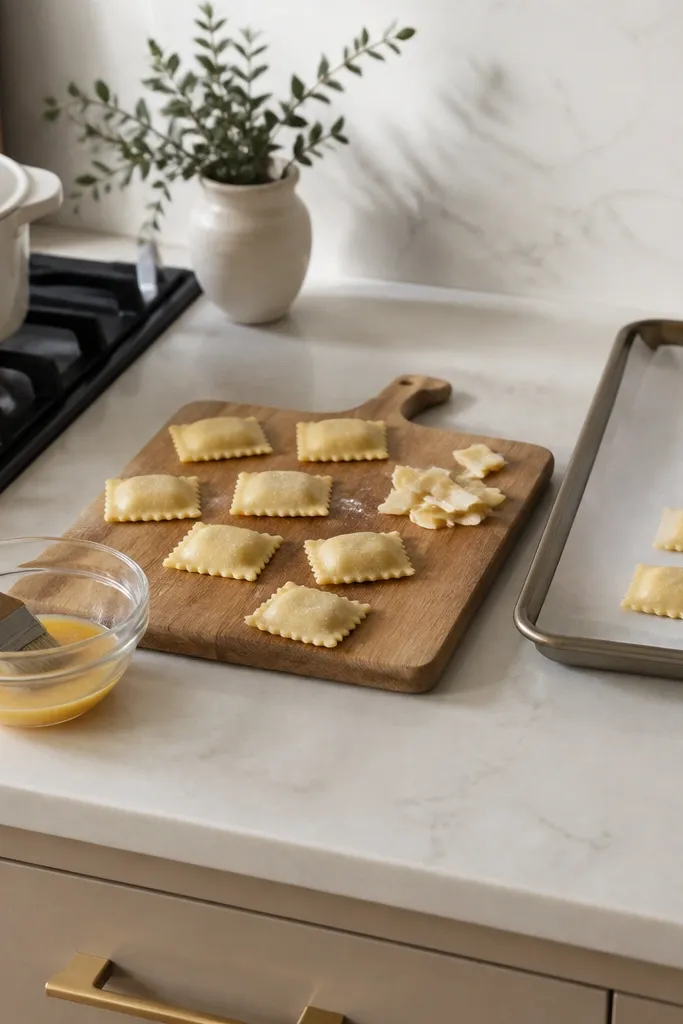
This is how you keep it from becoming a flour storm. The small cutting board is where you portion and seal, and the sheet pan is where finished ravioli rest. The egg wash bowl sits in the same spot every time, so you don't wipe your hands on random towels and smear dough. It makes small space ravioli feel calm instead of chaotic.
Use a board no bigger than 10x14 inches. Keep a dry towel for hands and a damp towel for the fork only. Set your flour and a small brush within arm's reach.
Try thisLay down a parchment strip on the board as a "landing pad" for sealed ravioli so you never set them directly on flour.
One warningSkip the giant pile of tools on the counter. Every extra bowl becomes a place for dough to stick.
8. Compact Portioning With a Small Spoon
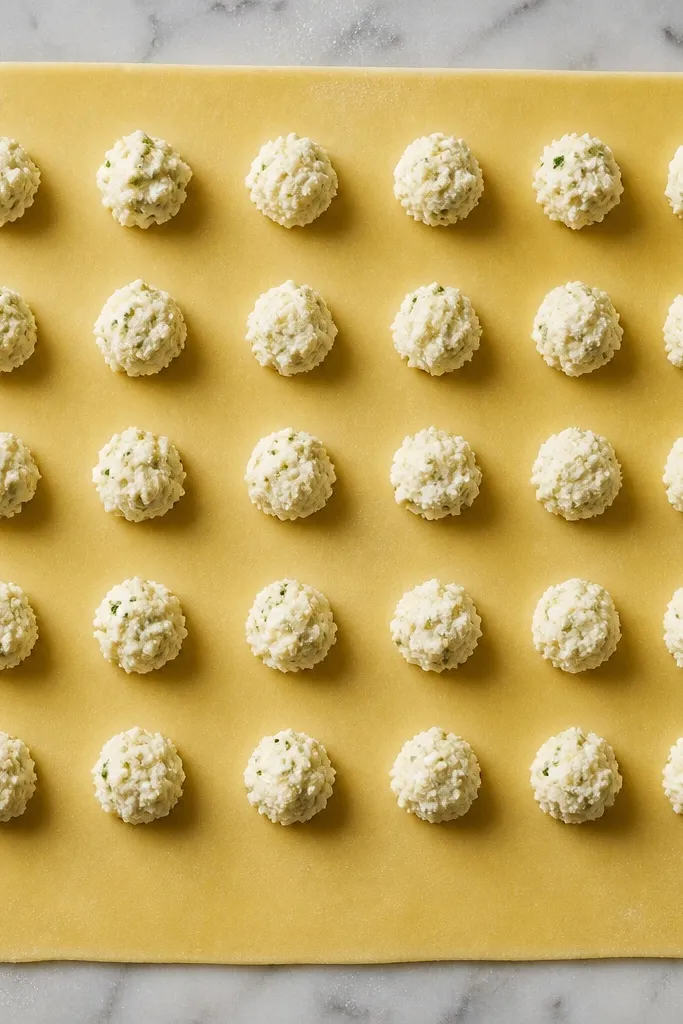
Consistent filling size is what makes small ravioli look professional. When the mounds are uniform, the pasta closes evenly and the seams look tight. A small spoon gives you control - you can place filling without dragging it across the dough. The grid spacing also helps you press and seal quickly without overworking the dough.
Use a teaspoon or a 1/2 tablespoon measure to scoop. Place filling in rows with about 1 to 1.25 inches between centers. Keep the filling mounds slightly domed so they flatten under the top sheet without spreading.
Try thisIf filling touches the edge, wipe it off right away. Any smear on the seam stops the seal from bonding.
One warningDon't try to "eyeball" filling. Uneven mounds cause thin spots and blowouts.
9. Parmesan Snow Finish on Hot Ravioli
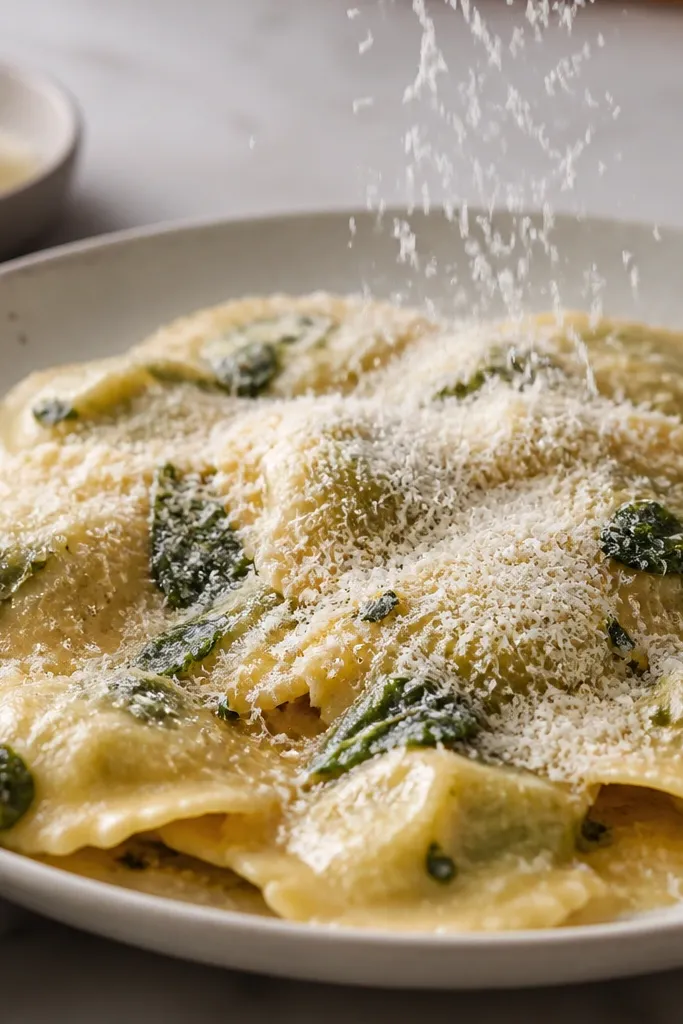
A light Parm dust makes the ravioli look restaurant-ready because it gives texture and contrast. Fine cheese melts slightly on contact, so it clings instead of sitting in clumps. This finish also hides small imperfections - like tiny uneven seams - while still looking intentional. Small ravioli benefit from this because each piece has a smaller surface area to show sauce.
Grate Parm fresh and fine. Dust immediately after tossing so the cheese sticks to steam-warm surfaces. Use a small pinch at a time so you don't overdo it.
Try thisDust over the plate with a steady hand, not from high up. Close-range gives a soft, even veil.
One warningDon't use pre-grated cheese. It melts unevenly and can look grainy.