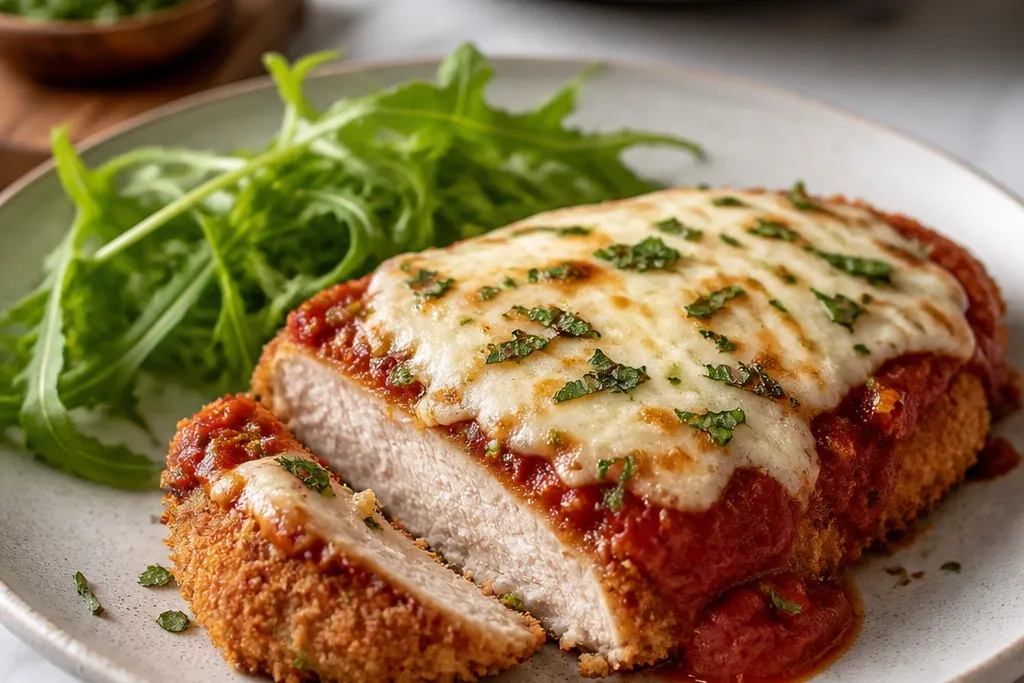
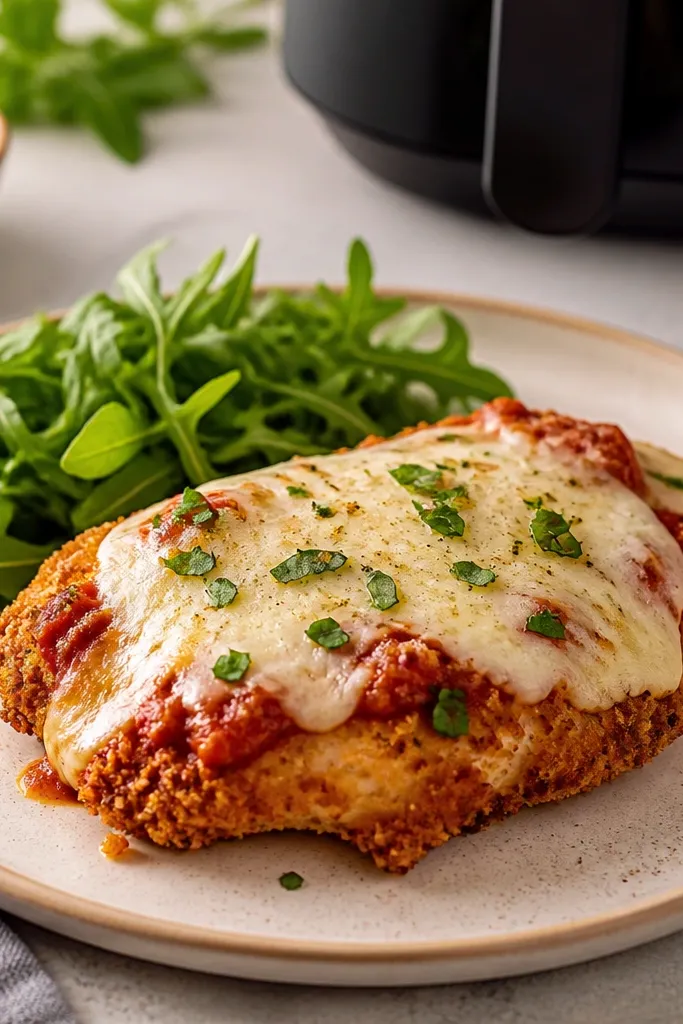
1. Crisp Panko Edge Cutlets
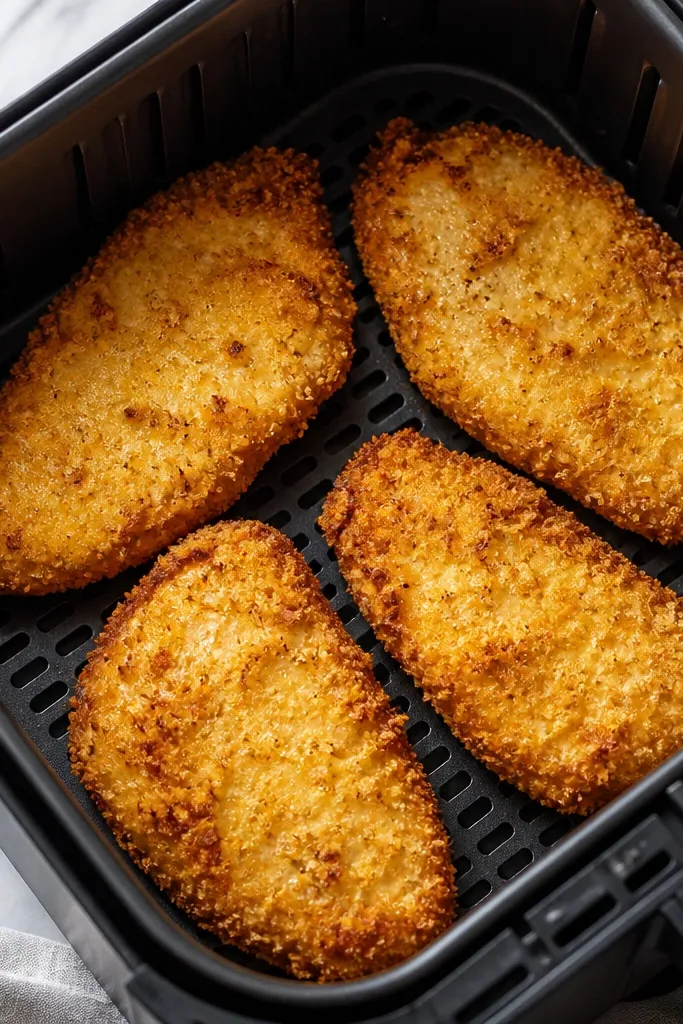
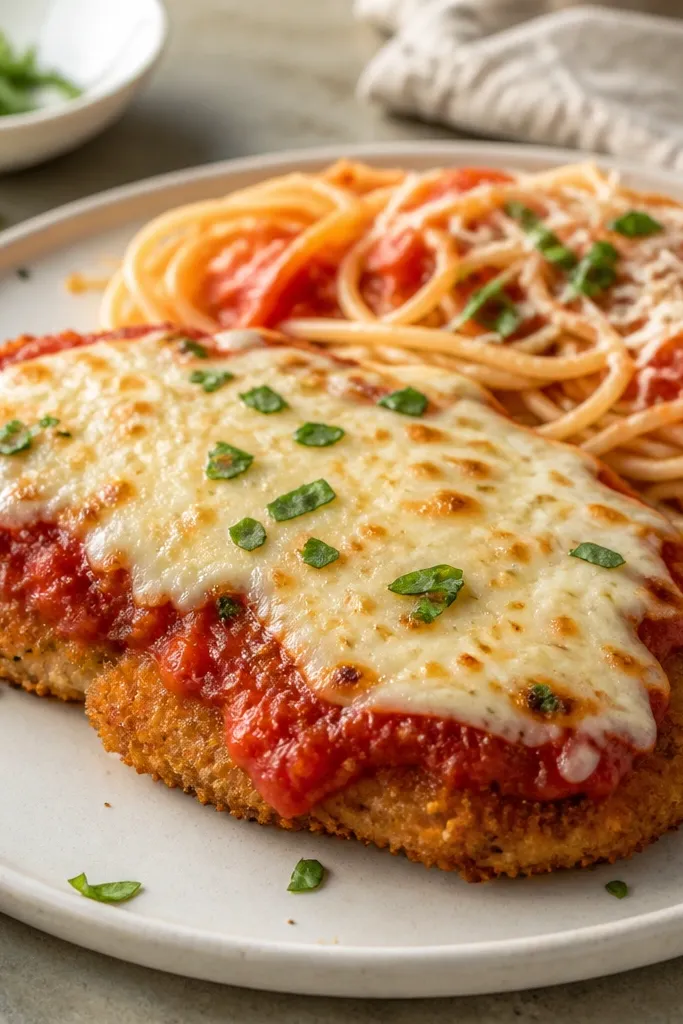
This look is what you want when the coating stays dry enough to brown. Panko creates little angular flakes that catch light and turn deep golden at the tips, not just on top. The sheen is a thin oil mist, not a wet glaze, so the crust looks crunchy instead of greasy.
Place 2-3 cutlets in the basket with at least a thumb-width gap. Spray with avocado oil or olive oil spray right before cooking. Cook until the coating is deep golden - usually 10-14 minutes depending on thickness.
Try thisPress crumbs on with dry fingertips for 10-15 seconds per side. It makes a noticeable difference in how much coating stays put after sauce.
One warningDon't crowd the basket; crowded cutlets steam and the crust turns pale and soft.
2. Marinara Swirl That Doesn't Flood
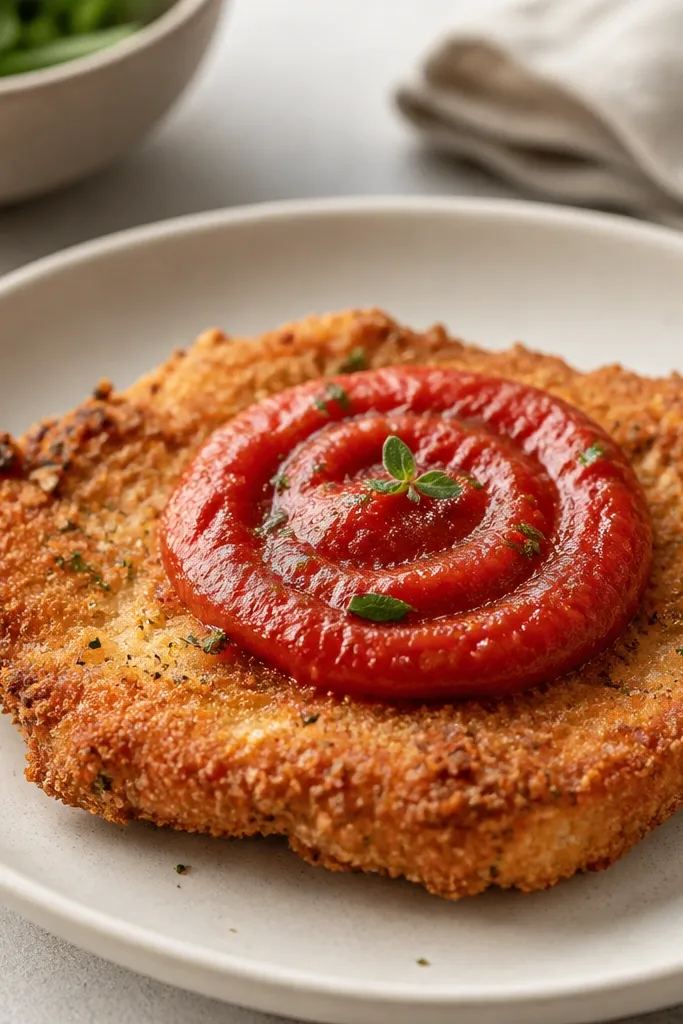
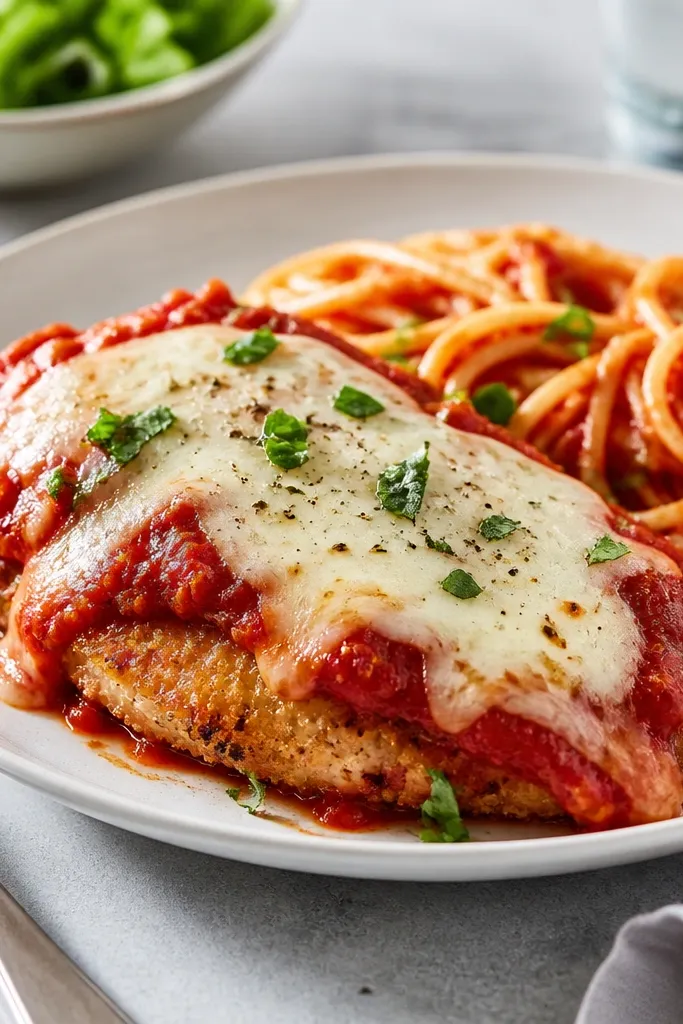
This is the aesthetic of controlled sauce - you see red on top, not red pooling under the crust. When sauce stays on the center, the panko edge stays crisp and your plate looks layered instead of soggy. A thick marinara also holds its shape and gives you that glossy red stripe.
Use 2-3 tablespoons marinara per cutlet. Spread it in a circle that stops 1/2 inch from the breaded edge. If your jar is thin, simmer it 3-5 minutes to reduce before using.
Try thisWarm the marinara first so it doesn't shock-cool the chicken and delay melting.
One warningDon't pour sauce over the entire cutlet; the edges will go soft fast.
3. Mozzarella Melt with Brown Spots
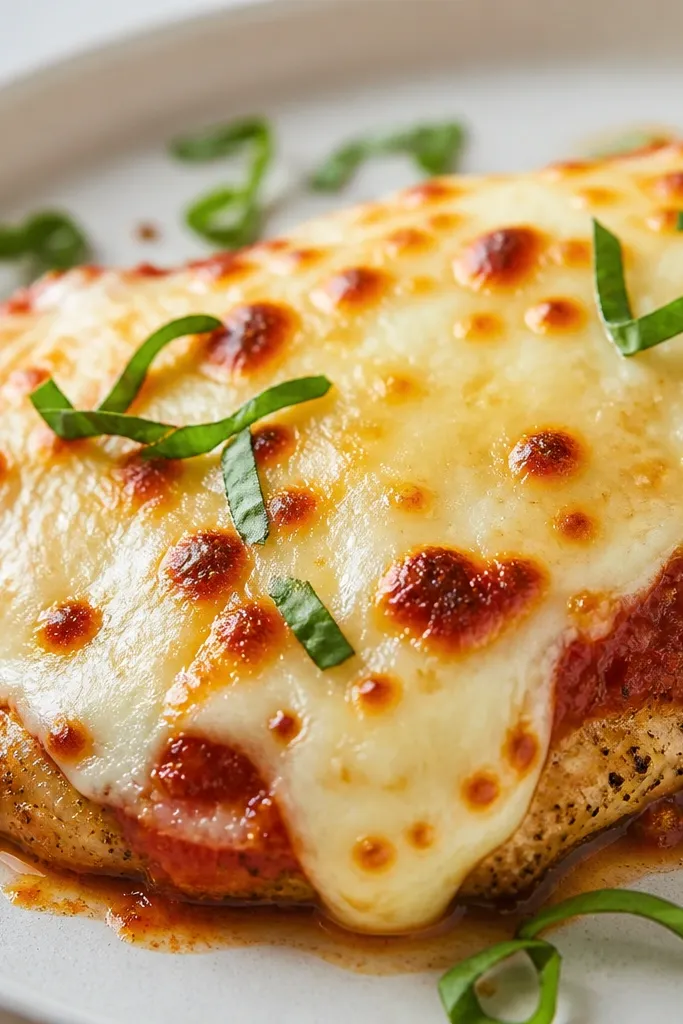
Brown freckles mean the cheese is getting direct hot air contact. You want mozzarella to bubble and then set just enough to cling to the chicken and hold that restaurant look. Shredded low-moisture mozzarella melts with better texture than pre-sliced - it browns instead of turning stringy.
After adding marinara, cover the center with a loose handful of mozzarella. Put the cutlets back in the air fryer for 2-4 minutes. Stop when bubbles rise and you see a few tan spots - keep it moving because cheese goes from perfect to rubbery fast.
Try thisUse a light sprinkle of grated Parmesan on top right before the final minute for extra browning.
One warningDon't overcook the cheese; too long makes it tough and dull.
4. Parmesan Herb Finish
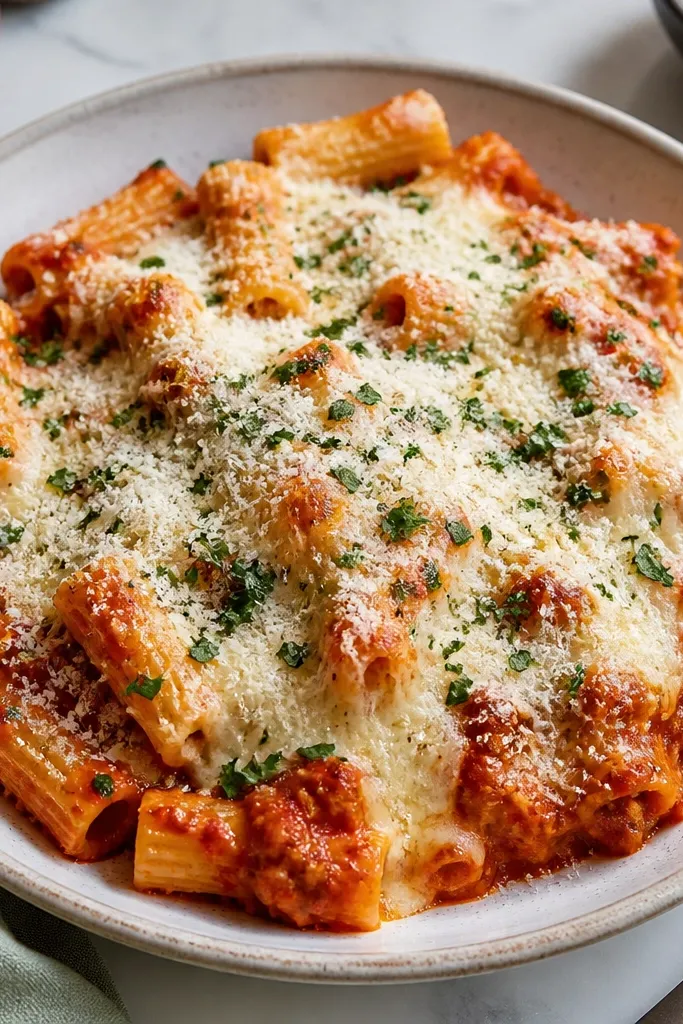
This topping gives contrast: the cheese stays creamy and the Parmesan looks dry and bright. The green flecks make the whole dish look fresher without adding extra sauce. I keep the herb pieces small so they distribute evenly across the melted surface.
Sprinkle 1-2 tablespoons finely grated Parmesan over the cheese once it comes out. Add 1-2 teaspoons chopped parsley, then let it sit 2 minutes so the dust sticks to the melt.
Try thisUse dried oregano sparingly if you don't have fresh parsley - a light pinch on top looks better than a heavy shake.
One warningDon't add fresh herbs before the cheese melts; they darken and look tired.
5. Lemon-Butter Breadcrumb Color
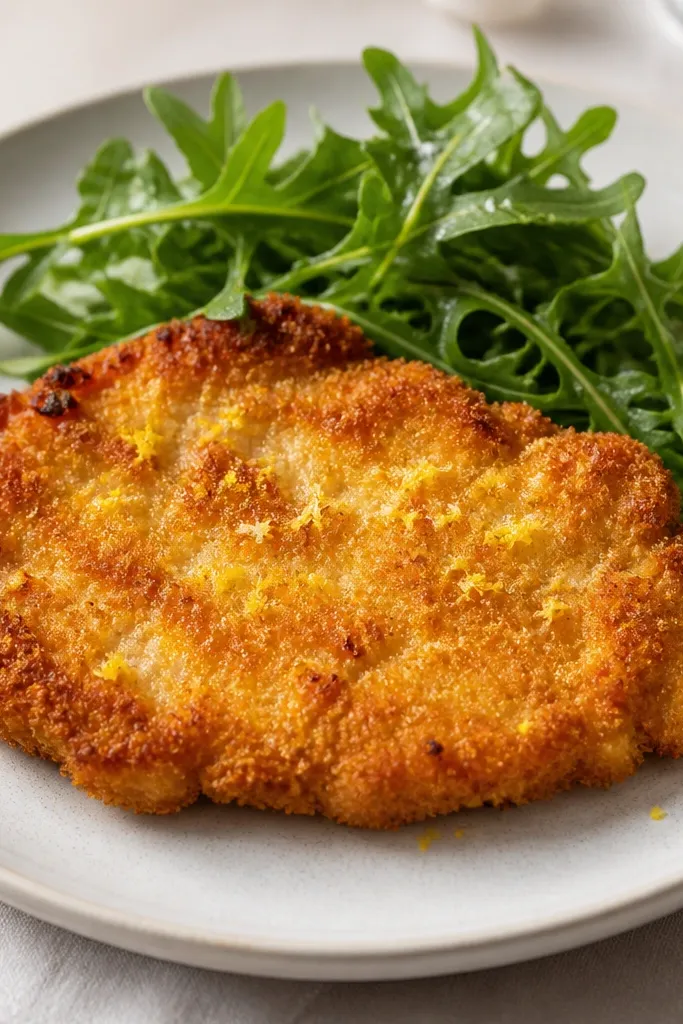
That warm yellow tone comes from seasoning the crumbs and adding a tiny butter note. It reads "fresh" even with red sauce because the crust has a golden, aromatic edge. I like this look for smaller portions because the color pops against the red marinara.
Mix panko with 1/2 teaspoon lemon zest, garlic powder, and salt. Add a quick butter spray or brush - just enough to deepen color. Cook at the same time as usual, but watch browning closely at minute 8-9.
Try thisIf you're using lemon zest, keep the chicken dry - zest plus wet egg can make the crust clump.
One warningAvoid watery marinara with this look; it mutes the crust color.
6. Basket-Ready Shape for Small Fryers
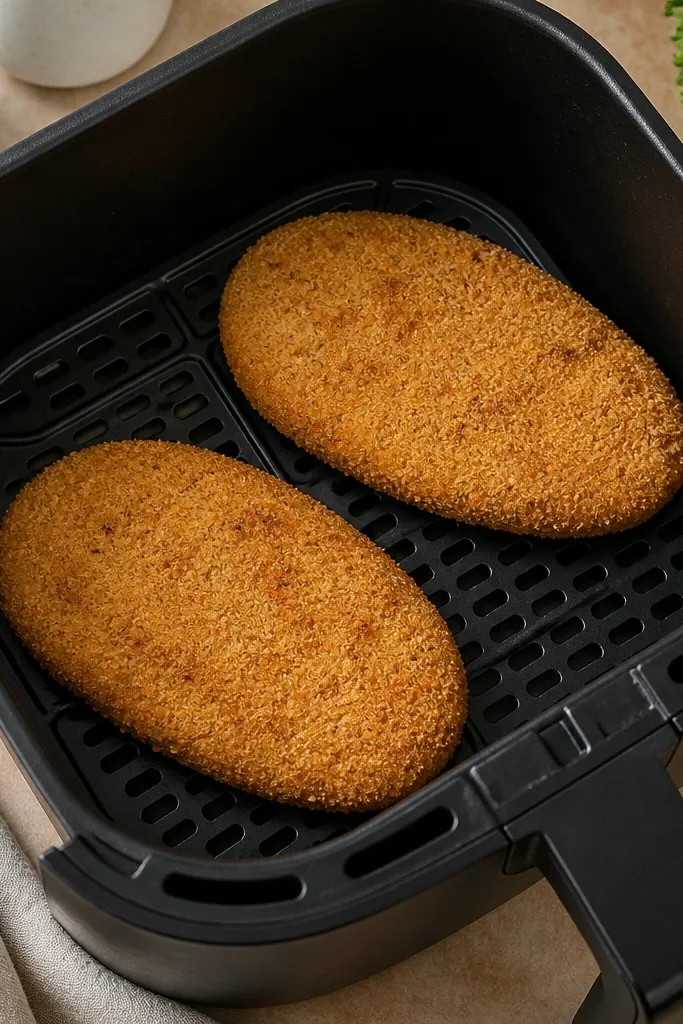
Trimming corners gives you even cooking and a clean visual when plated. Folded edges cook slower and get darker in the middle, which looks messy. When every cutlet is the same thickness, the crust color is uniform.
Trim breast cutlets into oval shapes about 4-5 inches long for a compact basket. Pound to 1/4-1/3 inch, then press crumbs over the whole surface including the edges. Leave a gap between pieces so hot air can circulate.
Try thisIf a cutlet is thicker on one side, pound that side alone. You want the thickness to match across the whole piece.
One warningDon't skip trimming; folded or uneven pieces look uneven even if they taste fine.
7. Sauce-to-Cheese Ratio That Looks Layered
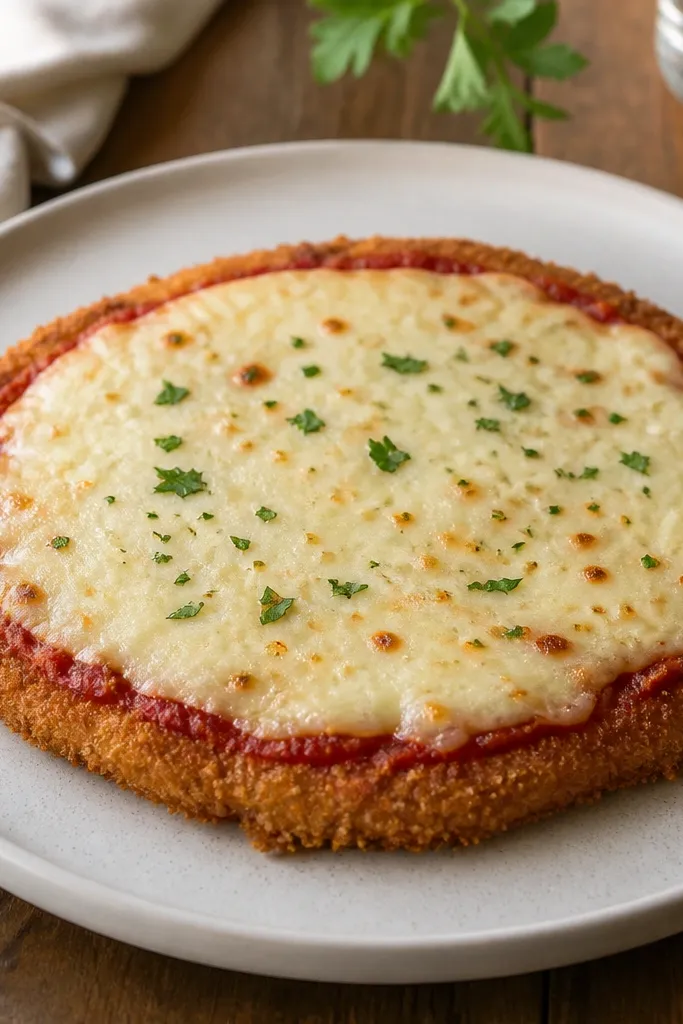
Layered looks come from keeping the red thin and the cheese generous. The breaded rim stays visible, so the dish reads like "crunch first" instead of "sauce bowl." When the cheese covers the red, you get a glossy top that looks like baked parmesan without the oven.
Use a thin marinara spread (about 2 tablespoons) and then pile mozzarella just in the center. The cheese should cover the sauce completely, but still leave 1/2 inch of breaded edge exposed. Return to air fryer just until bubbly.
Try thisFor thicker marinara, use a spoon to dot it first, then spread - it keeps the layer even.
One warningDon't use too much sauce; it pushes cheese sideways and ruins the rim.
8. Air-Fryer Crisp Plate Setup
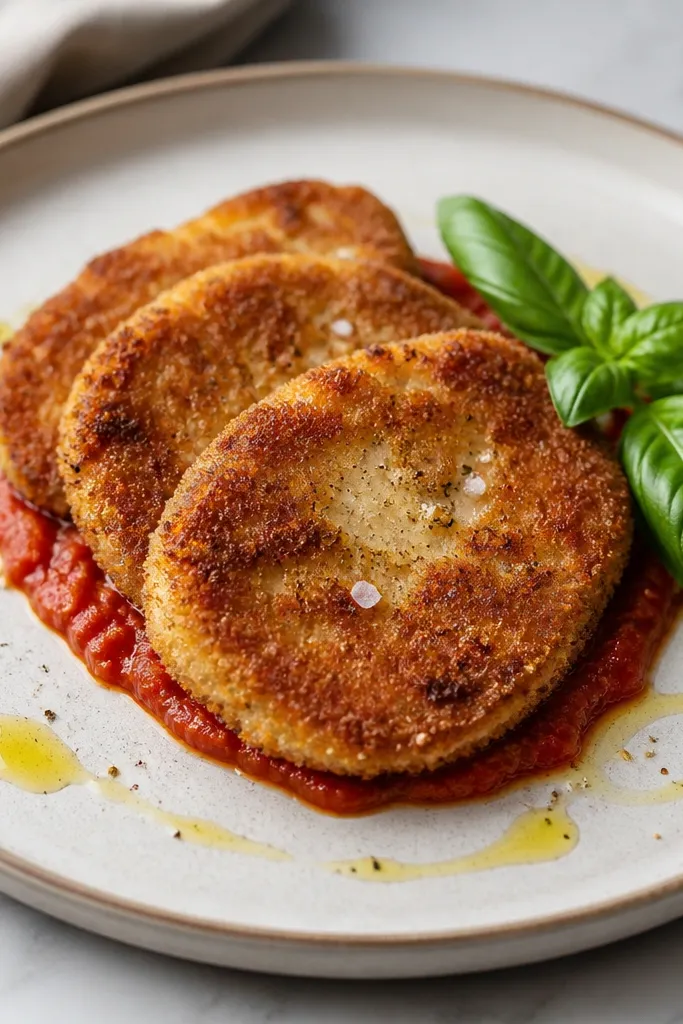
This plating keeps the bottom from absorbing sauce. I use a tiny smear on the plate - just enough to anchor, not enough to soak. A light olive oil drizzle around the cutlet makes the crust look shinier and the red sauce look deeper.
Spoon 1-2 tablespoons marinara onto the plate and spread into a thin oval. Place the cutlet on top, then finish with basil or parsley. If you want a restaurant look, add a small extra sprinkle of Parmesan at the plate edge.
Try thisLet cutlets rest 2 minutes after melting cheese so the crust firms up again before it hits the plate.
One warningDon't stack cutlets; stacking traps steam and the bottom goes soft.