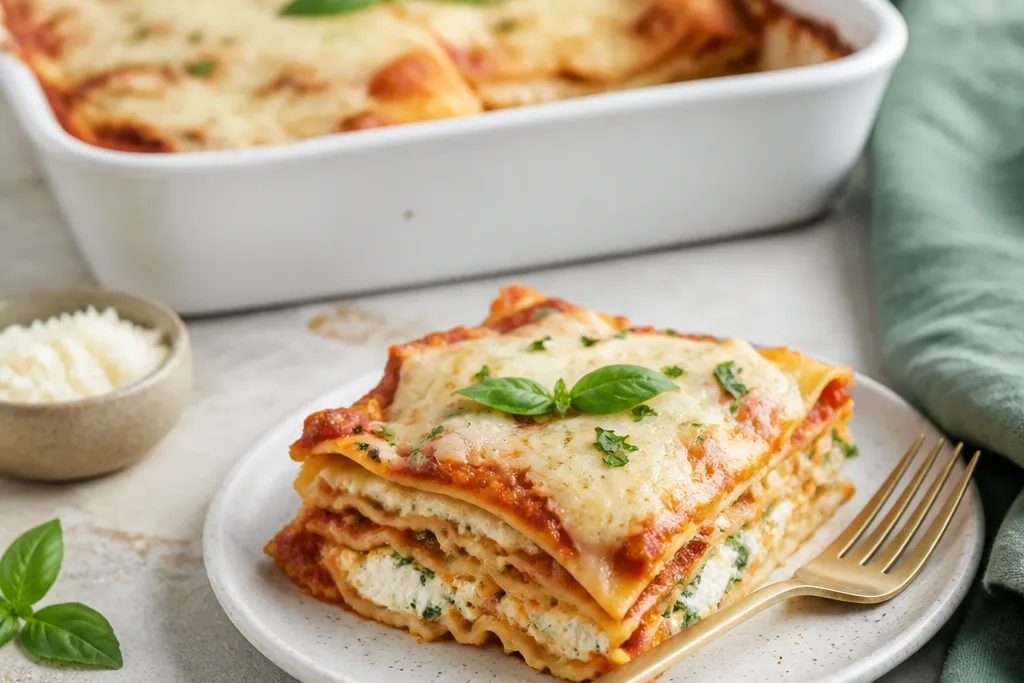
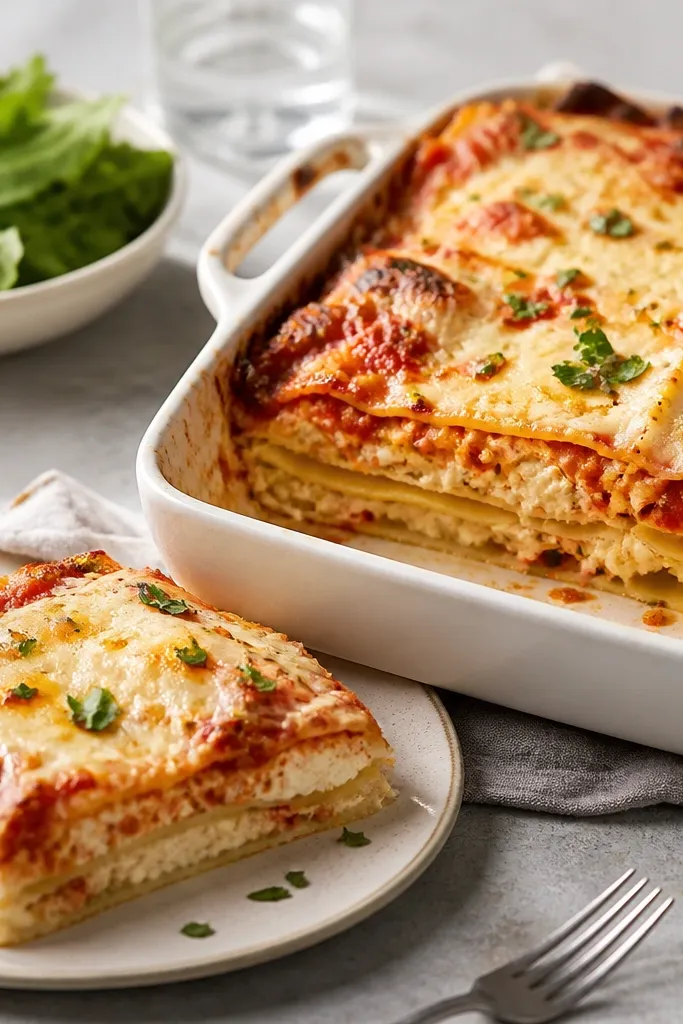
1. Golden Broiler Top with Sauce-Lacquer Shine
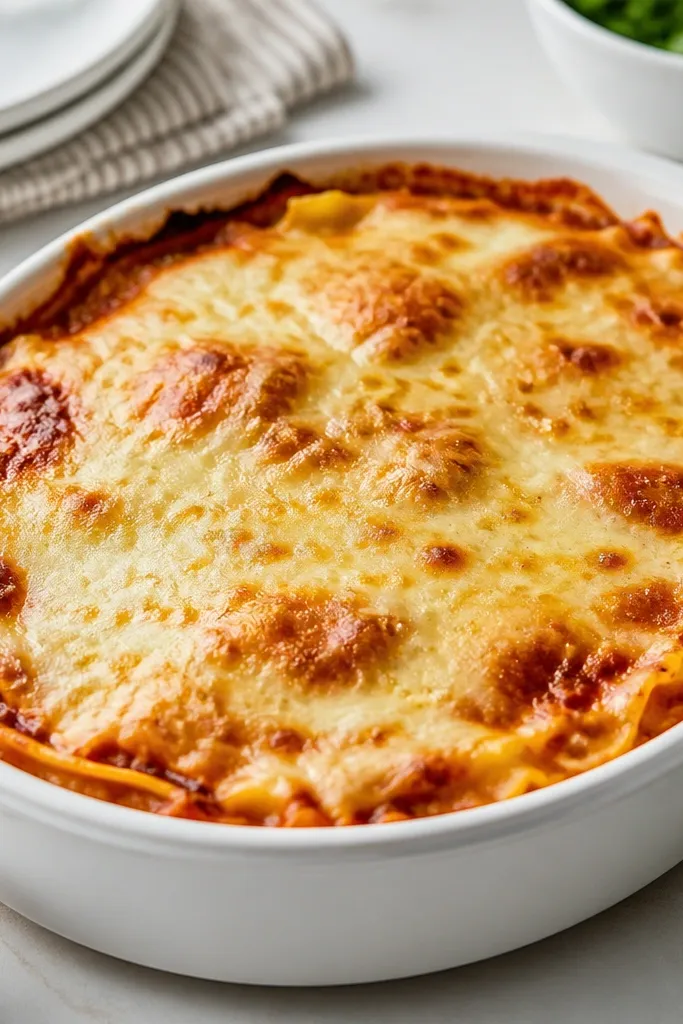
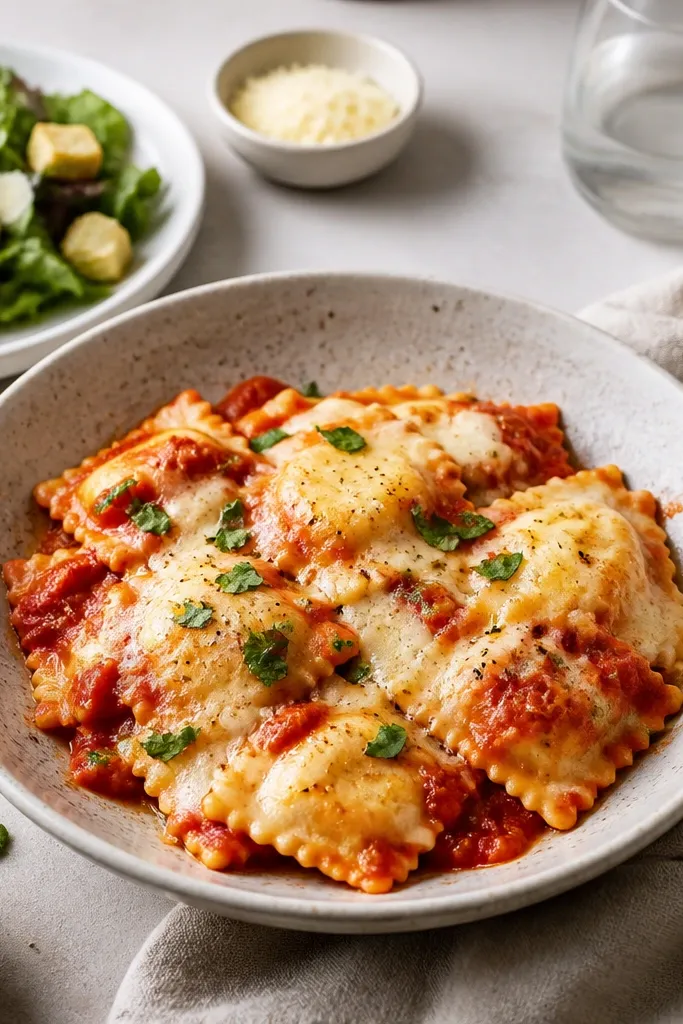
I love the look of a top that looks lacquered - shiny sauce spots and browned cheese bubbles. To get that, you need a final heat step that dries the surface just enough to brown. Mozzarella gives stringy bubbles while parmesan dries into crisp, salty spots. The result looks like it came out of an oven even though the inside cooked slowly.
After the crockpot finishes, spoon the lasagna into a broiler-safe baking dish. Broil on high for 2-4 minutes, watching closely - the top goes from pale to spotty brown fast. Serve in the same dish so the browned top stays intact.
Try thisPat the cheese mix lightly on top with the back of a spoon so it forms an even layer instead of clumps.
One warningDon't skip the broiler step - crockpots make the surface look pale and soft.
2. Three-Layer Vertical Color Bands
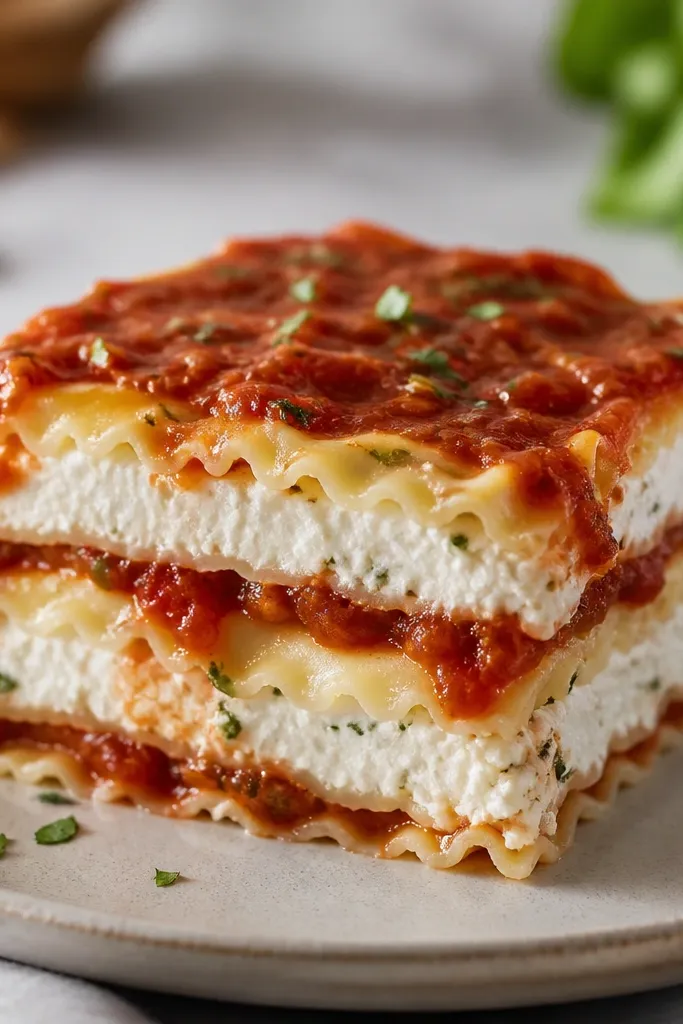
Clear bands make it look "modern" because you can see structure, not just a mixed pile. The visual trick is strict layering thickness: thin sauce, then ravioli, then cheese mix. When you slice, the layers read like a stack of neat tiles. It also helps the texture stay consistent across each bite.
Use a square 6-quart crockpot insert or transfer to a 9x9 pan. Spread sauce in thin, even coats about 1/4 inch thick. Keep the cheese mix about 1/2 inch thick between ravioli layers.
Try thisLet it rest for 10 minutes before slicing so the layers set instead of sliding.
One warningDon't pour sauce all at once - it blurs the layers and looks messy.
3. Herb Flecks on Red and White Contrast
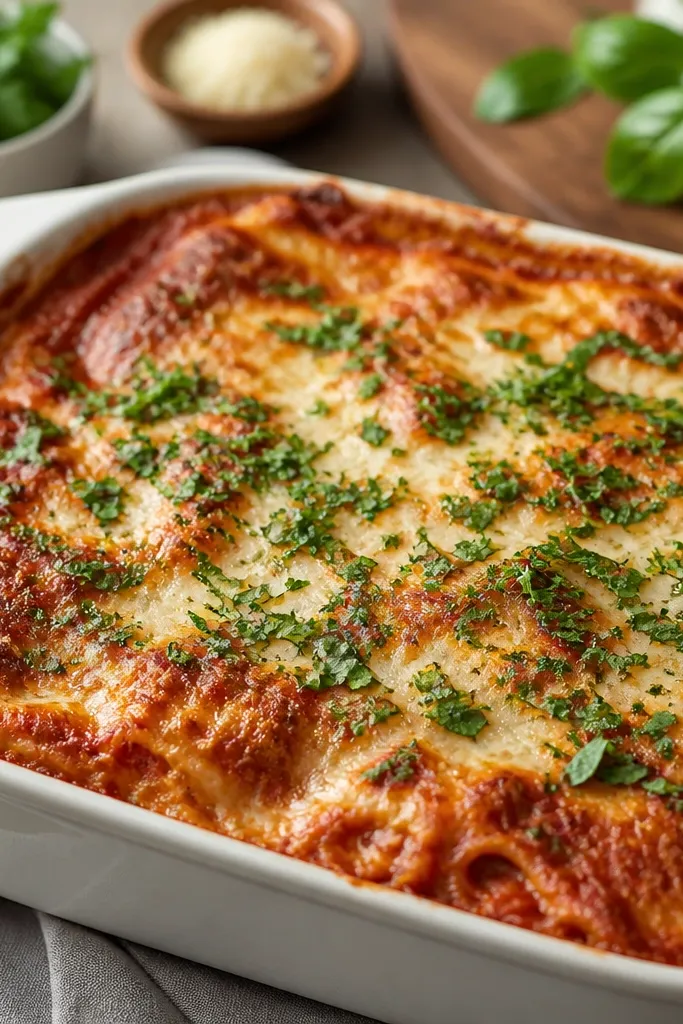
Green flecks make the dish look fresh even if the sauce simmered for hours. I use a mix of basil and parsley because basil leans sweet and parsley stays bright. The contrast is strong against the red marinara and pale cheese. It also signals "homemade" in a way that store-bought casseroles rarely do.
Sprinkle herbs right before serving, not during cooking. Use about 1/4 cup total chopped herbs for a 6-quart crockpot batch. Chop small so the flecks distribute evenly across every slice.
Try thisAdd a few herb leaves to the top edge of the dish for a cleaner photo-ready look.
One warningDon't use dried herbs in place of fresh - they look dull and disappear into the sauce.
4. Creamy White Cheese Pool with Red Rim
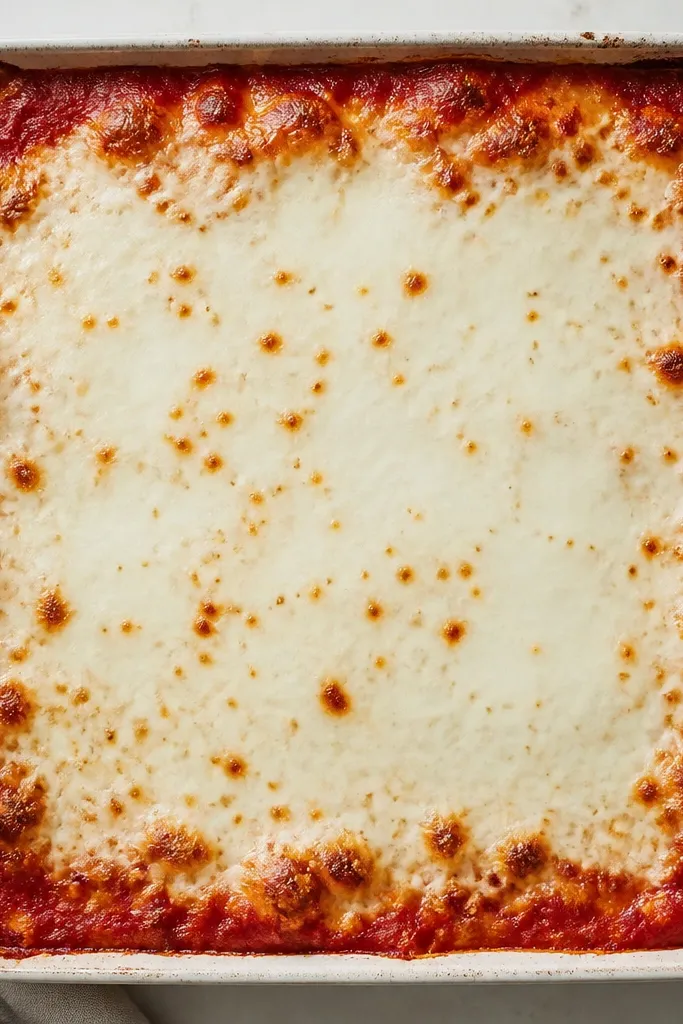
This look comes from "centering" the cheese mix so it melts into a creamy pool. The red rim happens when sauce is kept at the edges of the layer instead of spread too thick in the middle. It makes the dish feel intentional and restaurant-like. Plus, the creamy center stays softer while the rim gets a little more concentrated flavor.
When you add cheese, keep a 1-inch border of sauce at the edge of the crockpot insert. Spoon cheese mix into the middle and spread it outward, stopping before the border. The border should stay visible after melting.
Try thisUse whole-milk mozzarella if you want a creamier melt that looks smooth instead of grainy.
One warningDon't bury the ravioli completely under cheese - the top can turn dense and heavy.
5. Parmesan Crisp Spots for Texture
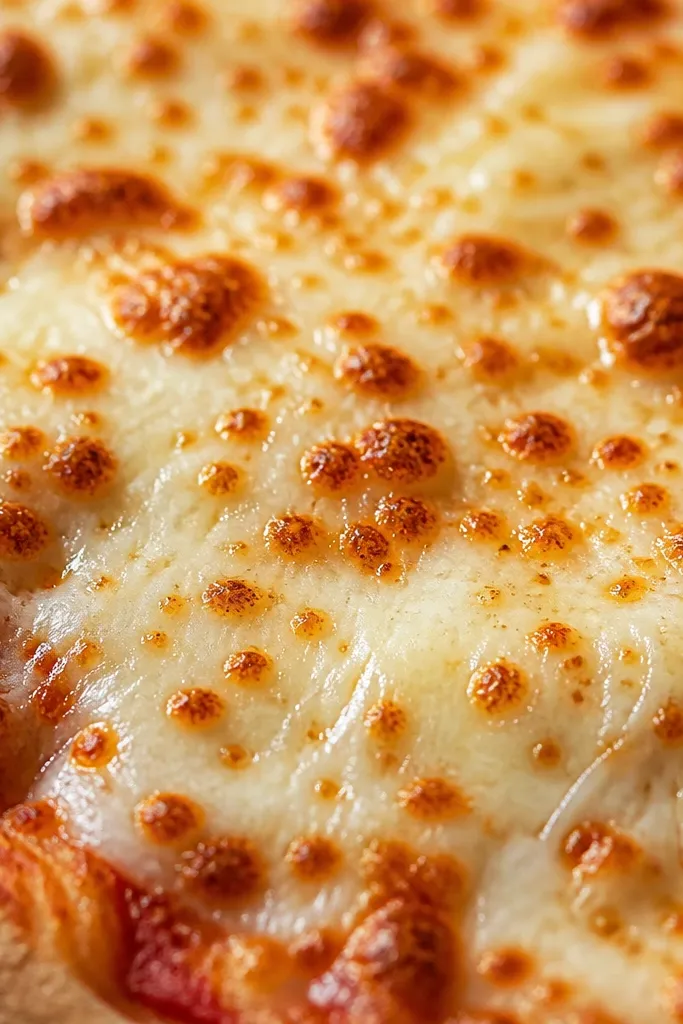
Crisp spots are the difference between "okay" and "I want another bite." Parmesan dries faster than mozzarella, so it creates little browned freckles that read as texture. The key is adding parmesan on top at the end, not mixing it into everything too early. It also gives a salty edge that cuts through the richness of cheese.
In the last 10 minutes of cooking, sprinkle a thin layer of parmesan over the surface. If you transfer to a baking dish for broiling, add parmesan after broiling and broil again for 30-60 seconds for extra spots.
Try thisGrate parmesan fresh from a block - the flakes brown better than pre-shredded powdery versions.
One warningDon't use too much parmesan - it can dry the top into a tough layer.
6. Ravioli Tile Grid Visible Through Sauce
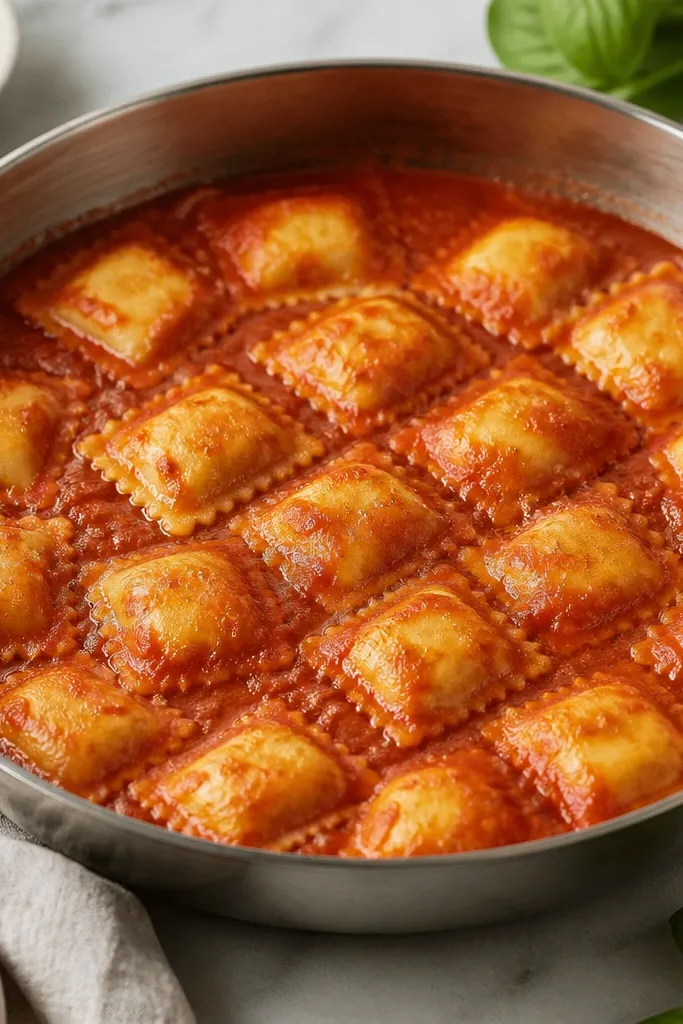
A visible grid makes the dish look modern and controlled. You get it by using enough sauce to coat, not flood. When the sauce is thick, it clings to the ravioli and doesn't sink into puddles. The grid also helps you portion clean squares later.
Use a tight arrangement: lay ravioli like tiles with minimal gaps. Add sauce with a spoon in thin drizzles, then spread gently so ravioli edges show through. If your sauce is thin, reduce it first.
Try thisIf you want the grid to show more, use slightly less sauce on the first layer and add extra sauce only on the top layer.
One warningDon't stir aggressively during cooking - it breaks the tile pattern.
7. Spiral Pepperoni Swirls for a Red-Orange Pop
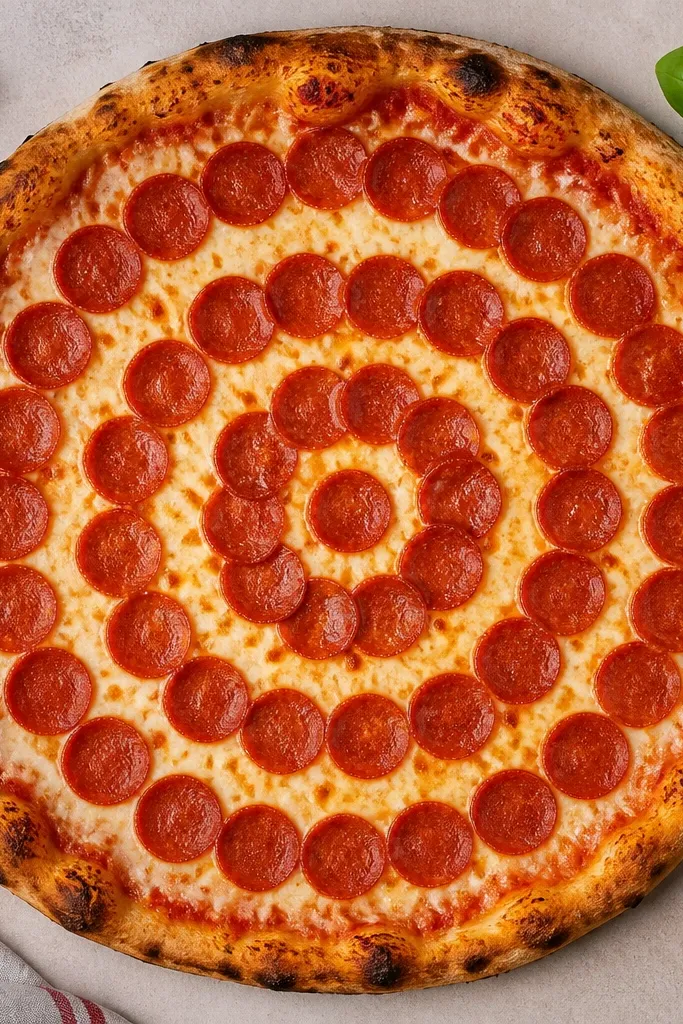
This is the quickest way to make the dish look fun without changing the whole recipe. Pepperoni curls at the edges and creates little red-orange halos around the cheese. Because you place it in a spiral, the top reads like a design instead of random toppings. It also adds flavor where cheese is mild.
Lay pepperoni slices in a loose spiral on top before the broiler. Use about 20-24 slices for a 9x9 pan or a full crockpot batch. Press them lightly so they stick to the melted cheese surface.
Try thisUse turkey pepperoni if you want the same look with less grease pooling.
One warningDon't add pepperoni early in the crockpot - it can get greasy and muddy.
8. Black Pepper Veining on White Cheese
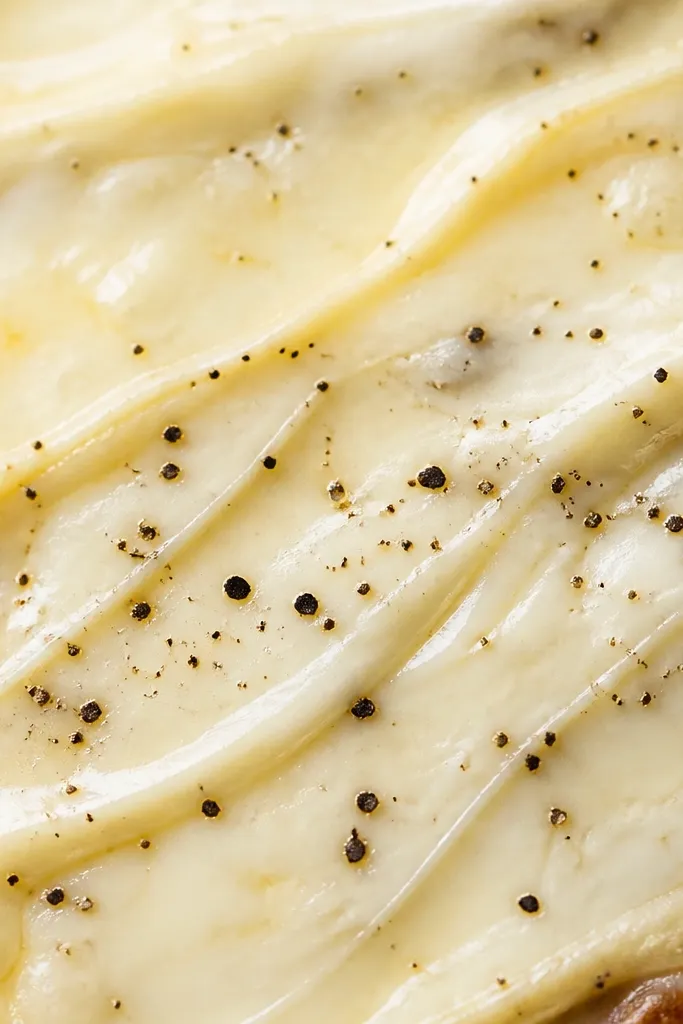
Black pepper makes the surface look "finished." I like pepper because it visually breaks up the big white areas and makes the top look more complex. The pepper should be fresh-ground, not pre-ground dust. It gives a light veining effect as cheese melts around the grains.
Finish the crockpot cook, then grind black pepper over the top right before broiling. Use a coarse grind so specks stay visible. After broiling, pepper looks toasted without turning bitter.
Try thisAdd a tiny pinch of red pepper flakes only at the edges so heat shows up visually too.
One warningDon't use a whole jar of pre-ground pepper - it looks dull and can taste flat.
9. Side Dish-Ready Portion Squares
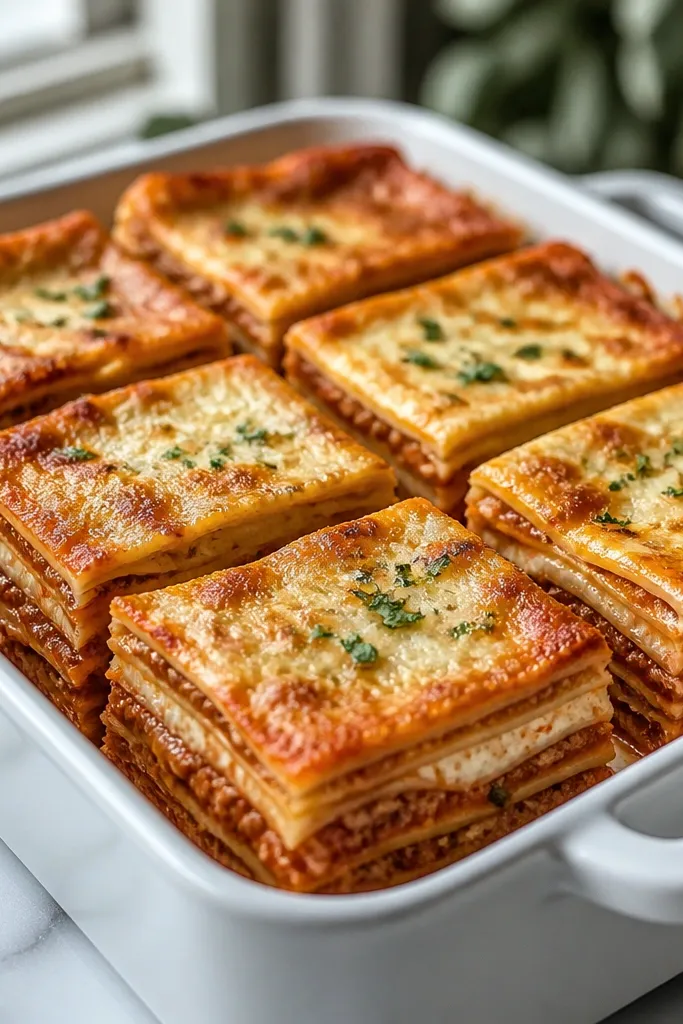
Portion squares look better than scoops because you can see the structure. When the dish is layered tightly and rested before cutting, each square holds its layers and doesn't slump. That makes the dish feel more intentional and easier to serve. It also helps if you're feeding people who take food to go.
Use a sharp knife and wipe it between cuts. Let the lasagna rest 10-15 minutes, then slice into 9 squares for a 9x9 pan. The knife should go straight down with one firm motion.
Try thisIf the edges look messy, trim a thin strip off the perimeter and serve the clean center pieces.
One warningDon't cut right away - layers slide and the top breaks.