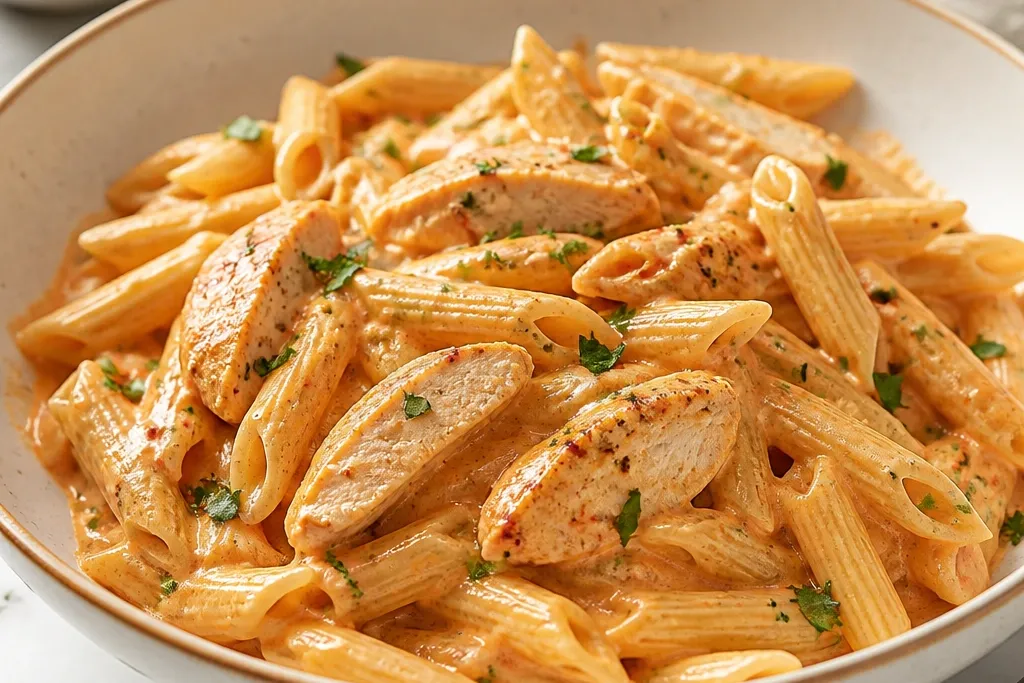
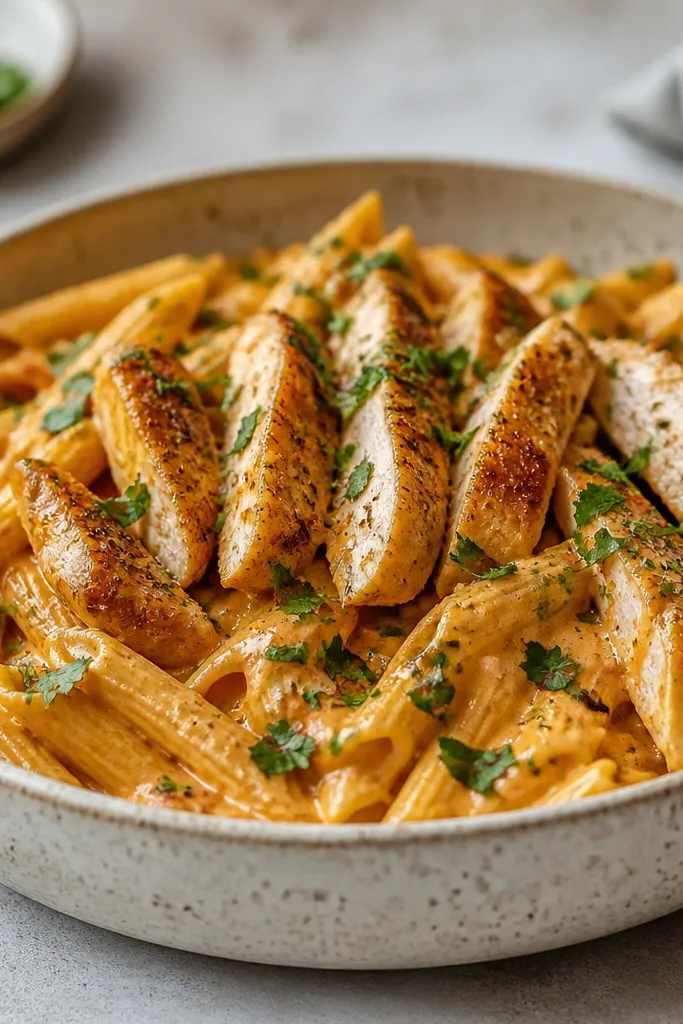
1. Skillet chicken bites in a glossy white-rose sauce
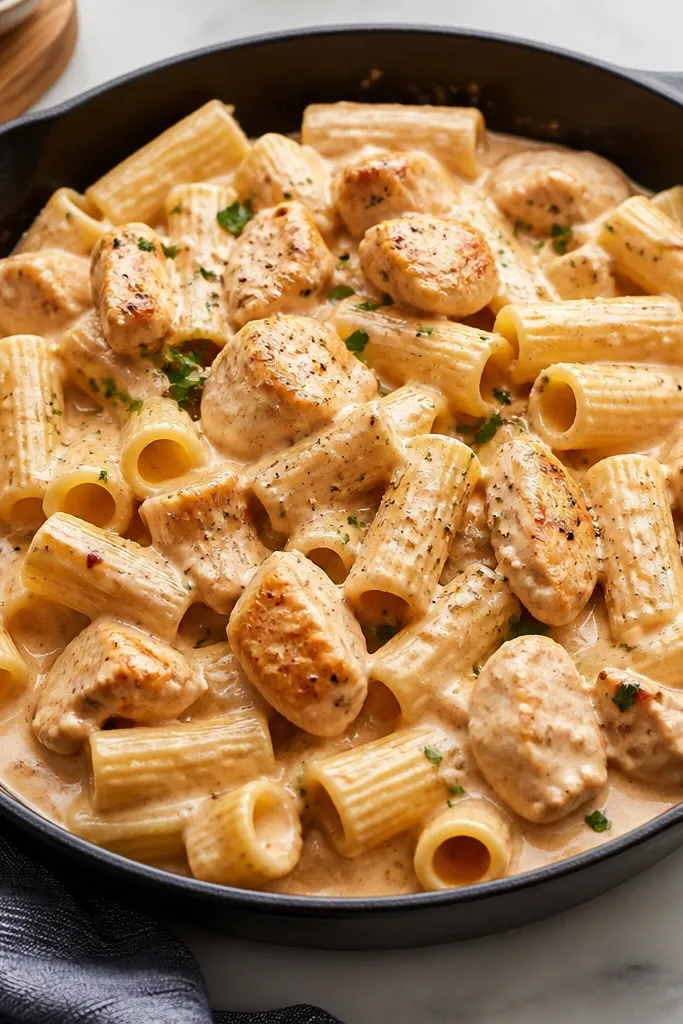
This look comes from cooking the sauce until it turns creamy and slightly opaque, not thin. The pale pink tint is from tomato paste cooked down before the cream, so it looks warmer than plain alfredo. Pepper specks and browned chicken edges keep it from looking too pale. The glossy surface tells you the sauce has starch from pasta water.
Use a dark skillet so the sauce contrast shows. Cut chicken into 1-inch pieces so they brown quickly and stay juicy. Cook the sauce in the same pan after browning chicken, then add tomato paste and let it darken for about 60 seconds before cream goes in.
Try thisSpoon sauce over one rigatoni tube. If it drapes slowly and leaves a coat, you're at the right thickness.
One warningAvoid letting the sauce sit off heat - it gets dull and thicker in a way that makes it clingy instead of silky.
2. Ridge-hugging rigatoni with a parmesan snowcap
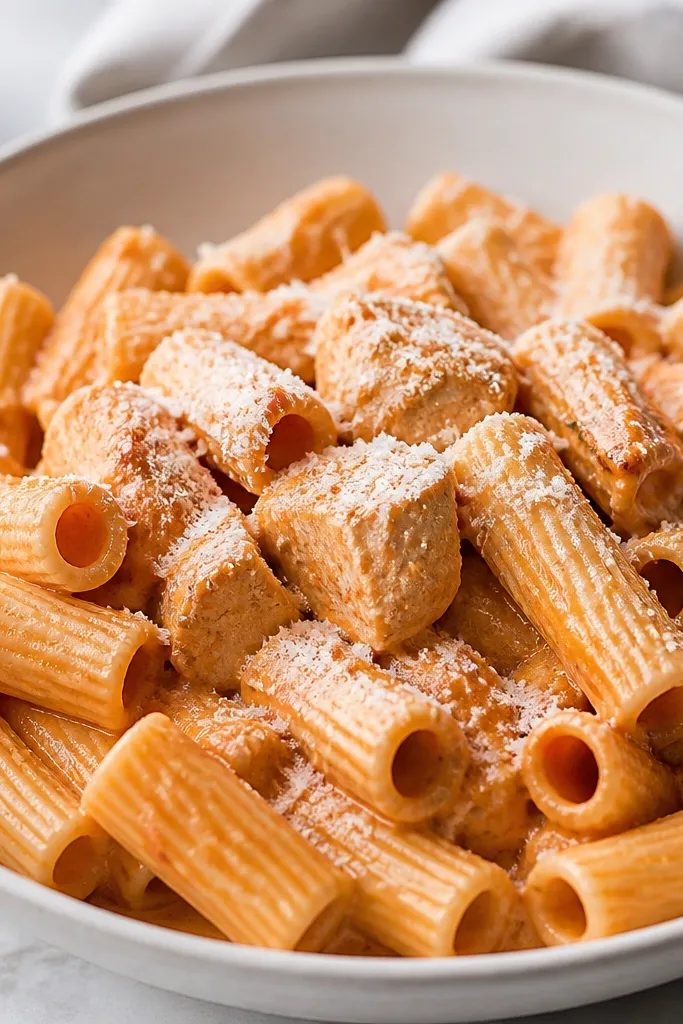
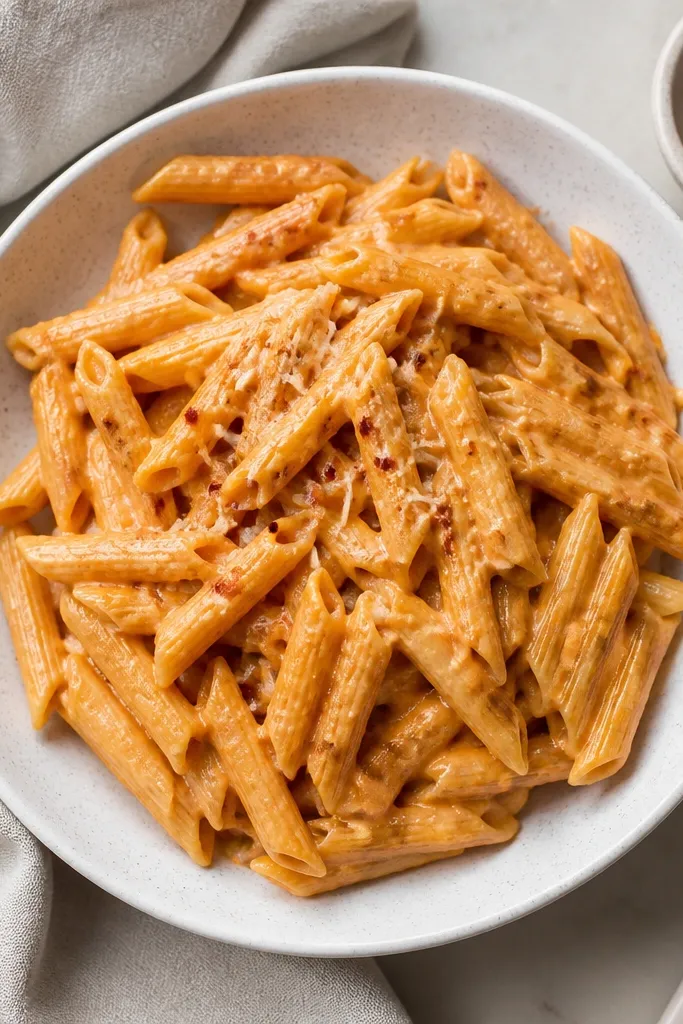
Ridges are the whole point for aesthetic and texture. Rigatoni traps sauce inside the tubes so the dish looks heavier and more "restaurant" even when it's weeknight-simple. The Parmesan dust looks fresh because it hasn't melted into a uniform layer. That contrast makes the creamy sauce look richer.
Top the bowl right before serving with a light hand of grated Parm - you want flakes, not a packed layer. Toss the pasta in sauce for 60-90 seconds first so it coats, then add cheese after plating. If your cheese melts instantly into the sauce, your heat is too high at the end.
Try thisUse a microplane and grate straight down for thin strands that look like snow.
One warningDon't use pre-shredded cheese as the main finish - it looks gray and melts unevenly.
3. Sunken-cherry tomato paste swirl
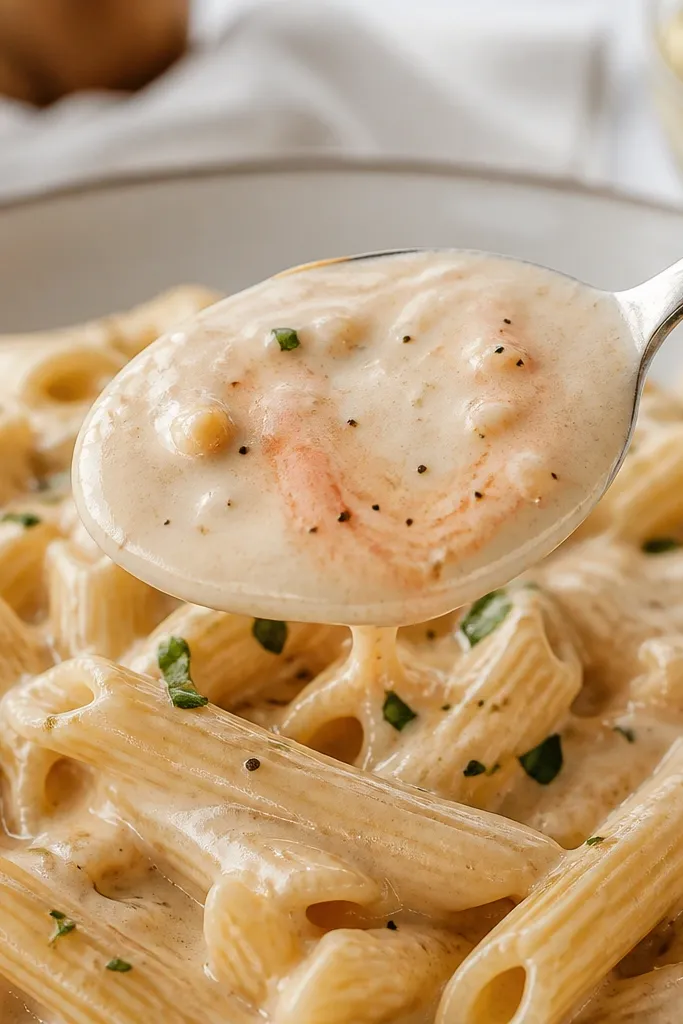
That red swirl means you cooked tomato paste just long enough to caramelize. It adds color without making the sauce taste like raw tomatoes. When the paste is cooked in the fat before cream, the whole sauce looks unified, not streaky. It also gives the sauce a warm, rosy look that photographs well.
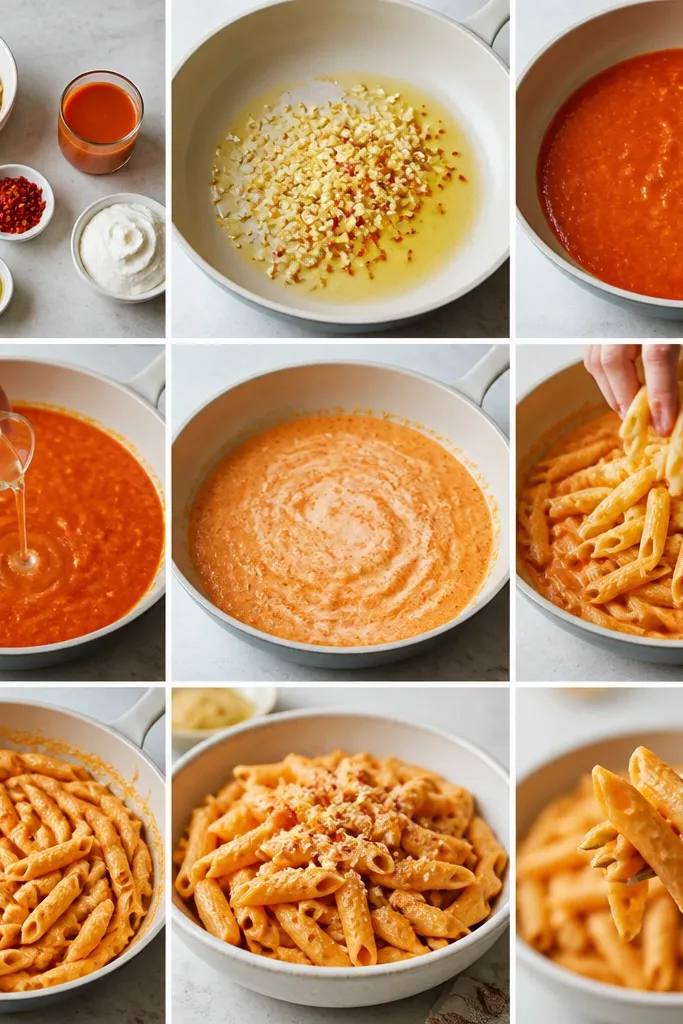
In the pan, melt butter or olive oil, then stir in tomato paste until it darkens slightly and smells sweet, about a minute. Add vodka and scrape up browned bits. Let vodka reduce for 1-2 minutes before adding cream.
Try thisIf the paste looks dry, add a teaspoon of pasta water to keep it moving while it cooks.
One warningDon't dump tomato paste in cold cream - you get red streaks and a metallic taste.
4. Lemon-garlic sparkle on top
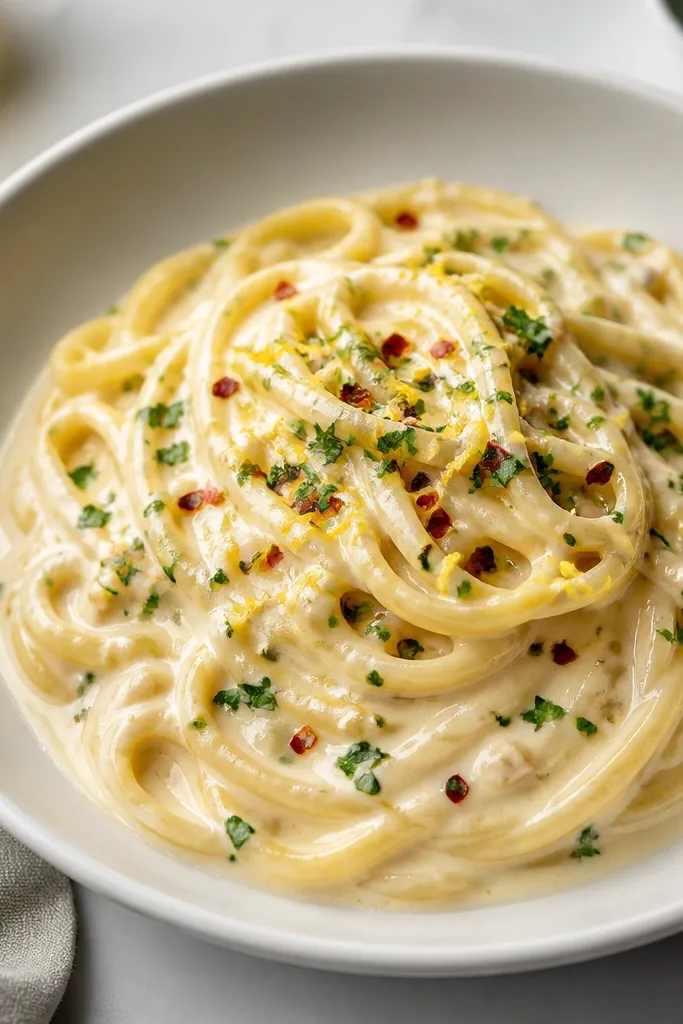
A little lemon zest makes creamy vodka pasta look lighter. It also gives a fresh aroma that balances the cream. You'll see it visually as green flecks and tiny pale-yellow shavings against the white sauce. Red pepper flakes add a warm contrast that makes the dish look lively.
Use flat-leaf parsley or basil for green flecks. Add zest from half a lemon and mix it in right at the end so it stays bright. Keep red pepper flakes light - a few pinches, not a heavy sprinkle.
Try thisZest first, then juice. Zest goes in at the end; juice goes in gradually if you need extra lift.
One warningAvoid bottled lemon juice - it looks dull and tastes harsher in creamy sauces.
5. Creamy chicken strips with buttery edges
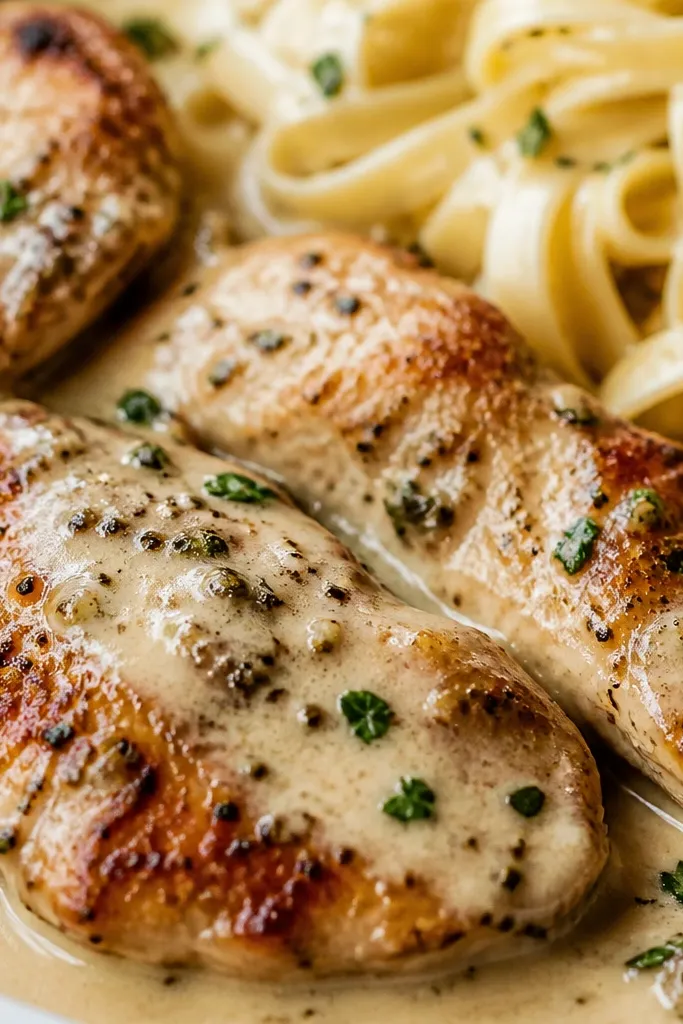
When chicken has browned edges, it looks hearty. Browning adds color and a deeper savory flavor that cream can't fake. The sauce pools around the chicken because the chicken surface is textured, not smooth and pale. That contrast makes the plate look "thick and satisfying."
Dry the chicken with paper towels before seasoning. Cook in a single layer with enough space - crowding steams it, and you lose the crisp edge. After browning, reduce heat before adding vodka so the sauce stays controlled.
Try thisSeason chicken with salt and pepper, then add garlic near the end of the chicken cook, not at the start.
One warningDon't stir constantly while searing - you need contact time for browning.
6. Black pepper speckled bowl shot
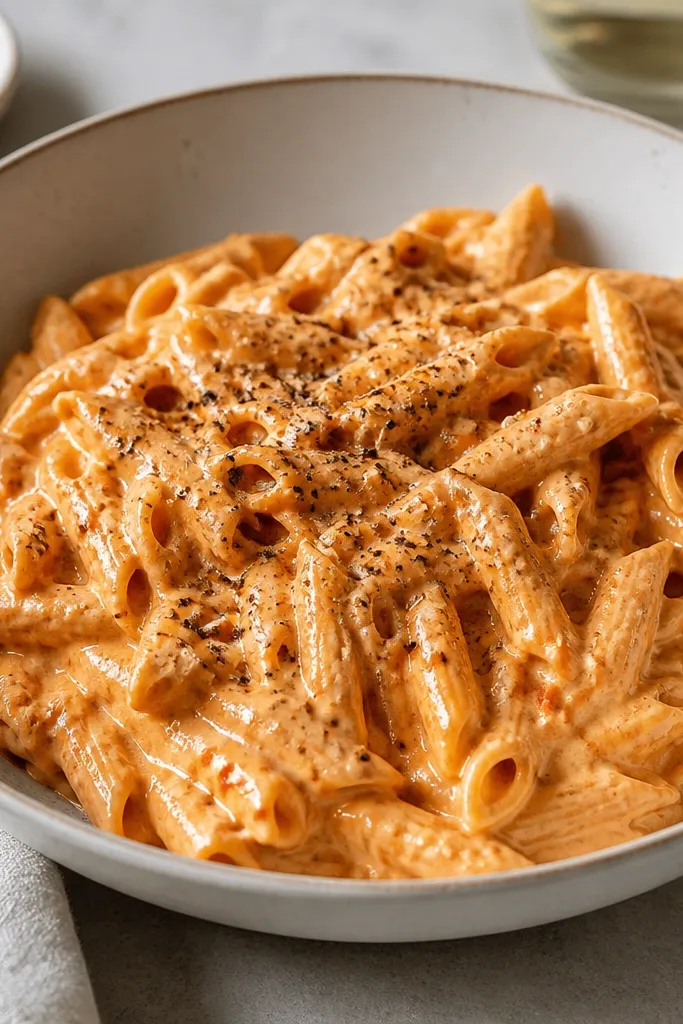
Fresh cracked pepper changes the look fast. It adds dark specks that break up the pale cream color. Pepper also keeps the flavor from tasting flat since vodka-cream sauces can lean sweet if your tomato element is heavy. The speckled surface reads as freshly made.
Crack pepper right over the finished bowl, not earlier in the sauce. Use a pepper grinder with medium-fine grind so it shows as dots. If you use white pepper, it won't give the same visual contrast.
Try thisTaste at the end and add another small crack if it reads too sweet.
One warningAvoid pre-ground pepper - it fades fast and looks dusty.
7. Pasta toss gloss in a stainless pan
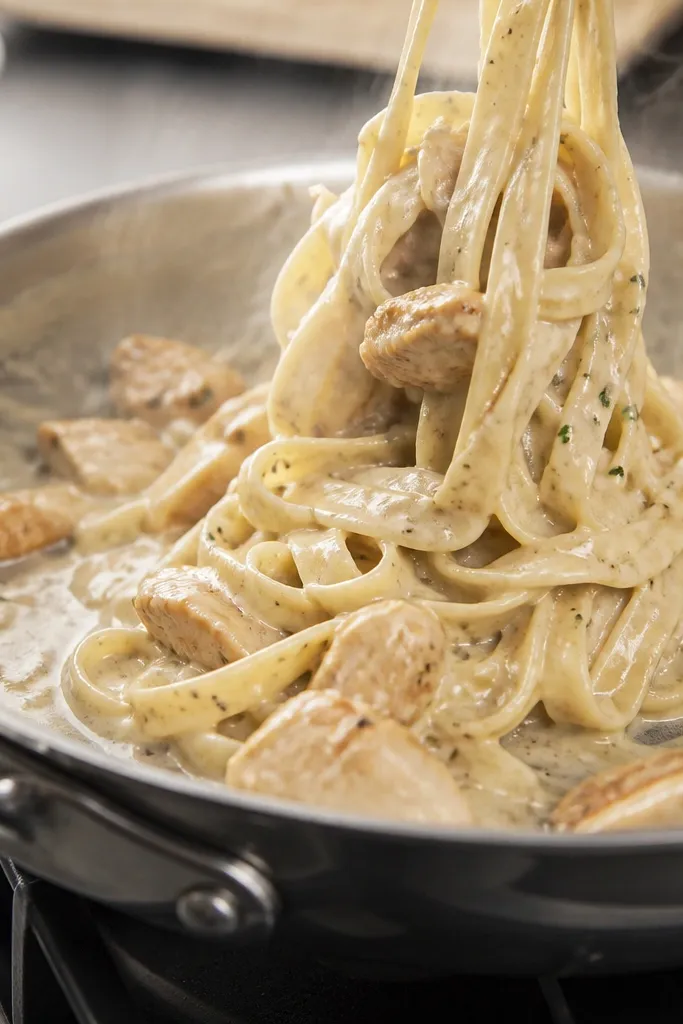
A glossy toss means the starch is doing its job. Stainless steel makes the shine obvious in photos and in the pan. When you toss pasta with sauce on low heat, the sauce clings and thickens without clumps. The noodles look coated instead of floating in liquid cream.
After sauce and pasta meet, add 1/4 cup pasta water and toss on low heat for 60-90 seconds. Use tongs to lift and fold so sauce moves through every ridge. If it looks too thick, add more pasta water a tablespoon at a time.
Try thisWatch the bottom of the pan - if it sticks lightly and then releases, you're at the right thickness.
One warningAvoid turning the heat high at the end - cream can split and look oily.
8. Garlic-butter sheen with herb garnish line
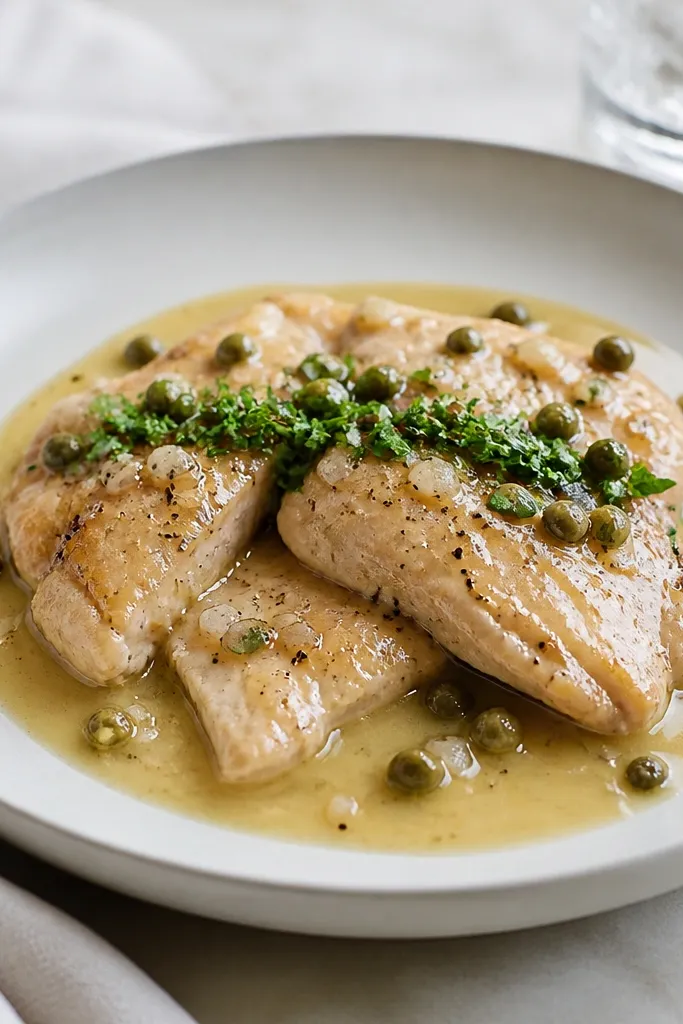
This look comes from finishing with a small amount of butter and herbs after the sauce thickens. The butter gives a smooth shine, and the herbs make the top look fresh rather than blank. Garlic should be soft and blended, not stuck as dark bits, so the sauce stays creamy. The garnish line makes it feel intentionally plated.
Finish off-heat with 1 tablespoon butter and stir until melted. Add chopped parsley and a pinch of salt. Keep garlic sautéed until fragrant but not dark - you want it pale and soft.
Try thisChop herbs small so they distribute evenly and don't sink in one spot.
One warningDon't add whole herb stems - they look messy and taste woody.
9. Rimmed bowl with extra sauce pool
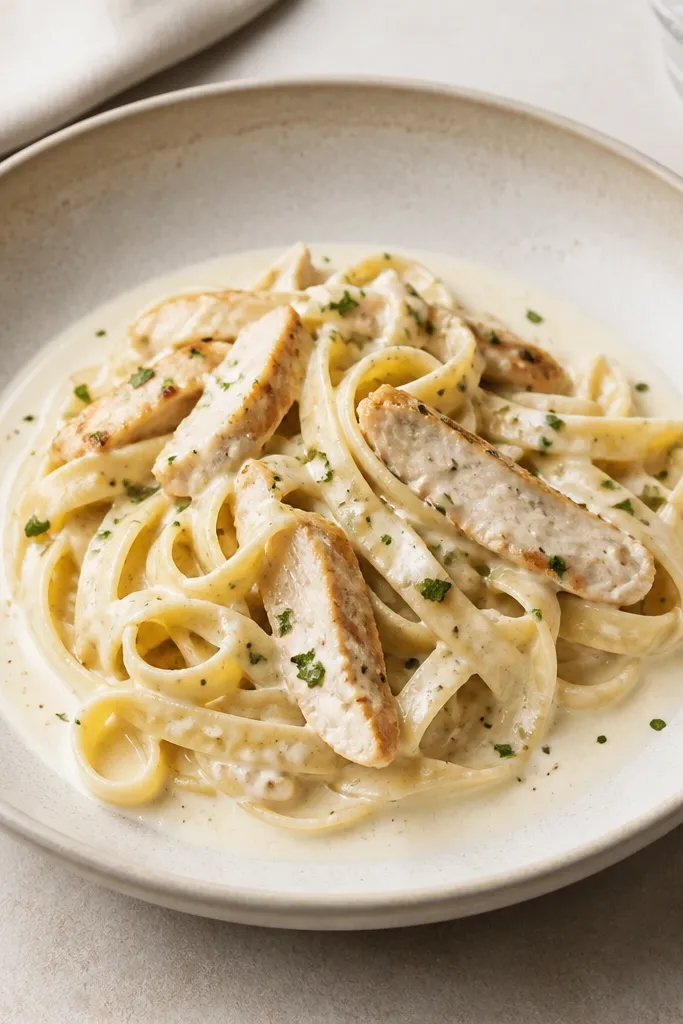
That sauce pool makes the dish look saucy and generous. It also shows the sauce is thick enough to hold shape on the plate. When you plate with a small "nest" in the center and let extra sauce spread, it looks more intentional than dumping everything in a heap. The contrast between pasta texture and smooth sauce rim photographs really well.
Use a shallow bowl, not a deep one. Spoon pasta into the center, then add a ladle of sauce around the edge. Finish with cheese and herbs after the sauce pool is in place.
Try thisIf your sauce is too thick, loosen it with 1-2 tablespoons pasta water so it flows onto the rim.
One warningAvoid mixing pasta and sauce too far in advance - sauce can set and won't pool nicely.
10. Side-by-side plating with garlic bread dip
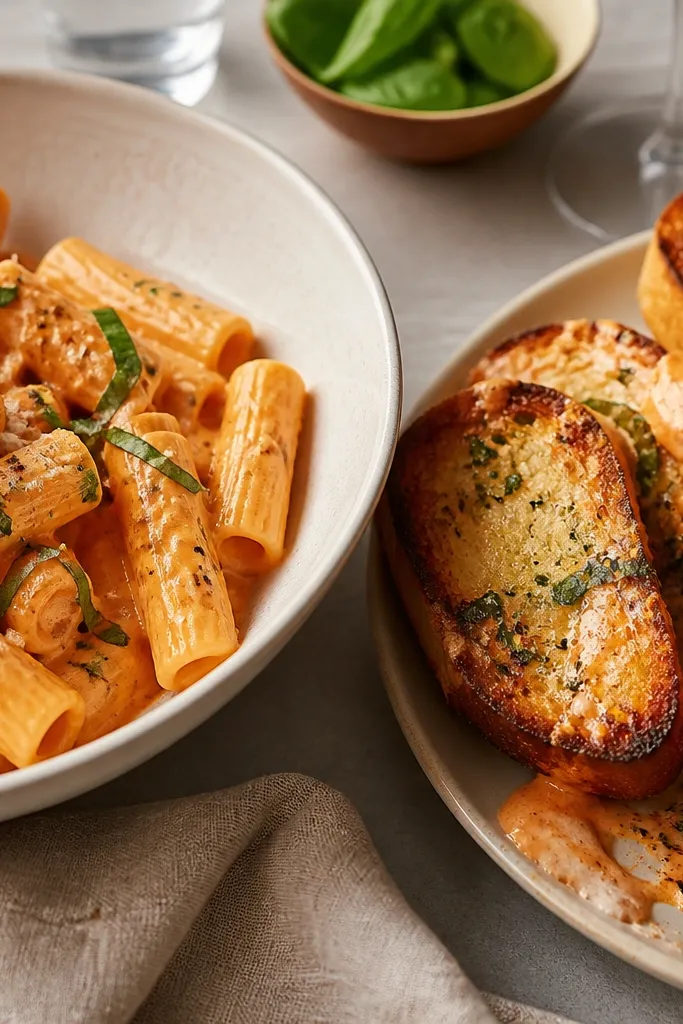
This is how you make it look like a full meal, not just pasta. Garlic bread gives you a crunchy texture that balances the creamy sauce. The butter sheen on the bread echoes the sauce gloss, so the whole plate looks cohesive. It also makes the meal feel like a "Friday dinner" even when it's Tuesday.
Toast bread until the edges are crisp. Spread butter mixed with minced garlic on warm bread, then serve immediately. Keep the pasta sauce thick so it clings when someone dips.
Try thisCut bread into thick fingers so it doesn't flop and so dipping stays easy.
One warningAvoid soft, untoasted bread - it turns the whole meal into mush visually and taste-wise.