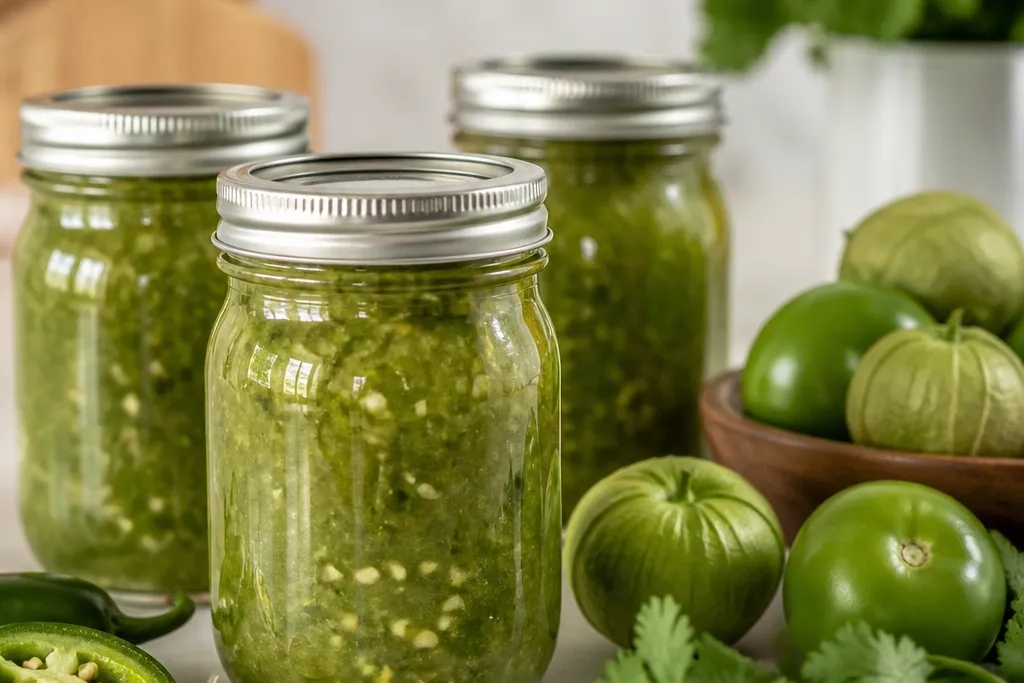
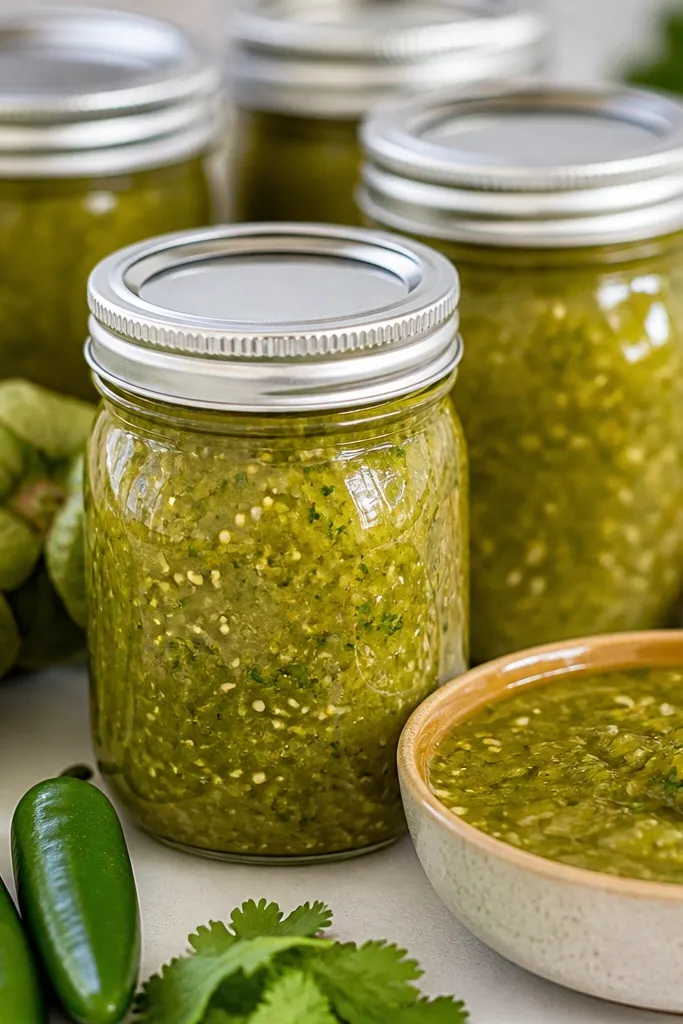
1. Roasted tomatillos on a sheet pan
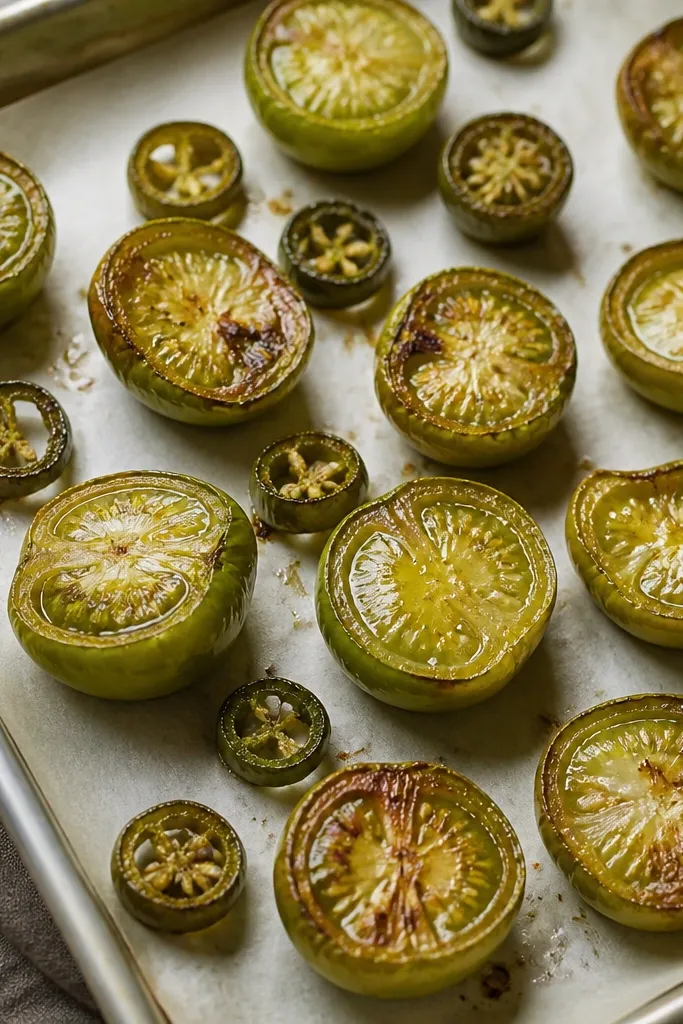
You're looking for uneven browning - that's the flavor. Roasting also deepens the verde color so the salsa looks appetizing even after canning. The browned spots are where the tomatillo sugars caramelize a little, giving salsa verde a more rounded taste than raw-blended versions.
Spread tomatillos cut-side up with space between pieces so steam doesn't trap moisture. Roast at 450°F until you see dark freckles on the cut faces, usually 18-25 minutes depending on size.
Try thisIf you want a smoky edge, roast jalapeño on the same pan and blend it in - don't just throw it on top later.
One warningAvoid roasting in a cramped pile; wet tomatillos steam and your salsa ends up tasting flat.
2. Blended green salsa in a pot
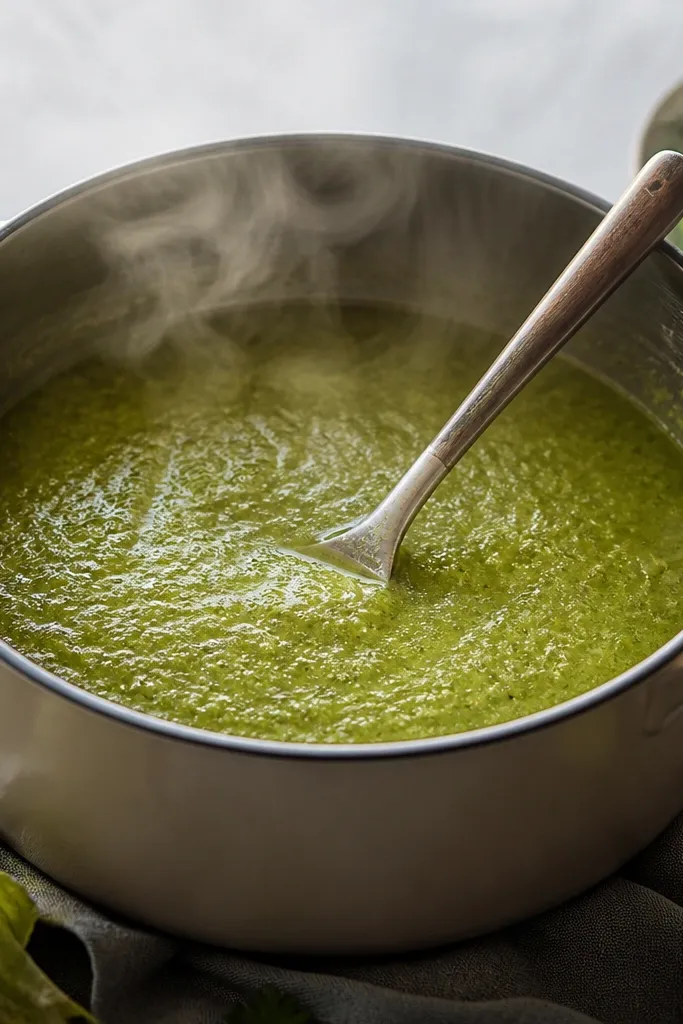
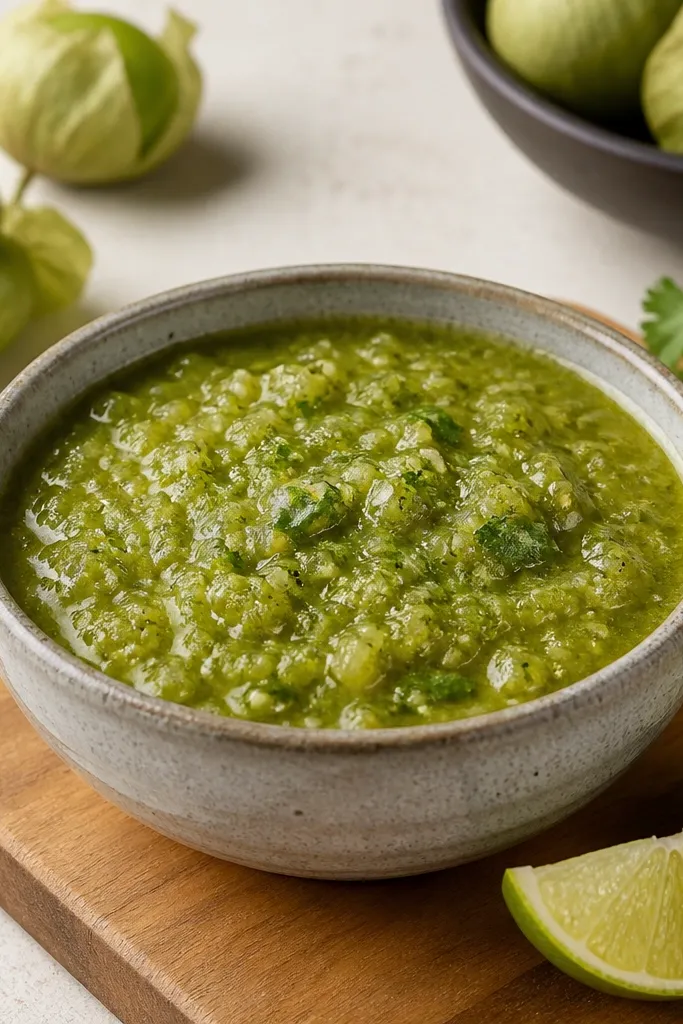
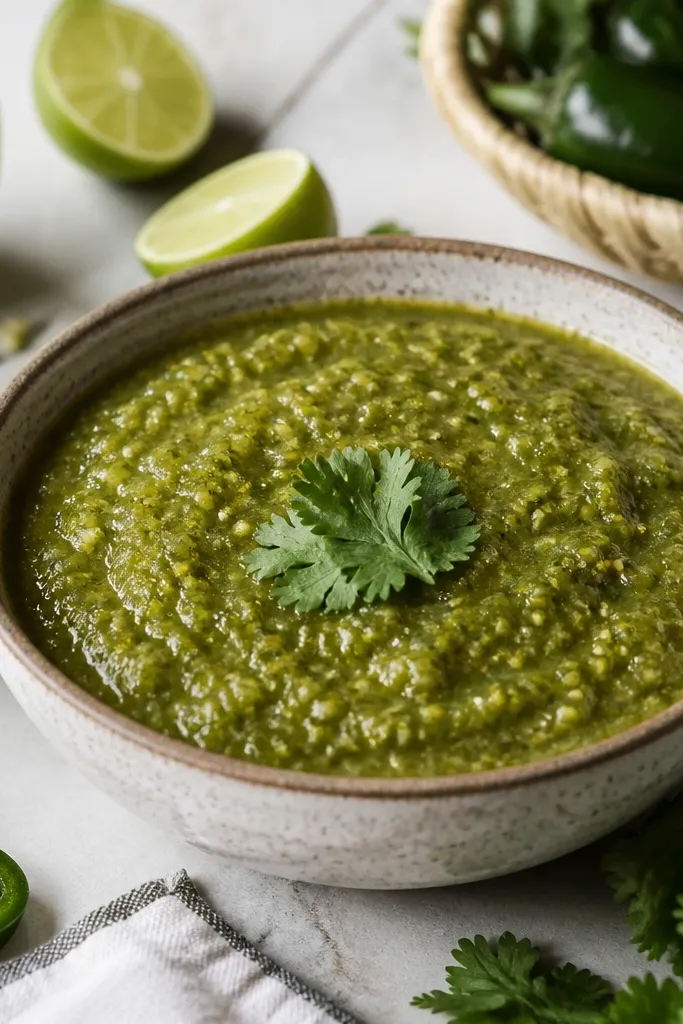
This is the stage where thickness matters. When the salsa is properly blended and reduced, it clings to the spoon instead of running like soup. That texture holds up in jars, so you don't get watery separation.
Use an immersion blender for a smoother, slightly rustic texture. Blend until no big tomatillo chunks remain, then pour into a wide pot so evaporation happens faster.
Try thisStir and scrape the bottom every 3-4 minutes during reduction so it thickens evenly without sticking.
One warningAvoid blending only briefly; big chunks don't break down during simmering and you'll get uneven salsa.
3. Spoon test channel line
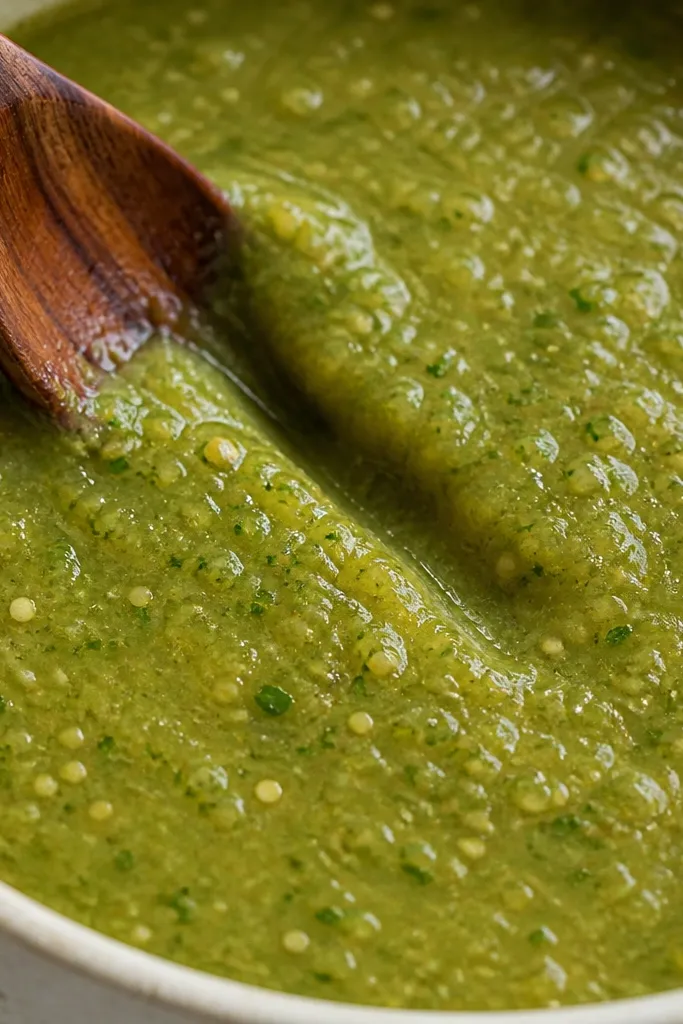
That "channel" is your visual cue that water is reduced enough. If the salsa closes instantly, it still has too much liquid for a thick, scoopable jar result. If it holds for a couple seconds, you get a stable texture after processing.
Do the test right after stirring and let it settle for 10-15 seconds. You want the line to remain readable, not disappear immediately.
Try thisIf it's too thin, simmer in 5-minute bursts and retest instead of guessing.
One warningAvoid judging thickness from the first minute of simmer; it looks thicker right after blending because it's hot and foamy.
4. Seasoning bowl before adding
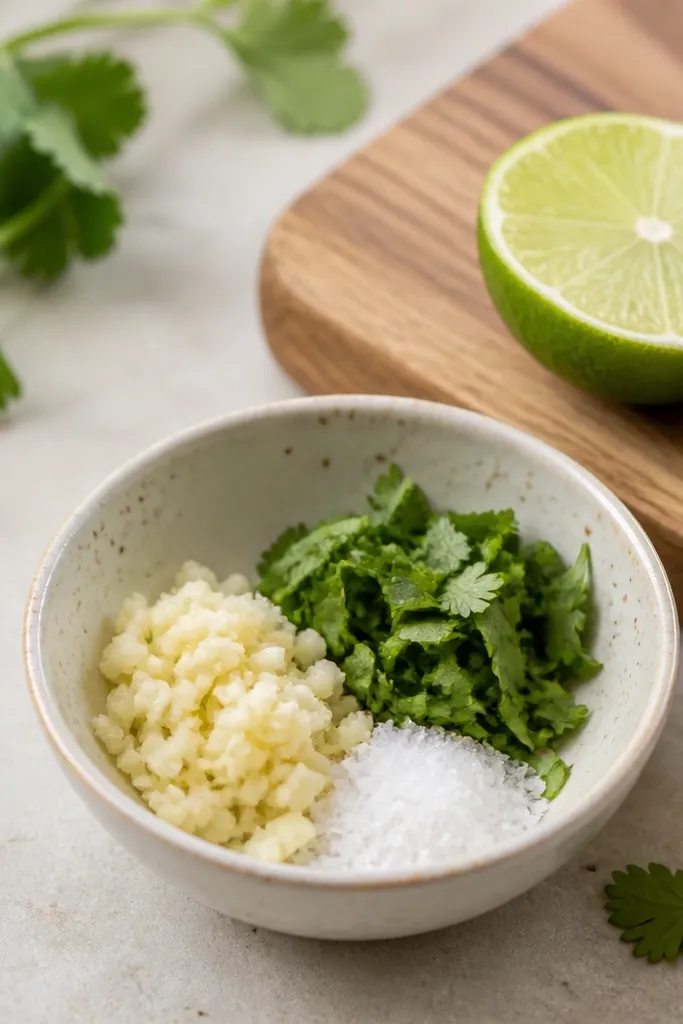
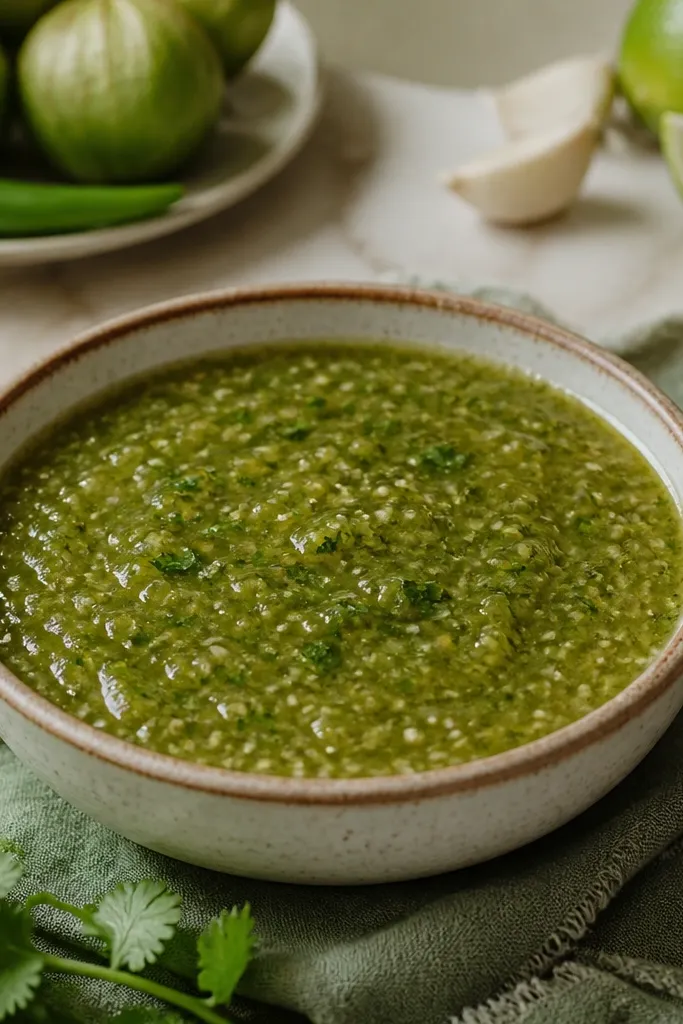
Seasoning right after reduction keeps the flavor clean. Garlic softens in the short finish simmer, and cilantro stays green and fragrant instead of turning dull. The salt also changes how the salsa thickens - it helps pull moisture and makes the sauce taste "done."
Minced garlic should be small enough to dissolve when stirred. Chop cilantro by hand and add it near the end so it doesn't overcook.
Try thisTaste after simmering 5 minutes; if it tastes flat, add salt in tiny pinches before canning.
One warningAvoid adding cilantro at the beginning; it will darken and taste cooked.
5. Hot jars ready for filling
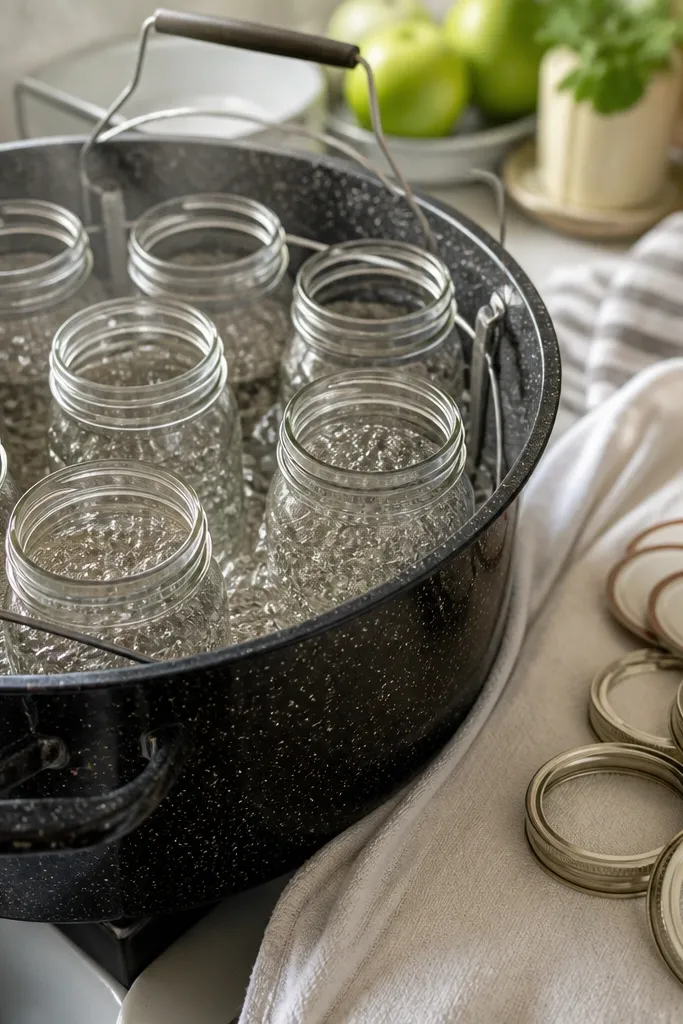
Warm jars reduce the chance of temperature shock and help salsa fill smoothly. Clean jars and a dry rim are the difference between a seal that holds and one that fails. You also want everything staged so you're not rushing when the salsa is at the right heat.
Heat jars in hot water and keep them there until you're ready to fill. Dry the rim with a clean towel right before ladling.
Try thisUse a funnel every time; spills on jar rims make sealing a pain.
One warningAvoid filling cold jars; the salsa can cool too fast and you'll get more air pockets.
6. Funnel filling with headspace
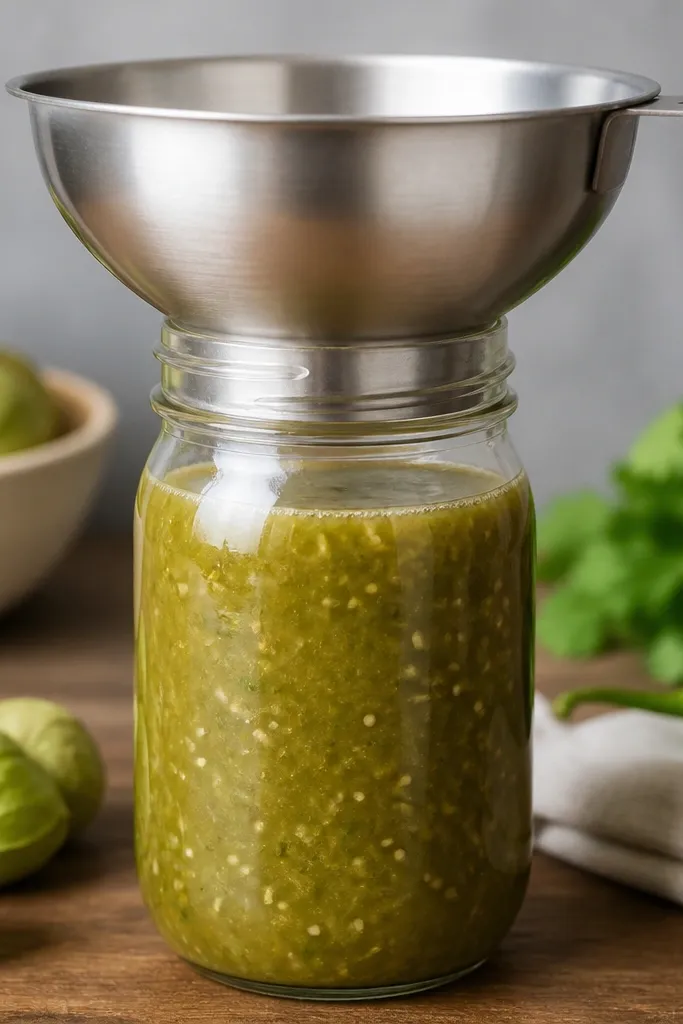
Headspace keeps pressure processing safe and consistent. The funnel keeps the rim clean so the lid seals evenly across the whole circle. When you fill with correct headspace, the salsa doesn't siphon into the sealing area.
Fill straight from a ladle, then adjust with a spoon if you overshoot. Wipe the rim with a damp clean paper towel if any salsa touches it.
Try thisCheck headspace once per batch by measuring one jar; don't assume you're perfect every time.
One warningAvoid overfilling; salsa on the rim is the fastest way to lose seals.
7. Bubble removal pass
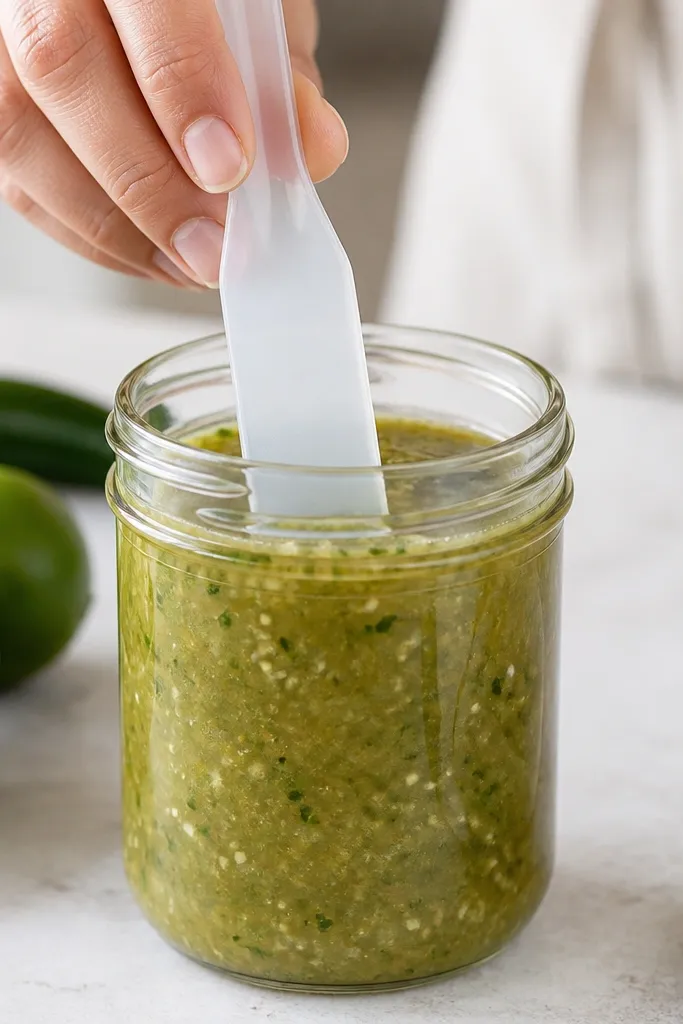
Bubbles trapped in thick salsa can expand during processing and push the lid off alignment. A careful bubble removal pass helps salsa settle and keeps headspace consistent. It also reduces the "void" you see near the top after jars cool.
Run the tool along the inside wall and gently stir once, then add more salsa to restore headspace if needed.
Try thisDo this while the salsa is still hot and fluid - it's harder once it starts to set.
One warningAvoid aggressive stirring; you don't want to whip in extra air.
8. Pressure canner loaded and ready
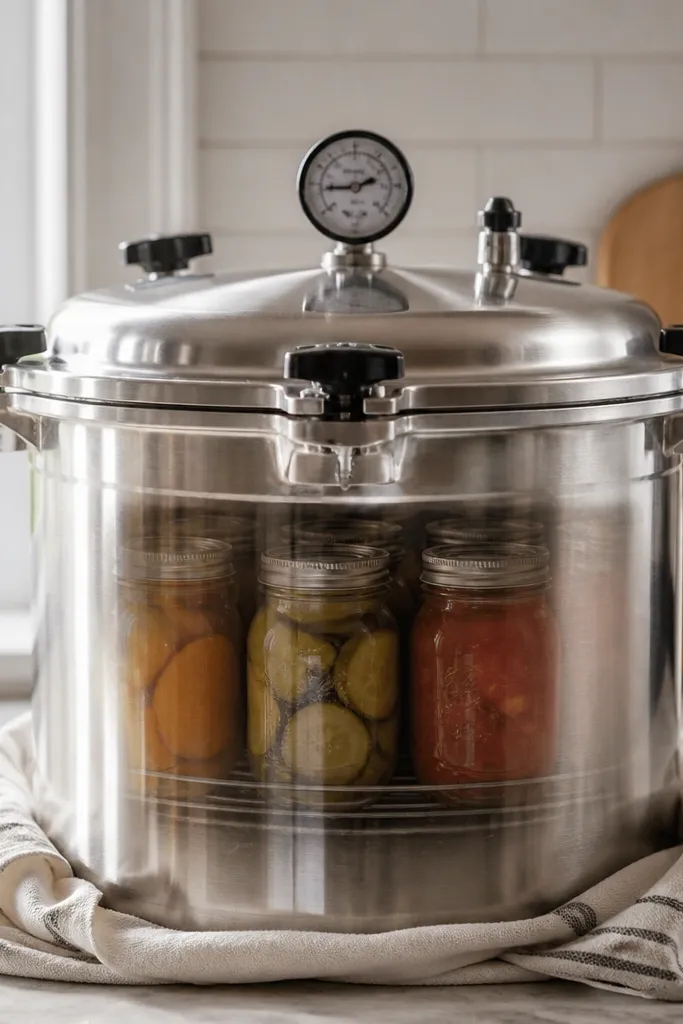
This is where safety and texture meet. Pressure processing handles low-acid salsa verde safely, and it also drives the jars to a consistent set so the salsa stays stable. The jars look calm and still during processing, which is what you want.
Make sure the canner has the correct amount of water in the bottom. Tighten the lid properly and keep the venting steps aligned with your canner manual.
Try thisWatch the gauge to maintain steady pressure; big swings change processing time.
One warningAvoid skipping the venting step; it can throw off the internal temperature.
9. Cooling jars on a towel line
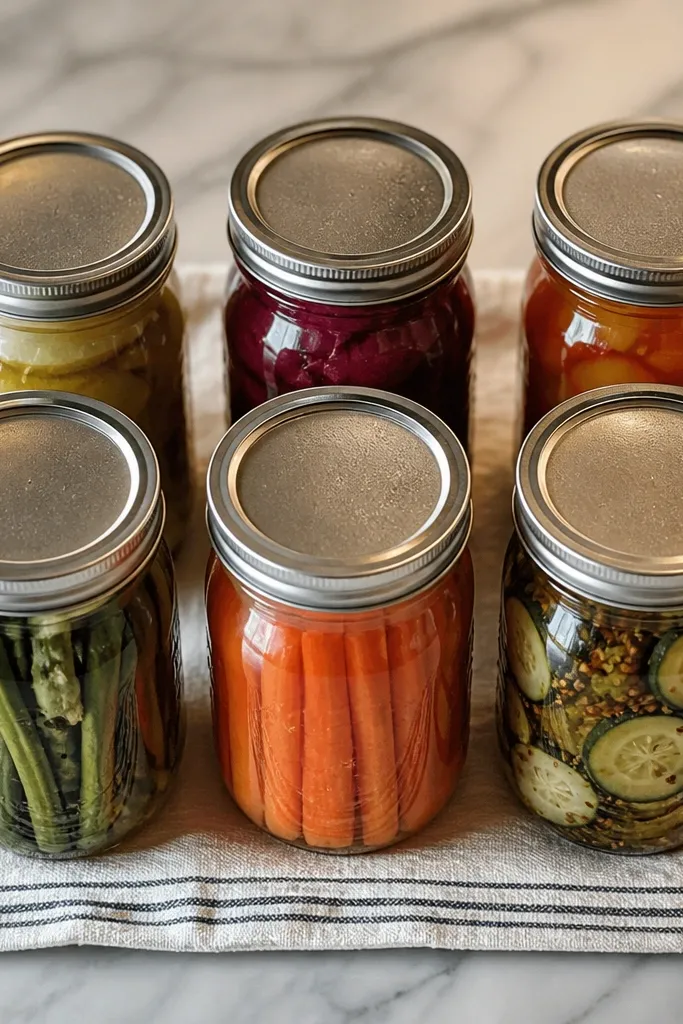
A towel protects the counter and slows cool-down so jars don't crack. As they cool, you'll hear lid pops - a sign the seal formed properly. Letting jars cool fully prevents false "not sealed" moments from early pressure changes.
Leave space between jars so heat escapes evenly. Don't retighten bands after processing; you can break a seal that already formed.
Try thisAfter 30 minutes, check that the lids have gone from domed to flat.
One warningAvoid moving jars while they're still hot; that's when chips happen.
10. Label with heat level and date
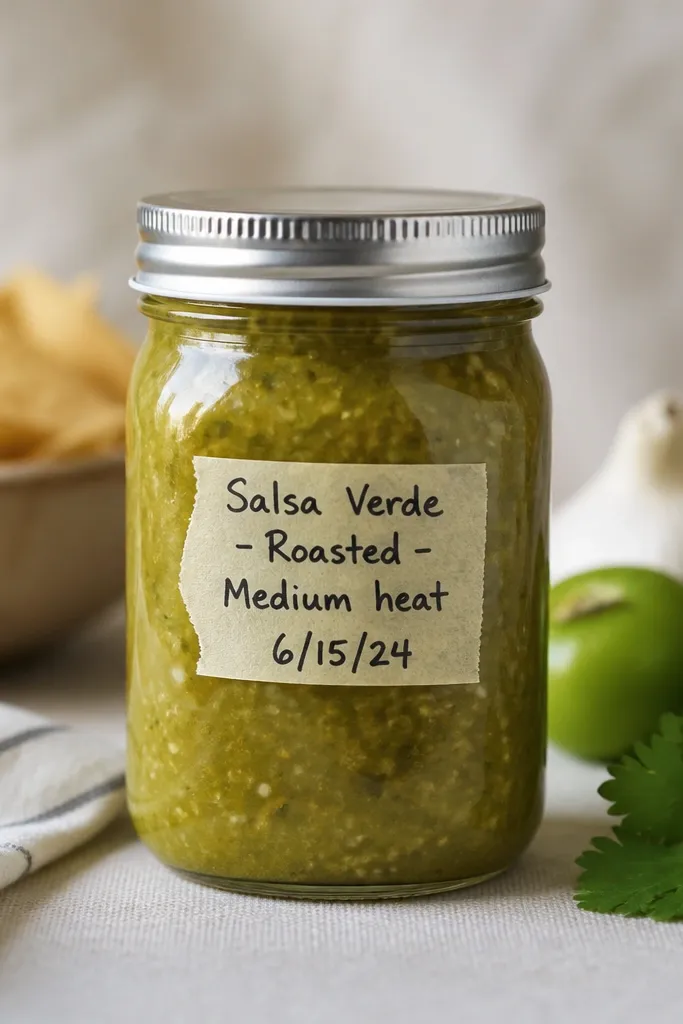
You'll thank yourself later when you're deciding what to bring to game night. Heat level matters because tomatillos vary and so do jalapeños. A date also tells you what to eat first, since flavor changes after months.
Write the heat level based on what you used: jalapeño for medium, serrano for hotter. Use painter's tape so you can remove it cleanly later.
Try thisAdd a tiny note like 'more garlic' if you doubled it; it helps you repeat your favorite batch.
One warningAvoid vague labels like 'verde'; you need heat and method to match your taste.