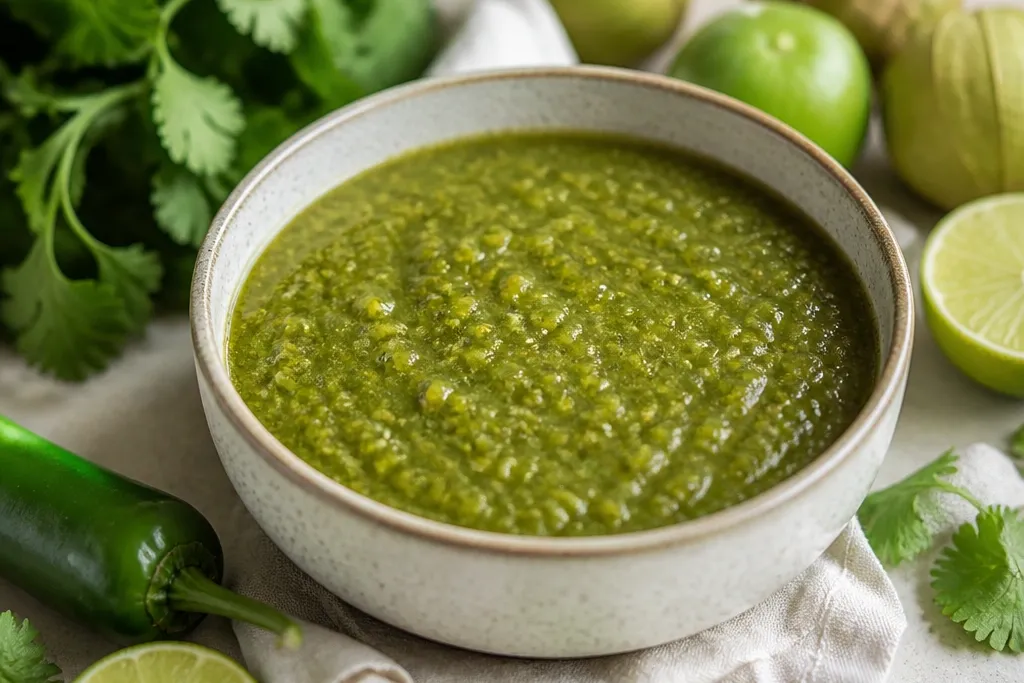
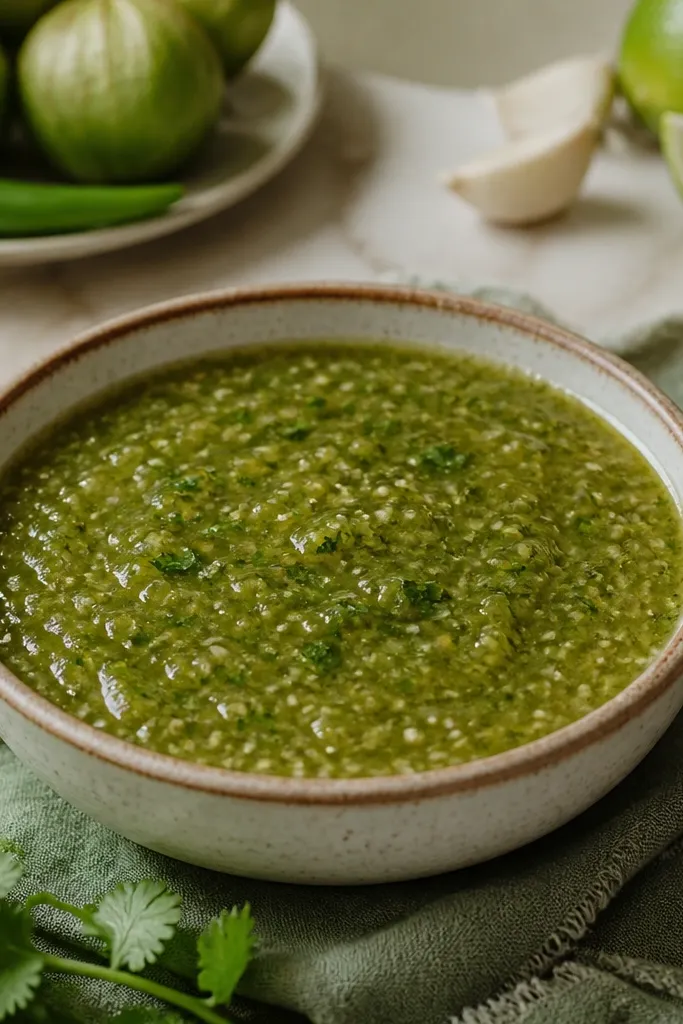
1. Char-Spot Green Bowl with Glossy Surface
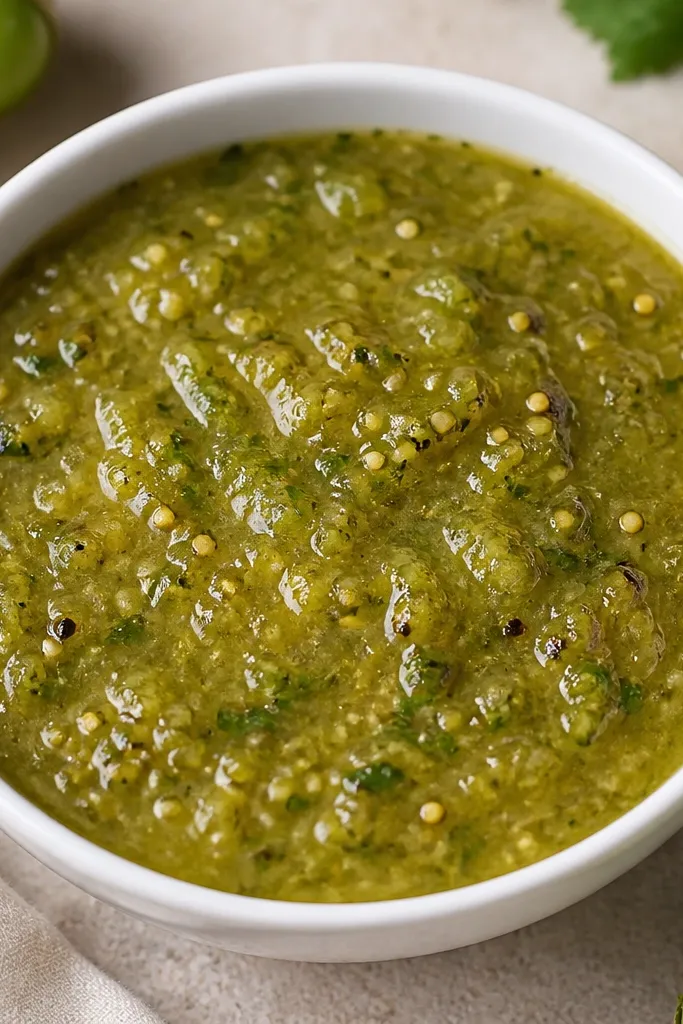
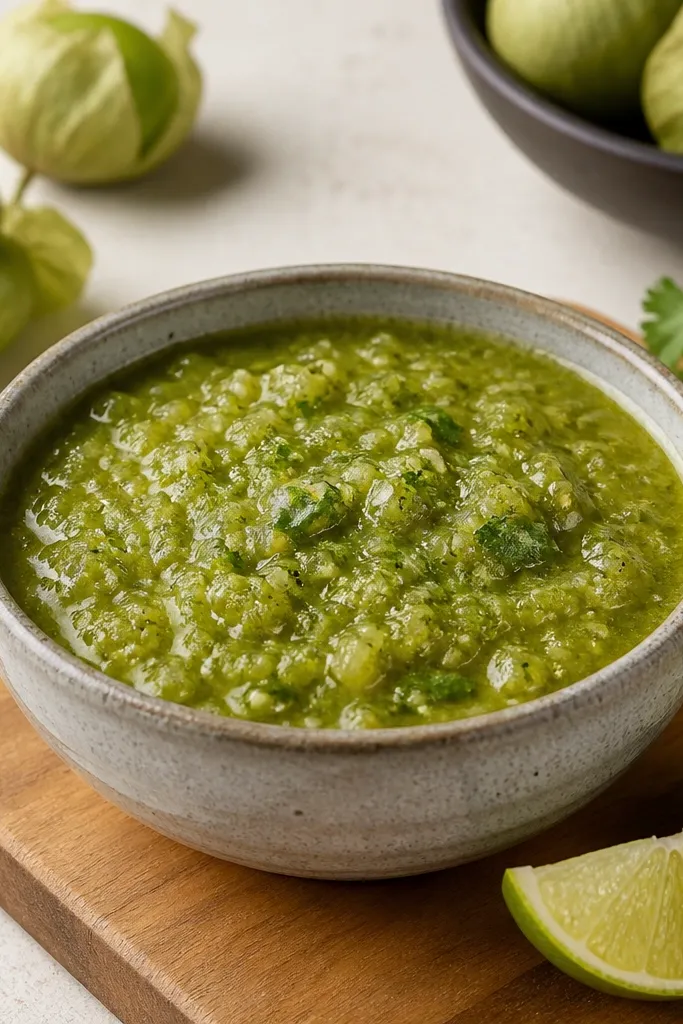
You get this look when the salsa is thick enough to hold shape, not runny. Roasting creates those dark specks and deeper green tones, while a brief blend keeps small bits visible. The glossy surface comes from blending just enough to emulsify tomatillo juices with oil from any roasted ingredients.
Use a blender for 6-10 short pulses, then stop before it's smooth. Pour into a bowl and press it once or twice with the back of a spoon to break it up slightly. Let it rest 10 minutes so it thickens - it firms up and looks shinier.
Try thisWarm the bowl slightly under hot tap water, then dry it - the salsa looks more vivid and doesn't dull on contact.
One warningDon't blend until perfectly smooth; it turns flat and looks like green soup on a plate.
2. Two-Pepper Heat Gradient
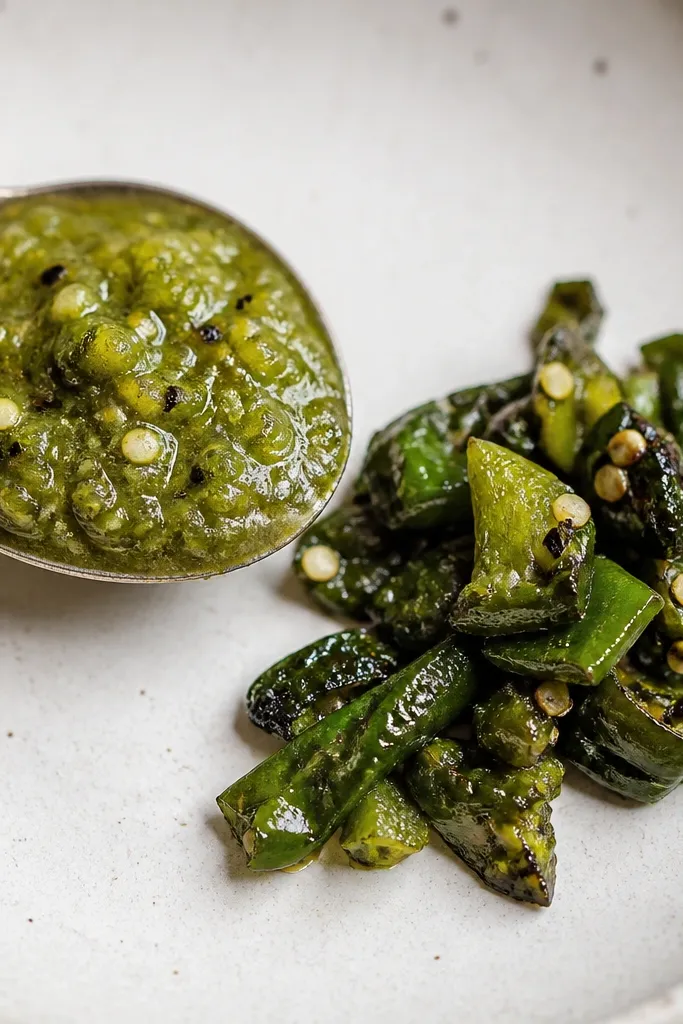
This aesthetic is about contrast. Jalapeño tastes fruity and bright, serrano adds sharper bite, and roasting both together creates caramelized edges. When you mix them, the salsa looks layered instead of uniformly green.
Roast jalapeños and serranos until blistered, then blend most of them into the salsa. Chop a teaspoon of roasted pepper and fold it back in so you see distinct flecks.
Try thisIf you want it to look extra intentional, add the chopped pepper on top in a thin swirl.
One warningSkip raw pepper garnish; it looks harsh and makes the salsa taste under-roasted.
3. Lime-Sparkle Finish
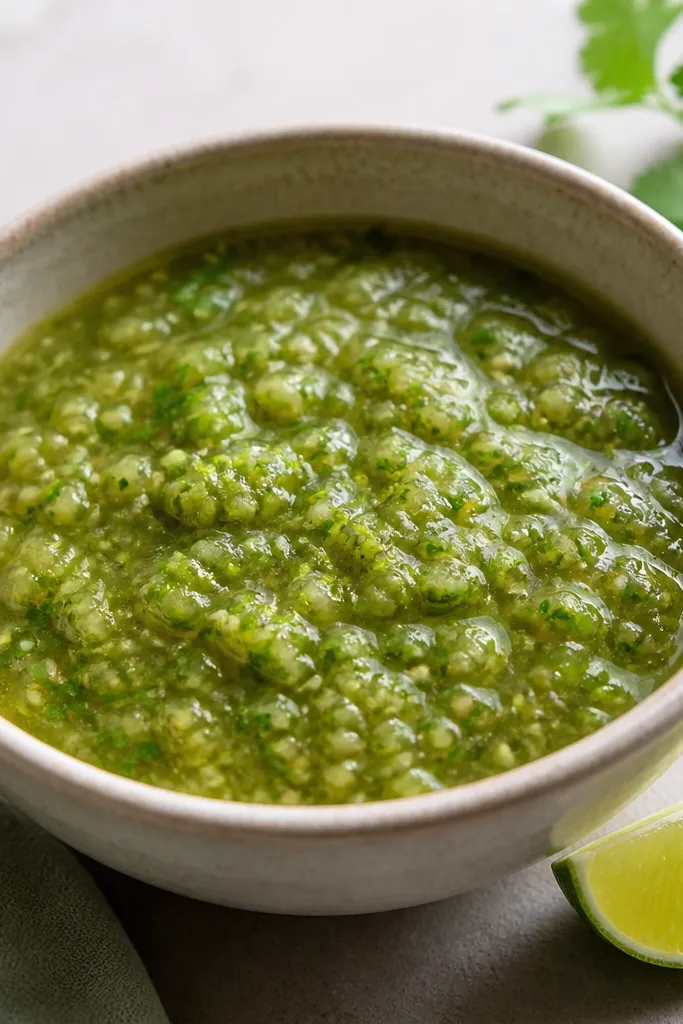
Lime juice brightens the color and cuts through the smoky roast. Zest adds tiny flecks that catch light, giving that "freshly made" look even if you're serving later. Lime added at the end keeps the salsa from tasting cooked.
Add lime juice after blending and after you've tasted for salt. Zest one small lime directly over the bowl, then stir once. If it thickens too much, loosen with 1-2 tablespoons of the reserved tomatillo cooking liquid.
Try thisUse a microplane - the zest comes out as fine dots instead of big strips.
One warningDon't add lime at the start; it dulls the roasted flavor and makes the green look muddy.
4. Smoky Tomatillo Seed Texture
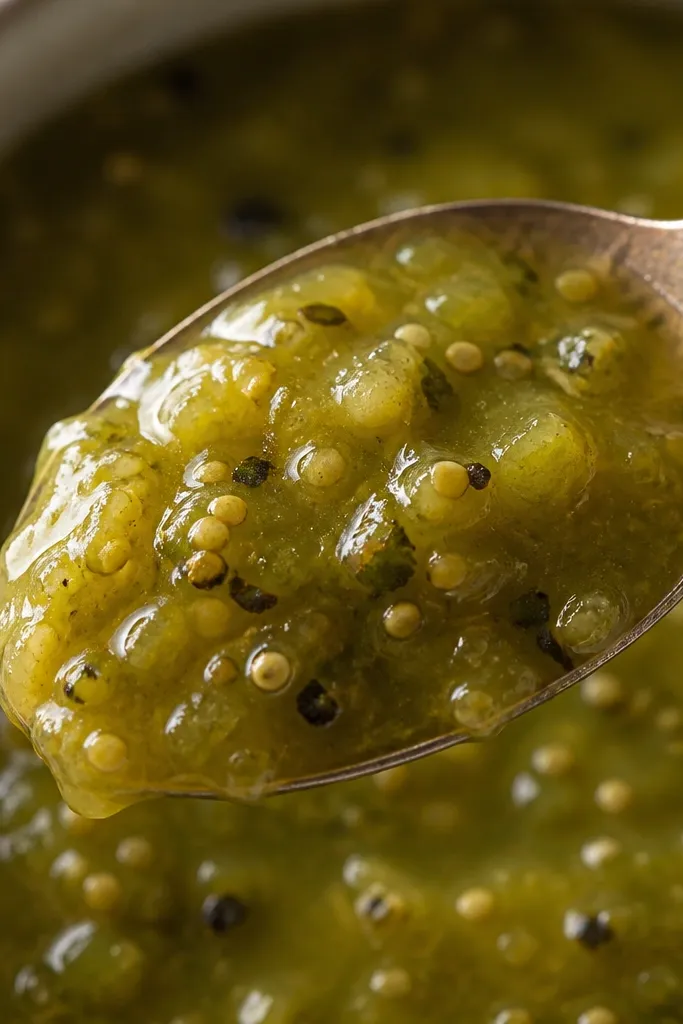
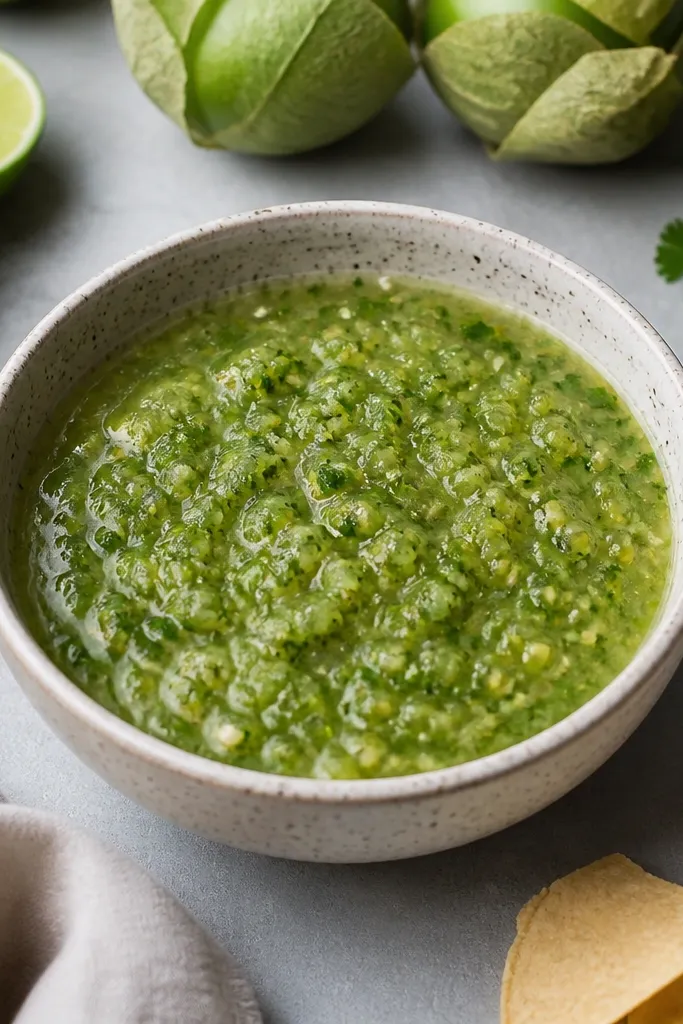
Visible seeds and skin bits make salsa verde feel handmade. They also distribute flavor: each bite gets a little tartness from tomatillo and a little smoky roast. This texture is easier to achieve when you stop blending early.
Pulse in the blender for short bursts, then do a quick manual smash. If your blender is too strong, blend for less time and finish with a fork. Keep the salsa thick so the seeds don't sink into watery liquid.
Try thisWhen you taste, drag the spoon across the bowl - if it leaves a trail, it's thick enough for this texture look.
One warningDon't add extra water to fix thickness; it kills the seed texture and the color.
5. Roasted Garlic Swirl
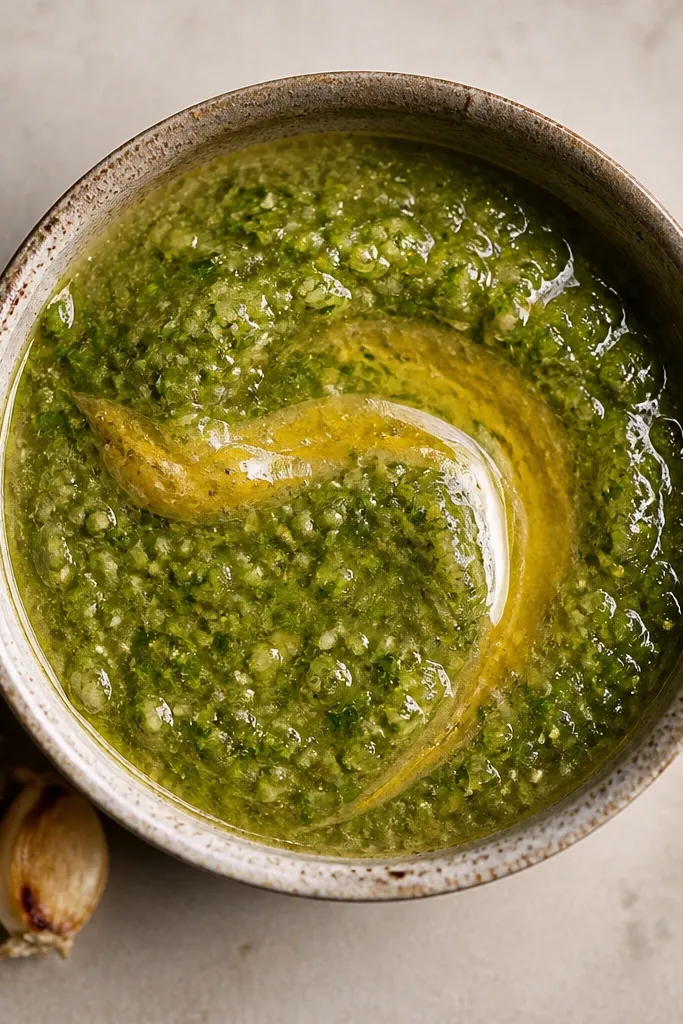
Roasted garlic has a soft, sweet edge that looks warm against green. When you blend garlic with only part of the salsa, then swirl it back in, you get that golden ribbon effect. It also makes the salsa smell richer without tasting heavy.
Roast 1-2 garlic cloves (or a whole small head if you're making a big batch) until soft. Blend the garlic with a small ladle of salsa, then pour back and stir once or twice. The swirl should be visible, not fully mixed.
Try thisKeep the garlic portion small so the green stays dominant visually.
One warningDon't use raw garlic in the salsa base; it turns sharp and the flavor looks "stewy," not roasted.
6. Herb Flecks with Cilantro and Flat-Leaf Parsley
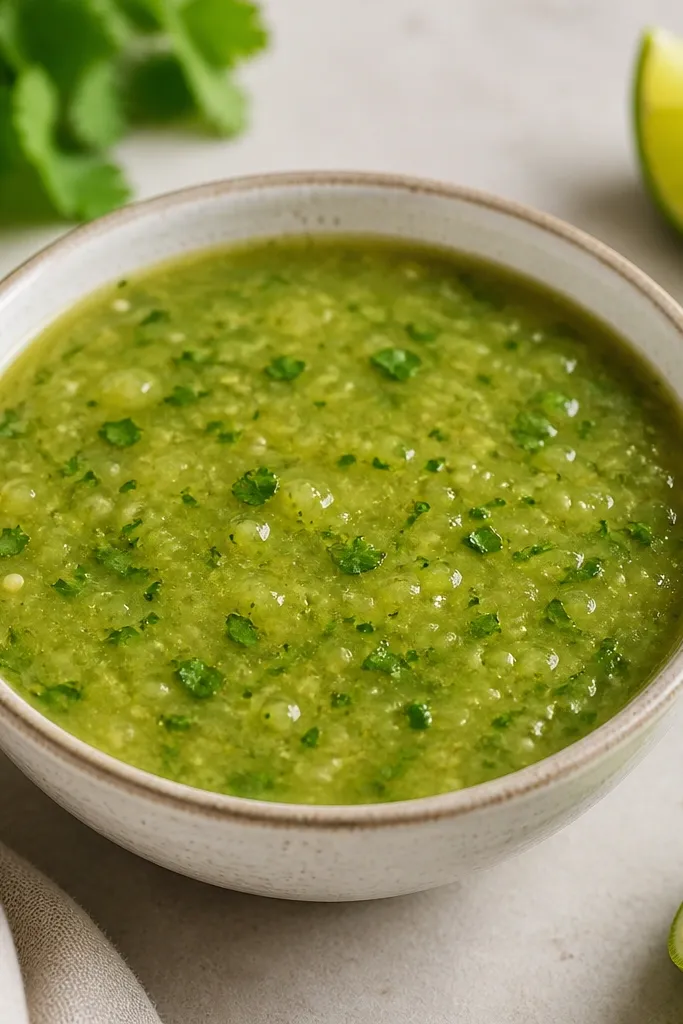
Herb flecks make salsa look fresh and intentional. Cilantro adds that classic green-citrus aroma, while parsley adds body and a slightly more muted green. If you blend the herbs fully, you lose the speckled look and the aroma gets muted.
Chop cilantro and flat-leaf parsley finely. Blend the salsa first, then fold herbs in at the end. Use about 1/4 cup herbs for a medium bowl of salsa - enough to see flecks, not enough to turn it swampy.
Try thisAdd herbs right before serving and keep the bowl covered - herbs darken when exposed to air.
One warningDon't blend cilantro in with hot salsa; it turns dull and can taste bitter.
7. Crisp Topping Border for Chip Dips
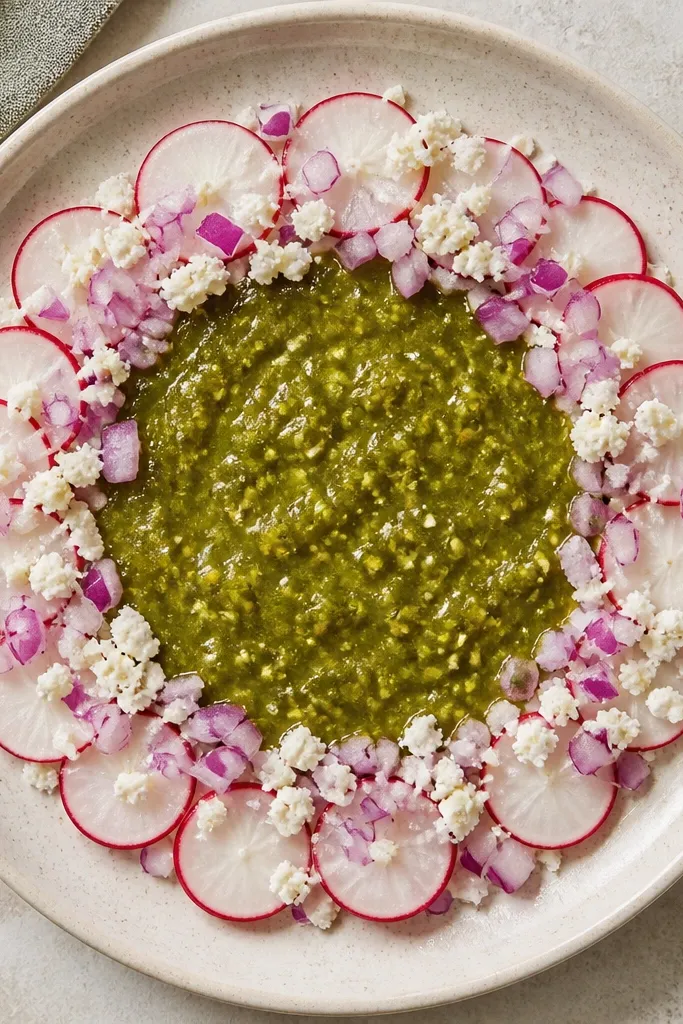
This is how you make salsa verde look like it belongs on a restaurant menu. Radish adds pink crunch, onion adds white pop, and cotija adds salty crumb. The toppings also signal flavor: fresh, tangy, and slightly salty.
Spoon salsa into the center. Add radish slices and red onion in a thin ring, then crumble cotija lightly. Keep the border tight so the green bowl still reads as the main event.
Try thisPat radish and onion dry before topping so you don't water down the salsa surface.
One warningDon't pile wet toppings; they bleed color and make the salsa look messy.
8. Cast-Iron Warmth Plate Effect
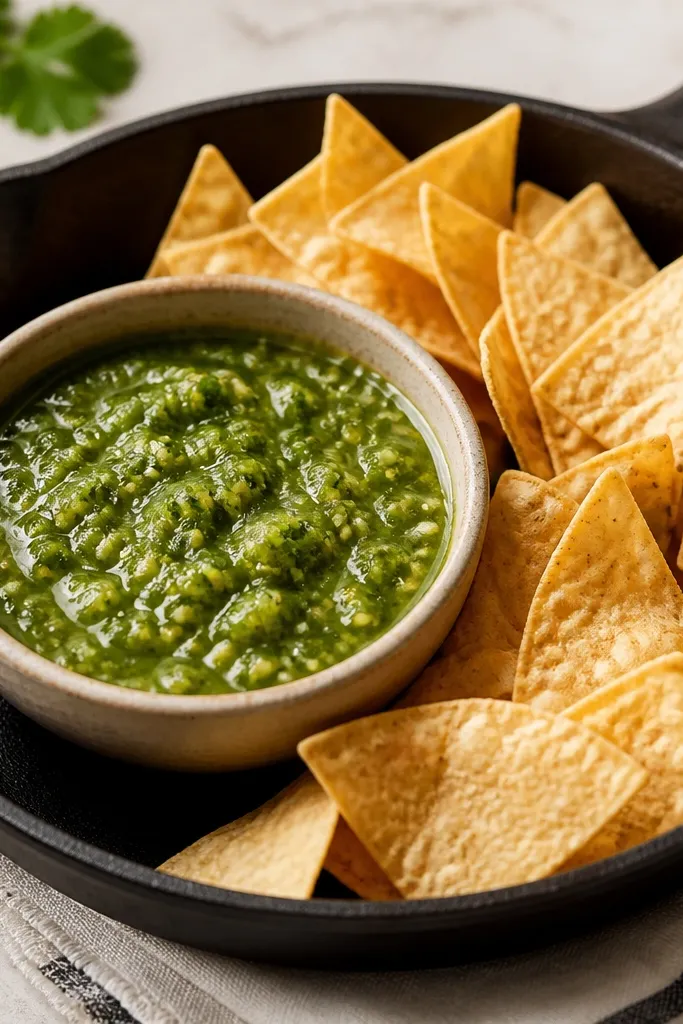
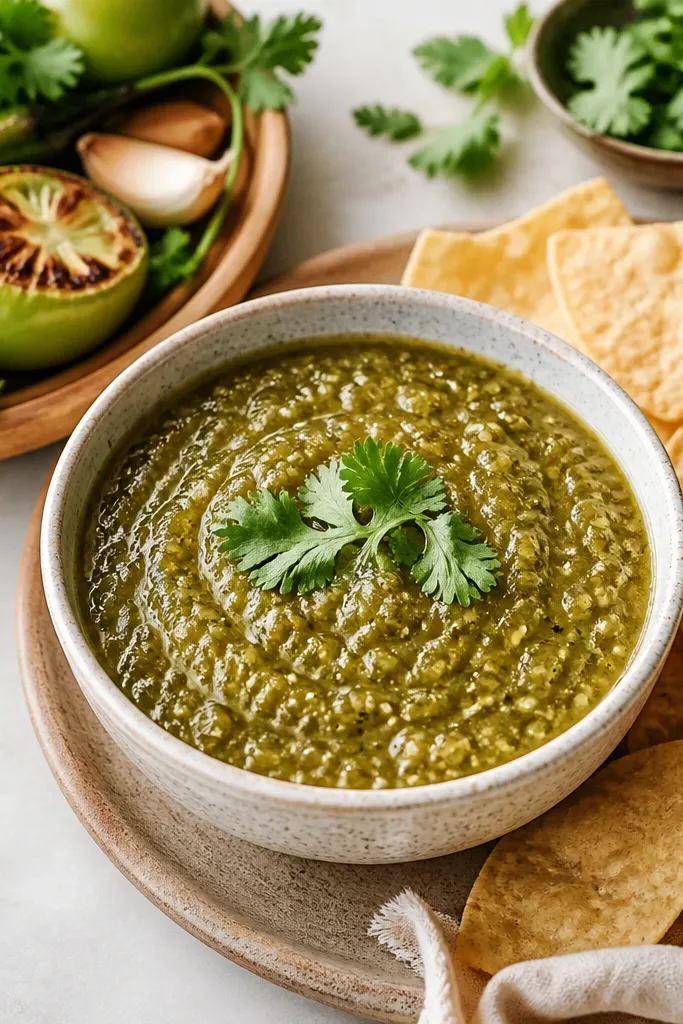
Warm serving makes the salsa smell louder and look brighter. The cast iron holds heat and gives a subtle sheen to the salsa surface as it hits warm metal. It also makes the dip feel "made for sharing," which is how salsa verde is meant to be eaten.
Heat a small cast-iron skillet on low for 3-5 minutes. Place the bowl of salsa in the center, then surround with chips. If you're serving at a party, keep the skillet on low heat the whole time.
Try thisUse a low flame - too much heat can thin the salsa and change texture.
One warningDon't use a cold glass plate; the salsa dulls and thickens into a less glossy look.
9. Smoky Scallion Finish
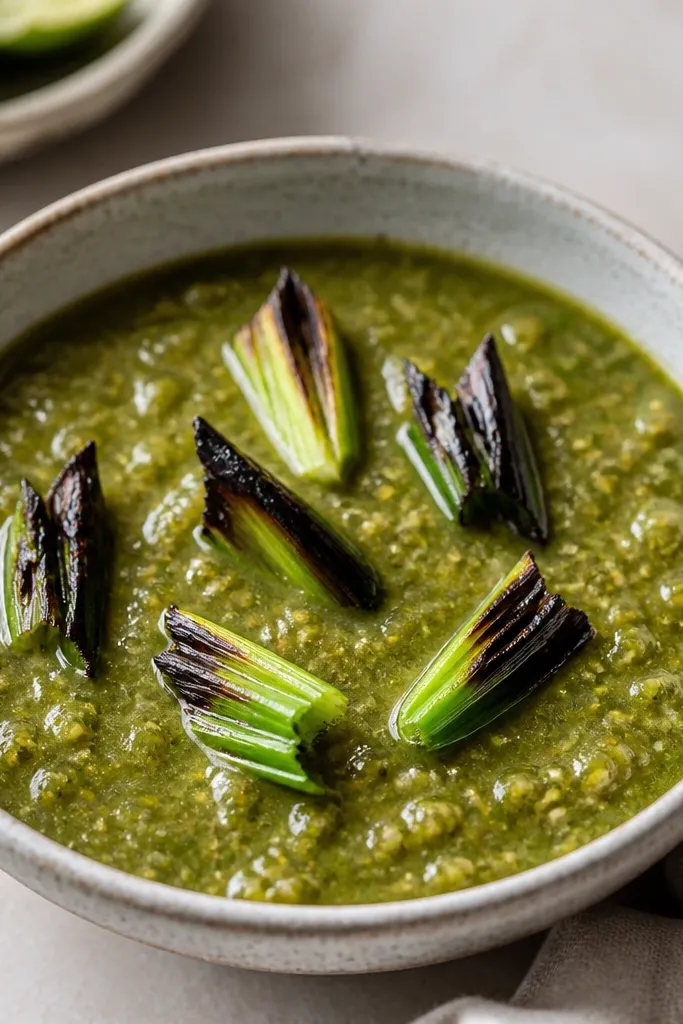
Scallions add a sweet onion note and a clean green color. If you briefly char them on a hot pan, the edges go dark and look intentional rather than random. It also gives a fresh aroma right when you take the first bite.
Chop scallions into 2-inch pieces. Sear in a dry hot pan until you see black blister marks, then chop and sprinkle on top. Use 2-3 scallions for a small bowl of salsa so it stays decorative, not leafy.
Try thisSprinkle right before serving so the scallions don't go soggy.
One warningDon't boil scallions; the flavor turns flat and the look turns gray.