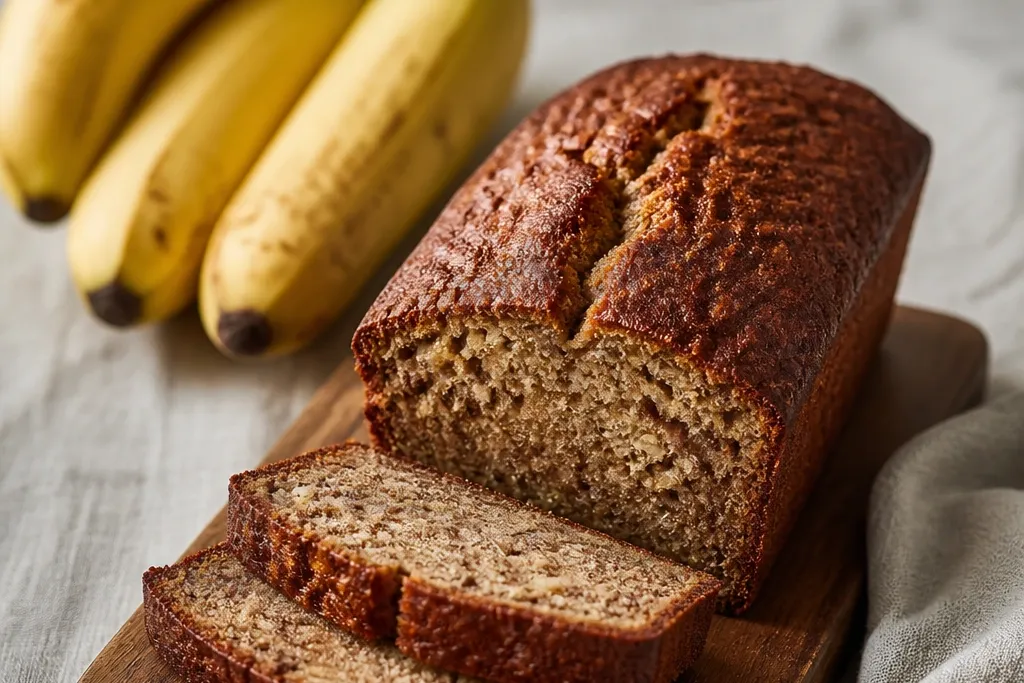
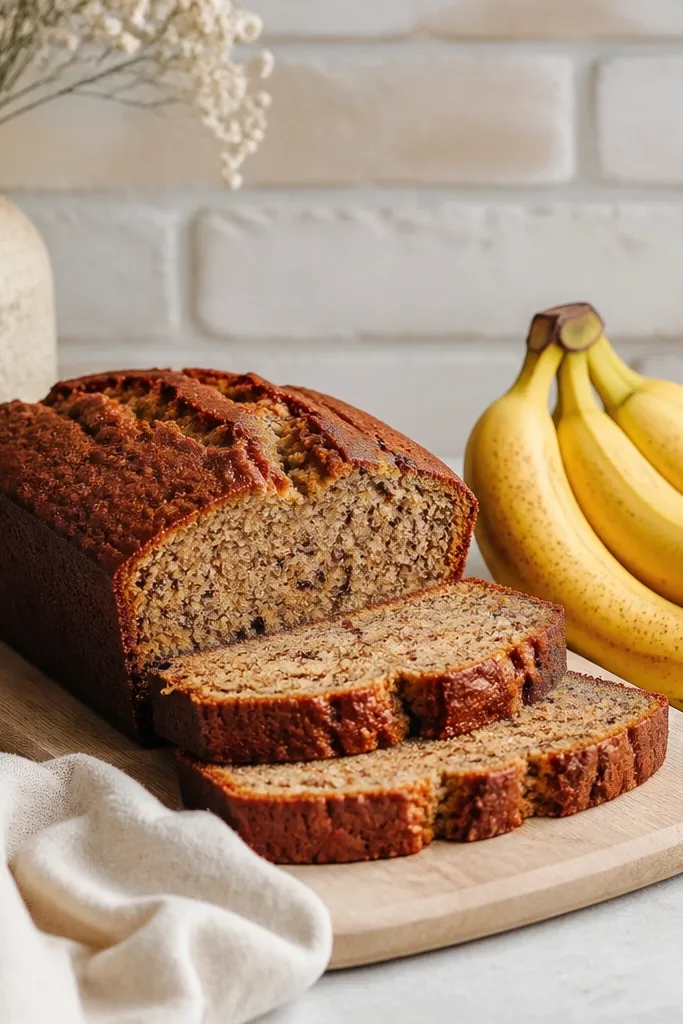
1. Banana-Slice Crown Loaf
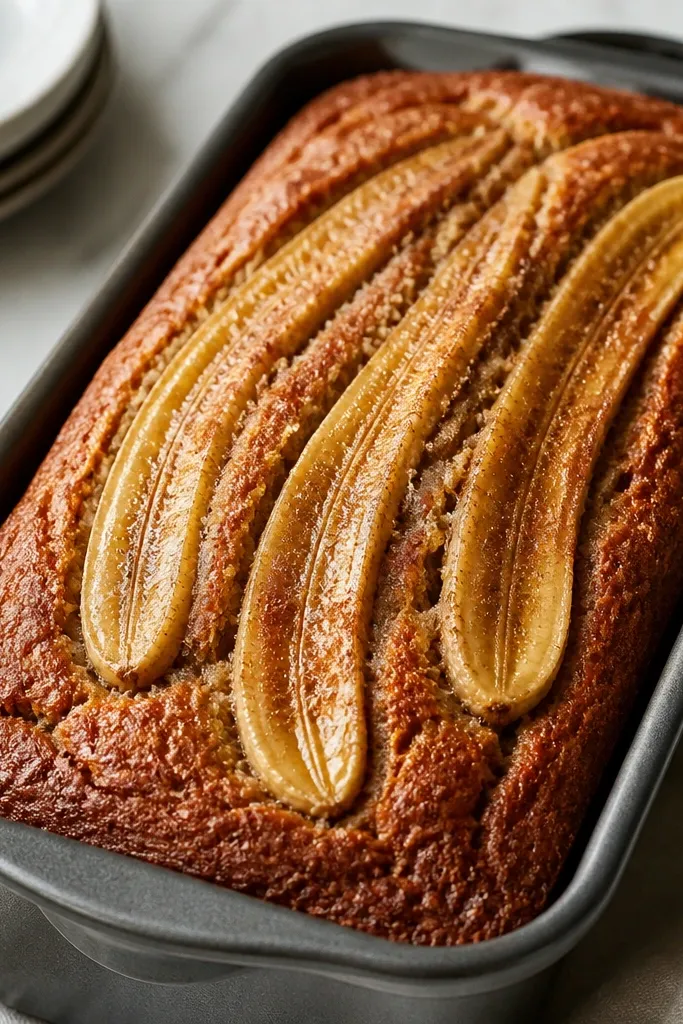
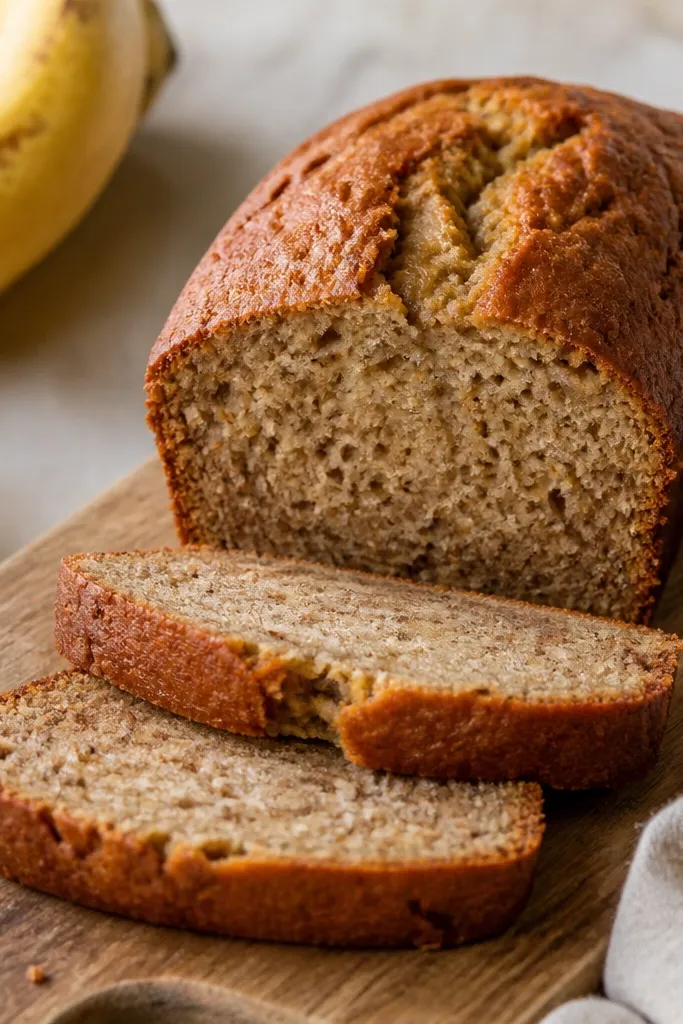
This look comes from a simple crown: banana slices on top that caramelize at the edges. I press the slices into the batter so they stay put while the loaf rises. The cinnamon-sugar dust creates tiny dark specks that make the top look bakery-fresh instead of plain.
Use ripe bananas with brown freckling. Slice them into 1/4-inch rounds (or lengthwise planks if you want longer slices) and pat them dry with a paper towel so they don't leak extra moisture. Bake in an 8.5x4.5-inch loaf pan lined with parchment so the crust browns without sticking.
Try thisSprinkle cinnamon sugar after you place the slices, then add a single pinch of flaky salt over the center for a more "brunch bakery" vibe.
One warningDon't skip drying the banana slices - wet slices slide and leave streaks that look messy.
2. Cinnamon Swirl Top (No Banana Slices)
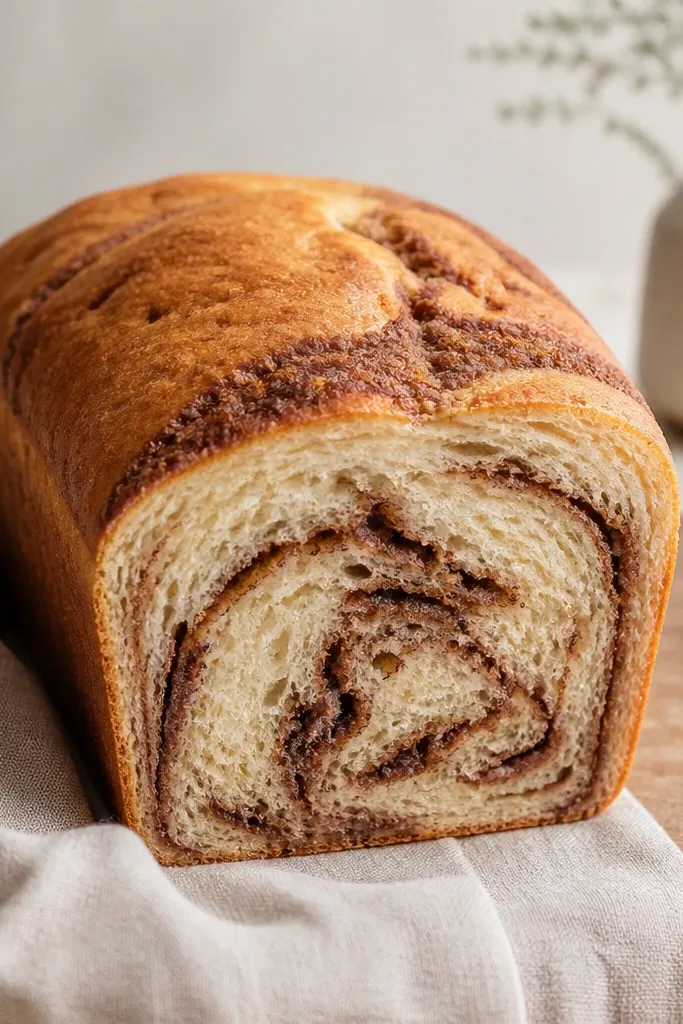
If you want a cleaner, modern look, swirl cinnamon through a thin layer of batter on top. The swirl bakes into thin dark lines that look intentional, not accidental. This also avoids the "banana slices sink" issue that happens when slices are too thick or too wet.
Mix a 2-tablespoon cinnamon-sugar blend (2 tablespoons sugar + 1 teaspoon cinnamon). After pouring batter into the pan, spoon the cinnamon mix over the top in a thin line, then drag a butter knife through it twice - just two passes. Keep the loaf pan in the middle rack so the top domes evenly.
Try thisFor extra contrast, use light brown sugar in the swirl - it browns faster and shows up darker on the crust.
One warningDon't over-swir l - multiple passes blend everything and you lose the crisp ribbon look.
3. Walnut-Confetti Crunch
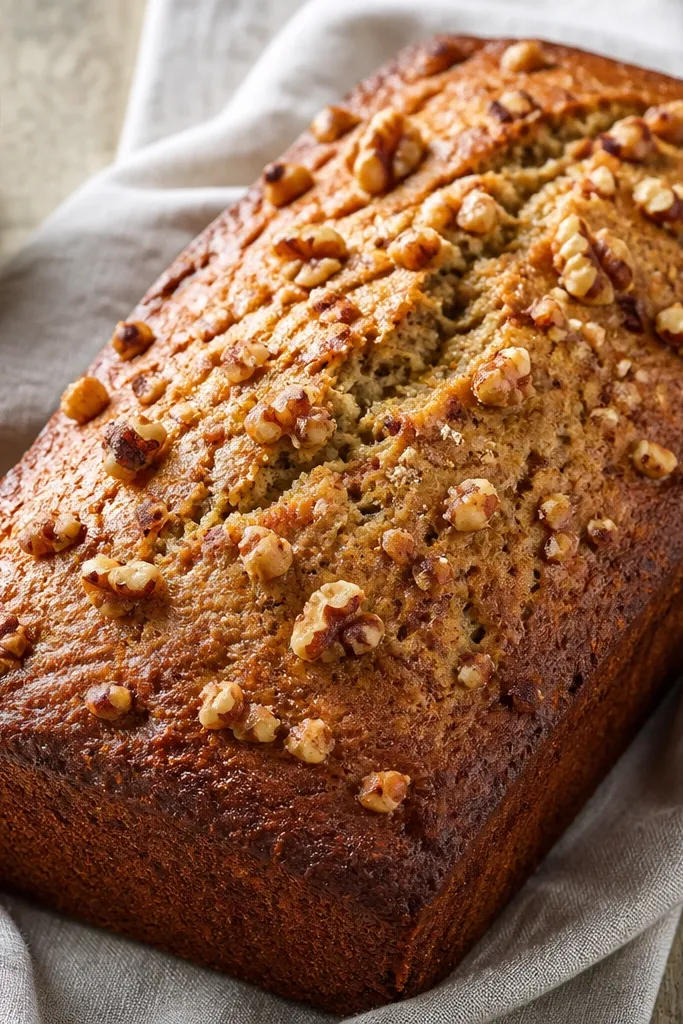
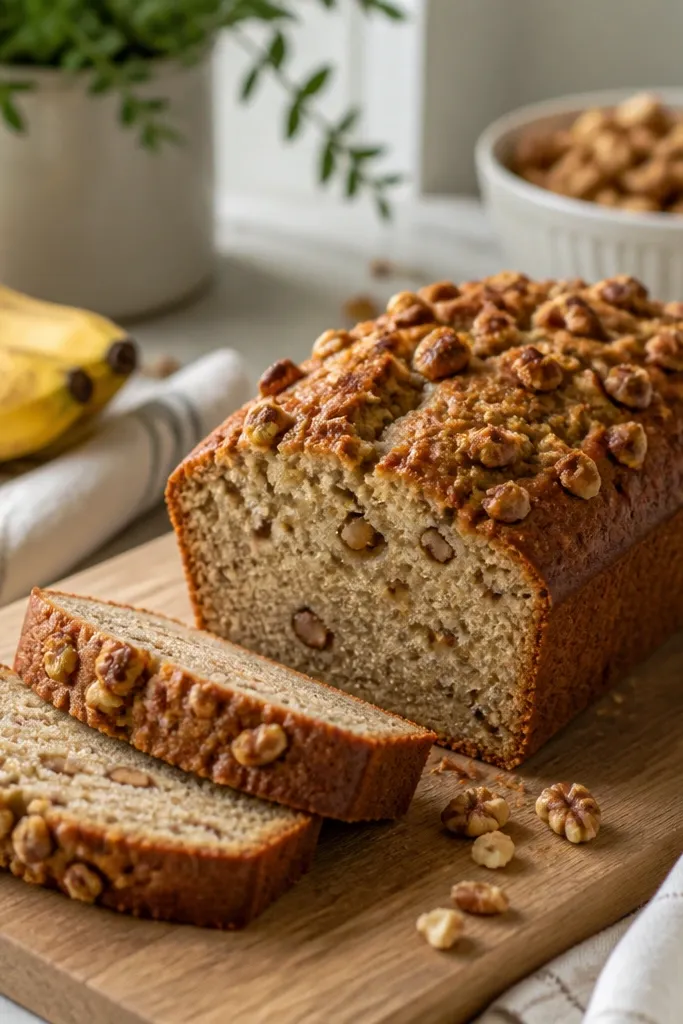
Chopped walnuts give you texture that reads on camera and on the fork. Toasted nuts also taste richer, so the flavor feels fuller even with the same banana amount. The top looks "designed" because the nut pieces create a natural pattern.
Toast 1/2 cup chopped walnuts at 350°F for 7-9 minutes until they smell nutty. Cool briefly, then fold into the batter right at the end. Press a tablespoon or two of walnuts onto the top surface before baking so they don't disappear.
Try thisUse uneven chopping (some pieces 1/4-inch, some smaller). The size mix makes the top look more organic.
One warningSkip adding un-toasted walnuts - they stay pale and the top looks flat.
4. Brown Sugar Milk Glaze
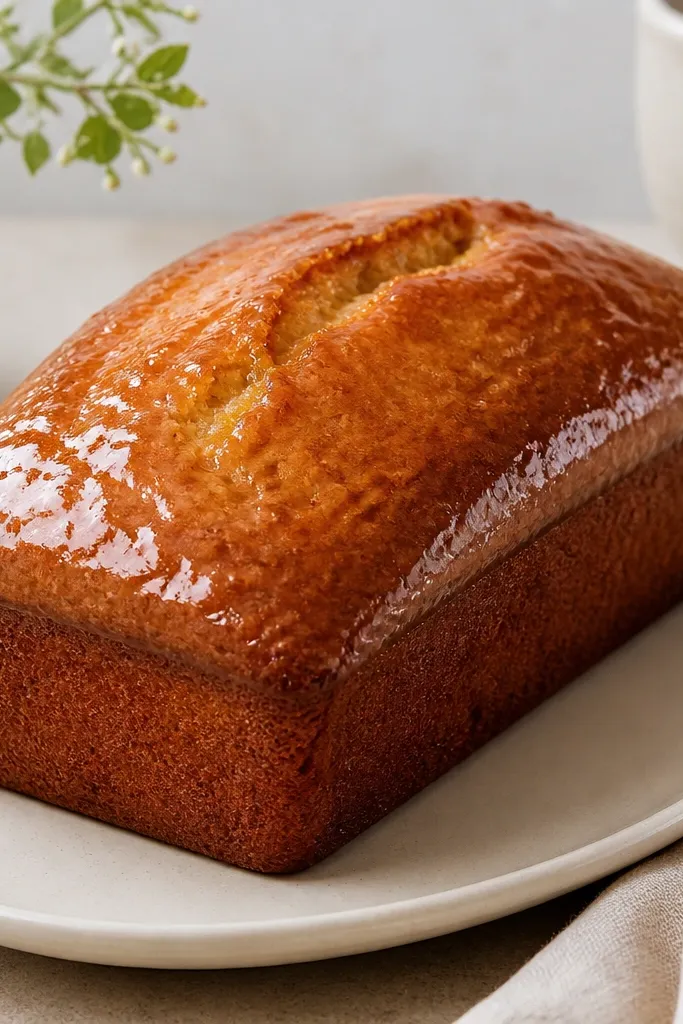
A glaze makes the loaf look finished even if the crumb is simple. I use a thin brown sugar-milk glaze that melts into the crust and sets with a glossy film. The shine makes the top look bakery-ready for brunch boards.
Right after the loaf comes out, whisk 2 tablespoons brown sugar with 2 tablespoons milk and 1/4 teaspoon vanilla. Brush lightly over the warm top. Let it cool at least 45 minutes so the glaze sets before slicing.
Try thisUse a silicone brush and keep the glaze thin. Too much will drip down the sides and look streaky.
One warningDon't glaze before the loaf is baked through - the glaze will sink and the center can turn gummy.
5. Double-Color Top with Chocolate Chips
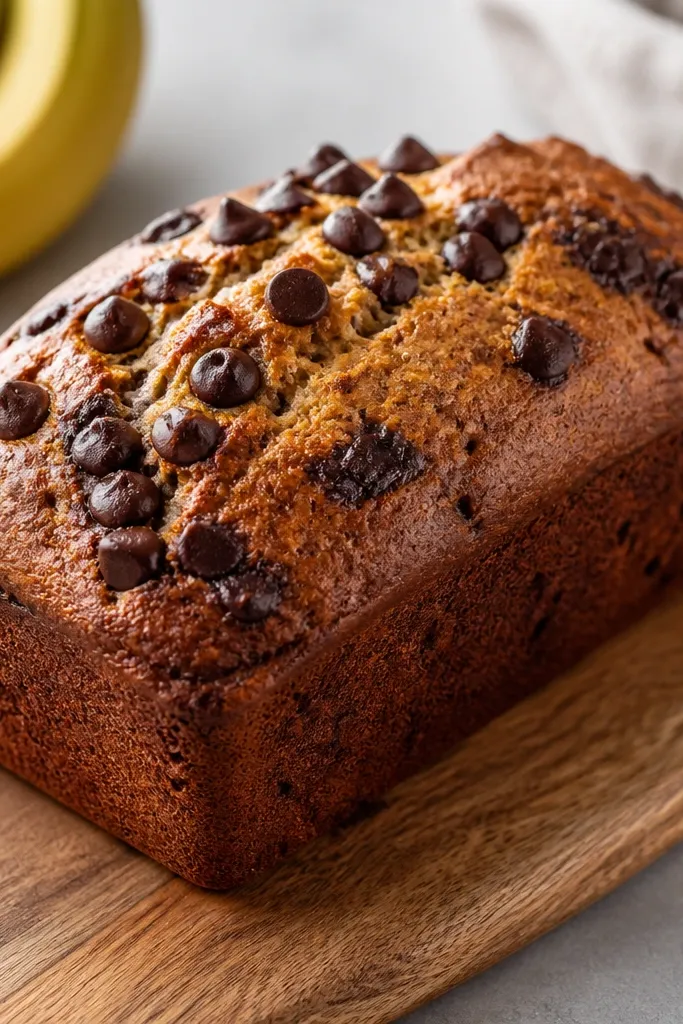
Chocolate chips create contrast that makes the loaf visually pop. I place extra chips on top so you see them when it rises and cracks. The melted bits also create a few glossy dark patches that photograph really well.
Fold 3/4 cup semi-sweet chocolate chips into the batter. Reserve 1/4 cup for the top and press them into the batter right after you pour it. Bake until the center reaches about 200-205°F, because under-baking makes chips feel greasy.
Try thisUse mini chips for a finer look. Big chips create big voids when the loaf slices.
One warningDon't use milk chocolate - it can disappear into the banana and the top looks muddy.
6. Coconut-Lime Dust
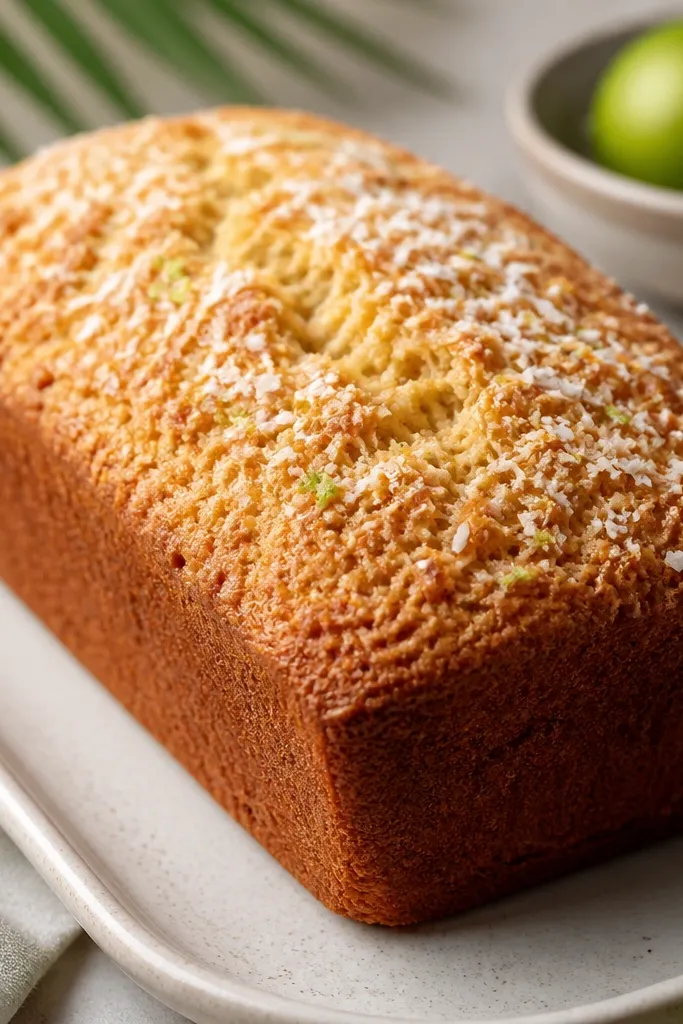
Coconut and lime zest give you a fresh, bright smell and a speckled green look that stands out on a brunch table. The coconut browns in little toasty flakes, which adds texture without needing extra toppings. Lime zest also cuts the sweetness so the loaf tastes more layered.
Stir 1/3 cup shredded unsweetened coconut into the batter. Add 1 teaspoon lime zest to the wet ingredients. Before baking, sprinkle another 1-2 tablespoons coconut over the top and press it gently so it sticks.
Try thisZest a lime right before mixing. Dried zest looks dull and doesn't perfume the crust.
One warningSkip lime juice - it adds extra liquid and can mess with bake time.
7. Vanilla Bean Sugar Crust
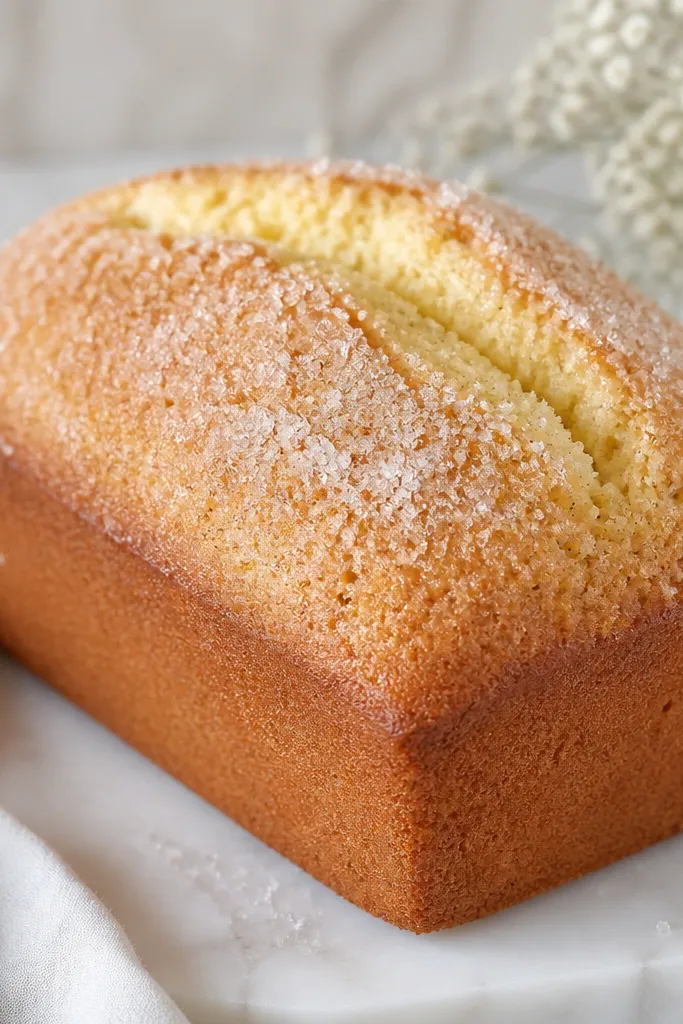
This is the "pretty and simple" option. Vanilla bean sugar gives you a light crust with sparkly crystals that catch the flash in photos. The black specks look premium without changing the bake.
Mix 2 tablespoons sugar with 1 teaspoon vanilla bean paste (or 1/2 scraped vanilla bean). Sprinkle over batter after it's in the pan. Bake on the middle rack and watch the top - sugar crystals brown fast.
Try thisIf your oven runs hot, cover the top loosely with foil at minute 35 so the sugar doesn't burn.
One warningDon't use powdered sugar - it melts and turns into a sticky film instead of a crisp crust.
8. Raspberry Swirl Ribbon
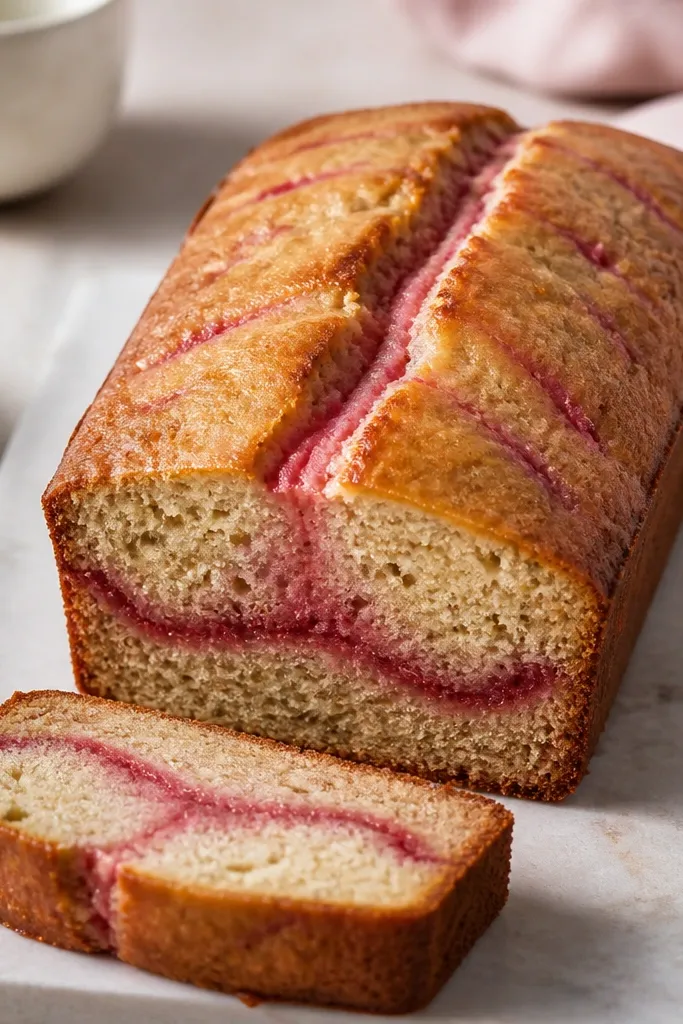
Raspberry gives you a color pop that looks intentional against the golden crust. The swirl stays streaky if you keep it moderately thick, not runny jam. It tastes sweet-tart, and the contrast makes the loaf feel more like brunch dessert.
Warm 1/3 cup raspberry jam with 1 tablespoon water just enough to loosen it. Spoon dollops over the batter and swirl with a knife 2-3 times. Use a light hand so it doesn't fully blend into the batter.
Try thisChoose seedless jam if you want cleaner pink lines.
One warningDon't use watery berry sauce - it bleeds and turns the loaf pink all through.
9. Toasted Oat Streusel Top
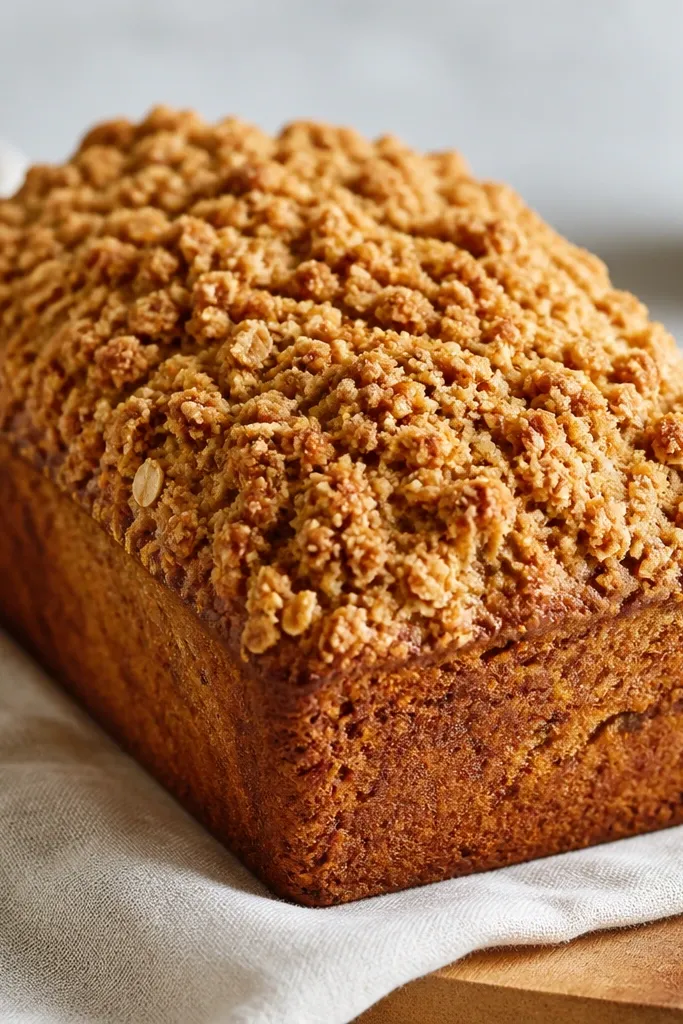
Streusel makes the loaf feel bakery-level because it adds a second texture - crumbly on top, tender inside. Toasted oats smell like cookies while the loaf bakes. The layer also hides small cracks, so the top looks perfect even if your loaf domes a little uneven.
Mix 1/3 cup rolled oats, 2 tablespoons flour, 2 tablespoons brown sugar, and 2 tablespoons melted butter. Sprinkle this over the batter in an even layer. Bake until the streusel is deep golden and the center is set.
Try thisChill the streusel 10 minutes before baking so it stays crumbly instead of melting flat.
One warningSkip pressing streusel hard - it should sit on top, not sink.