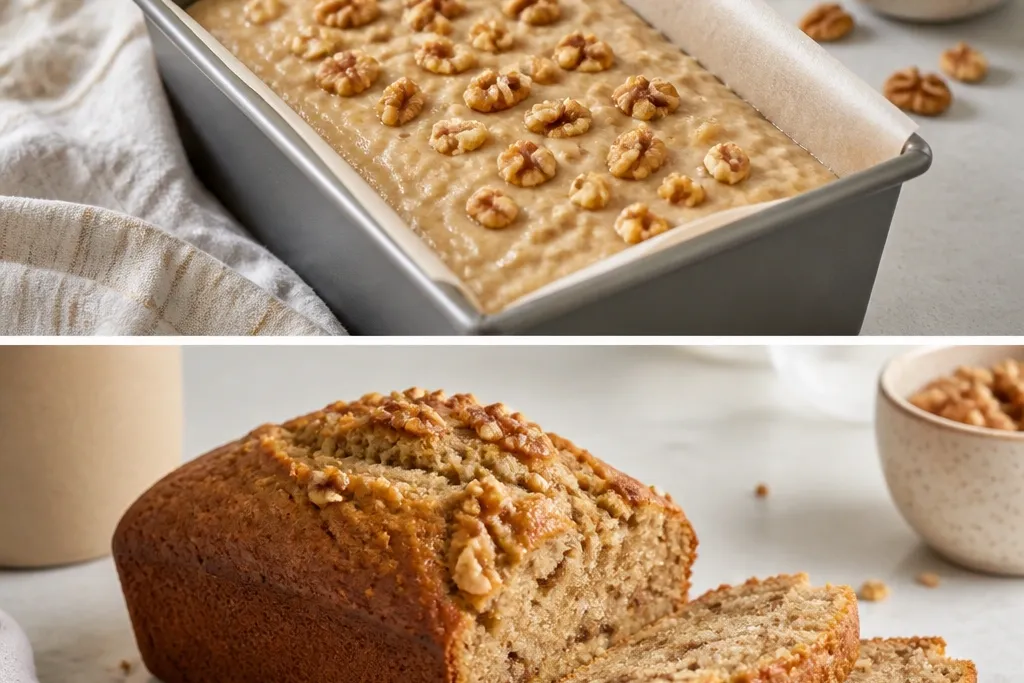
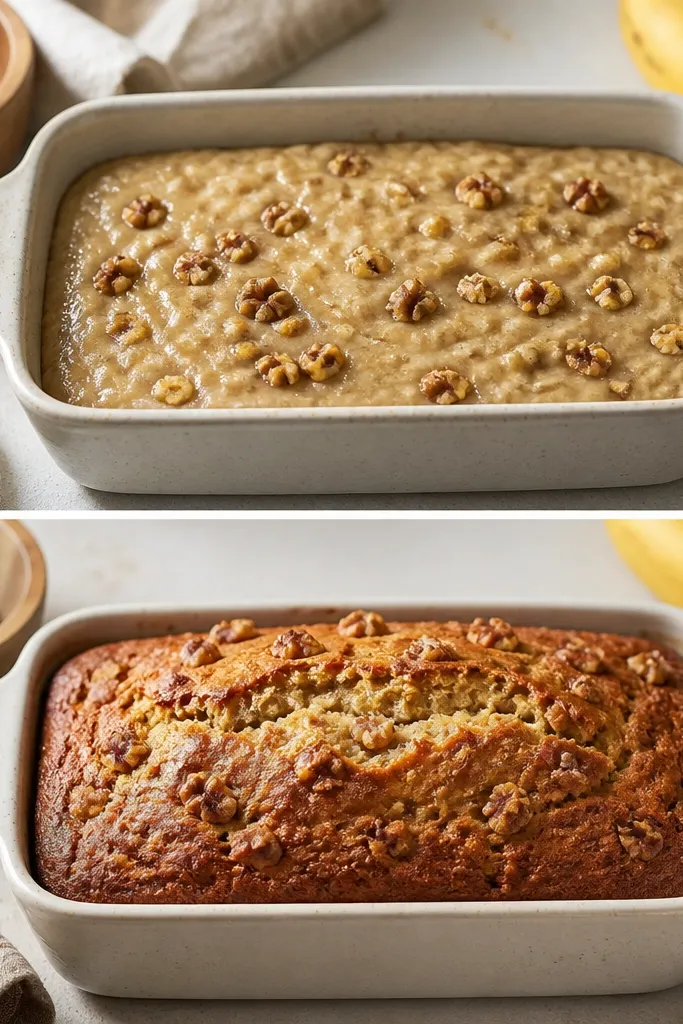
1. Toasted walnuts with a deeper golden edge
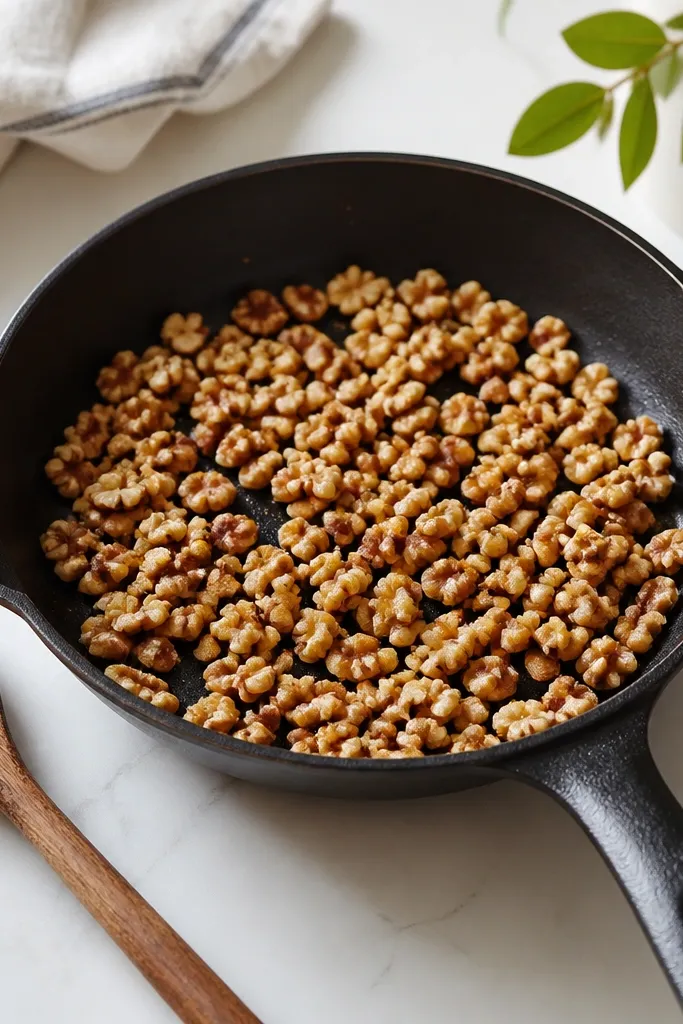
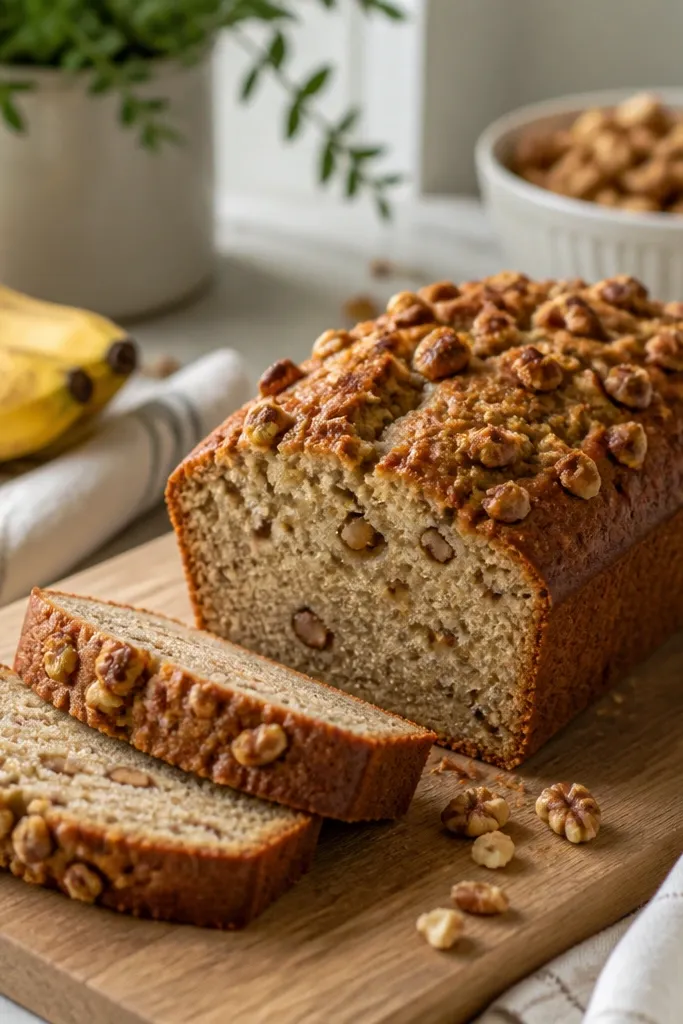
The after look starts with walnut color. I toast chopped walnuts just until they smell nutty and the edges turn golden, then I cool them before they hit batter. That browning shows up on the loaf as darker specks and little toasted pockets instead of bland pale bits. It also helps the nuts taste richer even when the banana flavor is the main event.
Toast at 350°F for 6-8 minutes, stirring once halfway. Chop your walnuts to mostly 1/4-inch pieces so you get even color. Let them cool for 5 minutes on a plate so they don't melt butter from warm batter.
Try thisToast the walnuts the day you bake and store them in a jar - the color stays stronger and the loaf tastes fresher.
One warningAvoid adding warm toasted nuts straight into batter - heat can cause uneven sinking and dull looking spots.
2. Flour-coated walnut mix that stays put
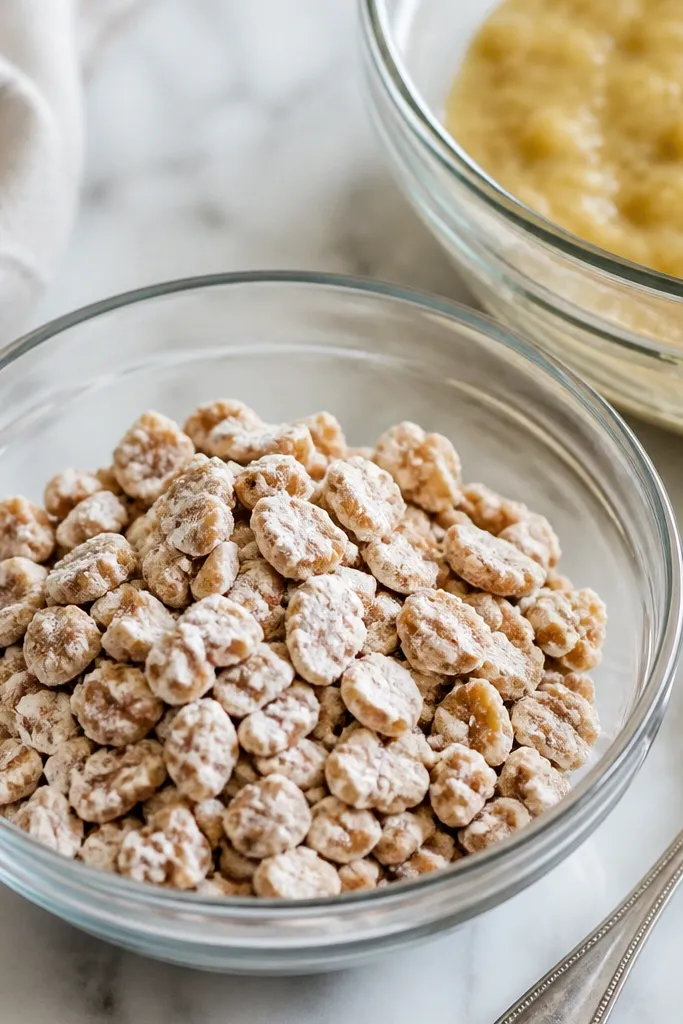
Sinking happens when heavy chunks float in wet batter and then drop as the batter thickens. A light flour coating gives walnuts grip and slows that drop, so more pieces stay distributed where you can see them in the slice. This is the most reliable visual difference between before and after banana bread walnuts. You still get walnut pockets, just not the sad concentrated bottom layer.
After chopping, toss walnuts with 1 tablespoon flour per 1/2 cup walnuts. Mix just until you don't see dry walnut surfaces. Then fold them in last, after the banana and wet ingredients are combined and the dry ingredients are mixed in.
Try thisIf your bananas are very wet, use the full 1 tablespoon flour coating. If they're thick and pasty, use 1 1/2 teaspoons so the nuts don't get gummy.
One warningDon't dump walnuts in without coating - you'll get more sinking and fewer visible walnut flecks on top.
3. Top-pressed walnut crown
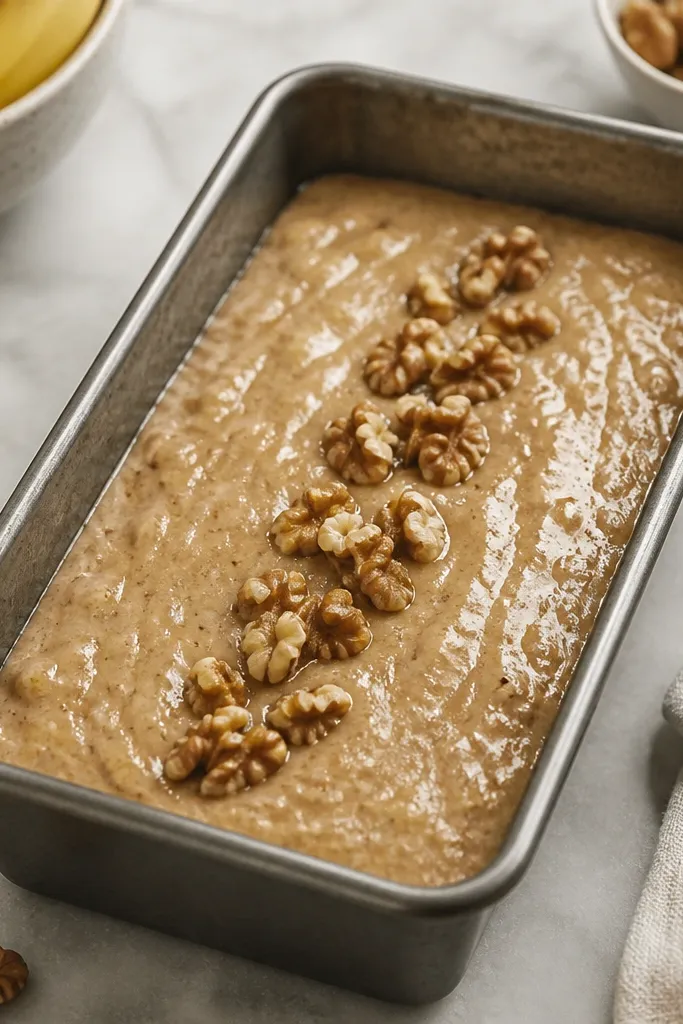
This is the "after" trick that makes the loaf look like you meant to do it. When you press a few walnut chunks into the top surface right before baking, they stay visible and the top browns around them. The crumb still bakes through, but the surface looks speckled and darker. It reads as cozy and handmade instead of plain.
Pour batter into a greased loaf pan, then scatter 6-10 walnut chunks on top. Press each down just enough to sit halfway in the batter, not fully buried. Keep them centered so you don't burn the very edges.
Try thisPress the walnuts in after you smooth the top - a level surface makes the nuts look evenly spaced.
One warningSkip burying the nuts completely - buried chunks can sink and you lose the top visual.
4. Cinnamon-sugar swirl that frames the nuts
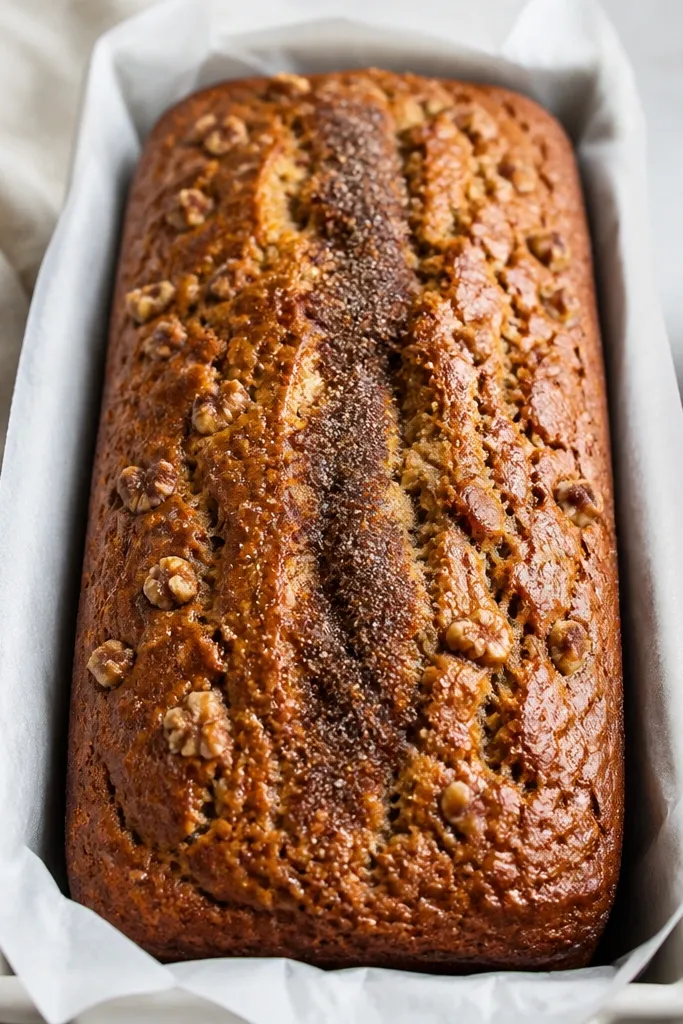
A thin cinnamon-sugar line gives you a clean focal point. I like it because it looks like a bakery loaf: a warm brown stripe that contrasts with the pale banana batter. When walnuts are on top, the swirl makes the nuts look intentional and highlights browning. It also adds aroma right when you cut the first slice.
Mix 2 tablespoons brown sugar with 1 teaspoon cinnamon. After pouring batter, sprinkle lightly on top, then drag a butter knife through it once or twice for a shallow swirl. Bake as directed; don't over-swirl or you'll muddy the top.
Try thisUse dark brown sugar - it bakes into a deeper color that shows up against the banana crumb.
One warningDon't use coarse sugar crystals - they stay gritty and make the top look dusty.
5. Banana mash texture for a tighter crumb
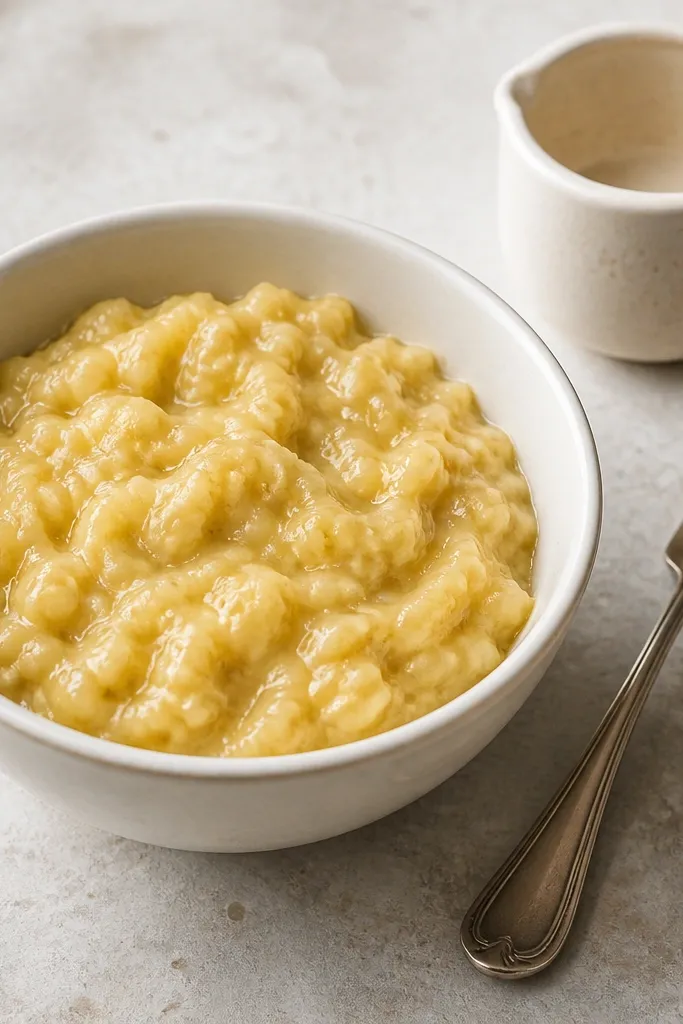
The crumb's look changes fast when banana mash is too smooth or too watery. A thick mash makes batter cling and bake with a tighter structure, so walnut pieces don't create big voids. That means slices look clean, not ragged. The after version looks more even even when you add the same walnuts.
Mash bananas with a fork until you still see small lumps the size of peas. If your bananas are very wet, drain off 1-2 teaspoons liquid before mashing. Mix bananas with melted butter or oil until glossy, then add eggs and vanilla.
Try thisFor consistent results, weigh your banana mash instead of relying on "one banana" - bananas vary wildly by size.
One warningDon't puree bananas in a blender - it makes batter looser and the loaf looks more porous.
6. Oven temp tweak for a darker top
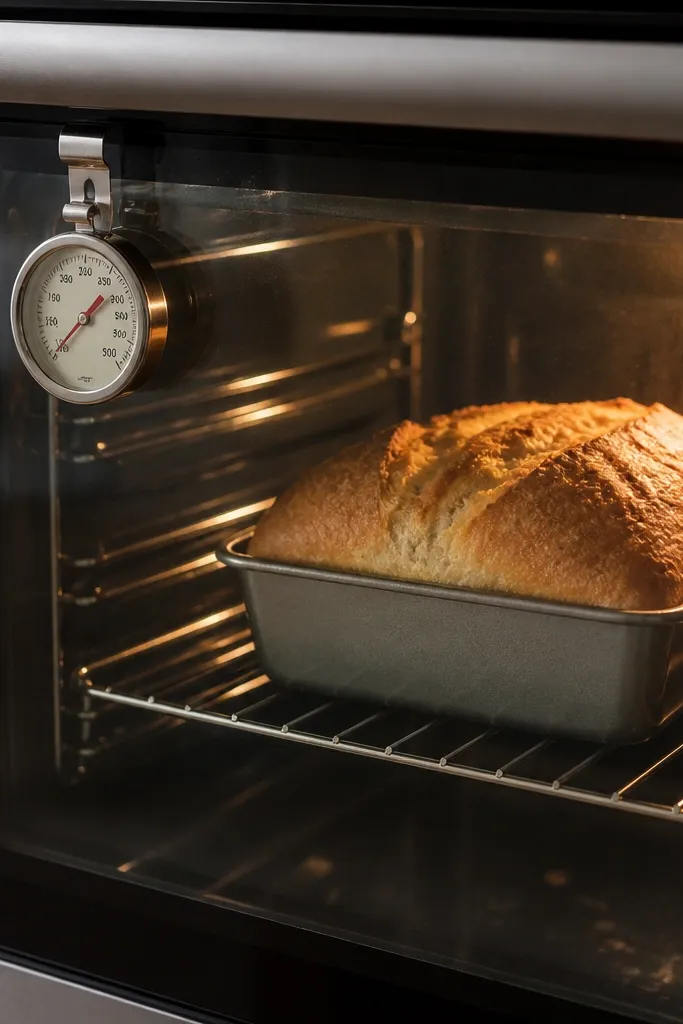
The before loaf often bakes too gently, so the top stays pale and the walnuts look washed out. I bake at 350°F and watch the top color, then I add 3-5 minutes if it's still light at the 45- minute mark. A darker top makes the walnut pieces pop and gives you a more "crusty" look. It also helps the center finish setting so slices don't slump.
Use the middle rack and preheat fully. Start checking at 45 minutes for a standard 9x5-inch loaf. If the top is still pale but a toothpick shows moist crumbs, add 3 minutes and recheck.
Try thisIf your oven runs hot, drop to 340°F and extend time by 5 minutes to keep walnut tops from burning.
One warningDon't bake on the bottom rack - you'll get dark edges and a pale top.
7. Rest time that keeps walnut-studded slices neat
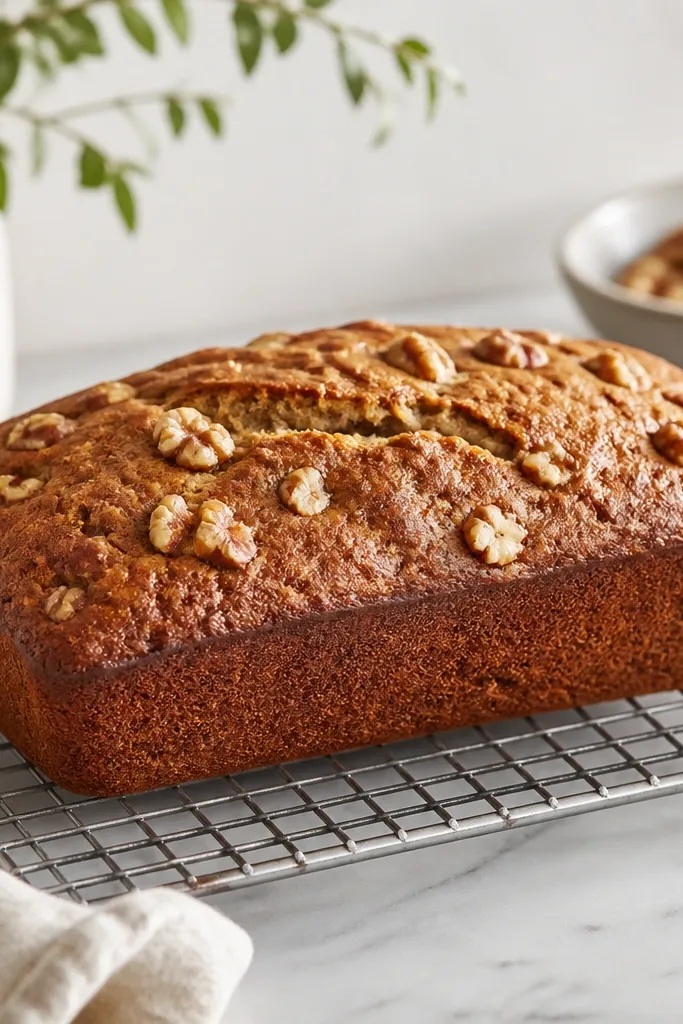
This is where the "after" slices look bakery-clean. When the loaf comes out, the crumb is still setting. If you slice too early, walnuts create little pockets that tear the crumb and make slices look messy. Resting firms everything up, so you get neat edges and walnut flecks that stay in place.
Cool in the pan for 10 minutes, then lift out and cool on a rack for 10-15 more minutes. If the loaf feels warm and soft in the center, wait longer. Slice with a serrated knife, using gentle sawing instead of pressing.
Try thisFor the cleanest look, wipe the knife blade once between slices so banana residue doesn't smear.
One warningDon't rush the first cut - the loaf will look fine in the pan and then fall apart on the board.
8. Pan choice and how it changes walnut visibility
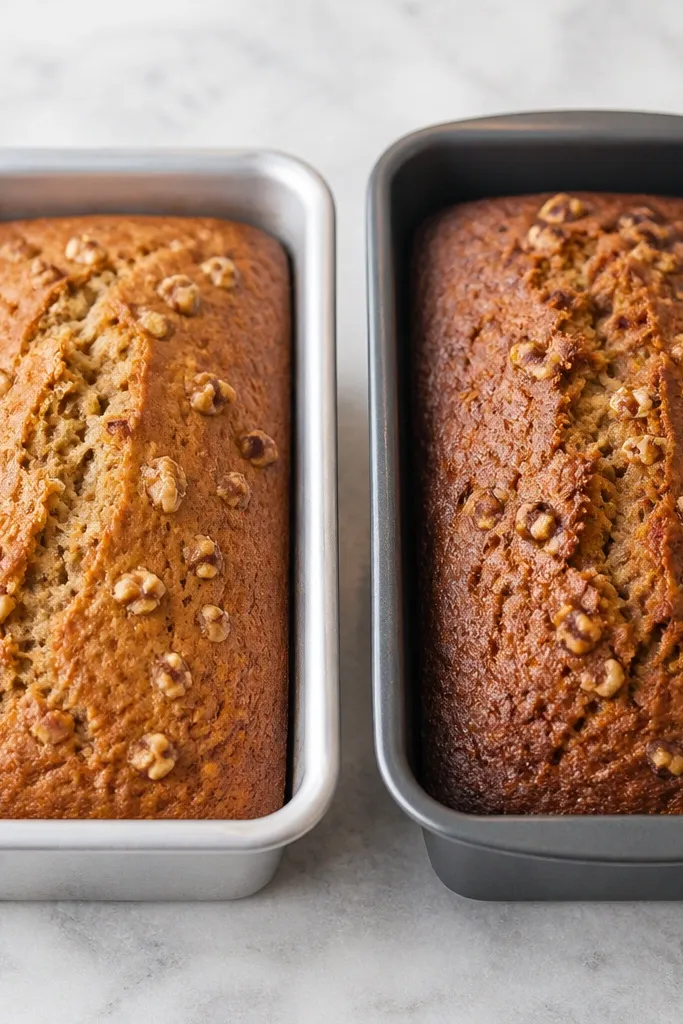
Pan color changes how fast the top browns and how visible the walnuts stay. A light aluminum pan gives you a steadier rise and a more even golden top, so walnut pieces look like crisp highlights. A darker pan can over-brown edges and make the center look slightly underdone, which makes walnuts look darker but the crumb looks less baked.
If you have light metal, use it for the most predictable after look. Grease with butter and dust the pan with a thin layer of flour, then tap out excess. If you only have dark pans, lower oven temp to 340°F and add about 5 minutes.
Try thisDo a test bake once with your pan - write down your exact time so your next loaf matches the look you want.
One warningDon't skip greasing and flouring - walnuts on top can stick and tear out chunks when you lift the loaf.
9. Slice styling for a walnut-forward photo
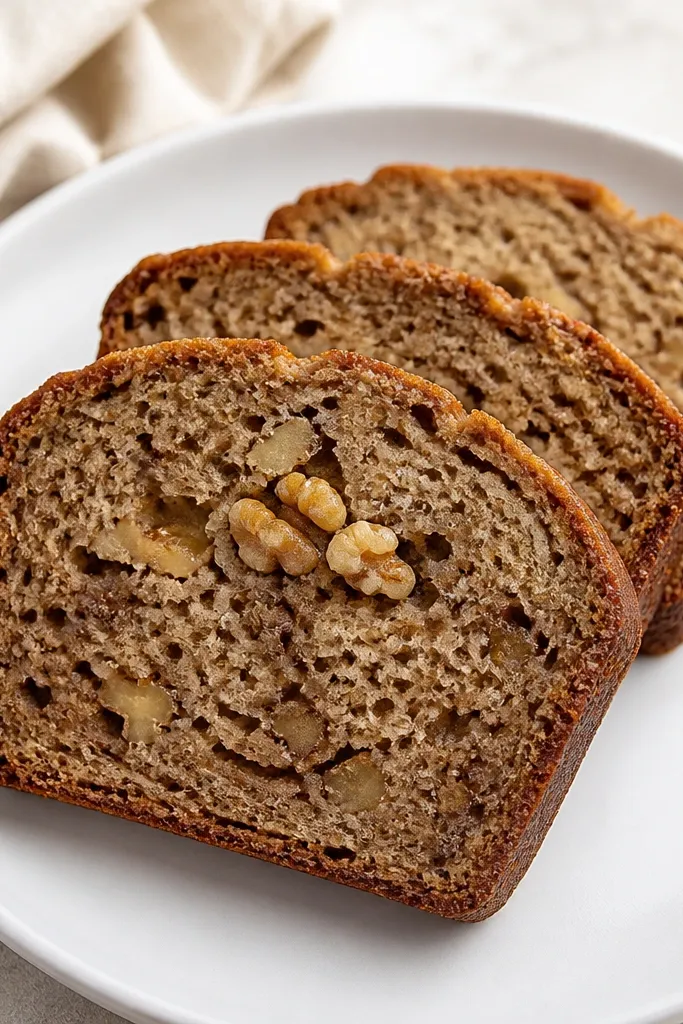
Your loaf can be perfect and still look plain if the slices are messy. I arrange slices so the front piece shows the most walnut distribution - usually the middle slice. The crumb should look moist but not wet, with walnuts embedded like little caramel-brown dots. This is where before and after banana bread walnuts becomes obvious to anyone looking.
Cut with a serrated knife and wipe the blade between slices. Place slices on a plate with a slight angle so the crumb catches light. If you want extra contrast, dust the top of each slice with a pinch of cinnamon-sugar using a fine sieve.
Try thisTake a photo 30 seconds after cutting - the crumb relaxes and looks less shiny.
One warningDon't put slices on paper towels - they sweat and make walnut areas look darker and greasy.