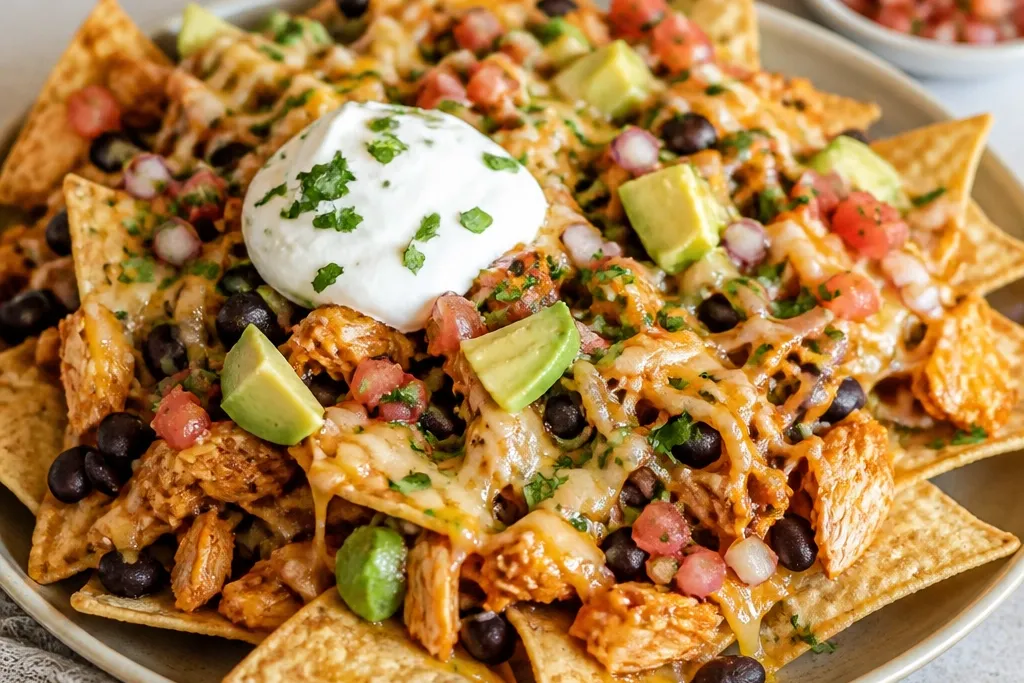
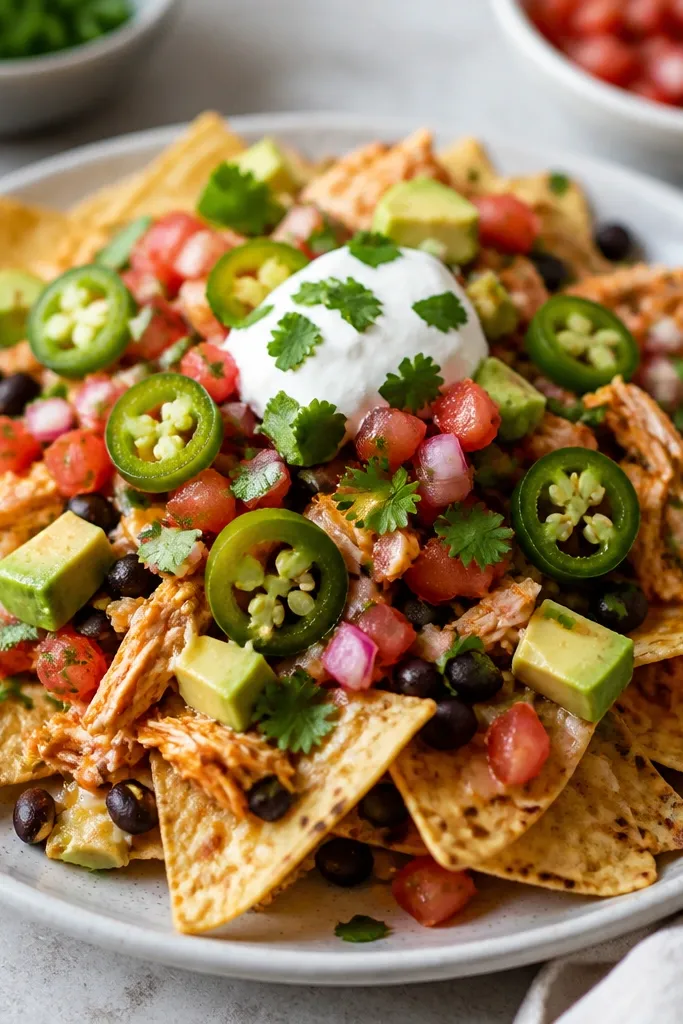
1. Golden Cheese Melt Border
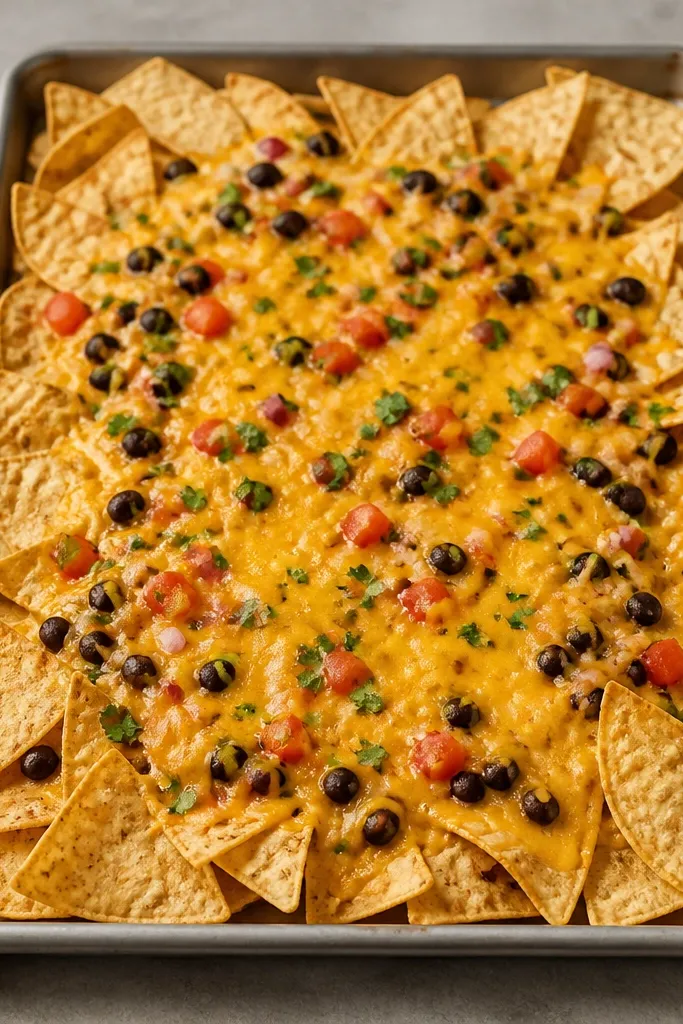
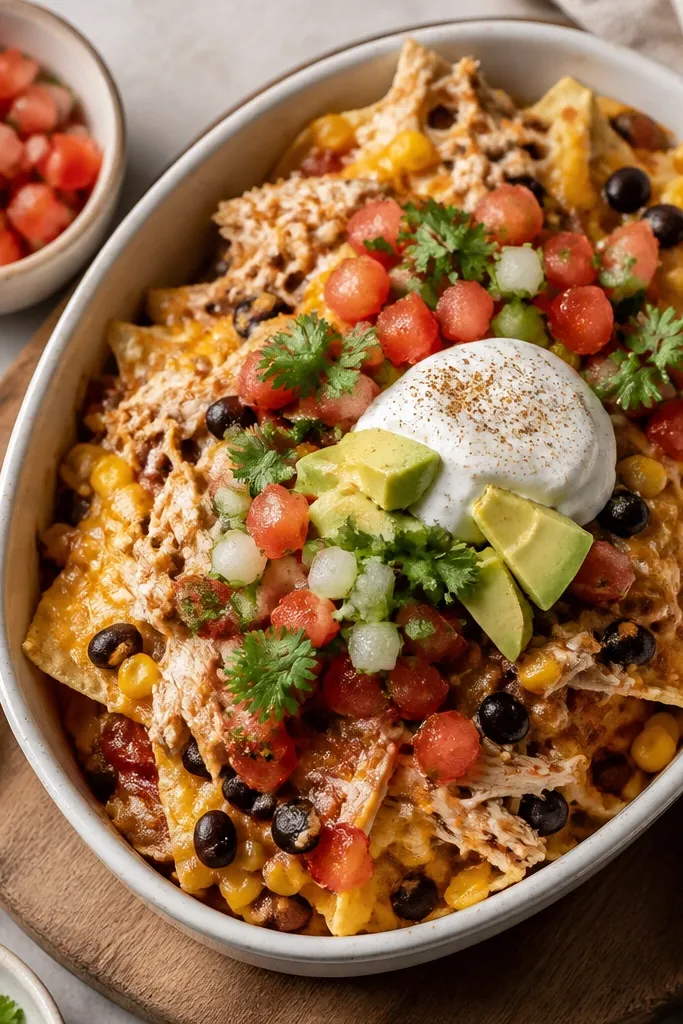
This look is about contrast. You keep the edges chip-forward and let the center go gooey, so the tray reads crisp and glossy at the same time. Use a cheese blend that browns - it gives you those golden freckles that look "restaurant." I've found that when the cheese is too uniform and thick, it turns into a pale blanket and kills the aesthetic.
Spread chips in a single thick-ish layer, but leave a 1 to 1.5 inch border of chips around the pan. Use 2 cups shredded Monterey Jack plus 1 cup sharp cheddar for a mix that melts and browns. Keep the cheese concentrated in the middle so it melts forward while the border stays crunchy.
Try thisBroil on the top rack and stop as soon as you see the cheese bubbling at the edges - that's your golden window.
One warningSkip piling cheese edge-to-edge; it makes every chip go limp and looks flat.
2. Red Salsa Drip Lines
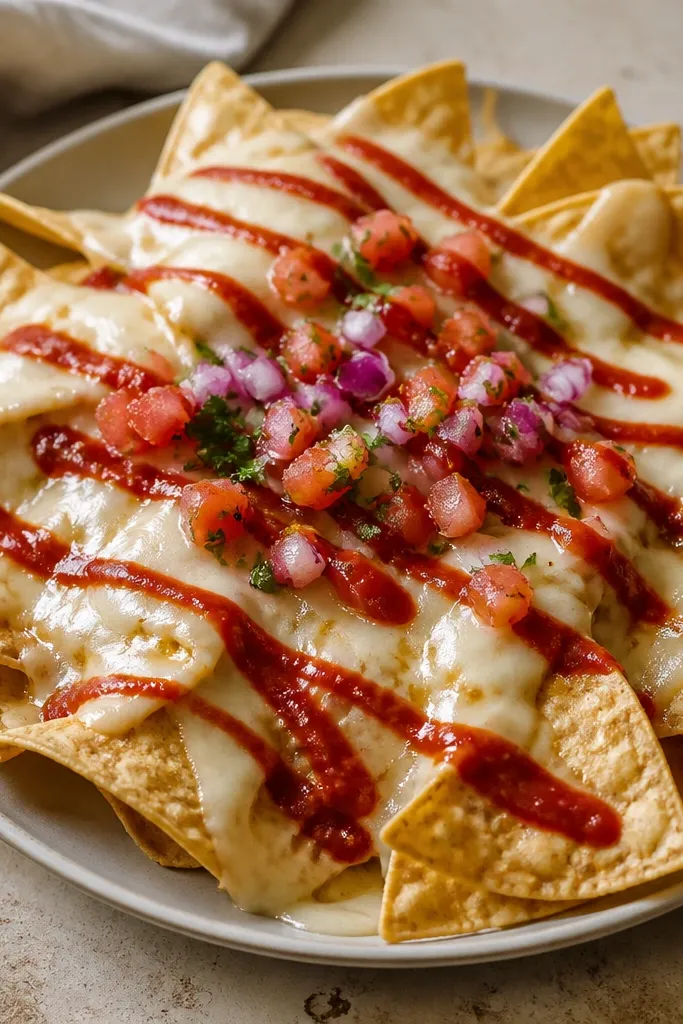
Sauce should look like it was placed, not poured. Thin salsa drips catch the light and break up the yellow cheese into defined sections. I like salsa that's pourable but not watery - it clings and makes clean streaks instead of soaking into chips.
Warm your salsa in a small pot for 1-2 minutes so it flows. Use a spoon to make 5 to 7 narrow lines across the tray, then add pico in 1/2 inch mounds so it stays bright and chunky. Keep salsa off the chip edges if you want a crisp rim.
Try thisIf your salsa is chunky, pulse it once with a little lime juice so it drips in lines instead of lumps.
One warningDon't drown the tray before broiling; wet salsa pre-bake turns into dark patches.
3. Crema Lace Swirls
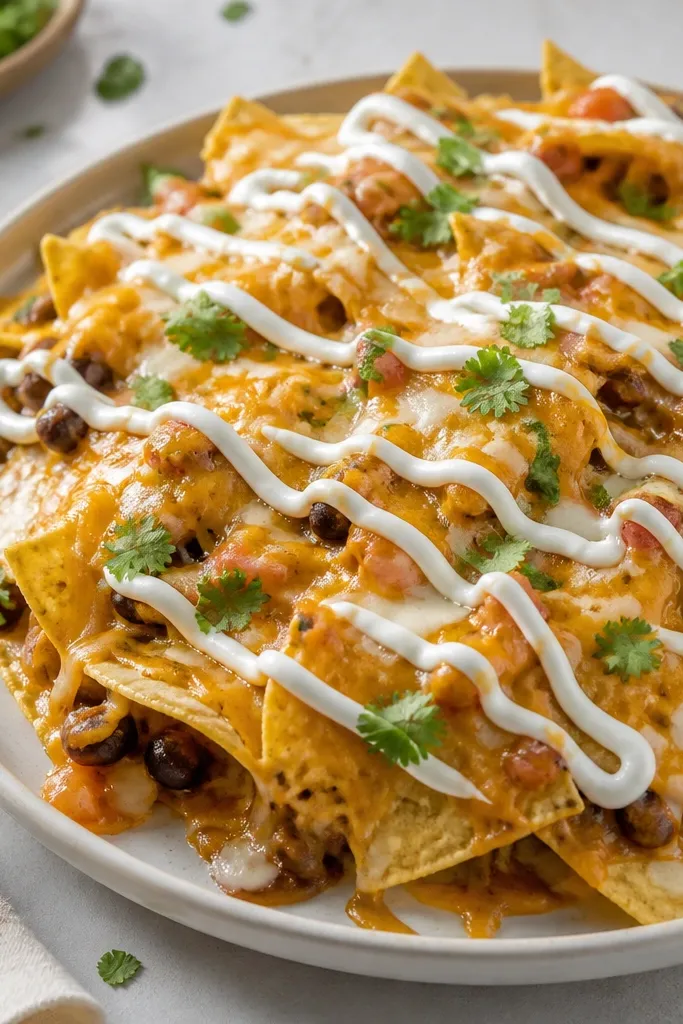
Crema lace makes the whole tray look styled because it adds a clean pale layer over the red and yellow. When the crema is drizzled thin, it sets into glossy lines instead of puddles. I use crema or sour cream thinned with lime and a pinch of salt - it looks smooth and photo-friendly.
Stir 1/2 cup crema with 1 tablespoon lime juice and 1/4 teaspoon salt. Put it in a squeeze bottle or a zip bag with a tiny corner cut. Pipe zigzags right after broiling so it stays creamy on top.
Try thisThin it until it ribbons off the spoon in a slow stream - that thickness makes pretty lines.
One warningAvoid thick sour cream straight from the fridge; it blobs and looks heavy.
4. Jalapeño and Cilantro Confetti
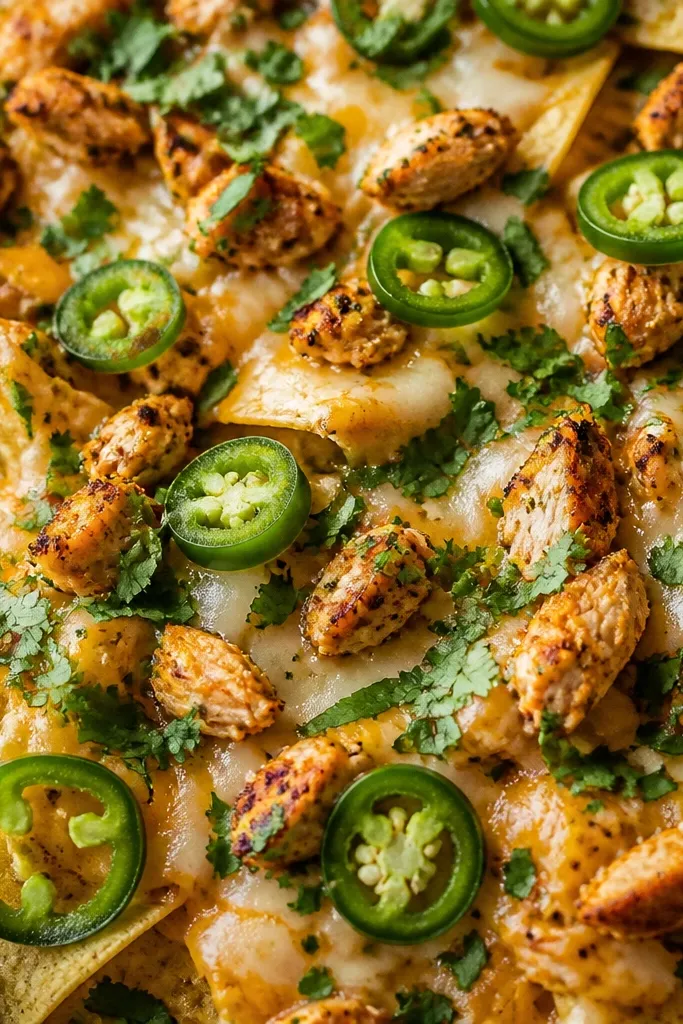
Green confetti adds energy and breaks up the palette. Jalapeño rings look tidy and graphic, especially when you slice them evenly, and cilantro adds the fresh speckled texture. This is the part that makes the tray look "fresh," even though the chicken is from a crockpot.
Use 1 small jar pickled jalapeños or fresh jalapeños sliced into 1/8-inch rings. Sprinkle cilantro last, with a light hand, so it doesn't disappear. I keep jalapeños toward the center and cilantro across the whole tray for a balanced look.
Try thisPat jalapeños dry with a paper towel so they don't bleed liquid onto the cheese.
One warningSkip big uneven chunks of jalapeño; they look messy and overpower everything.
5. Black Bean Starbursts
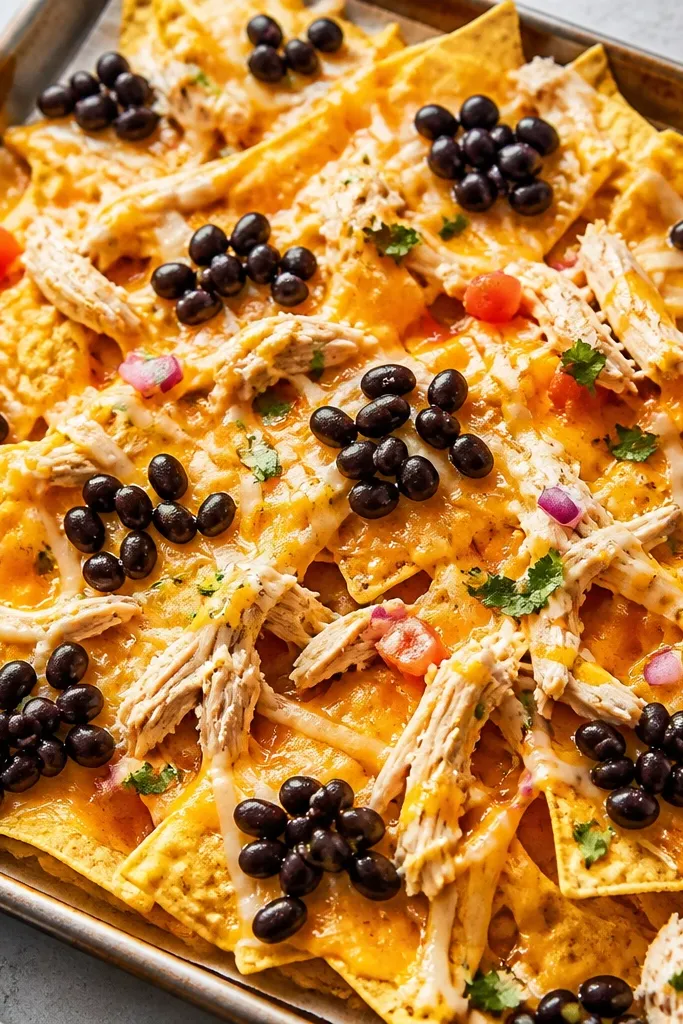
Black beans give you dark contrast, and clustering them makes the tray look intentional. When beans are drained and dry-ish, they sit on top instead of bleeding into the orange-red sauces. I like them because they add texture without adding more wetness.
Drain and rinse 1 can black beans, then spread them on paper towels for 2 minutes. Place them in small groups, not a full sprinkle - I do about 12 clusters across a 9x13 tray. Add a couple clusters closer to the edges so the rim has depth.
Try thisHit beans with a pinch of cumin and a squeeze of lime before topping for a brighter flavor that matches the look.
One warningDon't use beans straight from the can; watery beans turn the tray muddy.
6. Charred Corn Pop
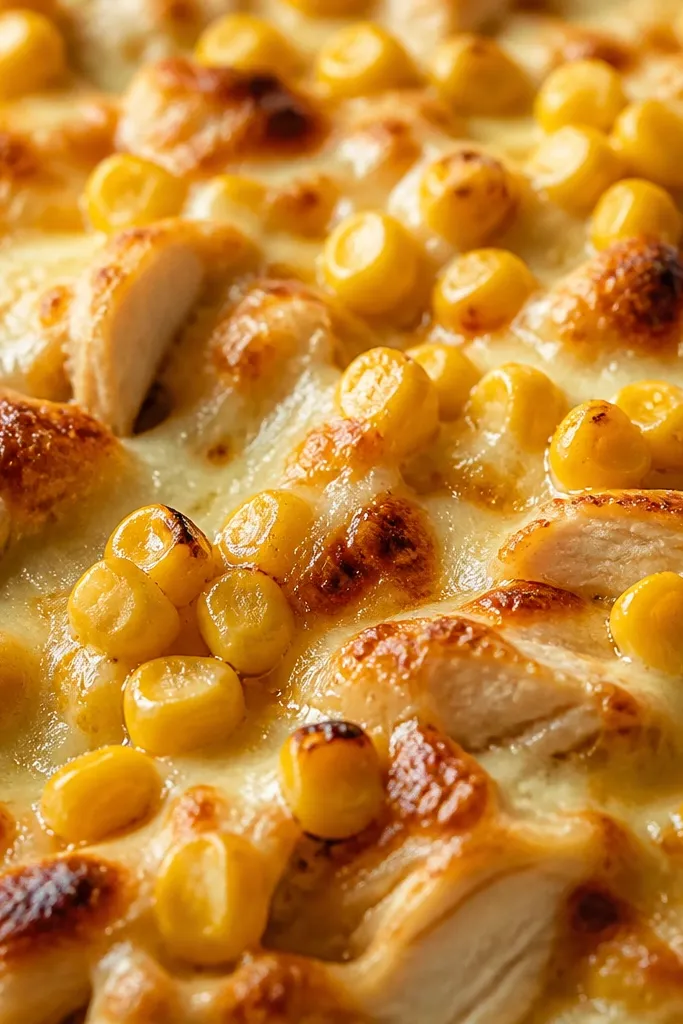
Charred corn adds a toasted color that looks different from regular canned corn. That browned edge makes the tray feel warmer and more "party food." I do a quick pan char so the corn doesn't look pale and flat.
Sauté 1 1/2 cups corn (fresh or frozen) in a dry skillet over medium-high for 4-6 minutes until you see dark spots. Season with salt and a pinch of smoked paprika. Scatter lightly on top after broiling so the corn stays bright and doesn't steam into dullness.
Try thisAdd corn right at the end so it keeps its texture instead of softening under heat.
One warningSkip straight-from-can corn; it looks grey-yellow and melts into the background.
7. Chicken Shred Mountain Peaks
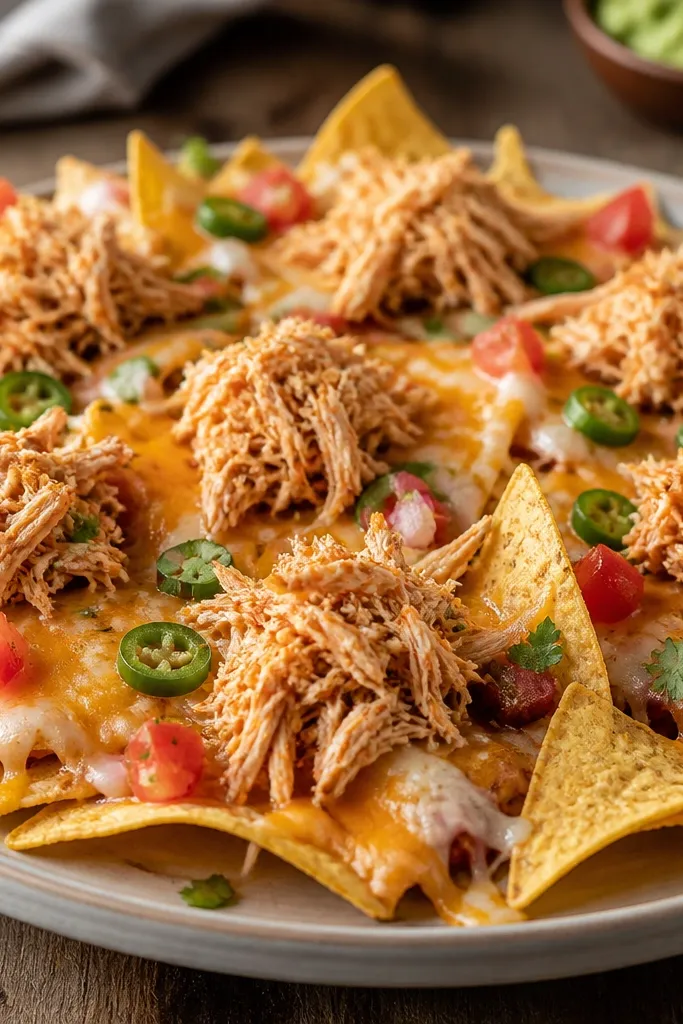
This look is all about the shape of the chicken. If you shred too fine, it disappears. If you pile it in small peaks, it creates height and makes every bite look loaded. I like chicken that's shredded by hand into 1/2 to 3/4 inch pieces.
After crockpot cooking, turn off heat and shred with two forks, then let it cool 3 minutes so it pulls apart cleanly. Mix chicken with 1/2 cup of the sauce right before assembly so it looks glossy but not wet. Place chicken in 10-14 mounds across the tray.
Try thisUse a spoon to place chicken, not tongs - spoon mounds keep the shape.
One warningDon't spread chicken evenly like pulled pork; it flattens the tray and looks like cafeteria nachos.
8. Pickled Red Onion Pinwheels
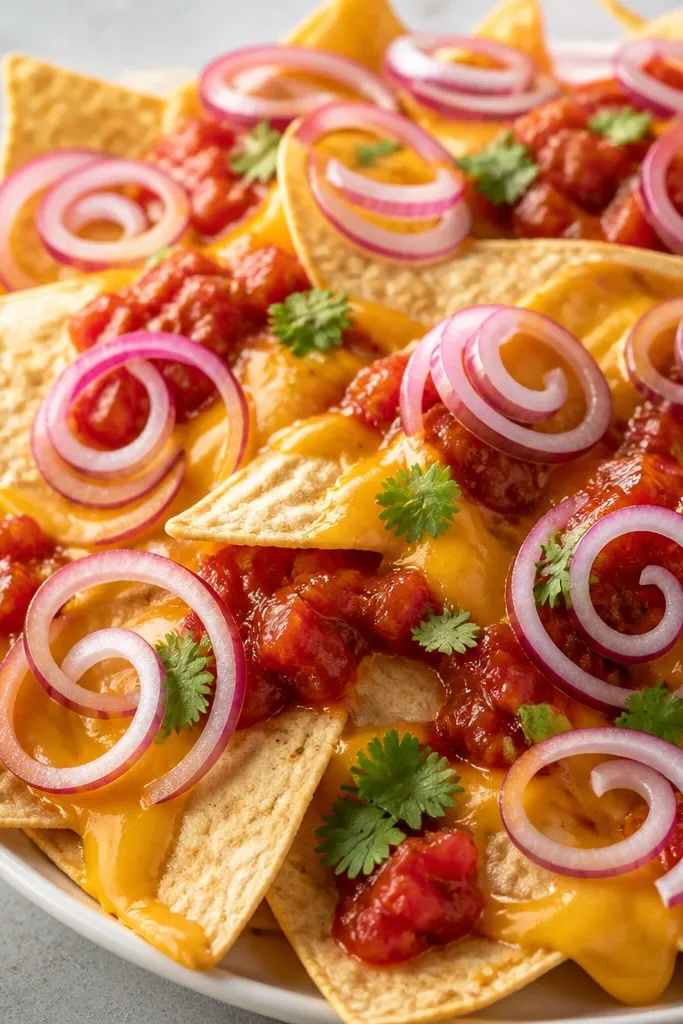
Pickled onion gives you sharp color and a crisp bite that cuts the richness. The pinwheel shape looks pretty and also spreads flavor evenly without extra sauce. I always make quick pickles the night before or at least 2 hours ahead so they taste tangy, not just "vinegary."
Slice 1/2 red onion paper-thin. Mix 1/2 cup apple cider vinegar, 1/2 cup water, 1 tablespoon sugar, and 1/2 teaspoon salt. Pour over onions and refrigerate. Drain before topping so they don't leak purple liquid onto cheese.
Try thisKeep pinwheels small - about 1 inch across - so they don't cover the whole tray.
One warningAvoid topping with wet onions; purple streaks look messy fast.
9. Lime Pepper Bright Finish
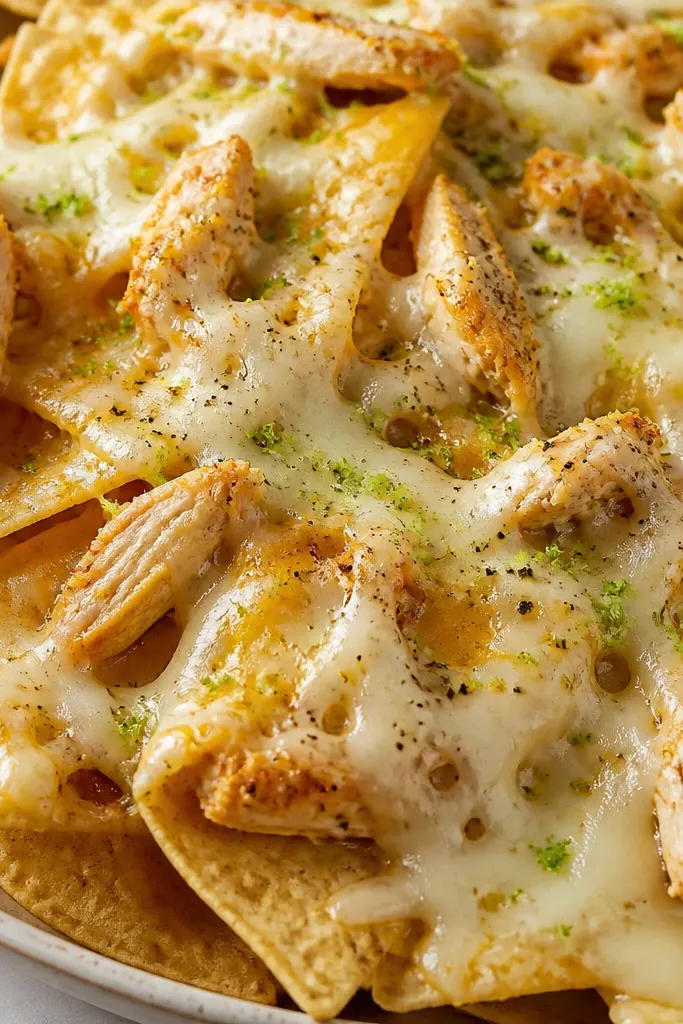
The brightest finishing touch is lime zest plus fresh black pepper. It makes the tray look "clean" even when the food is gooey. I do this right after broiling because zest and pepper stay fragrant instead of baking off.
Use a microplane to zest 1 lime over the tray. Then crack black pepper over the top and add a few tiny cilantro leaves. This works best when you don't overload the tray with extra wet sauces.
Try thisZest over a bowl first, then sprinkle with your fingers so you control the density.
One warningDon't use bottled lime juice for the finish; it looks dull and doesn't perfume the tray.
10. Two-Sauce Color Blocking
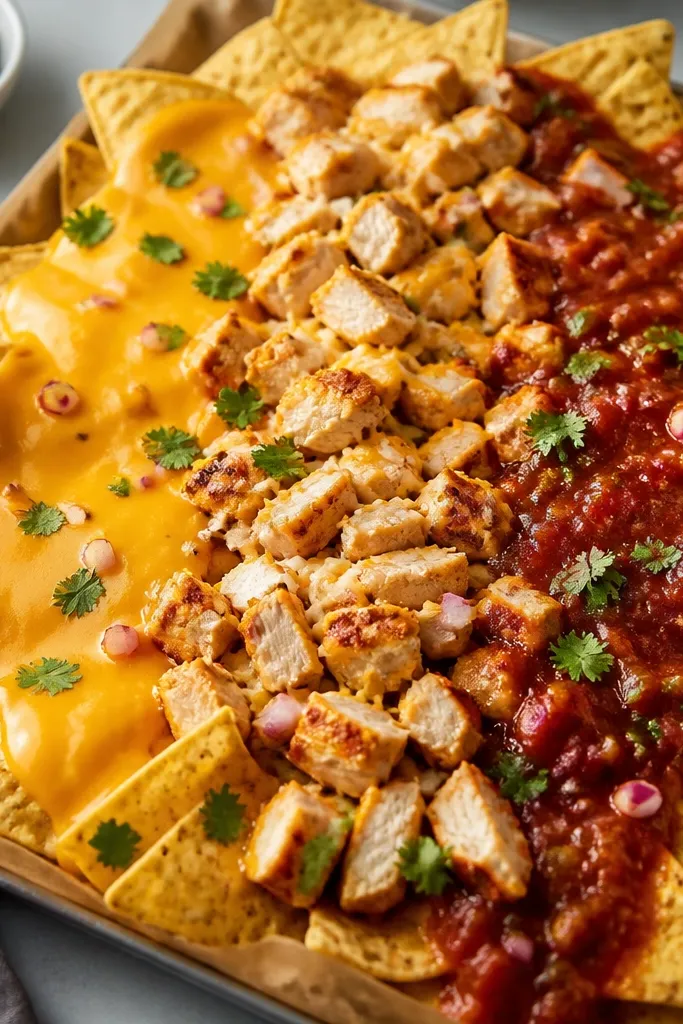
Color blocking is the easiest way to make nachos look designed. Orange and red are strong contrasts, and the separation helps the viewer read the tray. This also keeps flavors distinct so you don't end up with one flat sauce across everything.
Make a quick queso by warming 2 cups shredded cheddar with 1/2 cup milk and 1 tablespoon cream cheese until smooth. Spread queso on one side of the tray in a thin layer, salsa on the other side, then broil for 2-4 minutes. Add chicken across both sides so each bite still feels loaded.
Try thisKeep queso thick enough to sit - if it pours like water, it will flood the chips.
One warningDon't mix sauces together before assembly; the tray loses that crisp color separation.