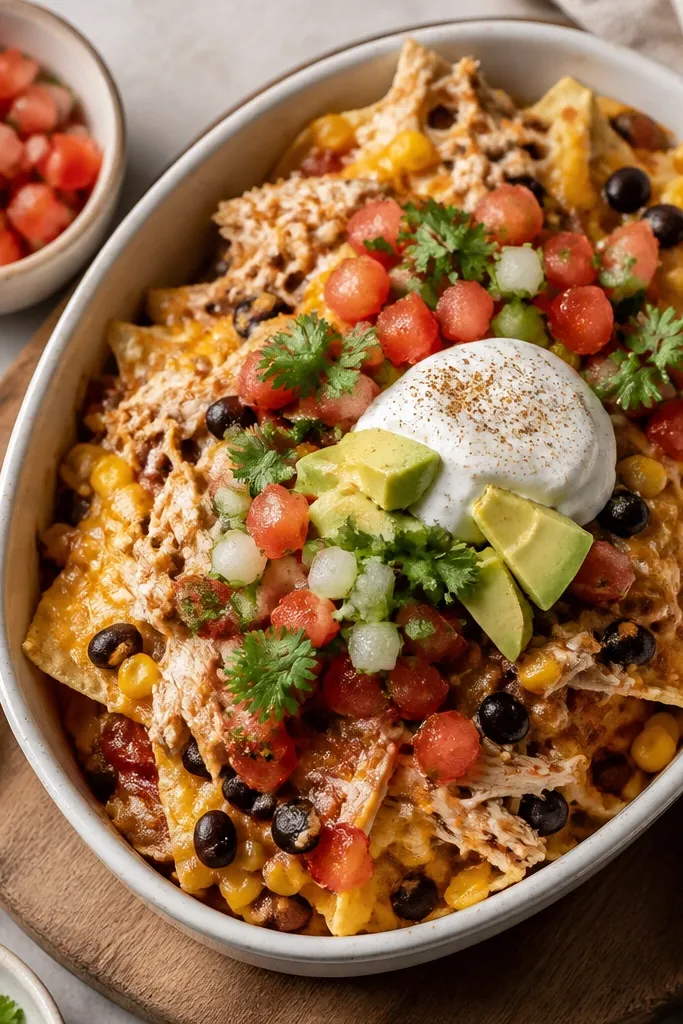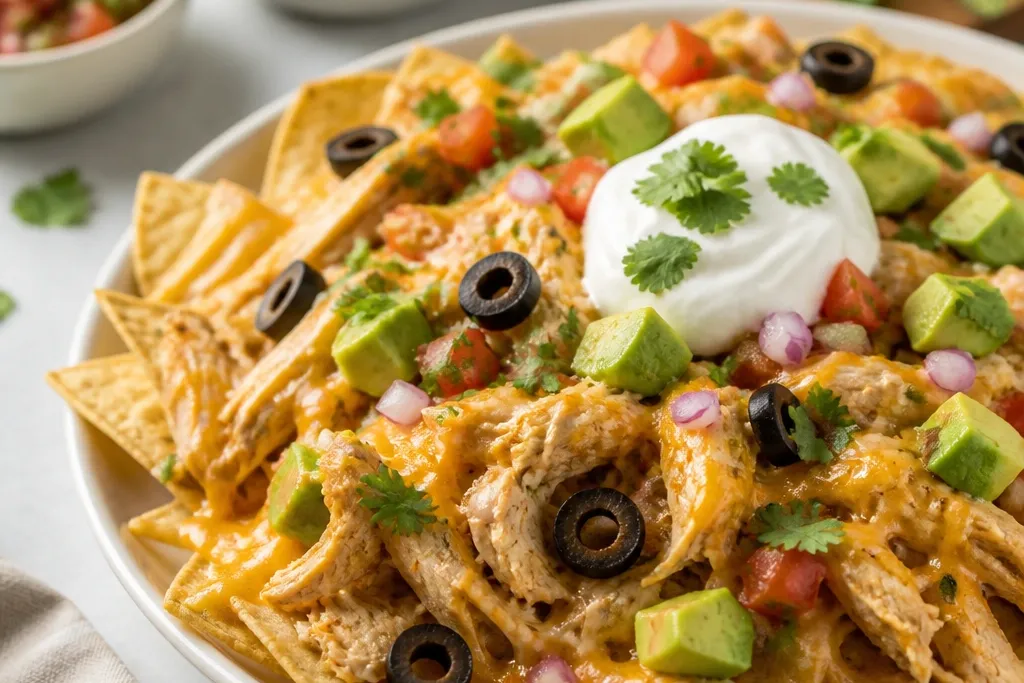
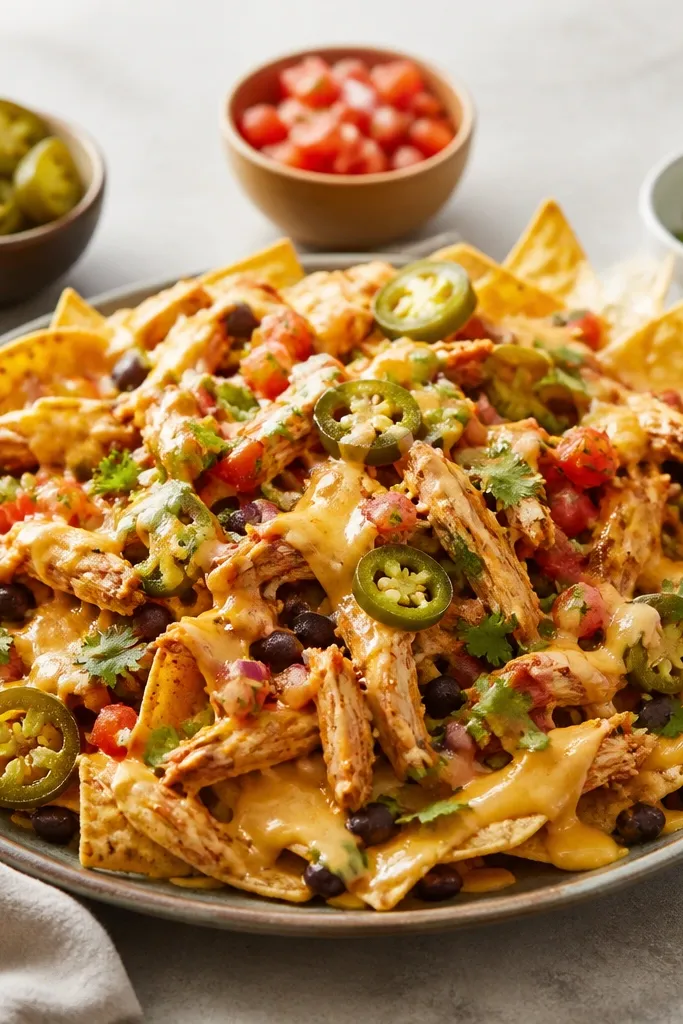
1. Sizzling Pepper Strip Pile
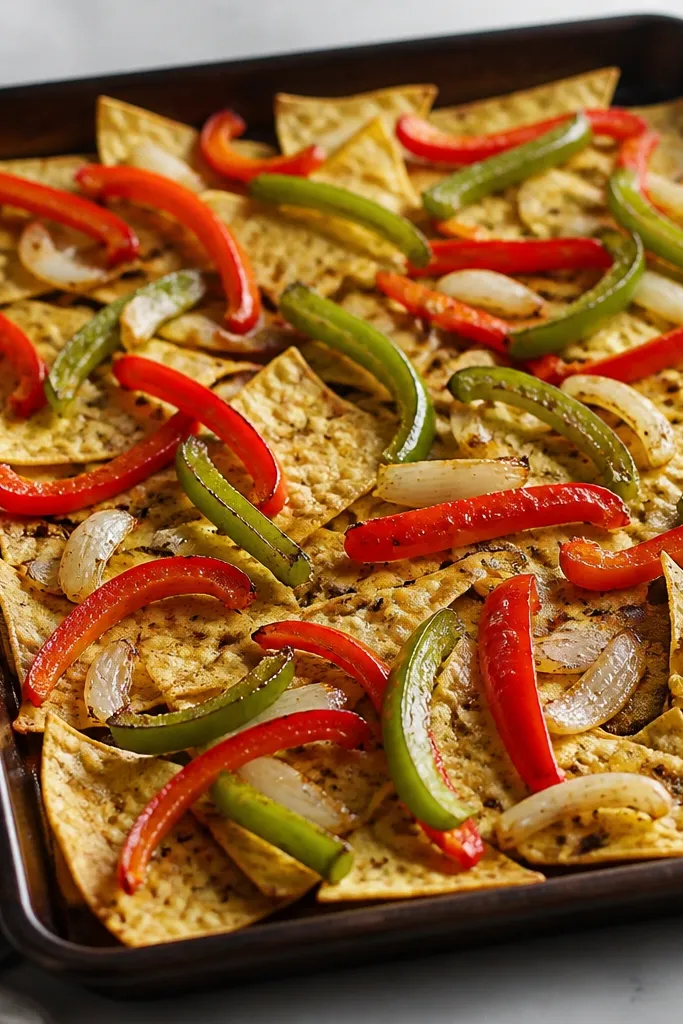
You want peppers that look like they just came off a hot skillet: shiny, browned edges, and a few char freckles. Bell pepper + onion gives you color contrast - red and green pop against the golden chips and pale cheese. Light caramelization also makes the peppers taste sweet, even when the nachos are spicy.
Cut bell peppers into strips about 1/4 inch thick so they cook fast. Sear in a hot pan with 1 to 2 teaspoons oil for every pepper pan batch, cook 3 to 5 minutes, and stop while they still have a little snap. Toss with fajita seasoning at the end so the spices stay bright.
Try thisSave a spoonful of the pepper pan drippings and drizzle it over the peppers before baking - it makes everything look glossy.
One warningDon't steam the peppers. If they look limp and wet, they'll flatten the whole plate.
2. Cheese Binding Base Layer
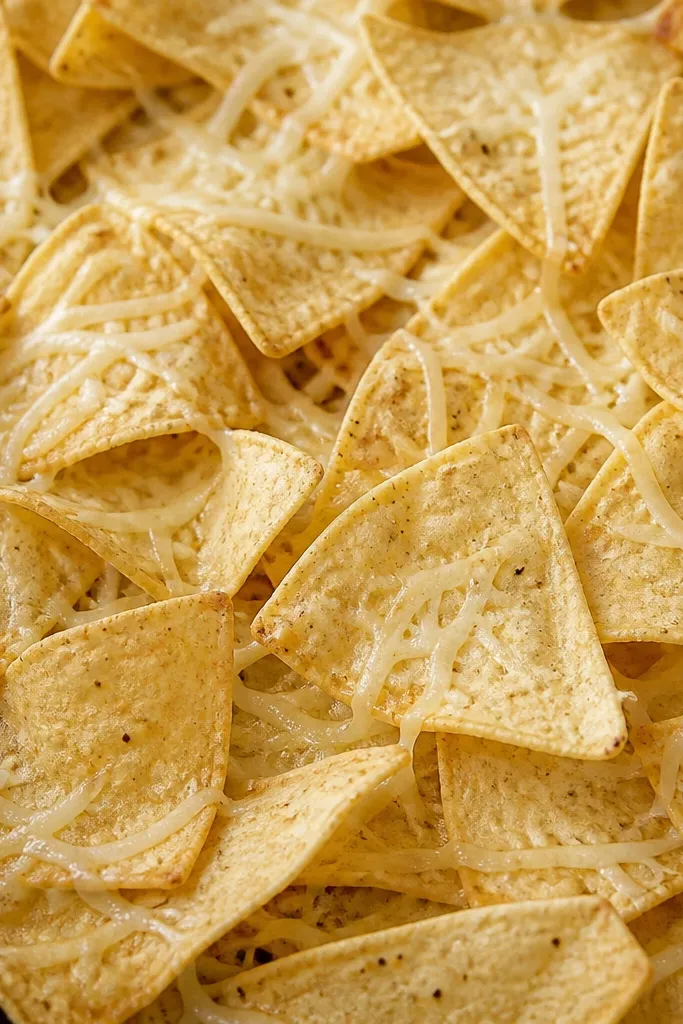
A thin cheese base acts like glue. It melts into the chip surface so the later toppings don't slide off. Visually, you see less greasy pooling because the cheese has a place to go - it spreads, then binds.
Use about 1/3 of your total shredded cheese for the base. Spread it so you still see chips underneath. Bake until the cheese just starts to melt, usually 5 to 7 minutes, before adding chicken and peppers.
Try thisShred your own cheese if you can. Pre-shredded cheese melts smoother for me when it's not too dry.
One warningDon't dump all the cheese at once. Thick mounds melt into one blob and make chips soggy.
3. Fajita Chicken Seared Edges
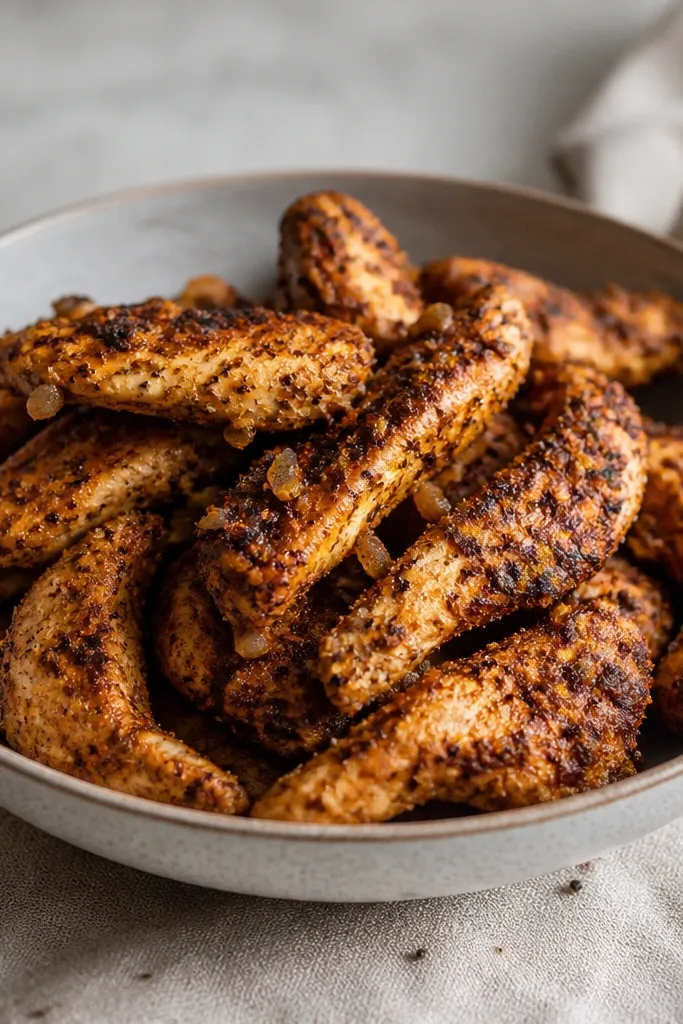
Chicken that looks seared reads as "fresh" even before you taste it. Dark specks from contact with the hot pan add depth, and the spice coating stays on the meat instead of turning into a watery layer. When you put that chicken on nachos, the flavor lands in every bite.
Cook chicken strips or small chunks in a single layer. Use high heat, 1 tablespoon oil per pound of chicken, and stir only after 1 to 2 minutes so you get browning. Season with fajita spices (chili powder, cumin, smoked paprika, garlic powder, salt) and a squeeze of lime at the end.
Try thisRest the chicken 2 minutes off the heat, then spread it on the tray. That small pause keeps juices from soaking chips.
One warningAvoid pre-cooking chicken too far ahead with extra liquid. If it's swimming in pan sauce, it will ruin crunch.
4. Two-Stage Bake for Crunch
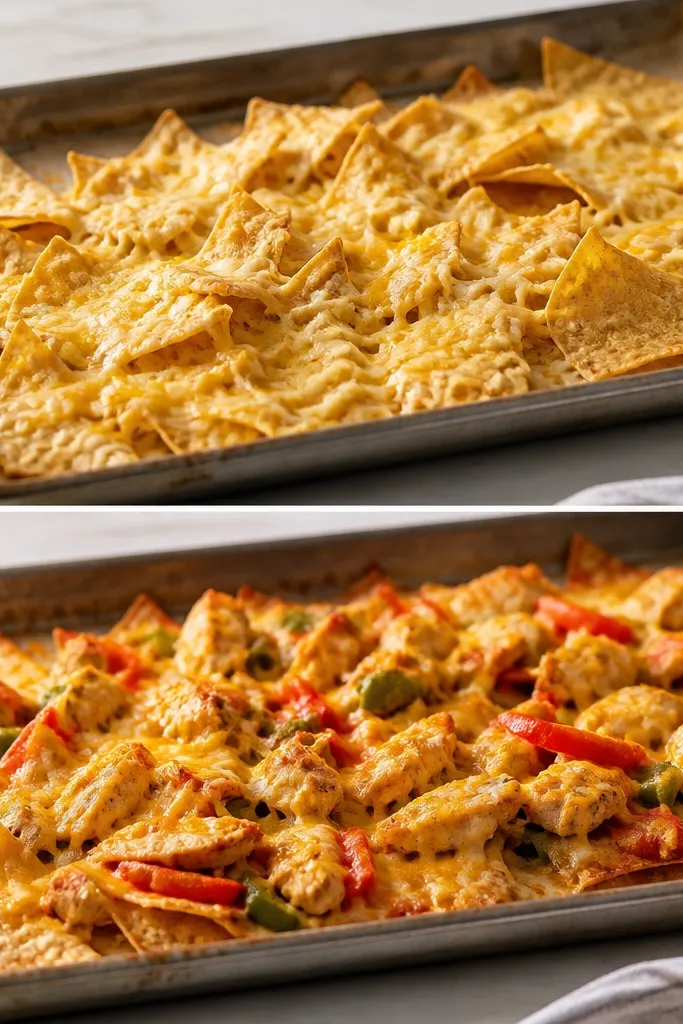
The two-stage bake is what keeps the chips crisp while the cheese still melts. First, you melt a base. Second, you melt the top without cooking the chips in a long, wet bake.
Stage 1: 5 to 7 minutes at 425°F, just until cheese starts to soften. Stage 2: add chicken, peppers, and remaining cheese, then bake 4 to 8 minutes until cheese bubbles. If your oven runs hot, shorten stage 2 - you want melt, not browning into dryness.
Try thisUse the center rack and a preheated tray. I've gotten better crunch that way than with a cold pan.
One warningDon't bake the full build in one long session. That's where the soggy chip disaster starts.
5. Salsa Added After the Heat
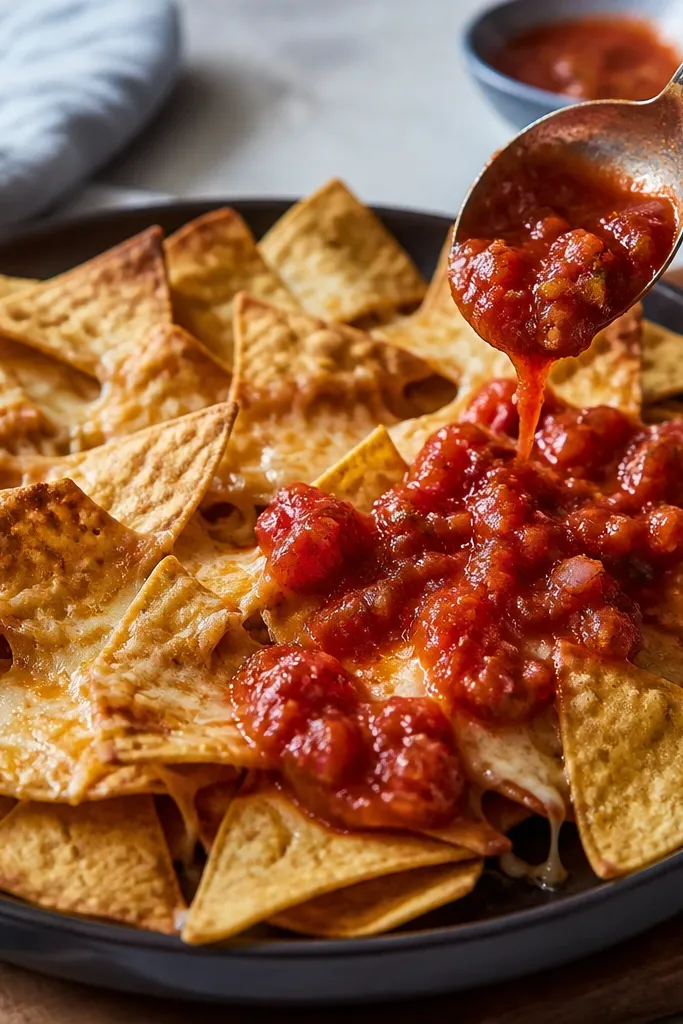
Salsa has water and vinegar. If it goes on before baking, it steams the chips. Adding it after heat keeps the chips crisp and still tastes bright. You get a cleaner look too - melted cheese stays glossy instead of turning wet.
Bake first, then spoon salsa in a light drizzle or small dollops. If you want it to look extra neat, use a squeeze bottle for thin lines. Keep salsa at room temp so it doesn't shock the cheese into clumps.
Try thisPat chunky salsa with a paper towel for 10 seconds if it looks very watery. You keep flavor, lose excess liquid.
One warningDon't soak the whole tray. Thick coverage makes the plate go soft fast.
6. Lime Crema Swirl
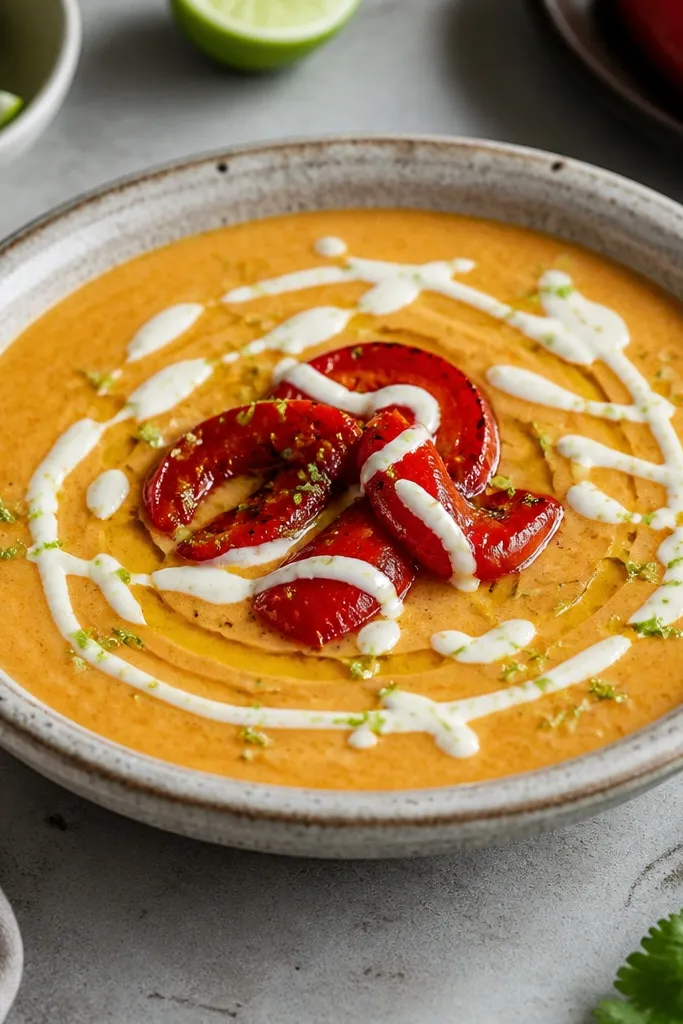
Crema adds a cool, tangy contrast to smoky chicken and spicy peppers. The look is also forgiving: thin drizzles look "designed," while thick blobs look like you ran out of time. Lime zest makes it look fresh and gives a pop of green against red peppers and golden chips.
Mix 1/2 cup sour cream or Greek yogurt with 1 to 2 tablespoons lime juice, a pinch of salt, and optional 1 teaspoon honey if you like a gentle sweetness. Thin with a teaspoon of water until it drizzles. Swirl after baking.
Try thisZest the lime right before serving. The green flecks fade if you do it too early.
One warningAvoid watery crema. If it pours like milk, it dissolves into cheese and makes everything look dull.
7. Pickled Jalapeno Heat Dots
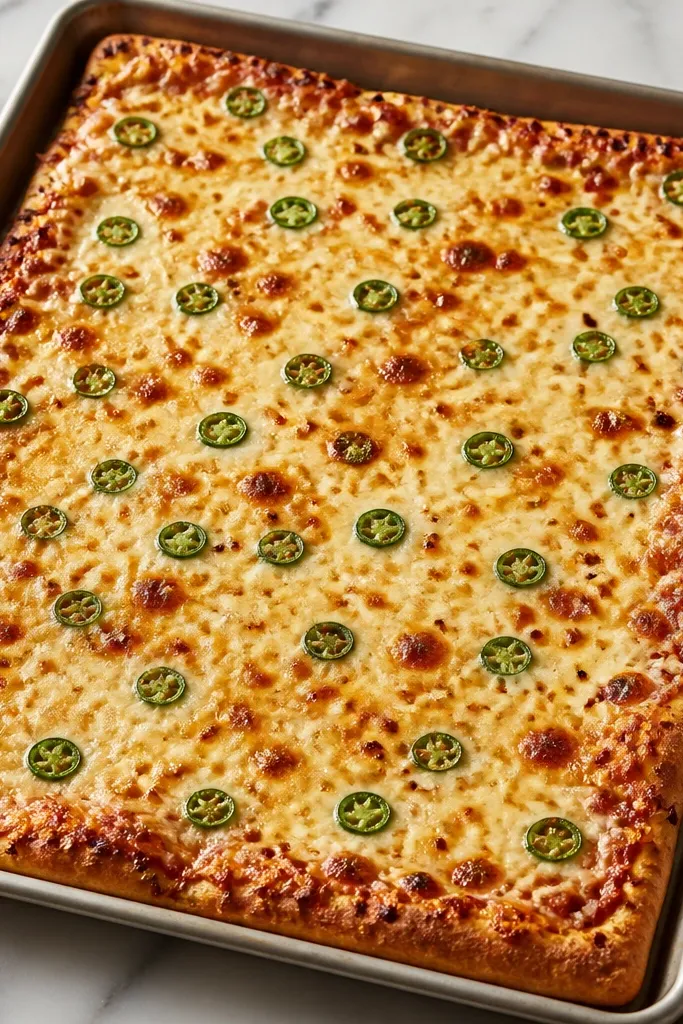
Pickled jalapenos add sharp heat and a tang that cuts through melted cheese. Visually, they look intentional - little green dots on top of gold and red. The acidity also keeps the flavors from tasting heavy.
Use sliced jalapenos from a jar or quick-pickle fresh slices with vinegar, salt, and a pinch of sugar. Drain well so they don't add extra liquid. Add after baking so they keep their texture.
Try thisAdd jalapenos last to control heat level by bite. Guests can pick their own spice.
One warningDon't add fresh jalapeno rings before baking unless you like raw bite. They stay crunchy and can taste harsh.
8. Cilantro Only at the End
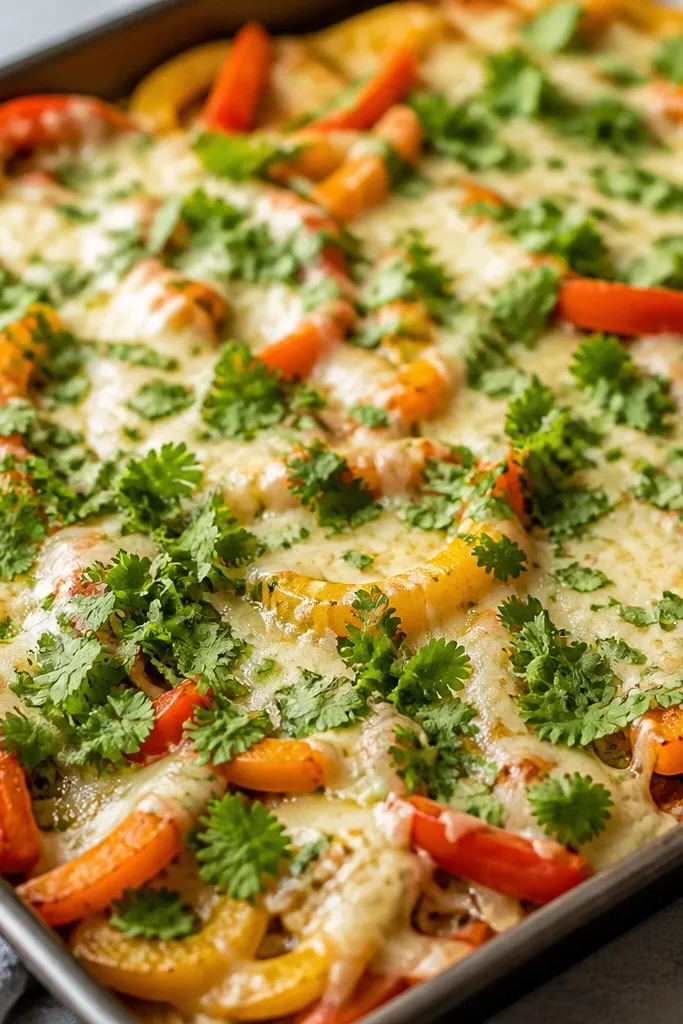
Cilantro looks best when it stays green. If it bakes too long, it wilts and turns dark, which makes the whole plate look tired. Fresh herbs also smell sharp right when you serve.
Chop cilantro fine and sprinkle right after the tray comes out. Use a light hand; you want flecks, not a pile. If you're serving later, add cilantro again right before the second round.
Try thisDry your cilantro with a paper towel before chopping. Less moisture helps keep the top from going soggy.
One warningAvoid adding cilantro during bake. It darkens fast in hot ovens.
9. Crushed Tortilla Chip Edge Crunch
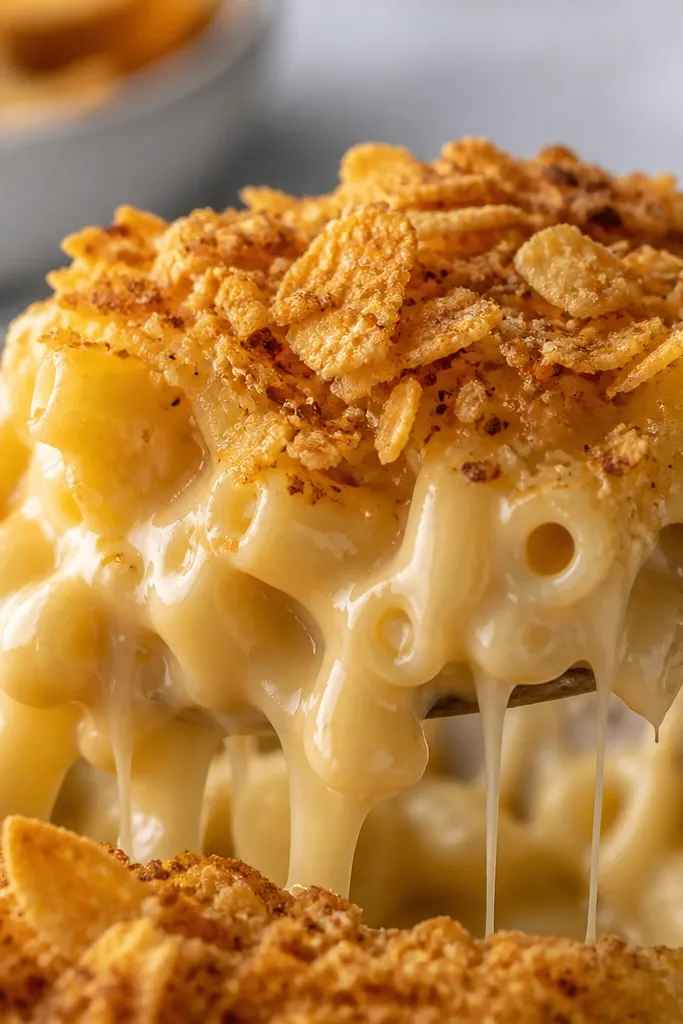
This is a trick I use when I want "restaurant crunch" in every bite. Crushed chips act like a topping that soaks up a tiny bit of cheese moisture but still stays crunchy. You see it as texture - not just flat melted cheese.
After the second bake, crush a handful of plain chips into coarse flakes. Sprinkle mostly around the edges and a few patches on top. Avoid piling it in the center where sauce and crema will soak it quickly.
Try thisUse unsalted chips if you're heavy on seasoning. The texture pops without making the plate too salty.
One warningDon't crush chips and bake them in. They turn into a sandy layer that tastes stale.
10. Sheet Pan Heat for Even Melting
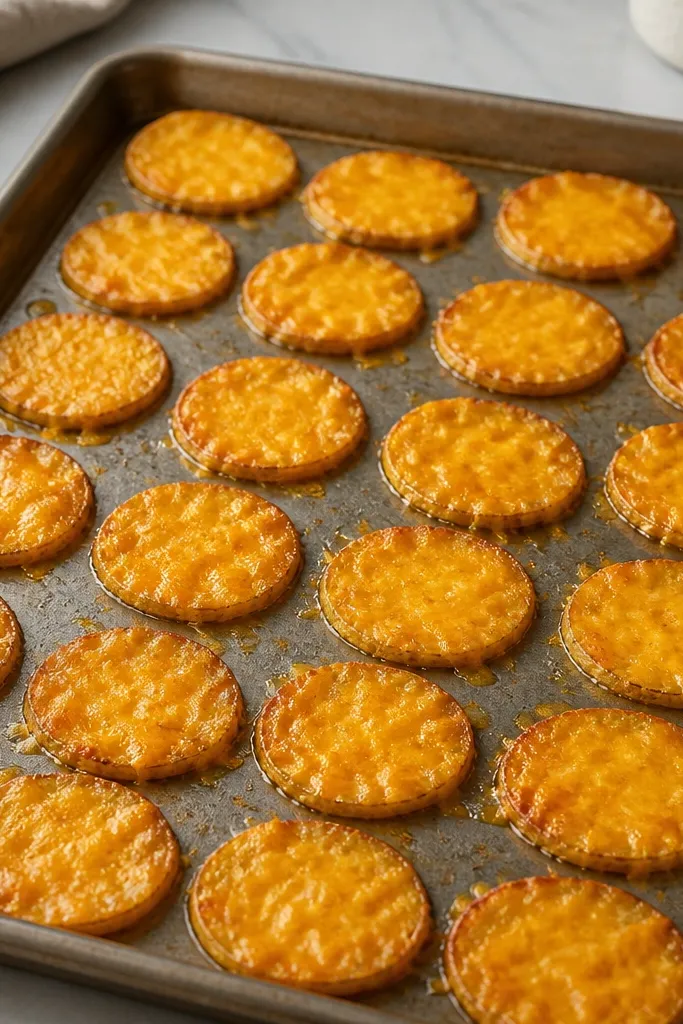
A sheet pan spreads heat evenly across the tray. That matters for nachos because you want cheese to melt everywhere without burning the edges. Even spacing also helps - overlapping chips steam each other and lose crunch.
Preheat the pan at 425°F for 3 to 5 minutes before building. Spread chips in a single layer with gaps. If you need more nachos, do two trays instead of stacking.
Try thisIf your oven has hot spots, rotate the tray halfway through stage 2.
One warningAvoid stacking chips. A tall pile bakes uneven and turns soft in the middle.