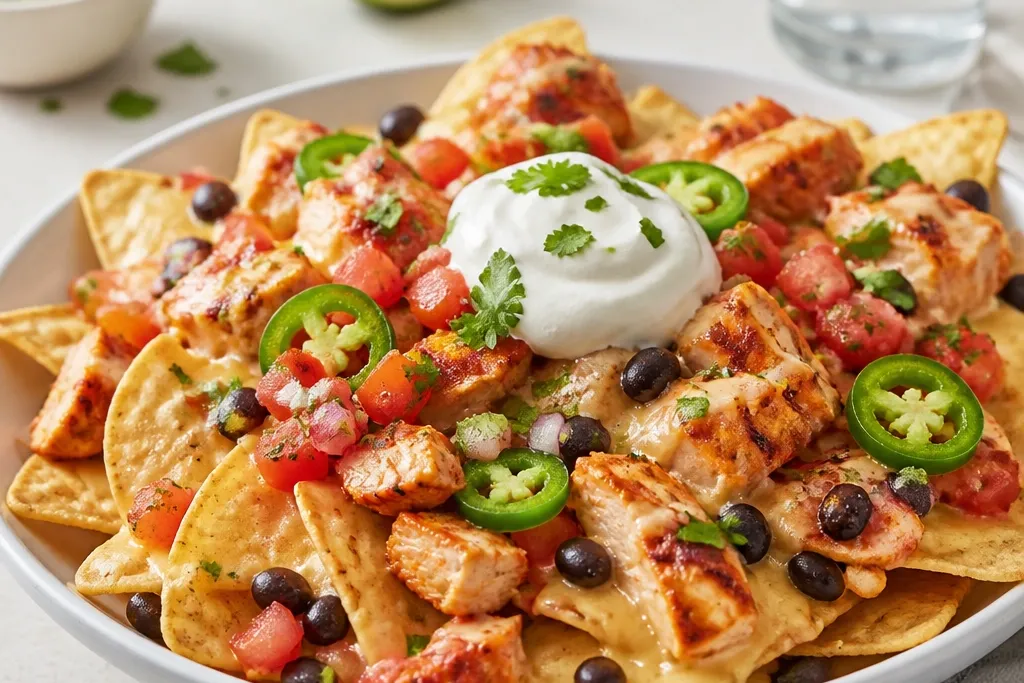
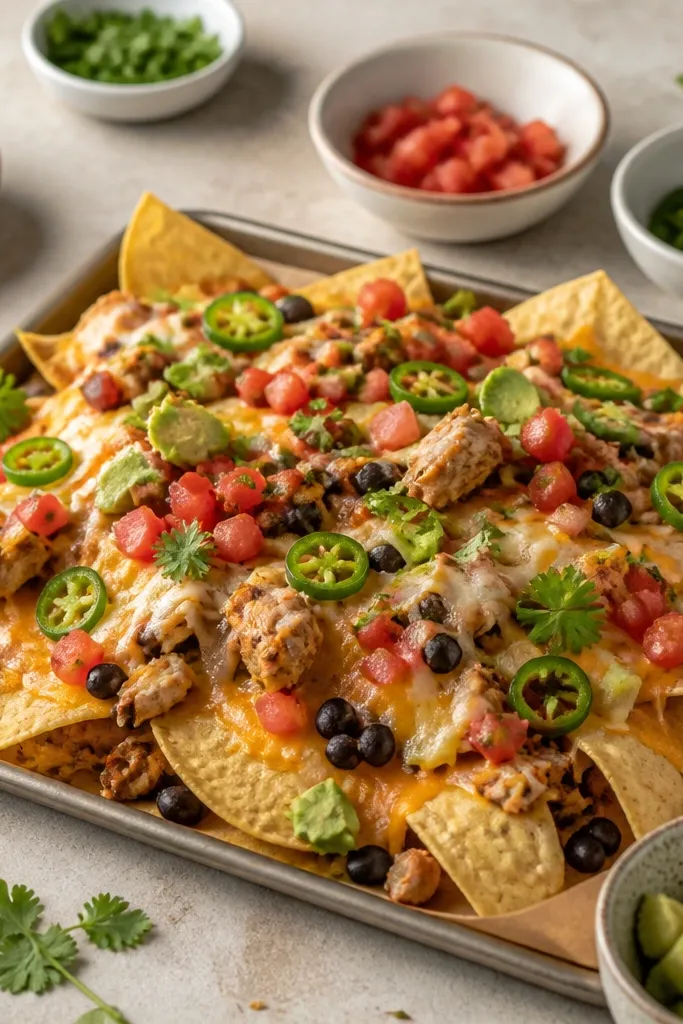
1. Skillet Chicken That Looks Glossy, Not Dry
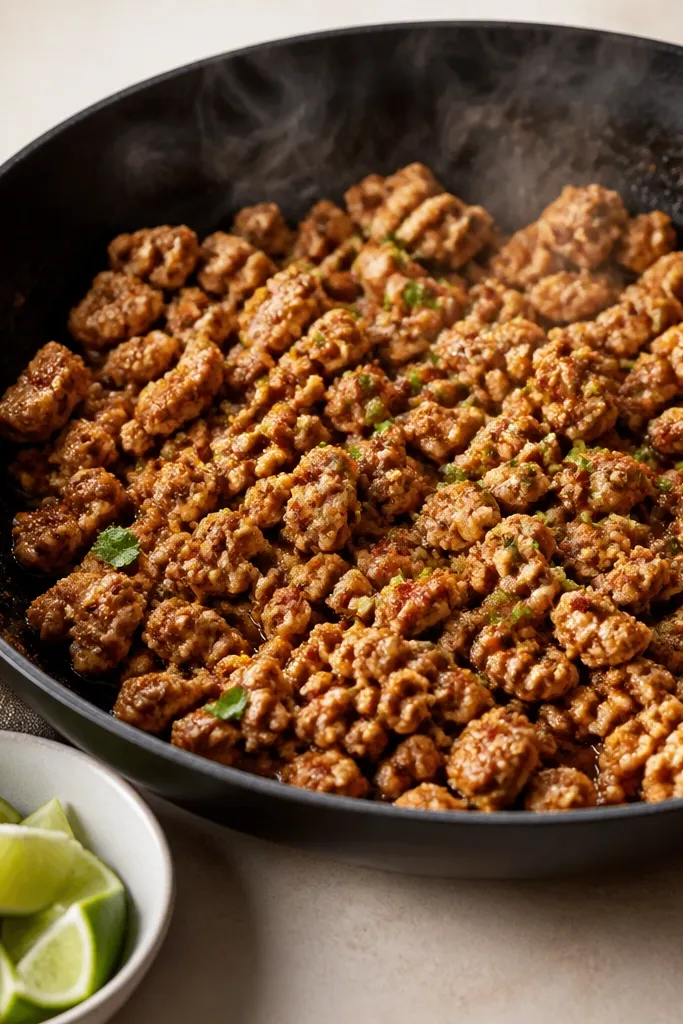
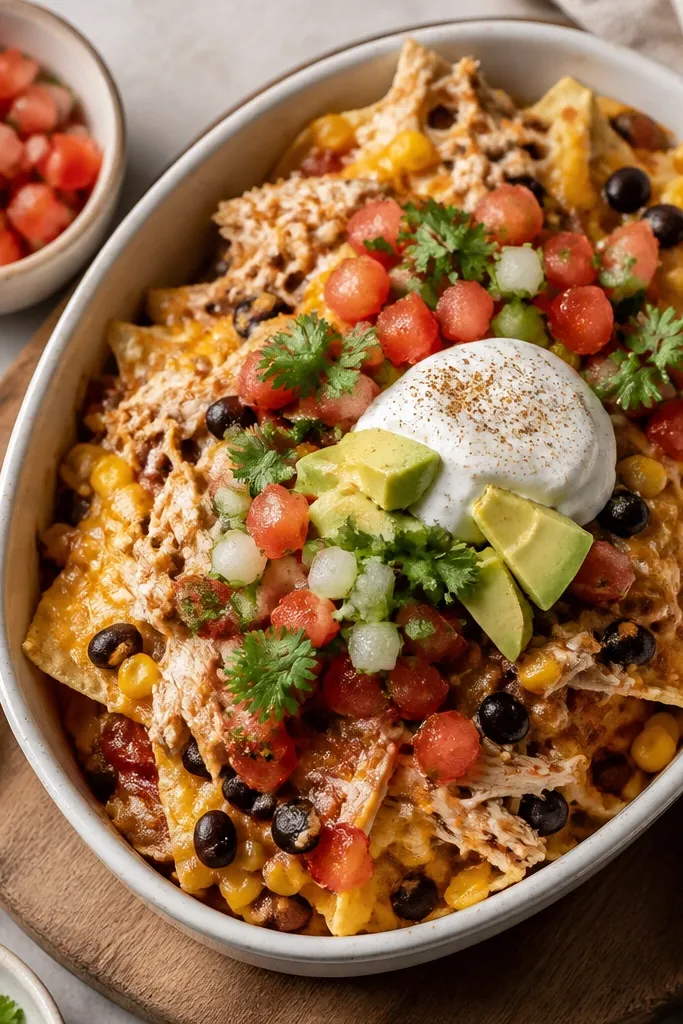
Lean ground chicken looks dry when it's cooked to a hard, crumbly stage. I keep it glossy by adding sauce after the initial browning and cooking just until it coats, not until it dries out. The red-brown color from chili powder and smoked paprika makes the chicken look like it belongs on nachos, not like a plain taco filling.
Use 1 lb ground chicken, salt it early, and brown in a single layer for 3-4 minutes. Stir in 1/2 to 3/4 cup thick salsa (or salsa that you simmer down) and cook 2-3 minutes until it clings to the meat. Finish with 1 tablespoon lime juice off-heat and a tiny splash of water if it tightens up too much.
Try thisIf the chicken starts to look "tight" or dry, add 1-2 tablespoons water and stir for 30 seconds - it loosens the coat without watering down the whole batch.
One warningDon't simmer the chicken for 15 minutes - it turns gray-brown and loses the juicy shine.
2. Layered Chip Base With a Dry Edge
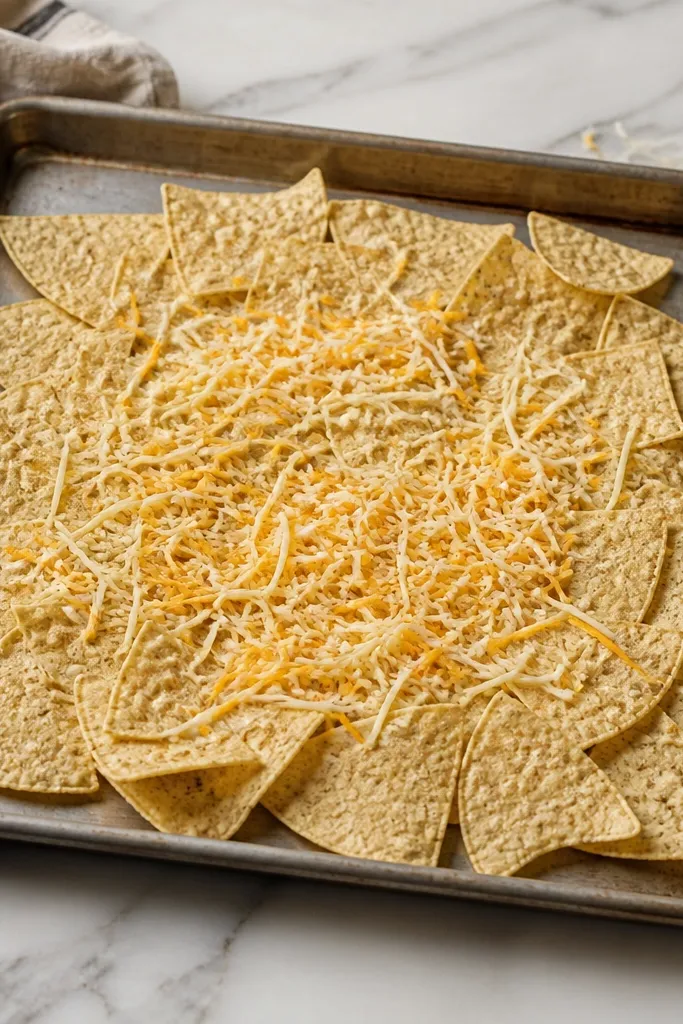
Nachos look better when the chips have visible edges and aren't buried under sauce. I build a mostly dry chip layer first, then put cheese and chicken where the heat will hit. That gives you a tray where the center is melty but the outer chips still look crisp.
Use a rimmed sheet pan or wide casserole dish. Spread chips in an even layer, then keep about 1 inch of chip edge visible around the perimeter. Add shredded cheese first in the center, then pile chicken on top so it lands in a mound instead of soaking everywhere.
Try thisIf you have time, warm the chips in a 250°F oven for 3 minutes before layering - it helps the tray bake faster and prevents late sogginess.
One warningDon't dump chips in a heap - the bottom chips steam and go limp.
3. Cheese Blend That Melts Like a Blanket
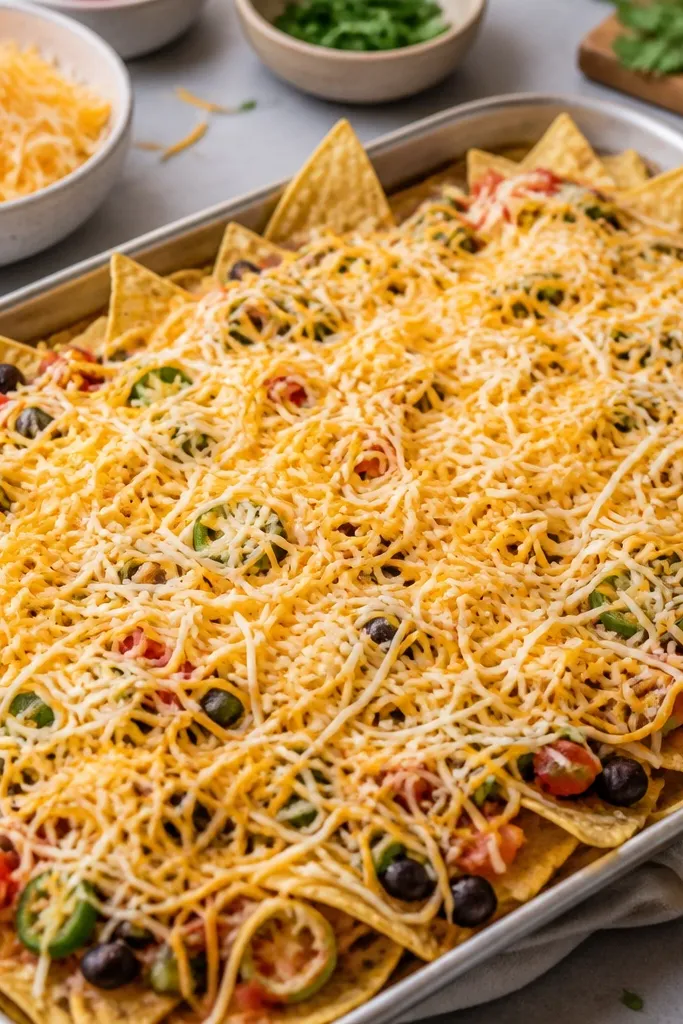
I like a blend because cheddar gives flavor and mozzarella gives melt. Together, you get stretchy pulls and a creamy surface that holds the chicken in place. The visual difference is clear: the cheese stays shiny and cohesive instead of oily streaks.
Use 1 to 1 1/2 cups shredded cheddar plus 1/2 to 1 cup shredded mozzarella for a 1 lb chicken tray. Shred fresh if you can - pre-shredded works, but fresh melts with less graininess. Sprinkle evenly so chicken doesn't peek through in dry spots.
Try thisPress the cheese down lightly with your hand so it makes contact with hot chips - it melts faster and sets smoother.
One warningDon't use only low-moisture mozzarella - it melts, but the flavor comes off flat.
4. Speed Sauce: Reduced Salsa + Taco Seasoning
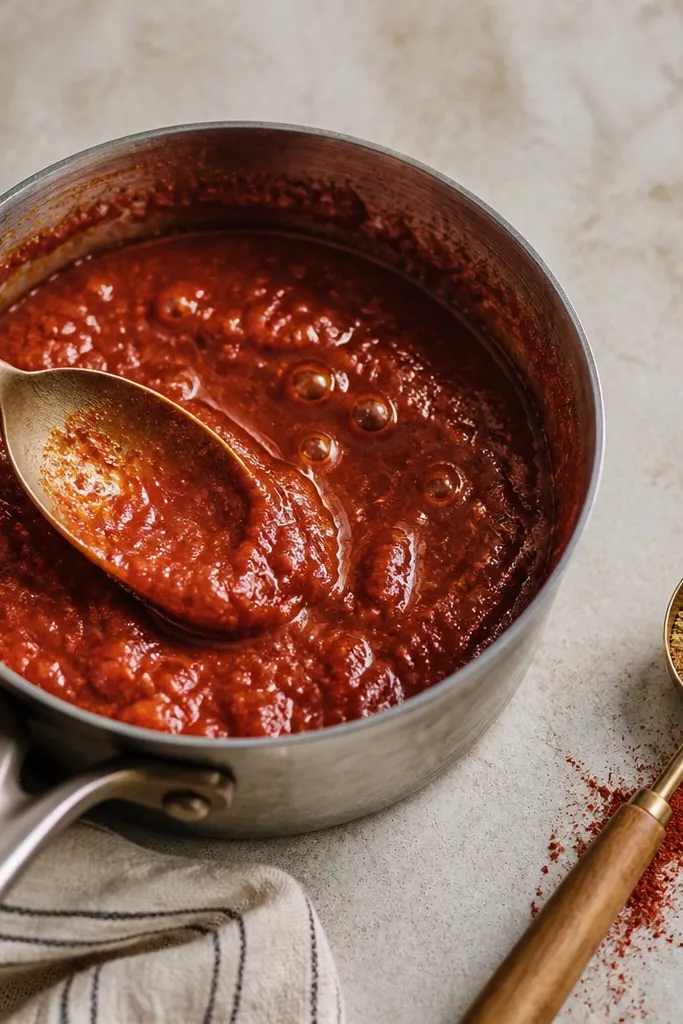
A thin salsa looks great in a jar, then it ruins nachos by turning watery. Reducing it for a few minutes concentrates flavor and thickens texture so it clings to chicken. The result is that glossy, spoon-coating sauce layer that makes each chip taste seasoned.
Pour 1/2 cup salsa into a saucepan and simmer 3-5 minutes until it thickens and looks darker. Stir in chili powder, smoked paprika, cumin, and a pinch of oregano. Add to browned chicken and cook 2 minutes more so the spices toast into the sauce.
Try thisTaste the sauce alone before mixing into chicken - it should be a little punchy, because chips mellow it.
One warningDon't add raw salsa straight from the jar - it stays watery under the cheese.
5. Lime-Cilantro Finish for Fresh Color Pop
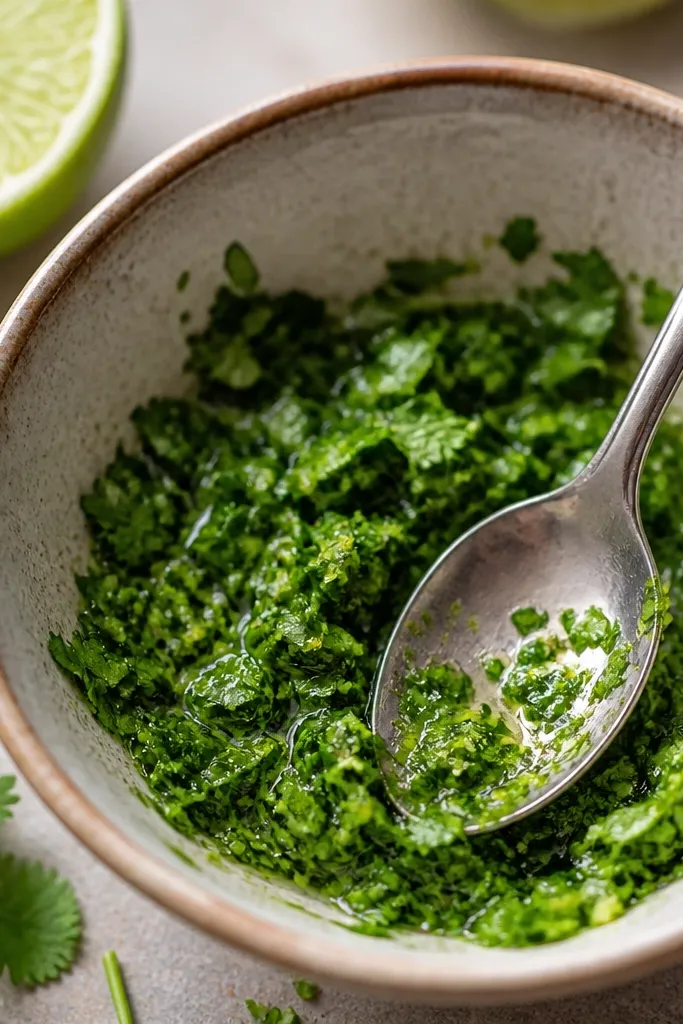
This is the part people notice first. Lime brings brightness, and cilantro adds a green freshness that cuts the heaviness of cheese. I add it after baking so it doesn't darken and taste muted.
Chop 1/4 cup cilantro and mix with 1 teaspoon lime zest plus 1 tablespoon lime juice. Sprinkle over the hot nachos right when they come out. If you hate cilantro, swap for chopped green onions - the green still pops.
Try thisAdd the lime juice in two passes - a little first, then more after the tray cools 1 minute so it tastes sharp instead of sour.
One warningDon't bake cilantro on top - it turns dull green and can taste bitter.
6. Sour Cream Swirls That Don't Sink
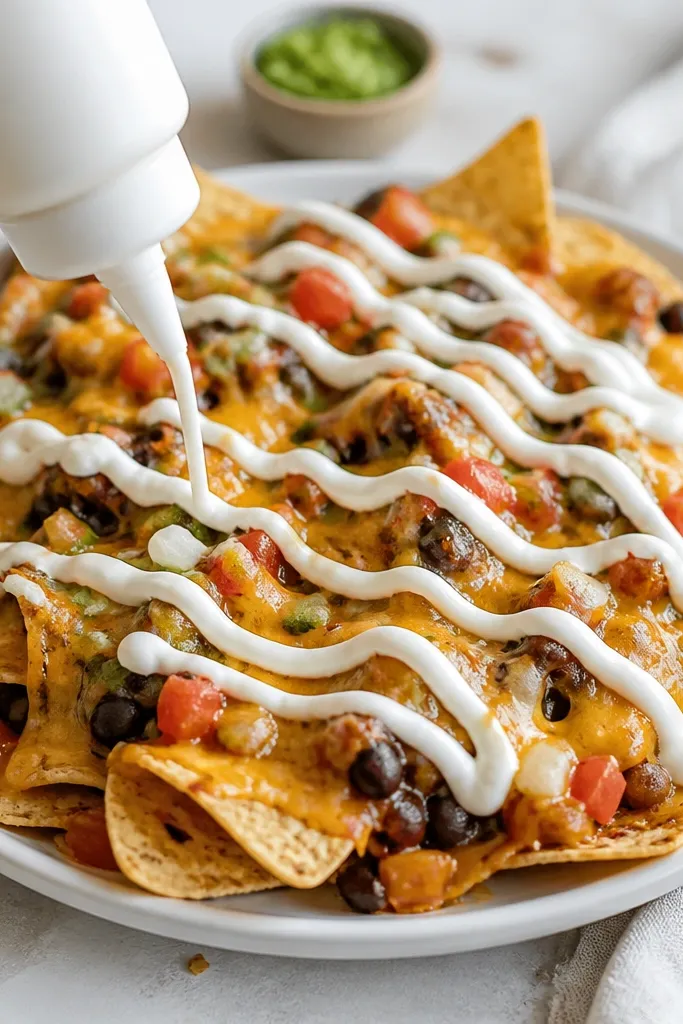
Sour cream looks best as a drizzle or thin swirls. Thick dollops can sink into hot cheese and disappear, leaving the tray looking flat. A light hand keeps it creamy and visible, with tang in every bite.
Stir sour cream with 1 teaspoon lime juice and 1 tablespoon milk or water until it loosens. Use a spoon to drag thin lines over the cheese, then add a few extra dots on the chicken mound. Keep it off the chips edges if you want those edges to stay crisp-looking.
Try thisIf your sour cream is cold, drizzle it quickly - warm it in the microwave for 10 seconds so it spreads without clumping.
One warningDon't pour a thick layer - it turns into a wet puddle fast.
7. Pickled Jalapeños Over Fresh Slices
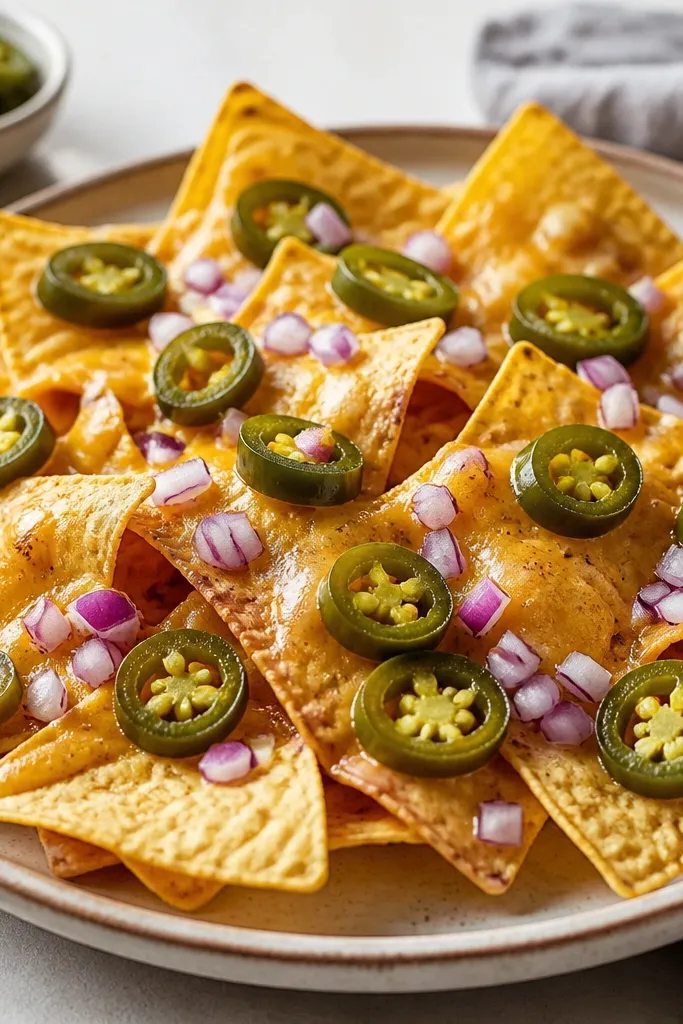
Pickled jalapeños bring tang and a consistent bite. Fresh jalapeños can be watery and mild unless you pick the right ones. The pickled version looks shinier too, so the tray reads "nachos" instantly.
Use 1/4 to 1/3 cup sliced pickled jalapeños. Drain them well so they don't leak. Scatter over the center and a few spots near the edges for visual heat.
Try thisAdd red onion only after baking so it stays crisp and crunchy, not soggy.
One warningDon't leave jalapeños sitting on the tray too long before eating - they soften fast.
8. Pico de Gallo Timing for Crisp Texture
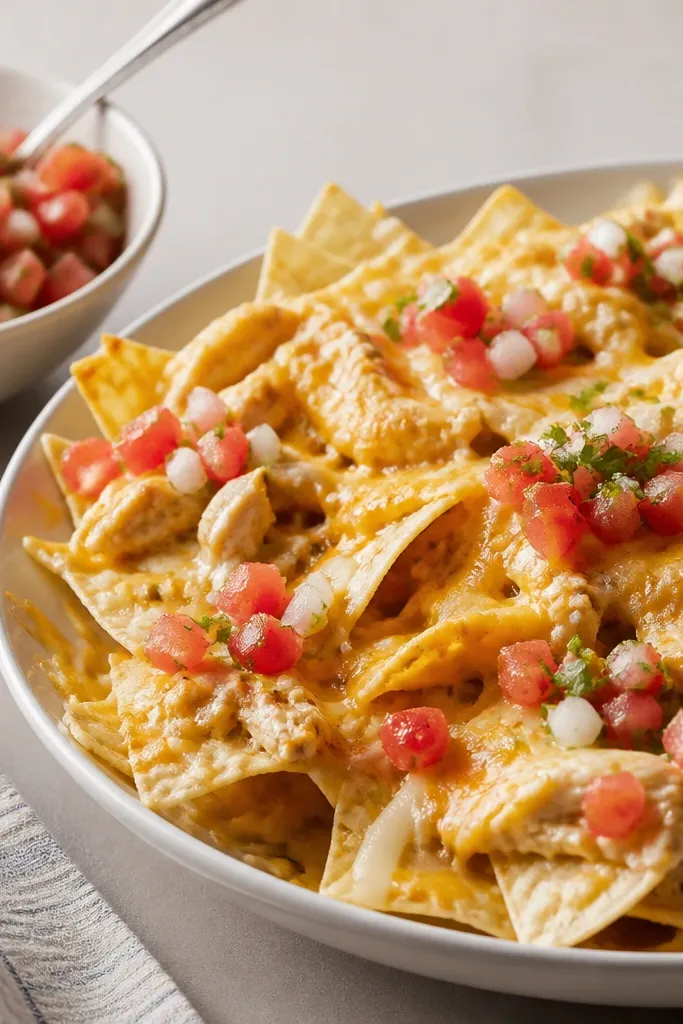
Pico has water. If you bake it, it bleeds and makes the tray look messy. Adding pico after baking keeps the tomatoes bright, the onion crunchy, and the whole tray looking fresh and intentional.
Make pico with diced tomatoes, finely chopped onion, cilantro, and lime juice. Drain excess tomato juice if it looks watery. Spoon small mounds over the cheese and chicken, then stop - no spreading into bare chips.
Try thisUse a paper towel to pat tomatoes dry if your pico looks juicier than you want.
One warningDon't mix pico directly into sour cream - it turns gray and watery.
9. Hot Tray, Short Bake: 6-8 Minutes
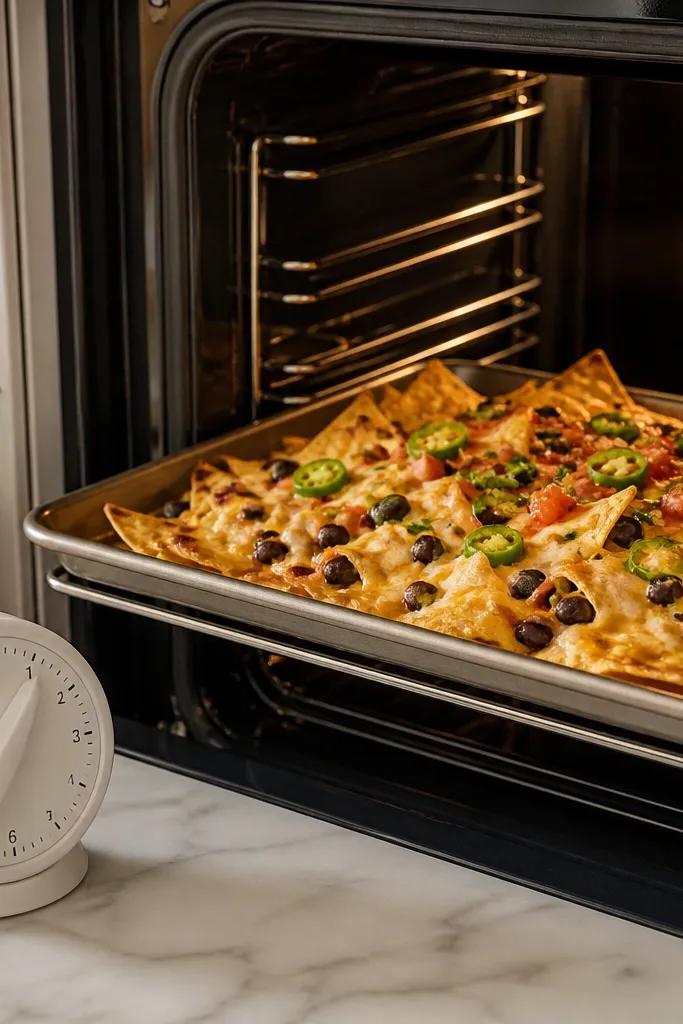
The best-looking nachos have melted cheese without turning the chips translucent. A short bake melts and sets the cheese quickly, then you stop heat before moisture wins. This also keeps the chicken's seasoning tasting fresh.
Bake at 425°F. Put nachos on the middle rack and bake 6-8 minutes, watching for bubbling cheese and slightly darkened chip edges. Pull the tray when the center looks cohesive, not when everything is browned.
Try thisIf your oven runs hot, start checking at minute 5 and pull at minute 6.
One warningDon't bake until chips look dark and soft - that's when the tray turns soggy.
10. Rental-Friendly Serving: Foil Under the Tray
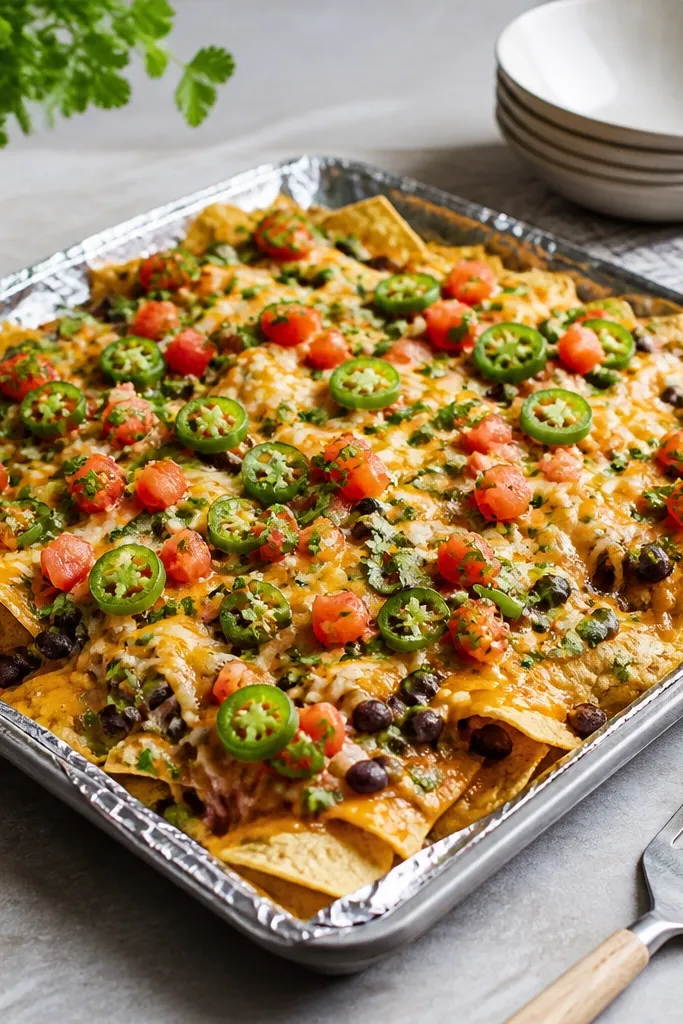
Clean-up matters when you're in a rental and don't want stained cookie sheets. Foil under the pan catches drips from cheese and sauce so you aren't scrubbing baked-on mess. It also helps you move the tray without scraping crumbs into the sink.
Tear a sheet of foil slightly larger than the pan. Place it under the pan before baking, then let the pan cool 3 minutes before lifting. Use a wide spatula to keep toppings from sliding while you move it.
Try thisIf you're using a nonstick pan, still use foil - the goal is fewer residue spots, not just easier release.
One warningDon't skip foil if your chicken sauce is loose - cheese drips will bake onto the counter area.