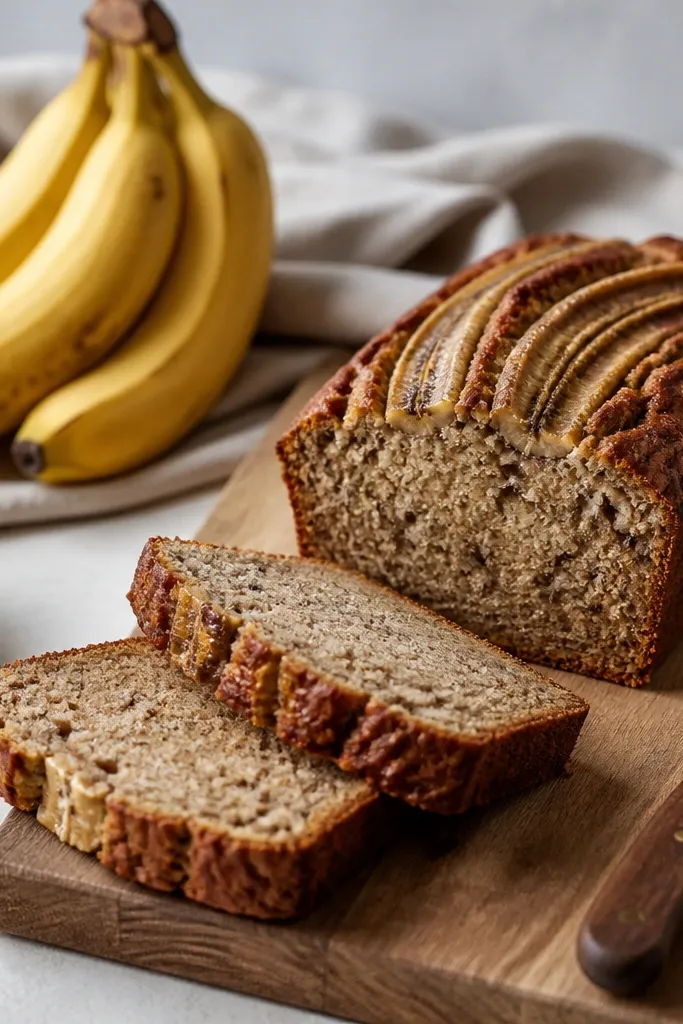
1. Caramel-Crust Loaf with Oat Milk Glaze
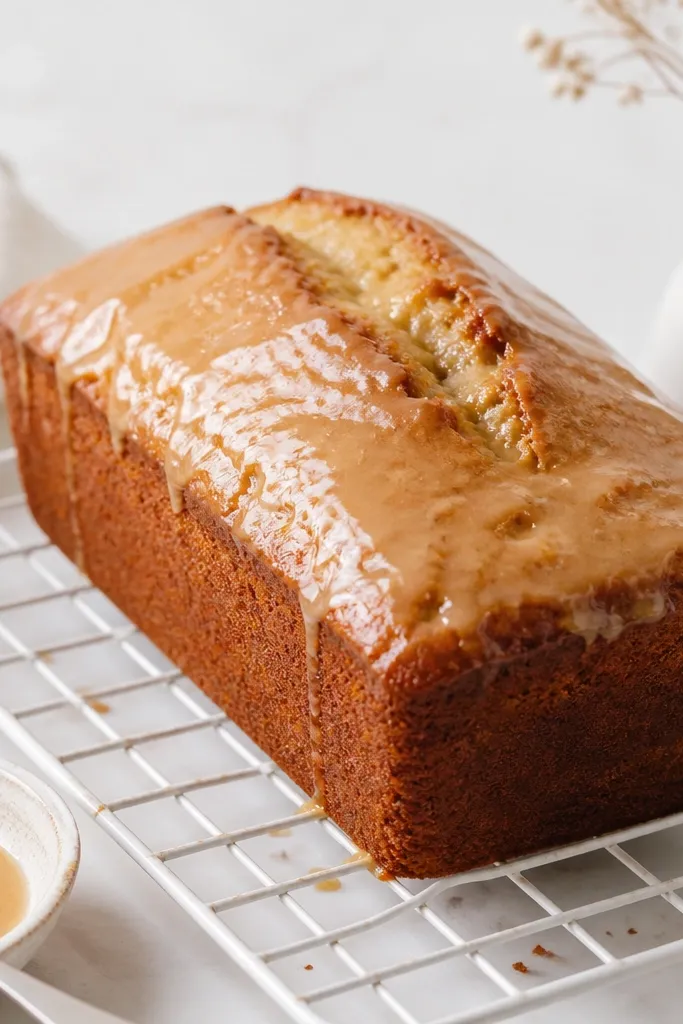
This look comes from a quick glaze brushed on right after baking. Oat milk gives a gentle sheen instead of a thick frosting layer, so the crust still looks like crust. The glaze dries into a caramel tint that makes the loaf look bakery-finished even in a plain rental kitchen.
Bake the loaf in a standard 9x5 pan. Mix 2 tablespoons oat milk with 1 tablespoon maple syrup and a pinch of cinnamon, then brush on while the loaf is hot, not steaming wet. Let it cool at least 45 minutes so the glaze sets without streaks.
Try thisFor a thicker shine, do a second brush after the first layer dries for 5 minutes.
One warningDon't glaze when the loaf is still bubbling with steam - it turns shiny in the wrong way and looks smeared.
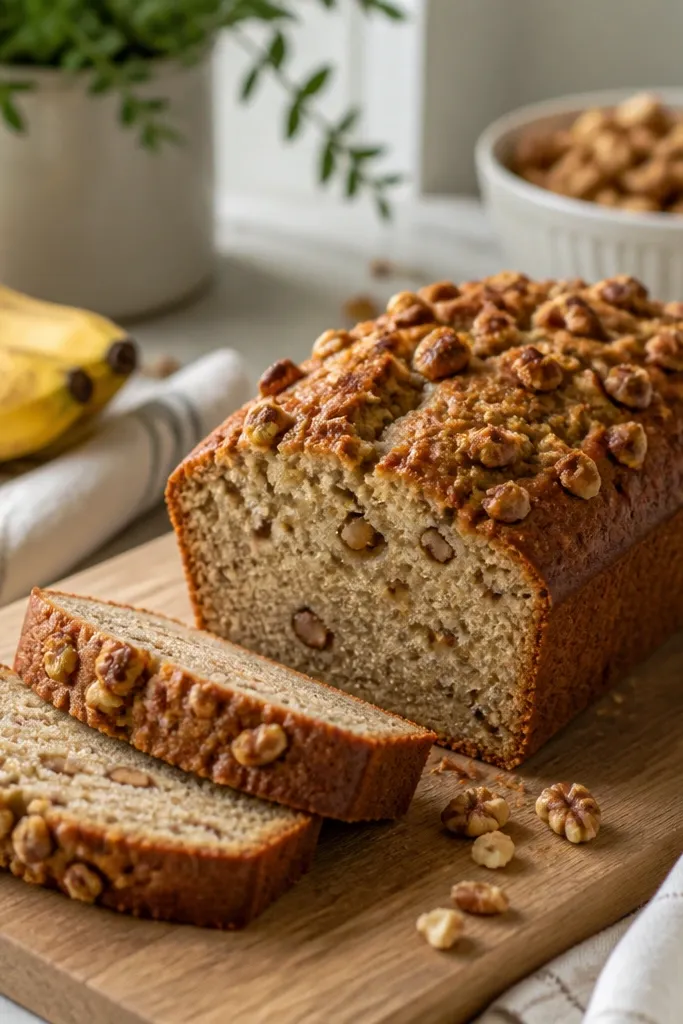
2. Walnut-Speckled Top with Toasted Crunch
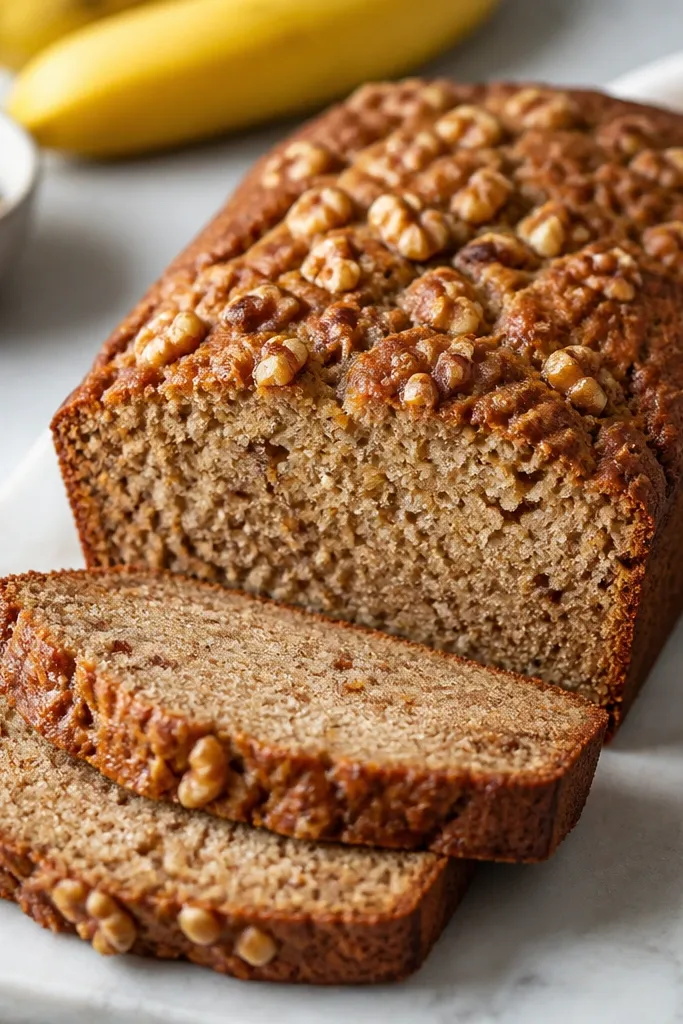
Pressing walnuts into the top gives a textured "photo finish" without frosting. Toasted nuts add color contrast against the pale golden batter, so the loaf looks intentional. The nuts also add bite, which helps vegan banana bread feel less soft and plain.
Toast chopped walnuts in a dry pan for 4-6 minutes until fragrant. Fold them into the batter lightly, then press a handful on top before baking. Sprinkle a tiny pinch of coarse sugar over the nuts if you want a sparkly crust.
Try thisChop walnuts into uneven pieces - big and small bits look more natural on top.
One warningAvoid dumping raw nuts on top - they stay dull and can sink unevenly.
3. Chocolate Swirl with Dark Cocoa Ribbon
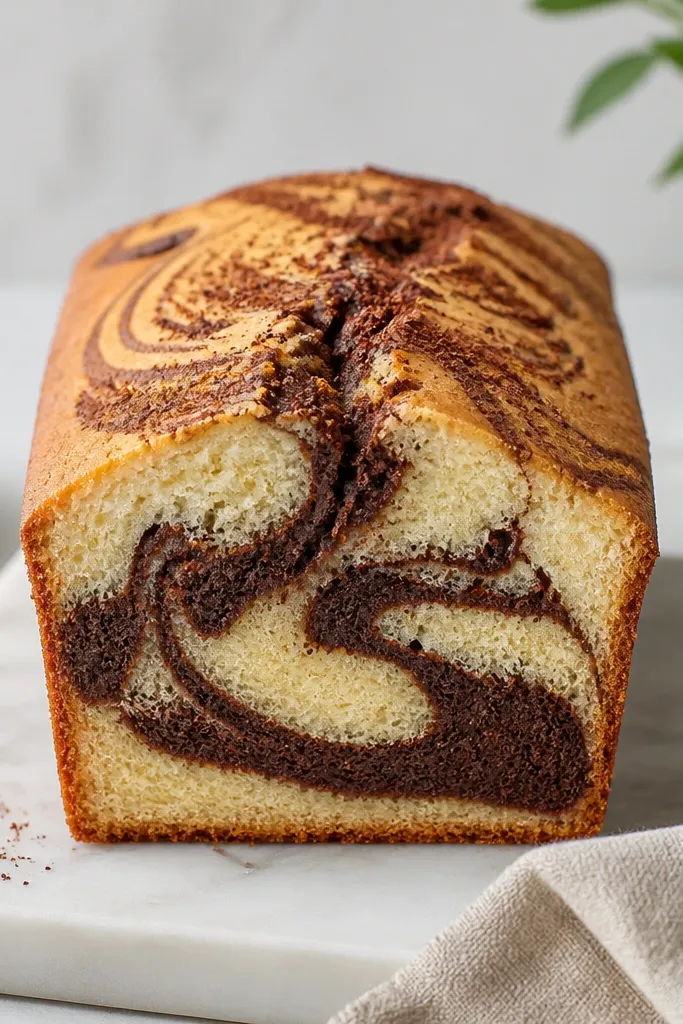
A cocoa swirl creates a "designed" look while staying easy. Cocoa mixed with a little brown sugar and plant milk thickens into a ribbon that holds its shape. The contrast makes the banana crumb look richer even though it's still vegan and straightforward.
Stir 3 tablespoons cocoa powder with 3 tablespoons brown sugar and 2-3 tablespoons plant milk until it becomes a thick paste. Pour half the banana batter into the pan, drop spoonfuls of cocoa paste, then cover with the remaining batter. Use a butter knife to drag through twice, not ten times.
Try thisStop swirling early - two passes keep the ribbon bold instead of muddy.
One warningDon't overmix after adding chocolate paste - it turns into uniform brown batter and loses the swirl.
4. Cinnamon-Sugar Crown with Paper-Thin Crackle
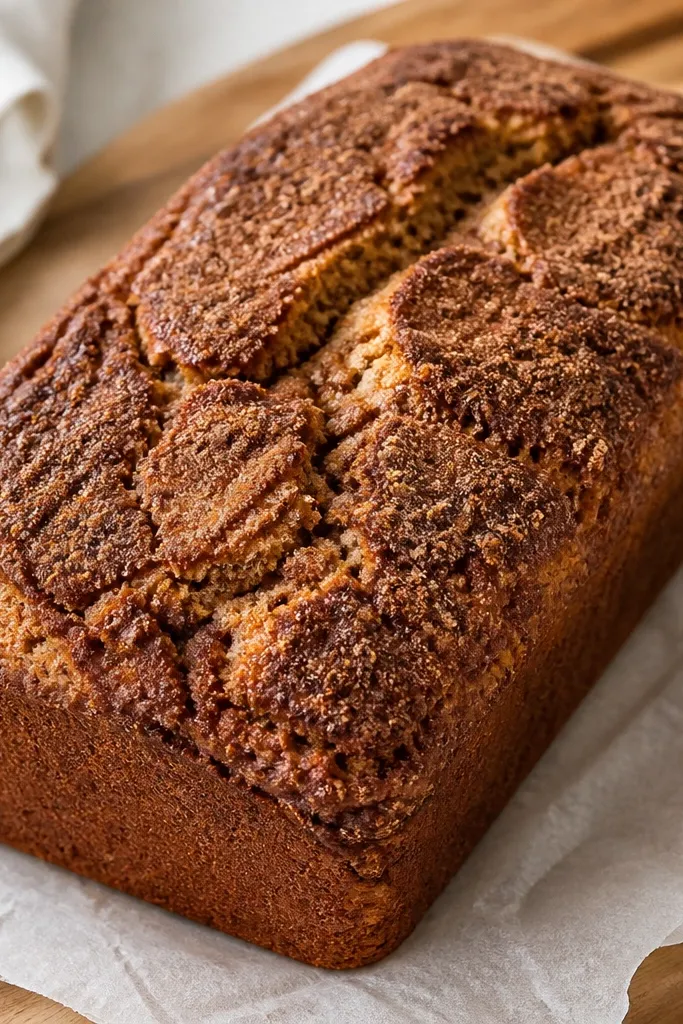
A cinnamon-sugar crown forms when sugar hits warm batter and caramelizes. The tiny crack lines happen because the surface dries faster than the center, giving you that "fresh from the oven" look. It's one of the few vegan toppings that looks like bakery styling without extra steps.
Mix 2 tablespoons cinnamon with 3 tablespoons sugar. After pouring batter into the pan, sprinkle the mixture evenly across the top, then gently tap the pan on the counter to settle. Bake at 350°F and rotate halfway for an even crackle.
Try thisUse a fine sugar for the crackle and a pinch of coarse sugar for sparkle.
One warningSkip heavy-handed sprinkling - too much sugar can burn in patches and look scorched.
5. Mini Loaf Pan Look with Quicker Browning
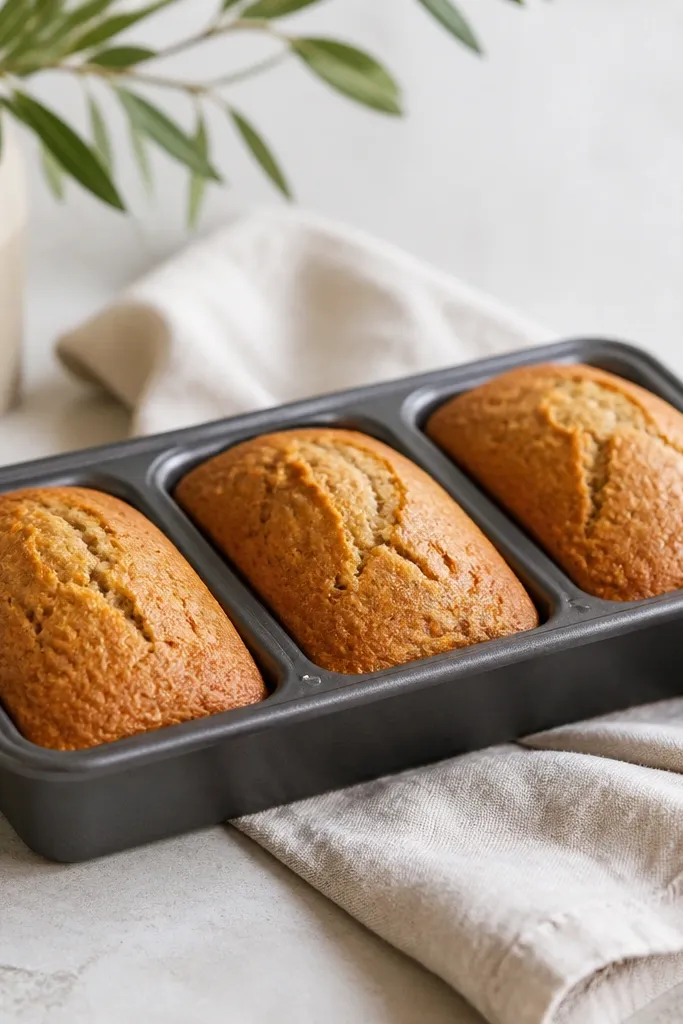
Mini loaves bake faster and look more "giftable" on a counter. You get more browned edges per bite, which matters in rental kitchens where ovens can vary. The shorter bake time also helps keep the center tender without overbaking the outside.
Use a mini loaf pan (usually 5-6 mini cavities). Fill each cavity about 3/4 full. Bake 28-38 minutes at 350°F, checking at 28. Cool 15 minutes in the pan, then lift out and cool fully on a rack.
Try thisBake two pans at once only if your oven has real airflow; otherwise bake one pan to keep color even.
One warningDon't fill them to the top - batter rises and can spill into the pan seams, making ugly edges.
6. Sliced-Ready Banana Bread with Clean Edges
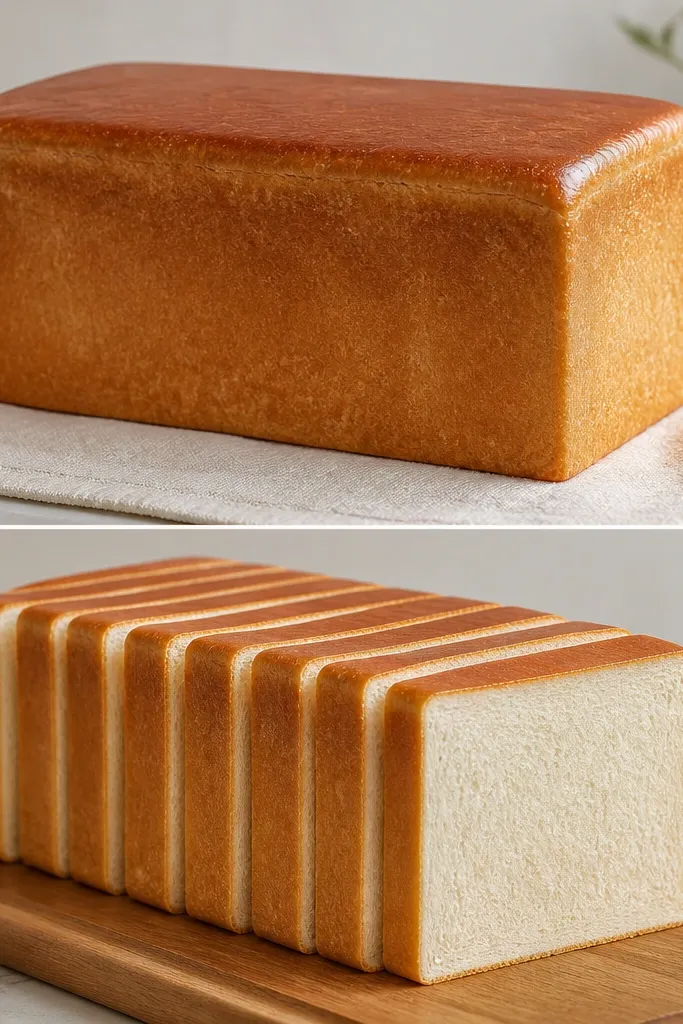
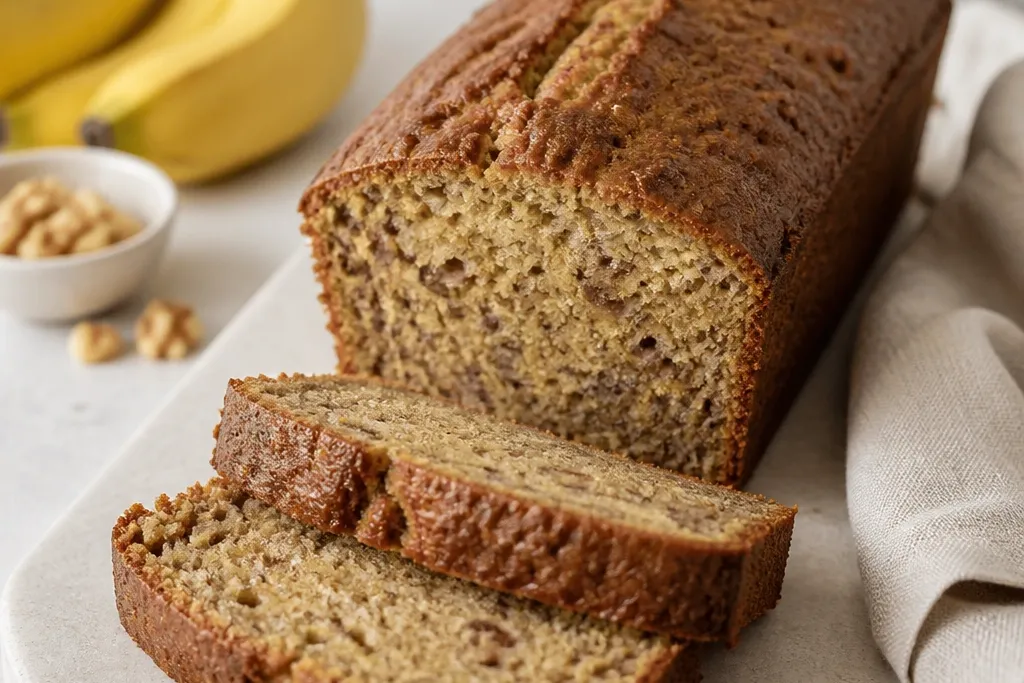
This look is about structure. Using a bit of baking soda plus an acidic splash helps lift and set the crumb. Cooling fully is what makes the slices hold their shape - vegan banana bread can feel firm on the outside but still be soft inside if you cut too early.
Let the loaf cool in the pan for 15 minutes, then turn it out and cool another 45-60 minutes. For extra clean edges, use a long serrated knife and wipe the blade between cuts. Slice when the loaf feels cool to the touch.
Try thisWrap the cooled loaf in foil and rest overnight - the crumb tightens and slices look sharper the next day.
One warningDon't cut warm - the crumb smears and you lose that neat rectangle look.
7. Lemon-Zest Bright Top for a Fresh Look
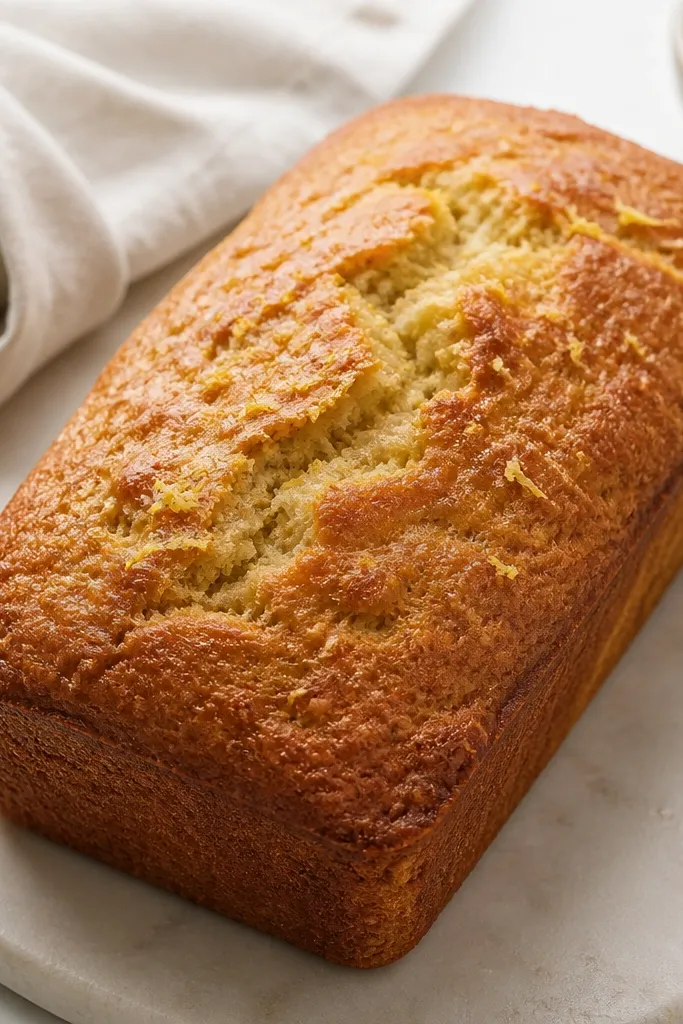
Lemon zest makes vegan banana bread look lighter and more "awake." It also helps your flavor pop when you're using only bananas for sweetness. The zest specks are visible, so the loaf looks intentional even without nuts or chocolate.
Add 1 to 2 teaspoons lemon zest to the dry ingredients. Use 1 tablespoon lemon juice with the baking soda to help the lift. Sprinkle a pinch of extra zest on top right before baking.
Try thisZest first, then juice - it prevents yellow zest from clumping in your measuring spoon.
One warningDon't use bottled lemon juice for the zest effect - you need fresh zest for the speckled look.
8. Brown Sugar Streusel Topping That Stays Put
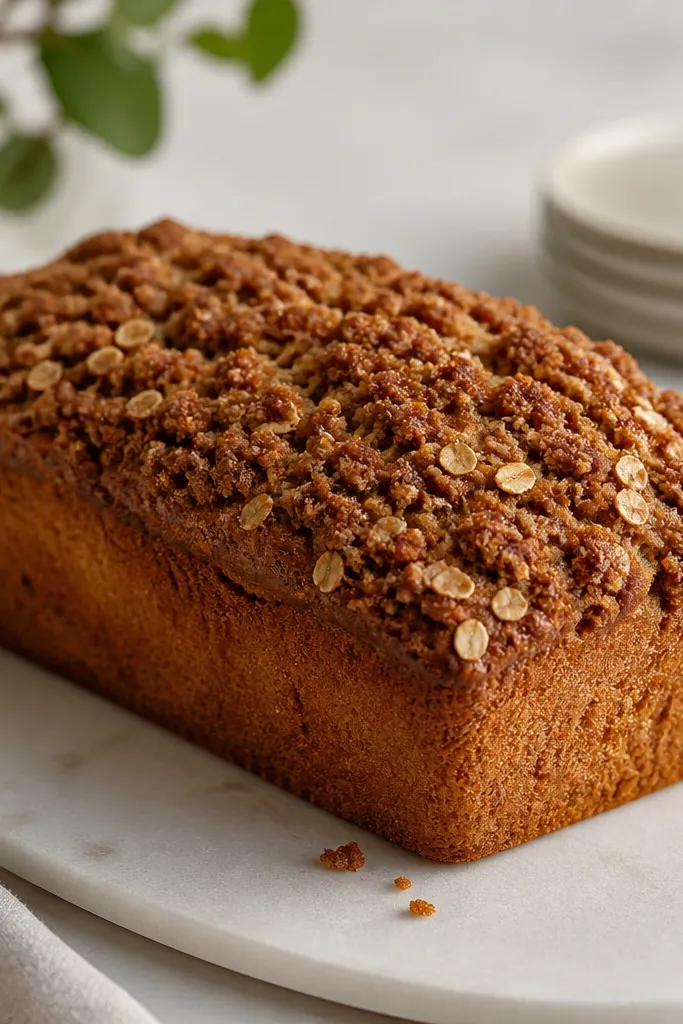
Streusel makes the top look bakery-made, but it has to be thick enough to stay. Brown sugar gives a deeper color than white, and oats add a sandy texture that bakes into a crisp layer. The contrast between crumb and streusel makes the loaf look layered even though it's one bake.
Mix 1/3 cup flour, 1/3 cup brown sugar, 2 tablespoons melted coconut oil, and 1/4 cup rolled oats. Pinch until clumpy. Spread streusel over batter just before baking, then bake at 350°F and rotate halfway.
Try thisPress streusel down lightly with your fingertips so it bonds to the batter surface.
One warningAvoid thin streusel - it melts away and leaves bald patches.
9. Plant Milk Parchment-Lift for a Pretty Bottom
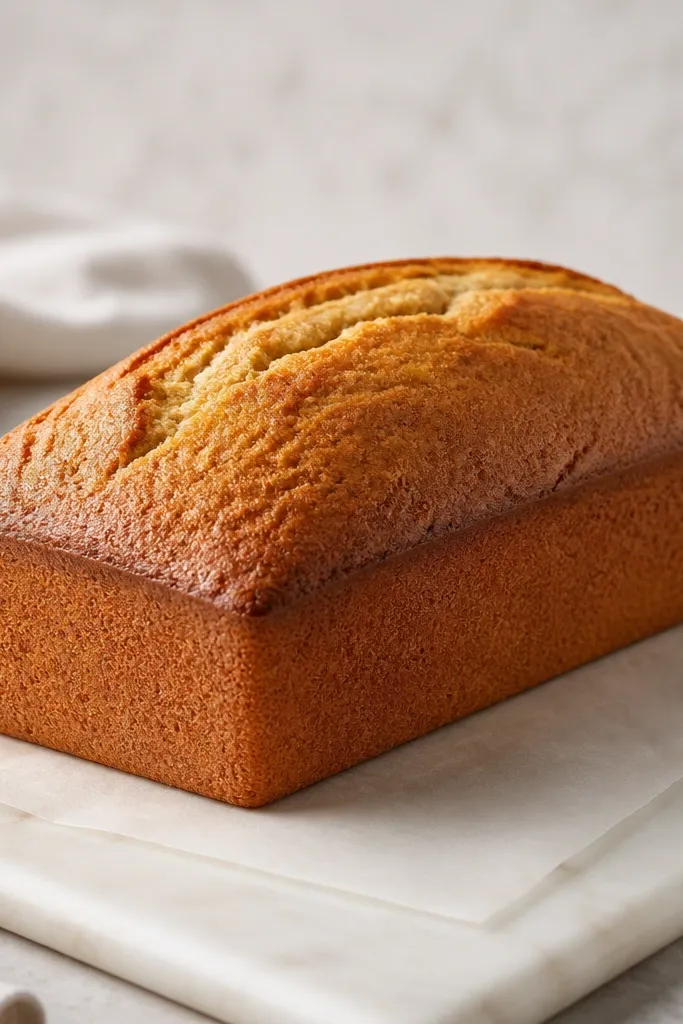
A clean bottom matters when you're photographing or serving. Parchment prevents sticking and keeps the crust looking intact all the way around. It also makes unmolding faster in rentals where you don't have fancy nonstick pans.
Cut parchment for the bottom and sides, leaving enough overhang to lift. Grease the pan first with a thin swipe of oil, then set parchment. Pour batter, bake, then lift out using the overhang after 15 minutes.
Try thisTear parchment slightly at the corners - it lays flatter and reduces wrinkles.
One warningDon't skip greasing - parchment alone can still stick at the edges in a rental pan.