1. Brown-Butter Gloss Top Loaf
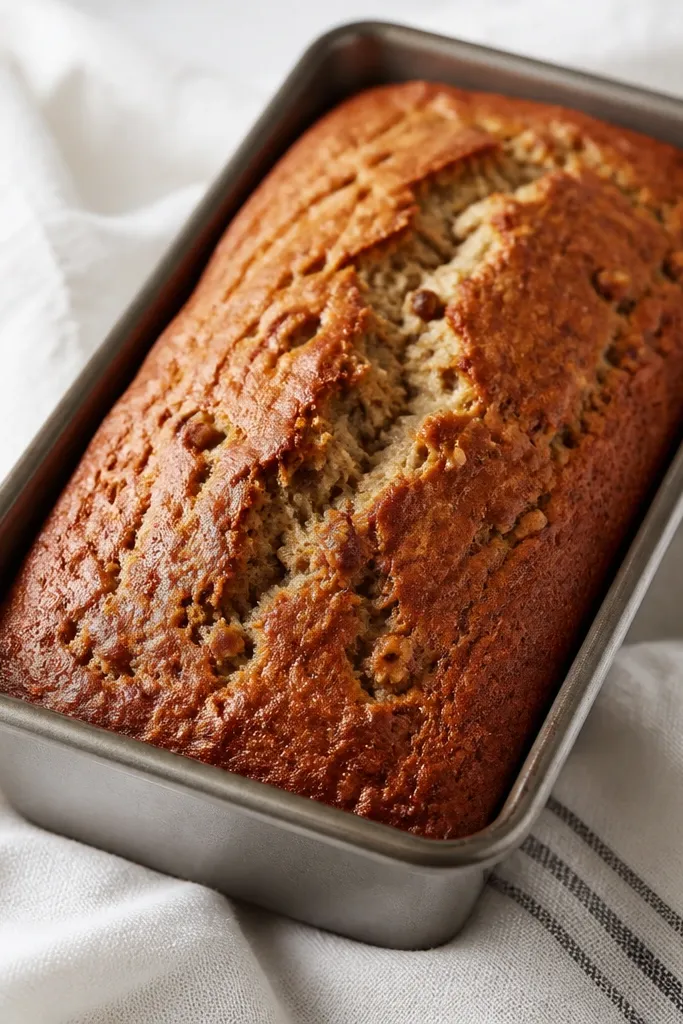
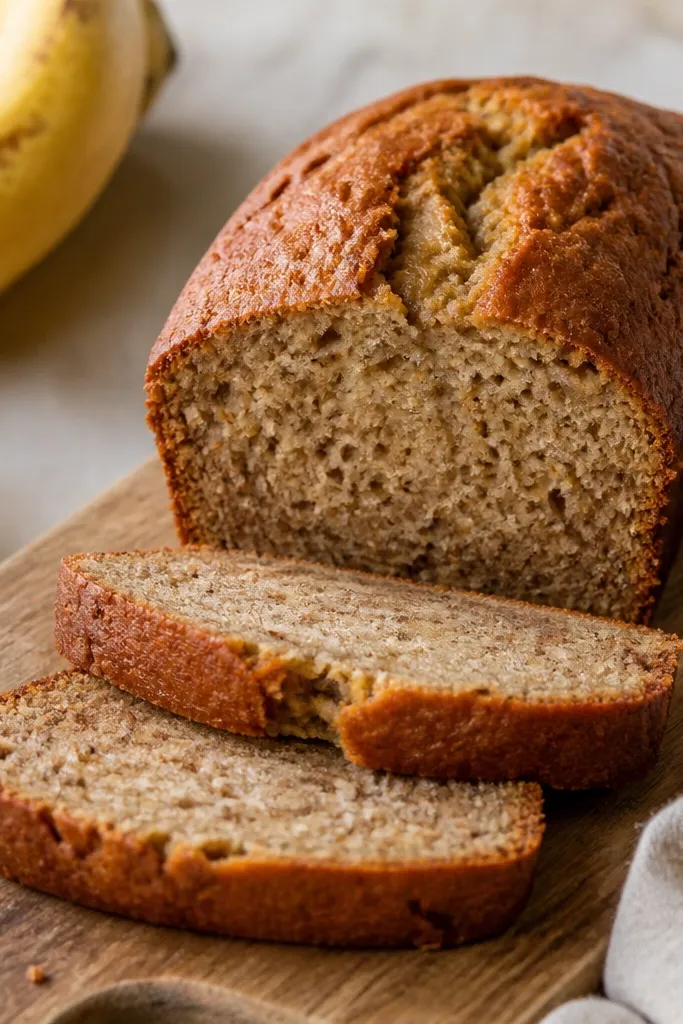
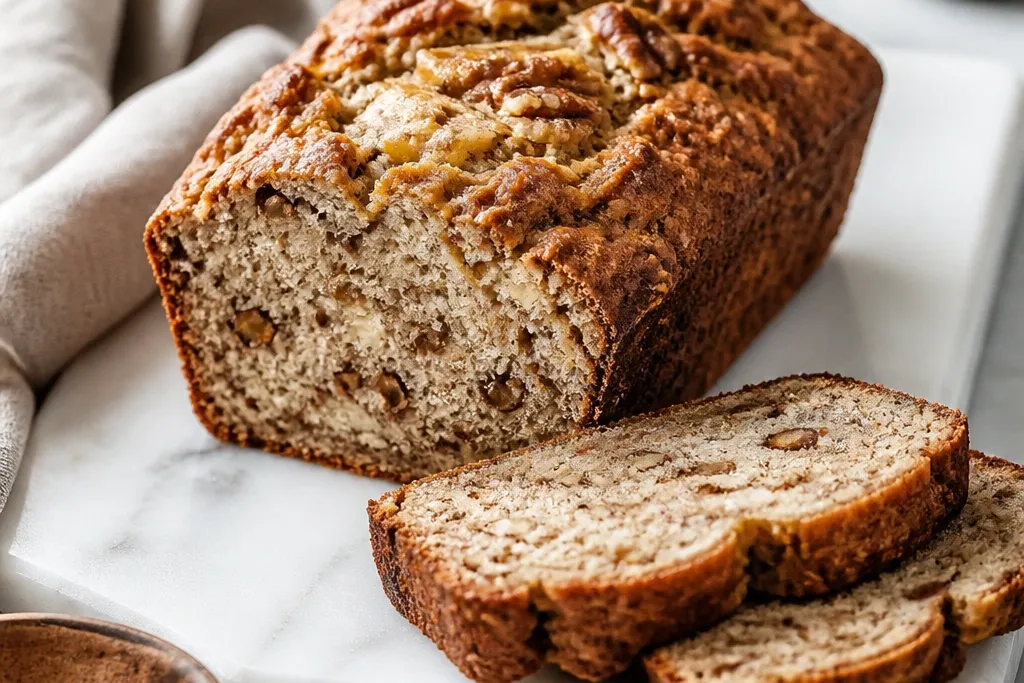
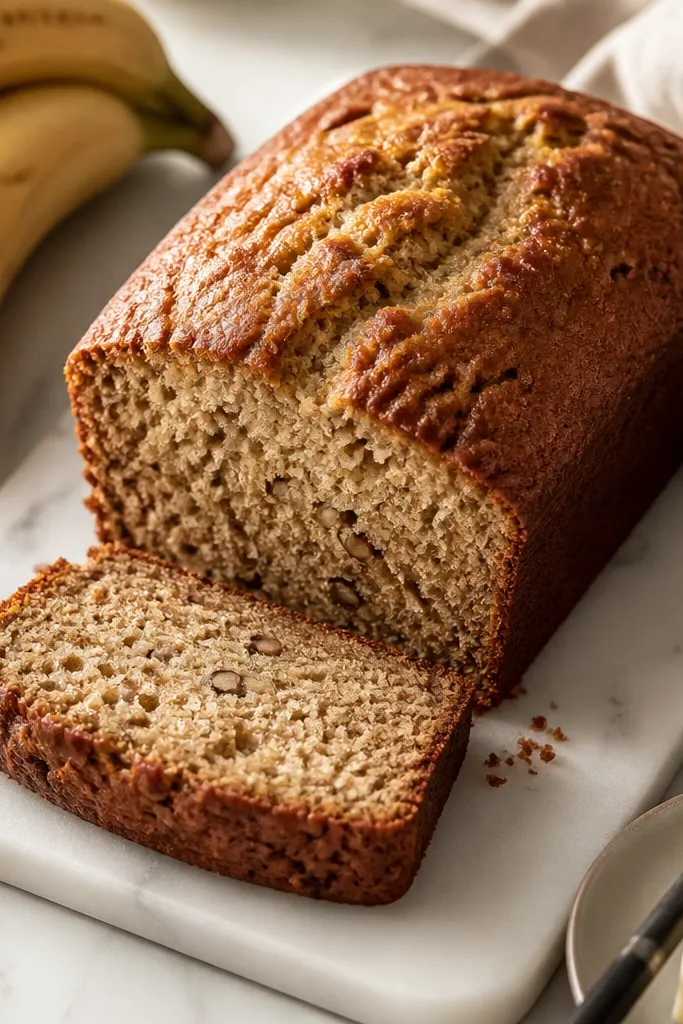
Brown butter adds a deeper caramel color and a thin sheen that looks bakery-made. When you pour cooled brown butter into the wet ingredients, the fat coats the batter and helps the top set with a glossy finish. This is the closest look I've gotten to "luxe" with a simple shortcut.
Toast 1/2 to 3/4 cup chopped walnuts or pecans in a dry pan for 4-6 minutes, then cool. Brown 6 tablespoons butter until it smells nutty and turns amber, cool 5 minutes, and whisk into the banana mixture. Bake in a standard 9x5 loaf pan for even browning.
Try thisBrush the hot loaf top with 1 teaspoon melted butter right after it comes out for extra shine.
One warningSkip cold butter chunks - they melt unevenly and leave dull spots.
2. Vanilla Bean Speckled Crumb
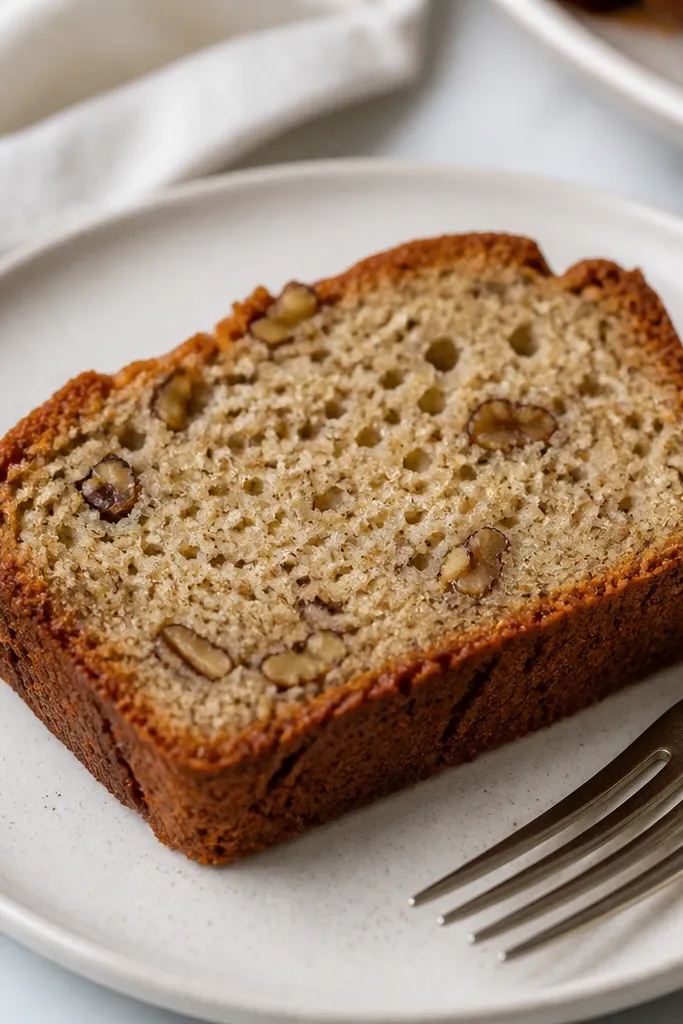
Vanilla bean makes the loaf look more "high end" because the specks read as intentional, not accidental. The flavor also tightens the banana taste so it doesn't feel flat. I like it with toasted pecans because the warm vanilla and nut oils smell like bakery counters.
Use 1/2 teaspoon vanilla bean paste or scrape 1/2 vanilla bean into the wet banana mixture. Add the vanilla with the eggs and melted butter so it disperses evenly. Chop nuts fairly small (about 1/4-inch) so they distribute through each slice.
Try thisSprinkle 1 tablespoon extra chopped nuts on top before baking so each slice shows a few crunchy bits.
One warningDon't use vanilla extract alone if you want that visual speckle - the paste or bean gives you the look.
3. Toasted Nut Crunch Veins
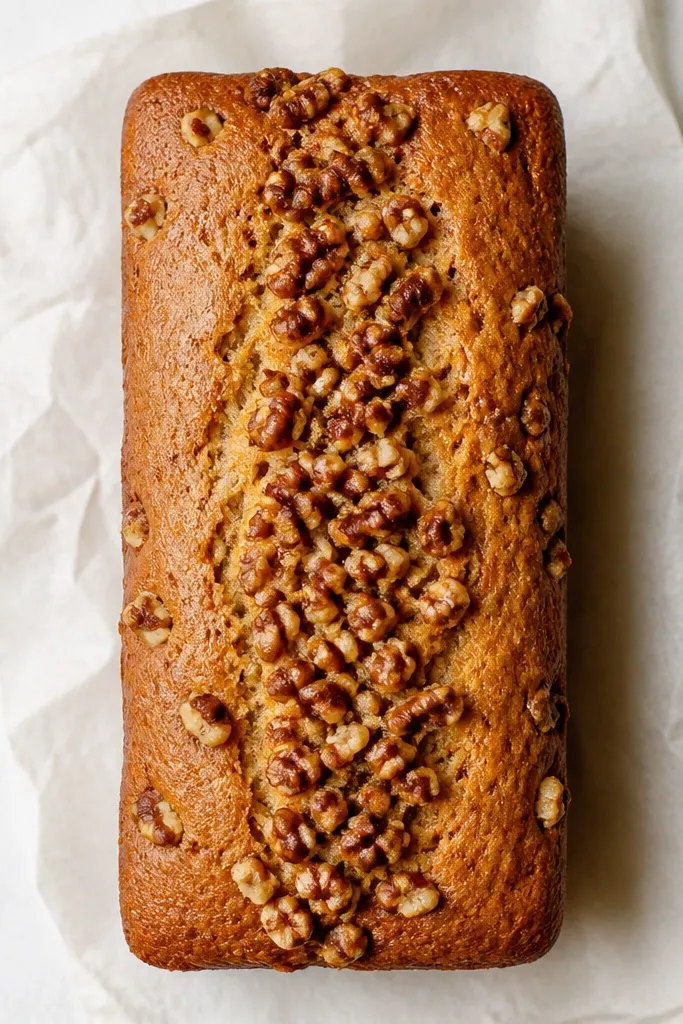
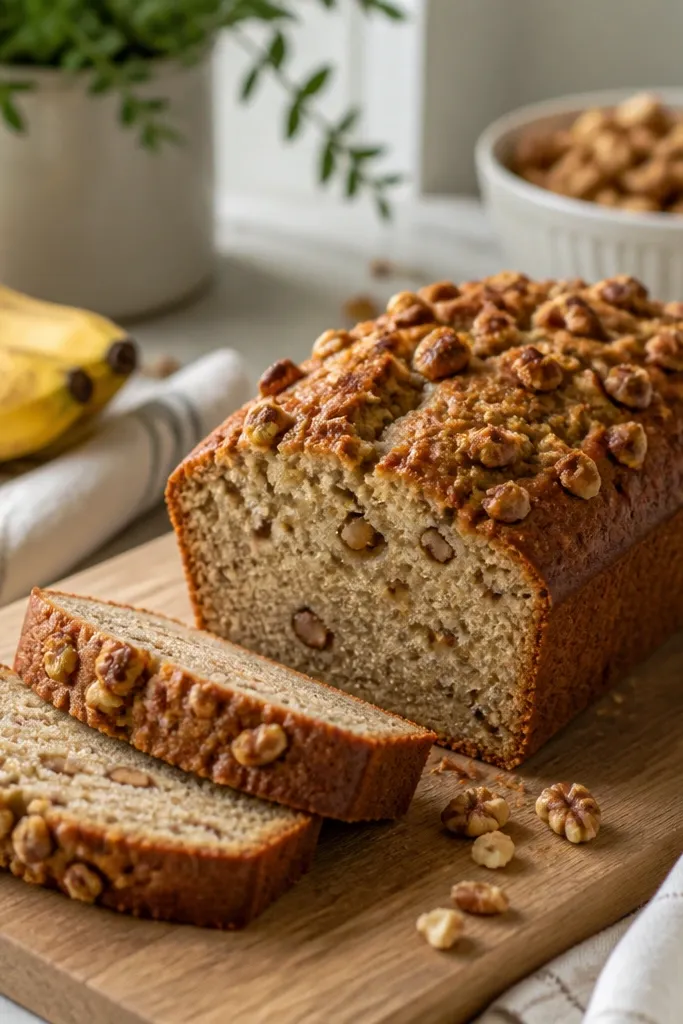
This look comes from adding most of the nuts to the batter and reserving a strip of nuts for the top. The reserved nuts toast in place and form a crunchy "vein" that makes the loaf look styled. It also gives texture where your first bite lands.
Toast nuts first. Stir half into the batter, then press the remaining half onto the top in a straight line down the center. Use lightly moistened fingers or a spoon dipped in batter to help the nuts stick.
Try thisIf the top nuts start to brown too fast, tent with foil after 25-30 minutes.
One warningAvoid raw nuts - they soften and the top looks muddy instead of crisp.
4. Sparkle Sugar Crust
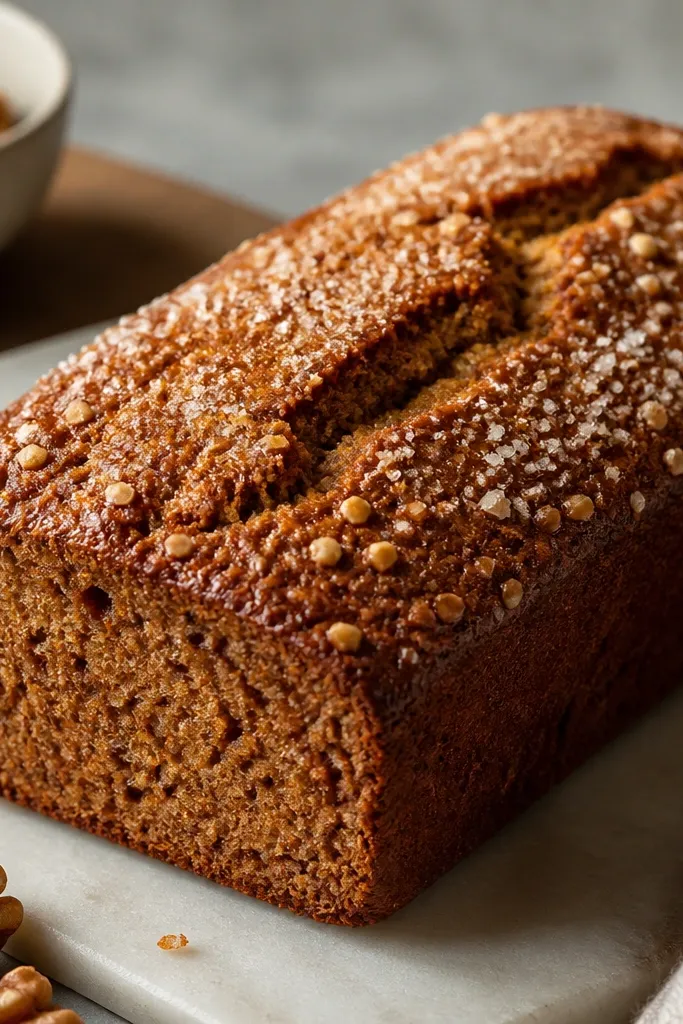
Coarse sugar gives you a crackly, high-end crust that looks like quick bakery finishing. The crystals melt slightly and then re-set as the loaf bakes, creating a subtle crunch. It also makes the top color look richer without burning.
Brush the top with 1 tablespoon milk or melted butter before baking. Sprinkle 1-2 tablespoons coarse sugar (like turbinado) evenly. Bake as directed and keep the loaf pan in the center rack for steady heat.
Try thisUse coarse sugar, not granulated - granulated disappears and the top looks plain.
One warningDon't overdo the sugar - a heavy layer can make the crust too hard to slice.
5. Thick-Cut Brunch Slices on Marble
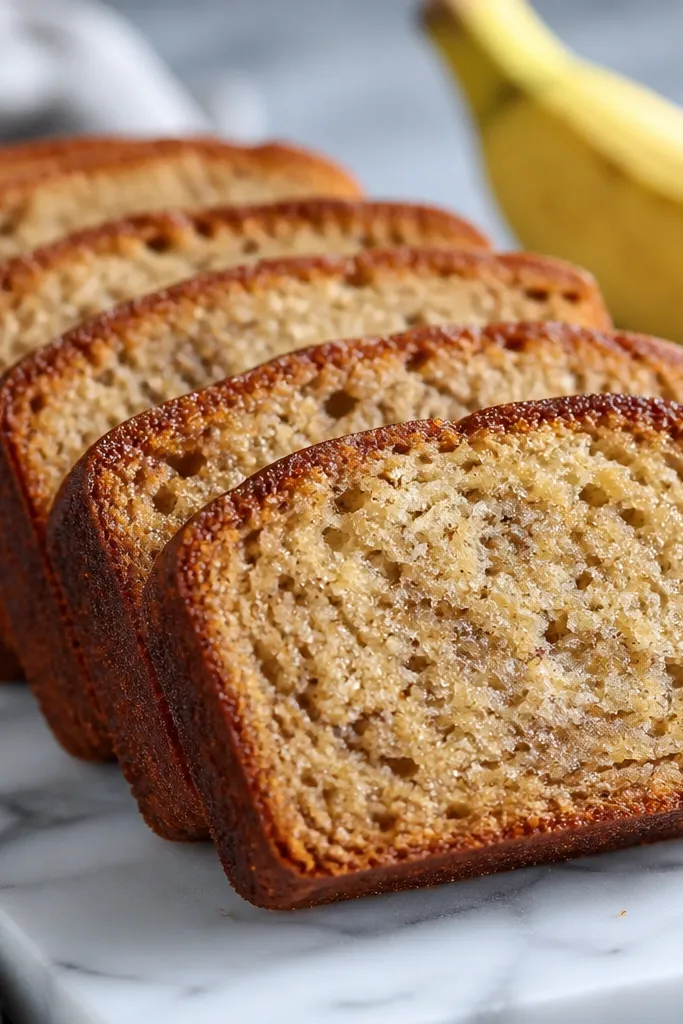
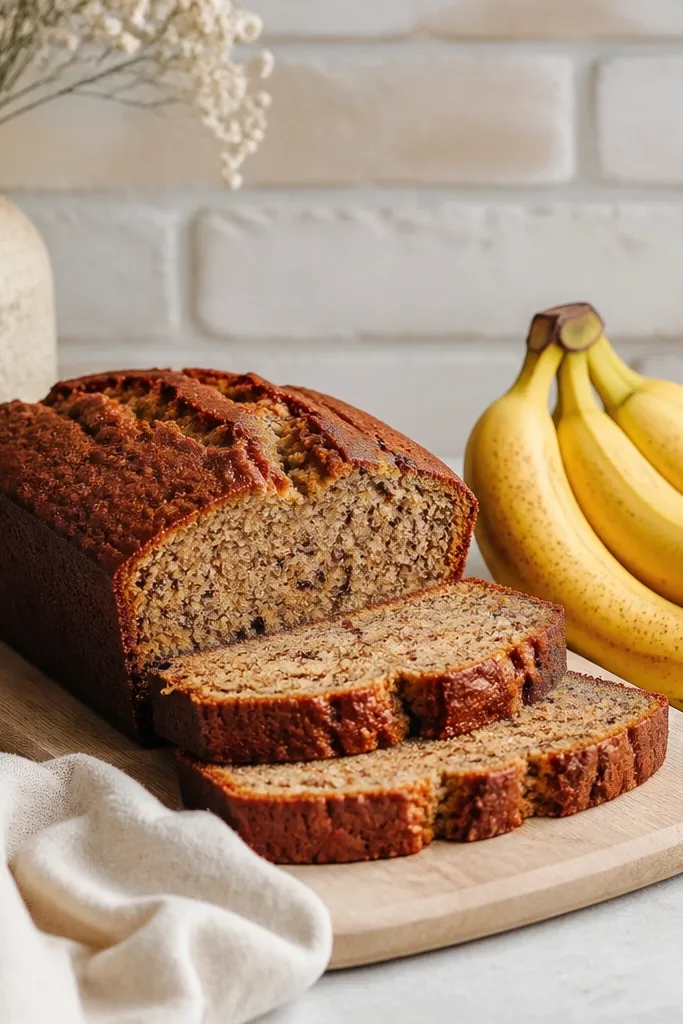
The "luxe" look in real life is often about the slice. Thick cuts show a tender crumb and a clean interior structure, which makes the bread feel bakery-quality. Marble also cools the slice just enough to keep it from steaming and smearing.
Cool the loaf 20 minutes, then slice with a serrated knife using a sawing motion instead of pressing. Cut 3/4-inch thick for that sturdy brunch presentation. Arrange slices with a slight gap so the crust doesn't steam and soften.
Try thisWipe your knife blade between cuts for cleaner edges.
One warningSkip slicing while the loaf is still hot - steam wrecks the crumb and makes it look underbaked.
6. Mini Loaves for Giftable Plates
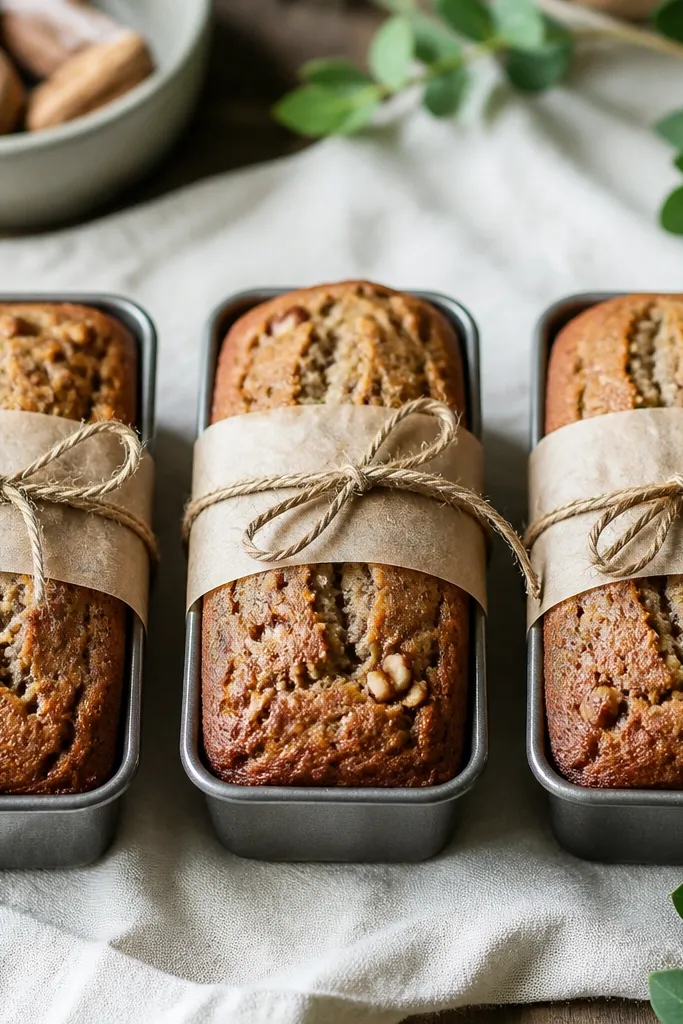
Mini loaves look expensive because they feel intentional and portioned. You also get faster baking and more caramelized edges. When I've brought these to brunch, people pick them up like pastries, not like a casual loaf.
Use a mini loaf pan (about 5x3 inches each). Divide batter evenly and bake at 350°F until centers hit 200°F, usually 20-28 minutes depending on your pans. Wrap in parchment and tie with twine for a clean, no-fuss gift look.
Try thisLet mini loaves cool 10 minutes in the pan, then pop them out to prevent soggy sides.
One warningDon't bake them too long - mini loaves dry fast and the crumb loses that tender texture.
7. Layered Swirl with Nut Butter Ribbon
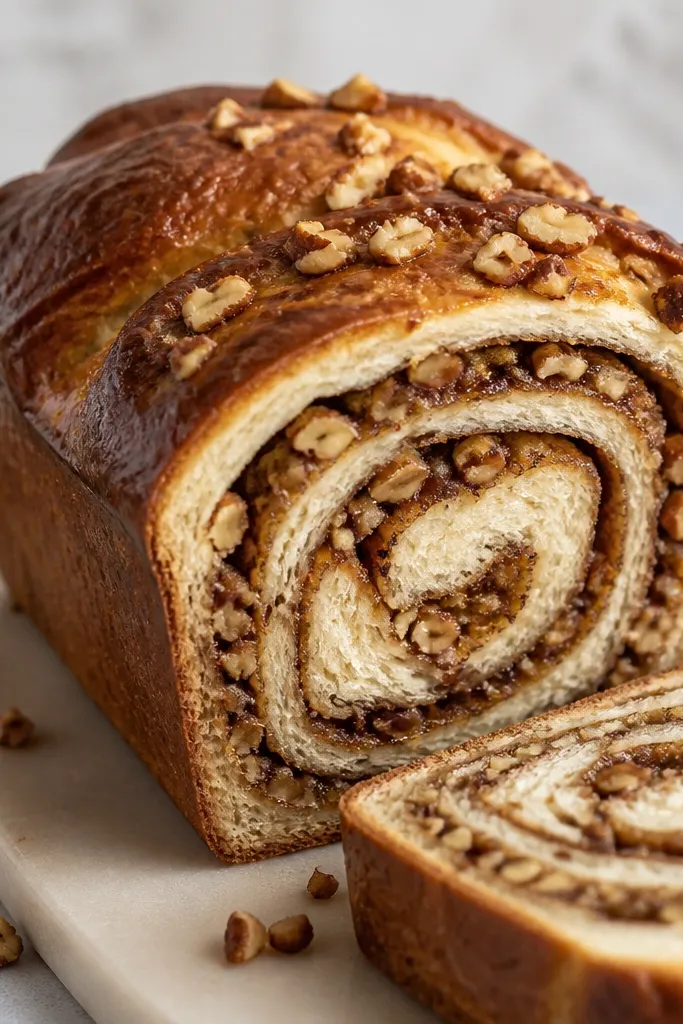
A ribbon of nut butter (like almond or peanut) makes the loaf look like a filled pastry. It also adds fat that keeps the crumb moist and gives you a richer flavor pocket. The swirl catches the light when you slice it, which reads "high end" instantly.
Mix 1/4 cup nut butter with 1 tablespoon melted butter and 1 tablespoon banana mash to loosen it. Pour half the batter into the pan, add the ribbon by spooning it in a thin line, then cover with remaining batter. Swirl lightly with a knife tip so it streaks but doesn't disappear.
Try thisKeep the ribbon thin - about 1/4 inch - so it sets instead of pooling.
One warningAvoid thick nut butter straight from the jar - it sinks and makes gummy pockets.
8. Cinnamon-Cardamom Warm Spice Top
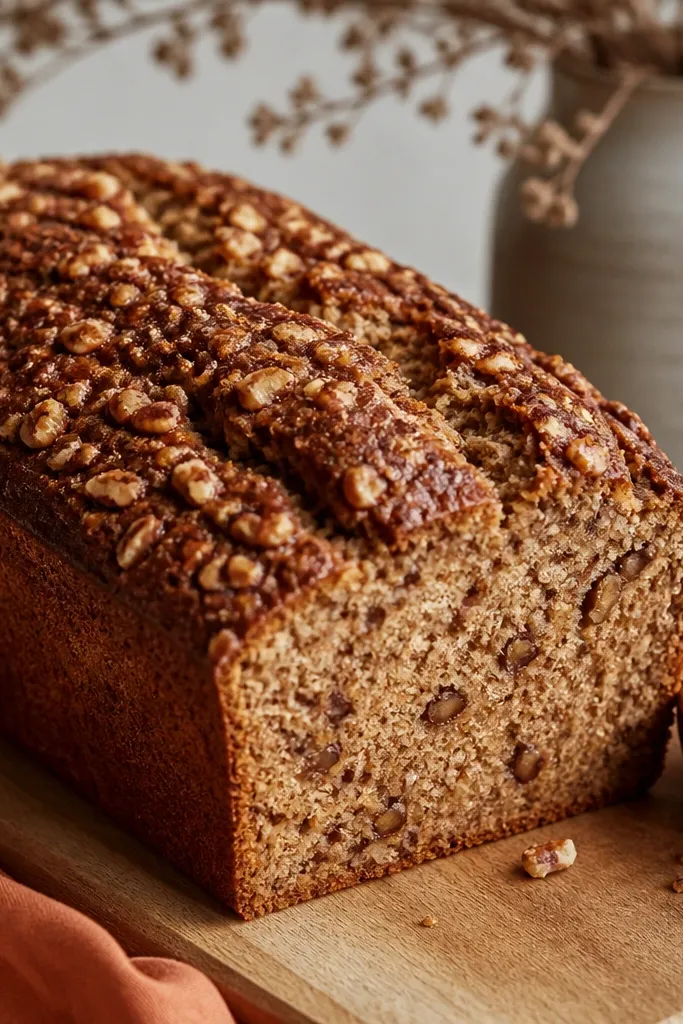
Cinnamon and a pinch of cardamom make banana bread smell like a bakery that also sells pastries. The cardamom gives a slightly floral warmth that makes the flavor feel layered. I use it when I want the bread to taste "luxe" without adding frosting.
Mix 1 teaspoon cinnamon with 1/8 teaspoon ground cardamom and sprinkle it over the top batter before baking. If your bananas are extra sweet, use only 3/4 teaspoon cinnamon. Keep the oven at 350°F so the spices toast without turning bitter.
Try thisDust a tiny pinch of cinnamon on the sliced top right before serving for a fresh smell.
One warningSkip nutmeg heavy-handed - it can turn the loaf into candy spice instead of warm bakery spice.
9. Simple Lemon Glaze Drip
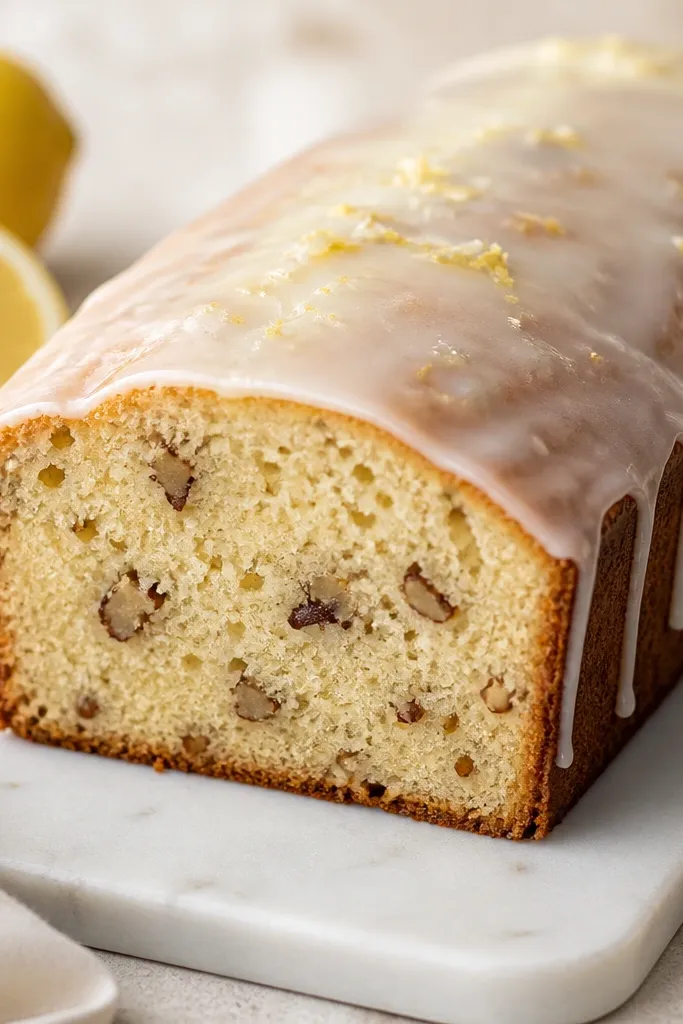
A lemon glaze makes banana bread look polished and bright, which is the easiest upgrade I've found. The acidity balances banana sweetness and helps the flavors taste cleaner. It also gives you a glossy finish that photographs well.
Stir 1/2 cup powdered sugar with 1-2 tablespoons lemon juice until it pours slowly. Drizzle on a cooled loaf (not hot) so it sets in 10-15 minutes. Add a pinch of lemon zest if you want extra aroma.
Try thisGlaze with a spoon over the center - let it run naturally to the edges for a controlled drip.
One warningDon't glaze right out of the oven - it turns watery and soaks into the crust.