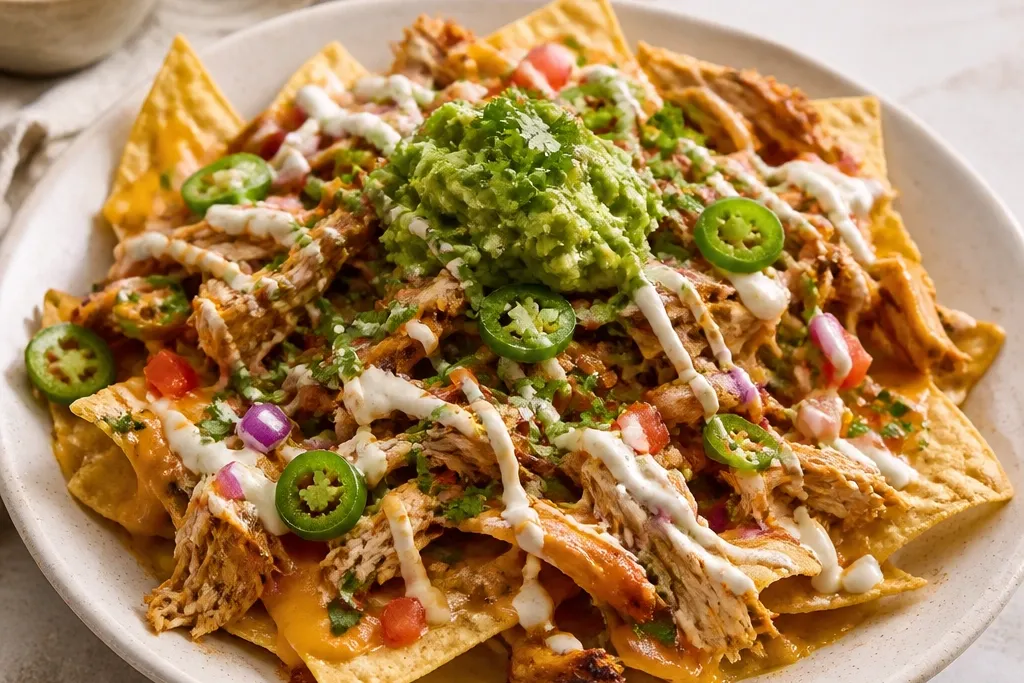
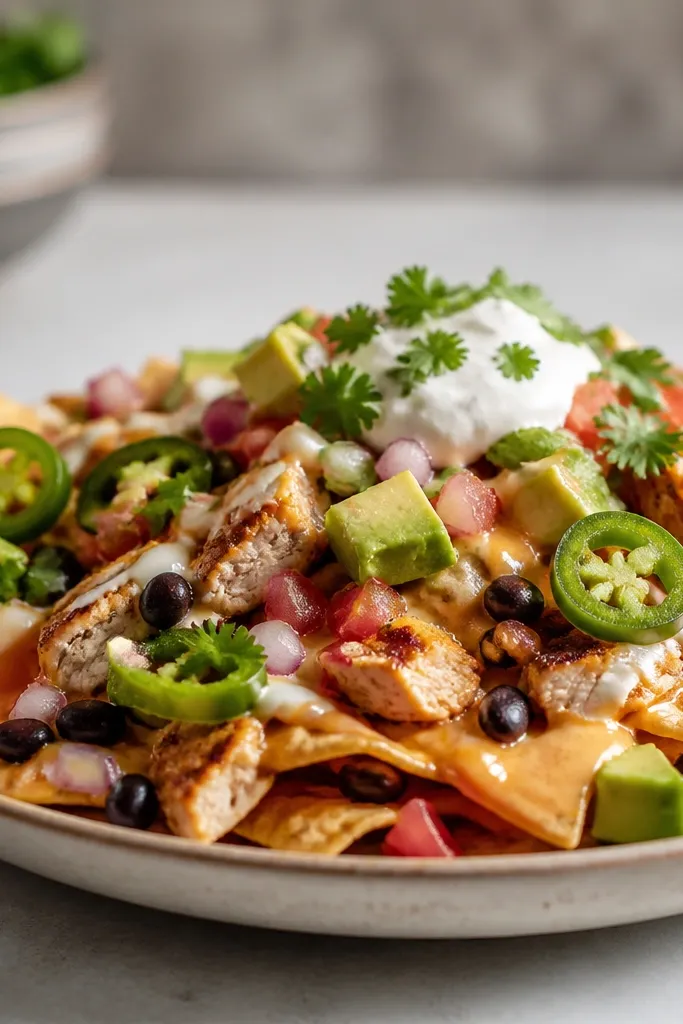
1. Smoky Char Chicken Center Stack
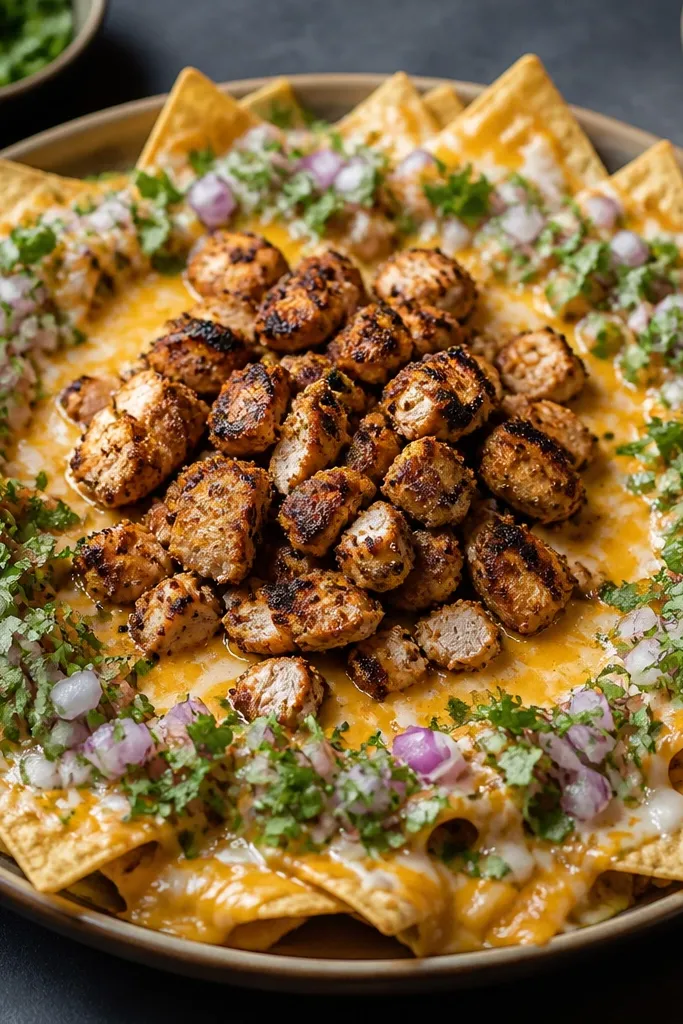
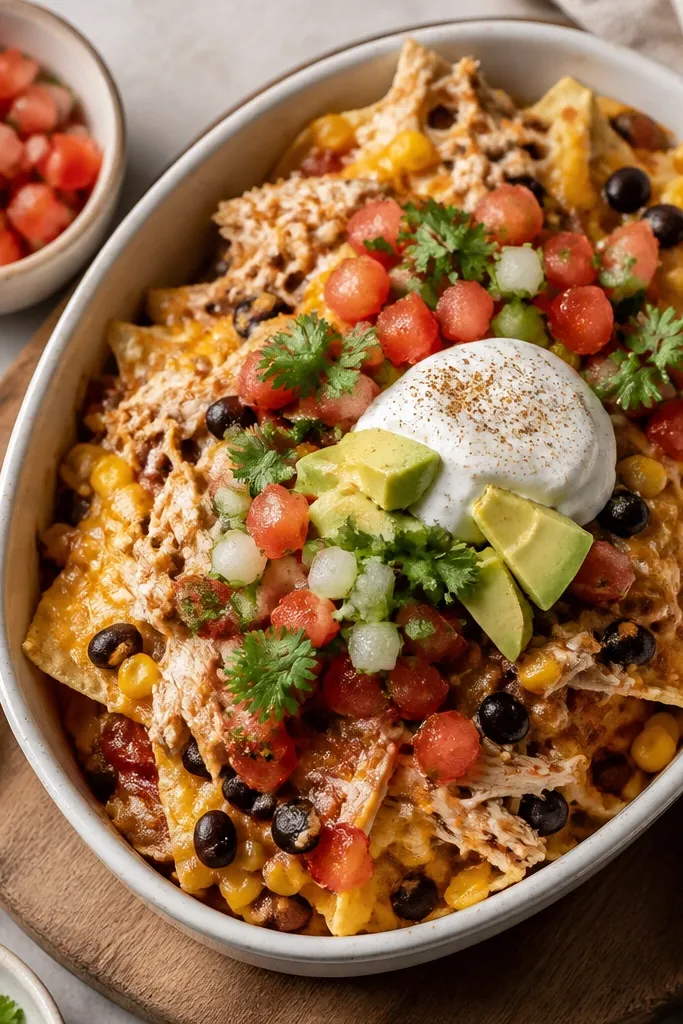
This look is built around a warm center. The chicken sits in a tight mound so the cheese melts downward and makes a glossy, golden pocket, not scattered strings. Charred edges on the chicken read as "restaurant" because you can see the dark crust on the meat.
Use a sheet pan with a rim. Spread tortilla chips in a circle, sprinkle shredded Oaxaca or Monterey Jack cheese first, then pile the chicken in the center so it's higher than the edges by about 1 inch. Top with crema in thin zigzags so it shows through the cheese rather than drowning it.
Try thisServe with a small cup of smoky salsa on the side so people can control heat and moisture.
One warningAvoid dumping wet salsa over everything before baking - it turns the chips dull and soft.
2. Creamy Crema Drip With Blackened Edges
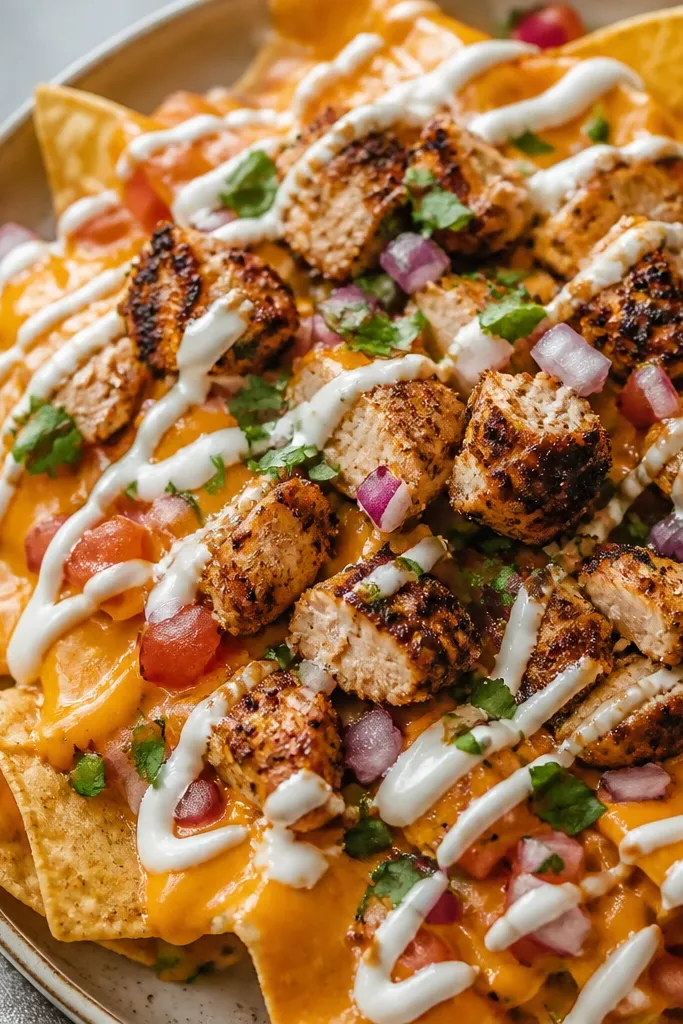
The contrast is the whole point: pale crema over orange cheese, with chicken that has blackened spots. When crema is spread in a drizzle, it creates a clean "luxe" sheen and keeps toppings from sliding off. The blackened edges also make the plate look intentional, not messy.
Make the crema by mixing Mexican crema (or sour cream) with lime zest and a splash of lime juice. Drizzle after the cheese melts, then broil for 30-60 seconds only if you want extra browning on cheese bubbles.
Try thisUse a spoon to drizzle from 6-8 inches above the plate for thin lines instead of blobs.
One warningDon't use watery crema - if it looks thin in the cup, it will run into the chips.
3. Red Onion and Lime Confetti Border
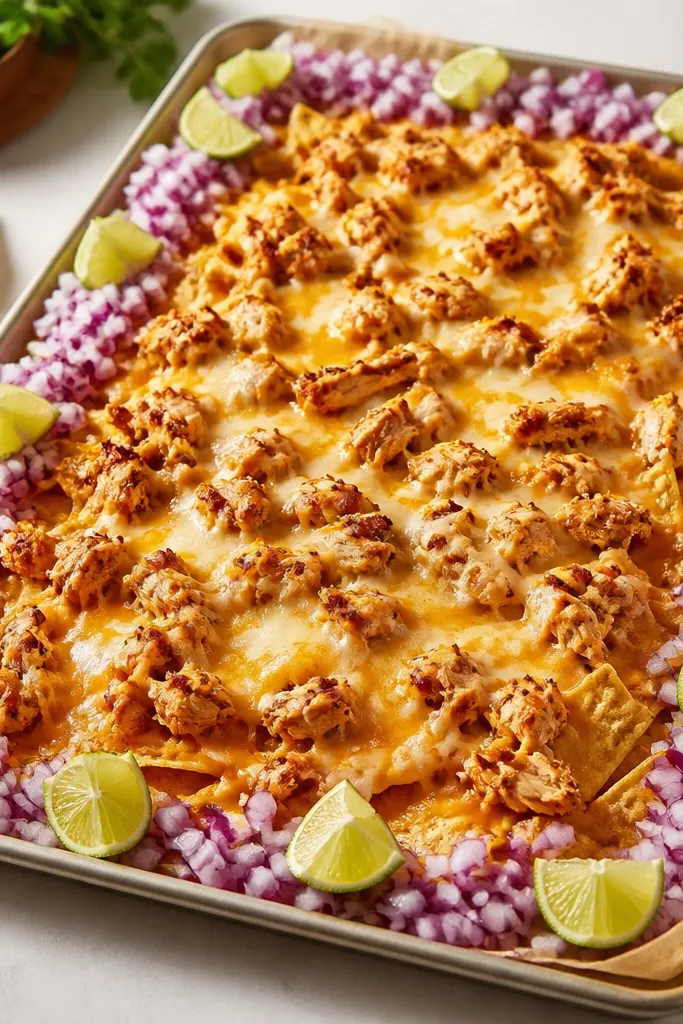
Fresh confetti around the edges makes the whole tray look curated. Red onion adds sharp purple-white contrast, and lime gives a bright, acidic pop that cuts through smoky chicken and cheese. Keeping this topping to the outer rim also protects chips in the middle from getting soggy.
Chop red onion into small dice (about 1/4 inch). Mix it with a pinch of salt and 1 teaspoon of lime juice, then sprinkle mostly at the perimeter. Add cilantro only at the edges too so the center stays glossy and warm.
Try thisLet the onion sit 5 minutes after mixing - it softens just enough to taste sweet, not harsh.
One warningSkip big chunks of onion; they look sloppy and pull moisture into the chips.
4. Charred Corn and Pepper Glaze Top Layer
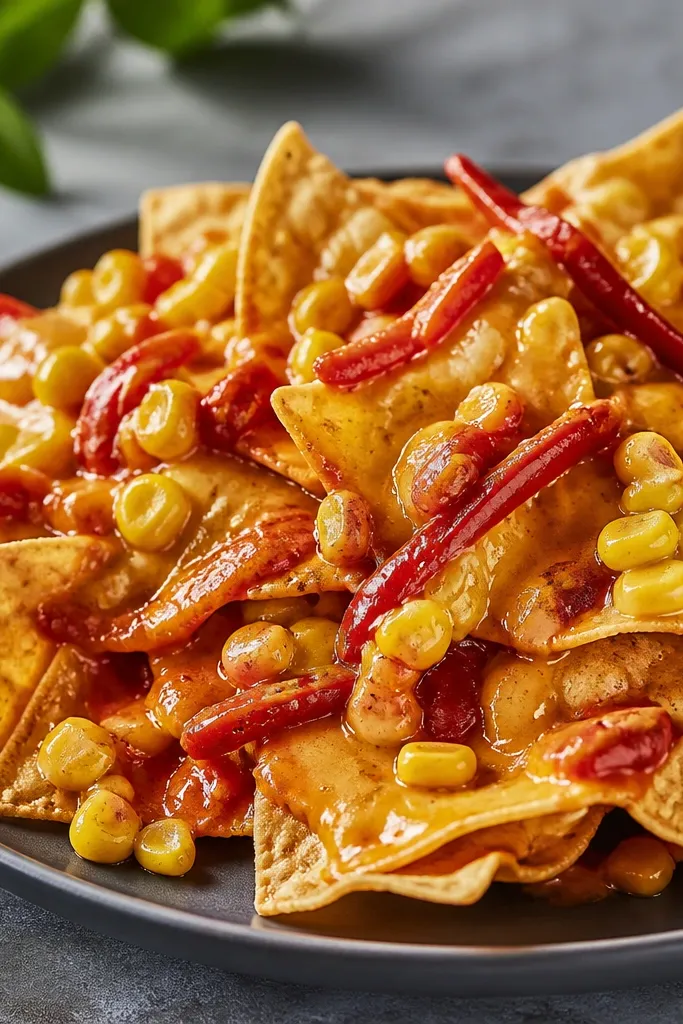
This is the "farmstand" luxe look. Charred corn brings warm yellow sweetness, while poblano adds deep green-brown tones. A light pepper glaze makes everything look lacquered without soaking chips.
Sear corn and poblano in a hot skillet until you see browned edges, then chop. Toss them with a tablespoon of chipotle crema or a thin layer of roasted red pepper sauce so it clings. Add after baking so the color stays vivid.
Try thisUse a pastry brush to spread glaze in thin strokes - it looks like restaurant finishing, not sauce pooling.
One warningDon't add corn before baking; it releases water and makes cheese slide.
5. Tomato Avocado Salsa Verde Mix
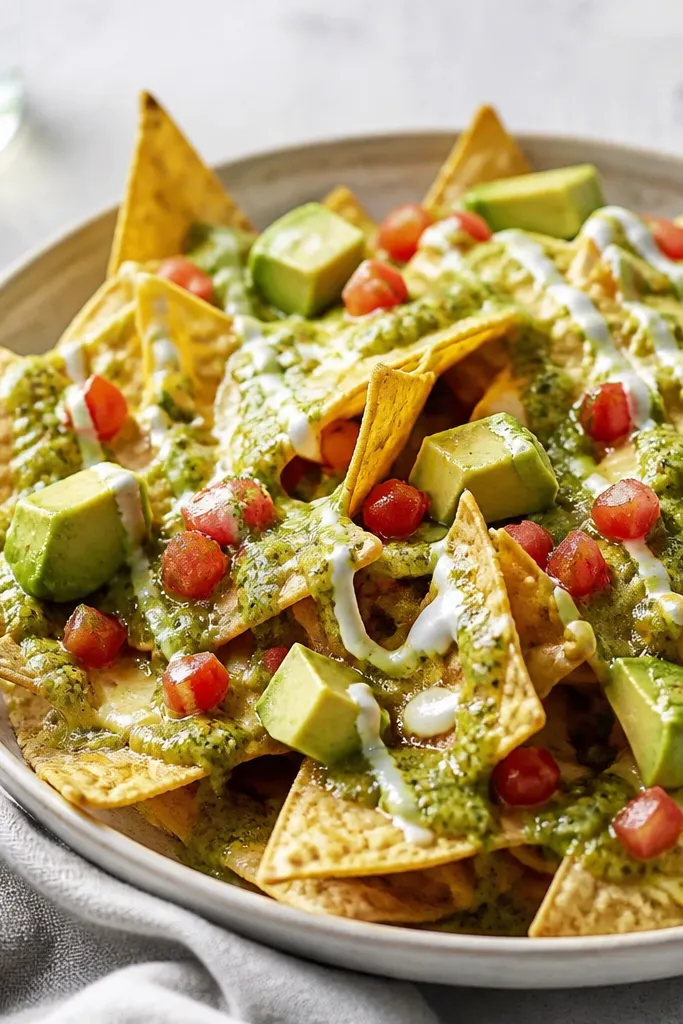
Green and red together looks expensive fast. Salsa verde brings tang and a smooth green sheen, while diced tomato adds bright red pops. Small avocado cubes add creamy texture, and placing them last keeps them from turning brown quickly.
Make a quick salsa: blend tomatillos (or use jarred roasted tomatillo salsa), cilantro, jalapeño, and lime. Dice tomatoes and avocado separately. Drizzle salsa verde right after cheese melts, then add avocado cubes at the end.
Try thisToss avocado cubes with a teaspoon of lime juice and a pinch of salt right before serving.
One warningAvoid mixing avocado into hot salsa - it turns mushy and dull.
6. Pickled Jalapeño + Lime Zest Finish
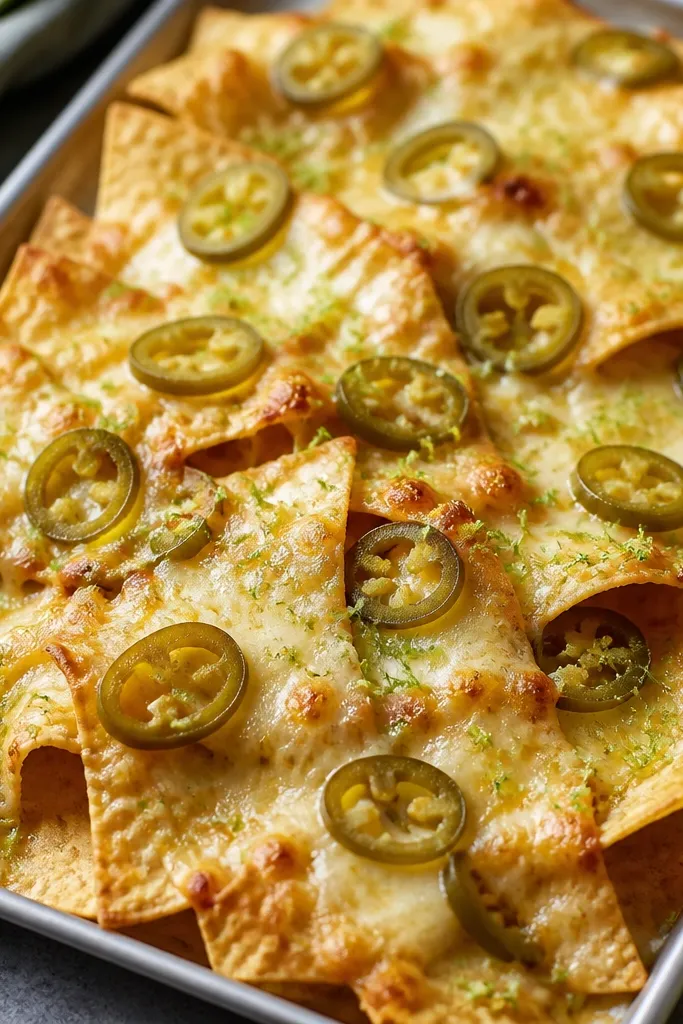
Pickled jalapeños add sharp acidity and a glossy red-green look. Lime zest looks like tiny confetti and makes the plate feel fresh even when the base is smoky. This combo gives you that "high-end snack bar" vibe because the finish is bright and precise.
Slice pickled jalapeños thin. Sprinkle them on after baking, then add lime zest with a microplane held close to the tray so it forms a light dusting. Keep it to a thin layer so it doesn't overwhelm the chicken.
Try thisUse gloves when zesting jalapeños or handling peppers so your hands don't transfer heat to everything you touch.
One warningSkip raw jalapeño rings on hot nachos - they taste harsh and look watery.
7. Oaxaca Cheese Pull Effect
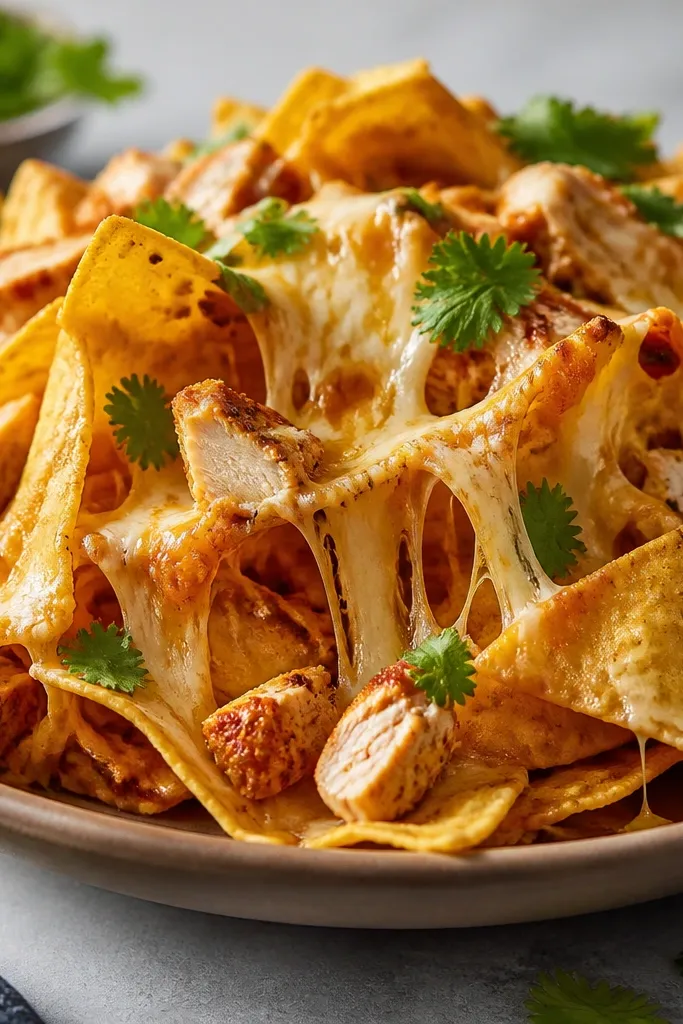
Stretchy cheese reads "fresh and hot" in a way shredded Monterey doesn't. Oaxaca cheese melts into longer strands, so when you pull a chip, it looks dramatic without extra effort. It also browns at the edges, giving you that golden fleck look.
Use Oaxaca or a blend that includes it. Layer cheese first so it melts and binds the chips, then add chicken pieces. Bake until you see melted cheese bubbling around the chips, then broil briefly for color.
Try thisLet the tray rest 2 minutes before serving so the cheese sets slightly and doesn't slide off.
One warningDon't overload with cheese - heavy piles sink into chips and make them taste oily.
8. Green Herb and Crumbled Queso Fresco Crown
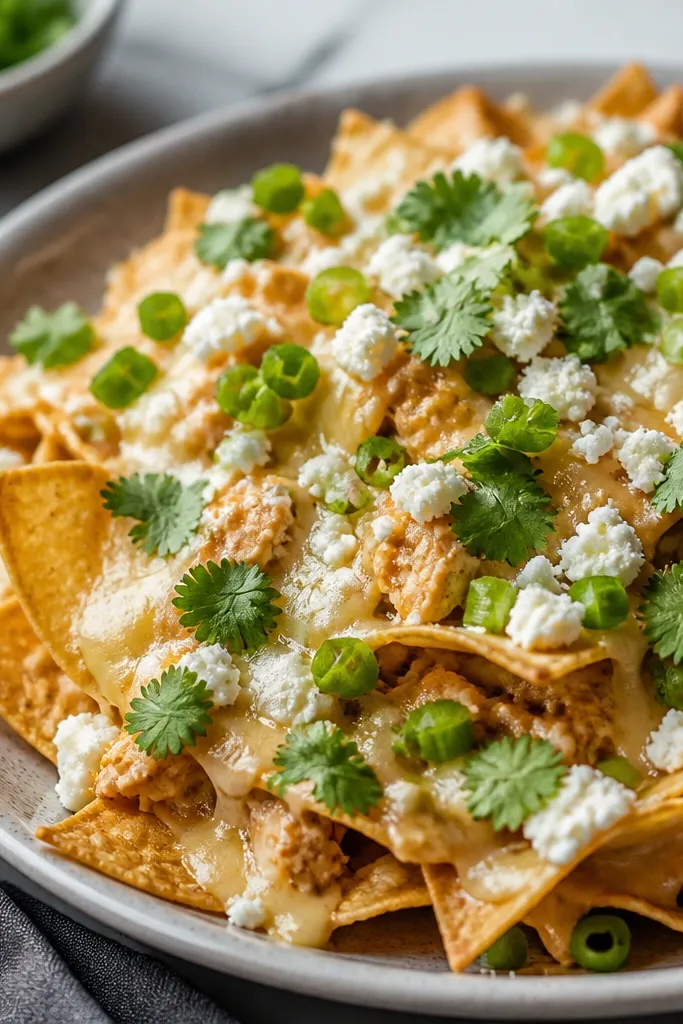
Queso fresco makes a matte, snowy contrast against glossy melted cheese. Crumbles look intentional and give you a dry-dairy bite that balances smoky chicken. Fresh herbs on top add a clean green crown without needing extra sauce.
Crush queso fresco with your fingers into small flakes, not big chunks. Sprinkle over hot nachos right after the cheese melts, then add cilantro and scallions. Keep herbs light so they stay bright instead of wilting into the cheese.
Try thisMix queso fresco with a pinch of smoked salt so it tastes richer without adding more sauce.
One warningDon't drown queso fresco under crema - it turns into a wet paste.
9. Black Garlic Chipotle Mayo Zigzags
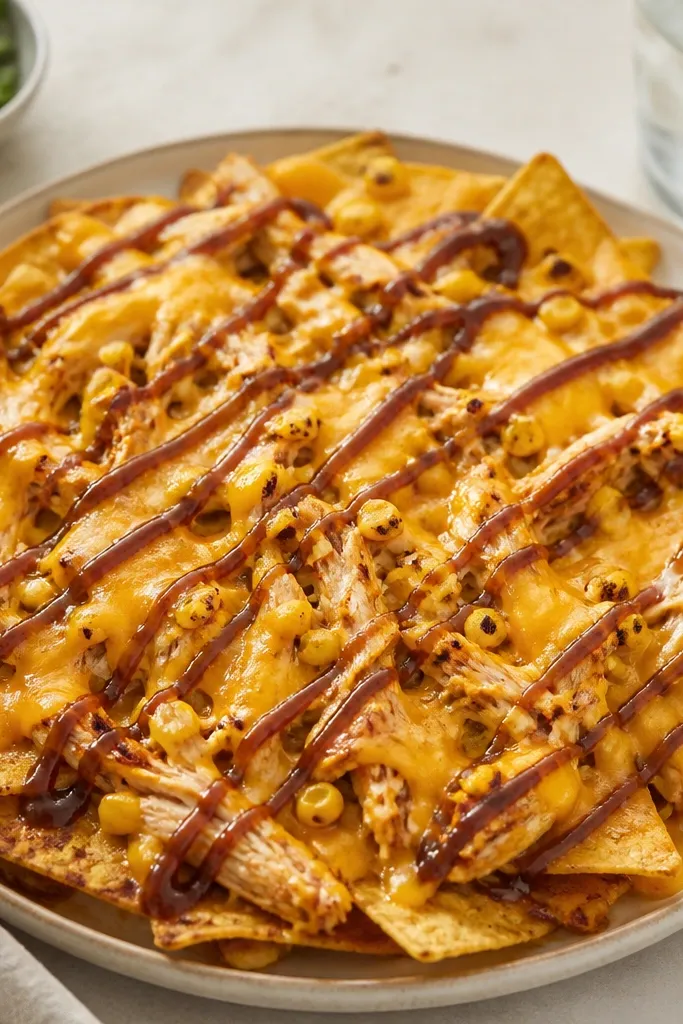
Dark sauce lines look high-end because they're graphic. Chipotle mayo adds smoky heat and a thick texture that clings to chips without running. Black garlic (even in small amounts) makes the flavor deeper and the color almost mahogany.
Stir mayo with chipotle in adobo and a tiny pinch of black garlic powder or minced black garlic. Use a squeeze bottle or a spoon for zigzags. Apply after baking so the sauce stays glossy and doesn't evaporate.
Try thisStart with 2 tablespoons sauce per tray, then add more only if the chicken looks dry.
One warningAvoid thin hot sauce for zigzags - it spreads and smears instead of holding lines.
10. Crisp Chicken Edge Scatter With Pickled Onion
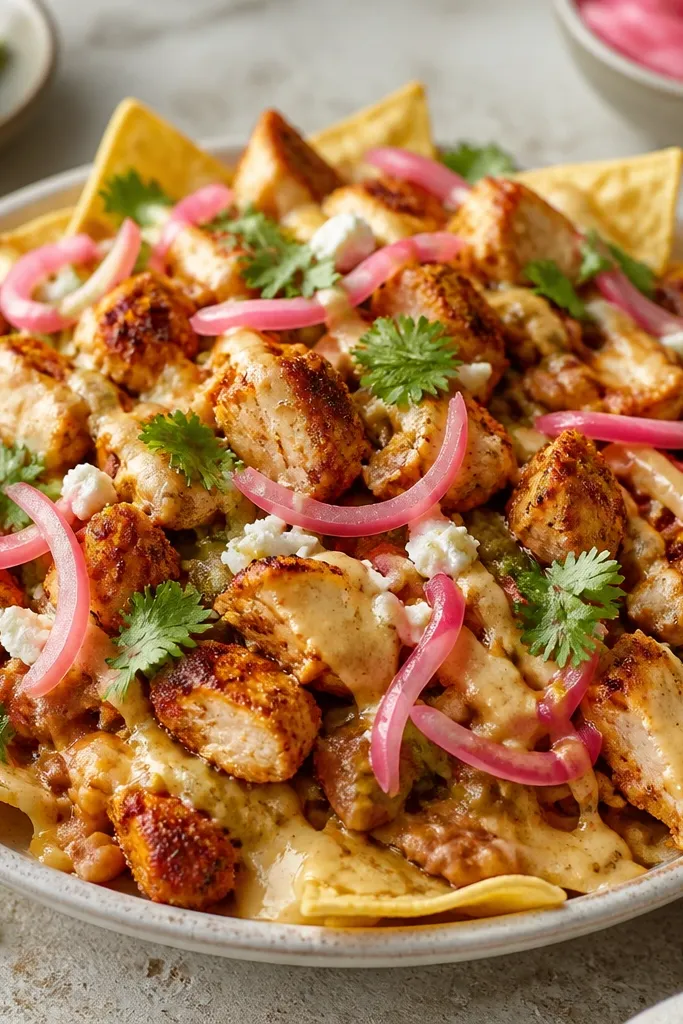
This look is all about texture. When chicken has crisp edges and you scatter it rather than pile it, each bite has smoky crunch. Pickled onion adds a translucent pink shine that pops against orange cheese.
Cut chicken into bite-size chunks so the char spreads across more surface area. Toss pickled onion lightly so it doesn't soak the tray, then sprinkle after baking. Finish with cilantro leaves just before serving.
Try thisIf the chicken looks too wet, pat it dry before searing so you get real browning.
One warningSkip pre-mixed toppings that are wet - they make the whole tray look tired.