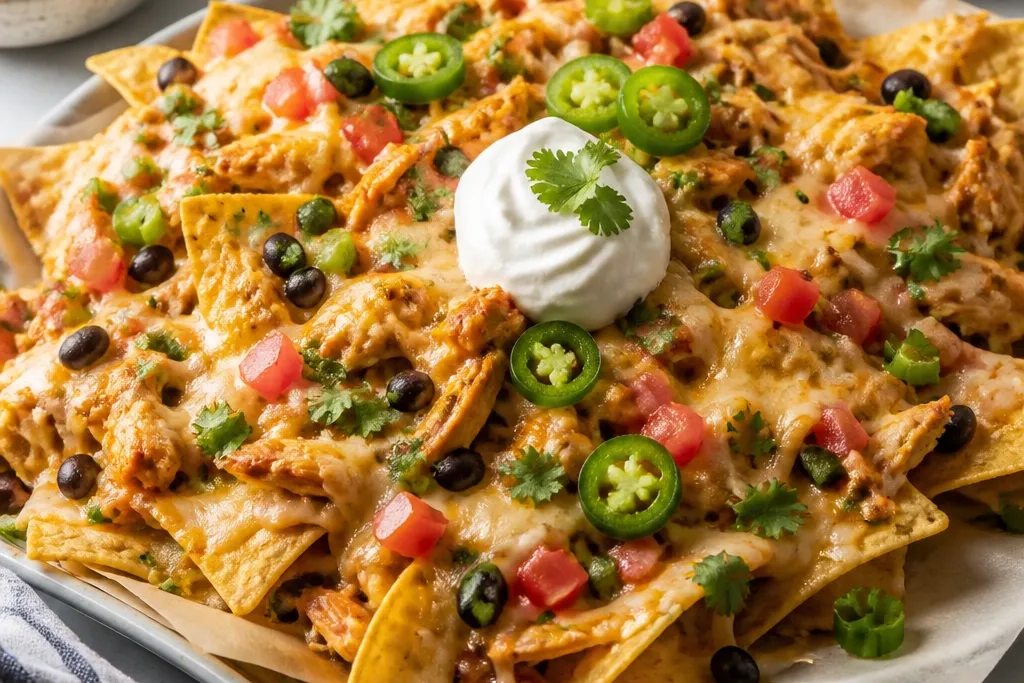
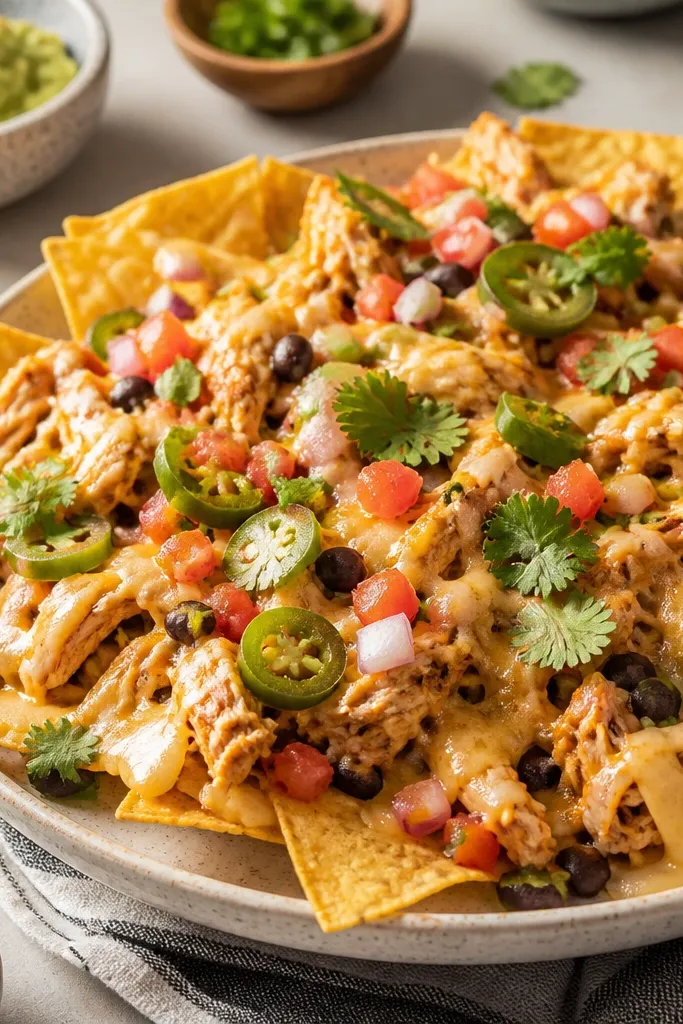
1. Crisp Chip Base With a Clean Edge Grid
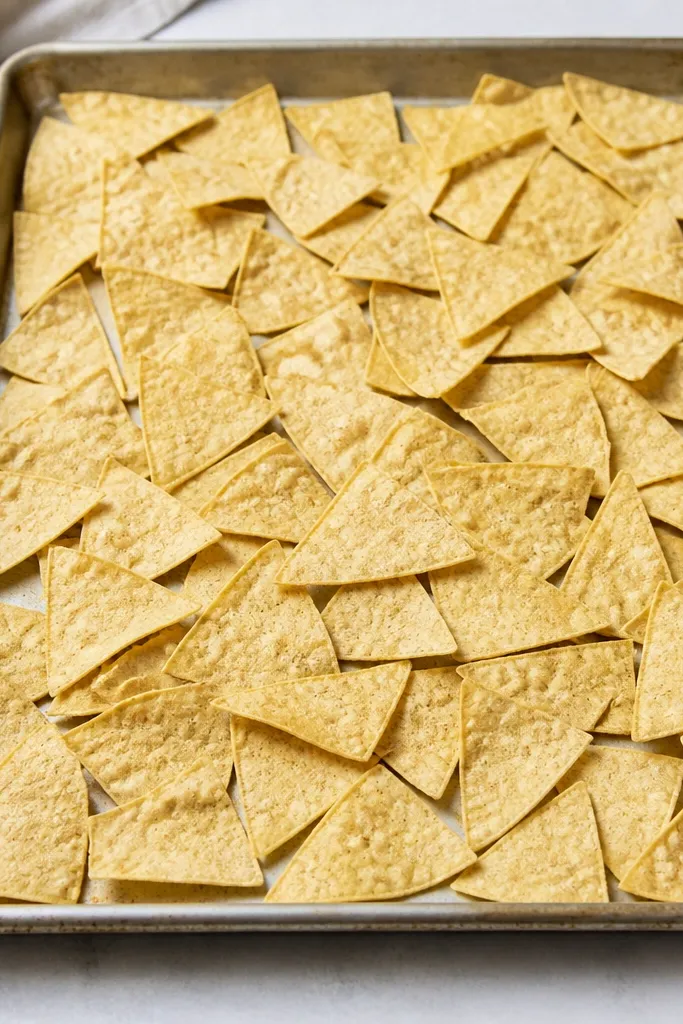
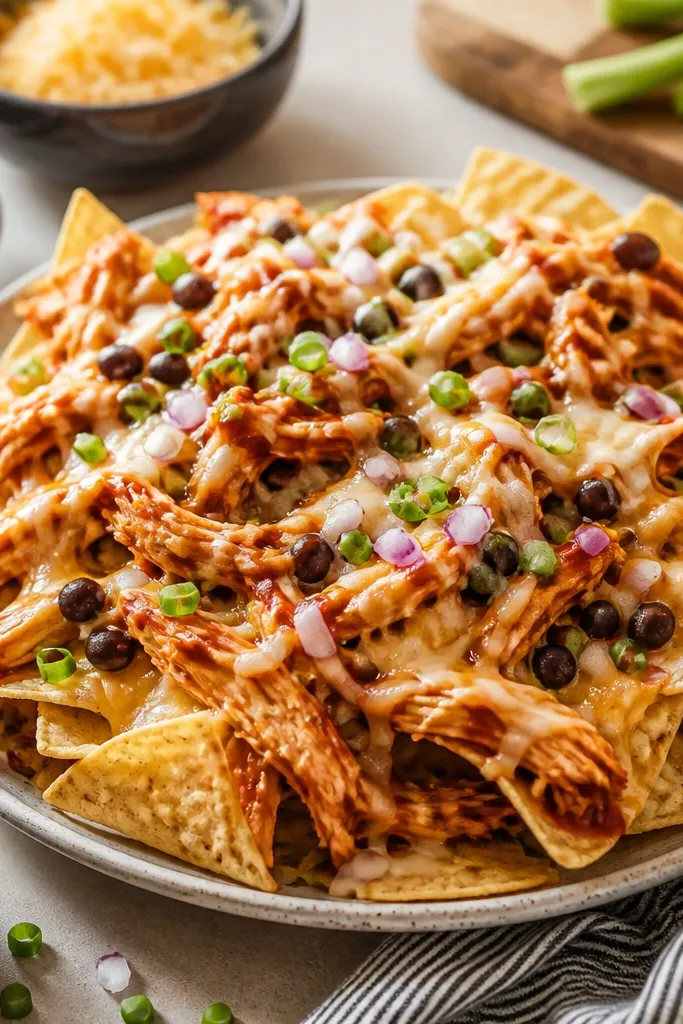
This look is the foundation. Chips in a single layer let hot air circulate, so you get browned edges instead of a soft blanket. I like the chips to cover the pan like a mosaic - gaps are fine, but big piles are not.
Spread chips right after you open the bag so they're not stale or oily. Use a 18x13-inch sheet pan and aim for chips to sit in one layer, not stacked. If you have to crowd, use two pans instead of overloading one.
Try thisShake the pan once halfway through the first bake so the chips brown evenly.
One warningAvoid piling chips deep - the center steams and goes chewy.
2. Two-Stage Bake for Crisp-to-Melt Contrast
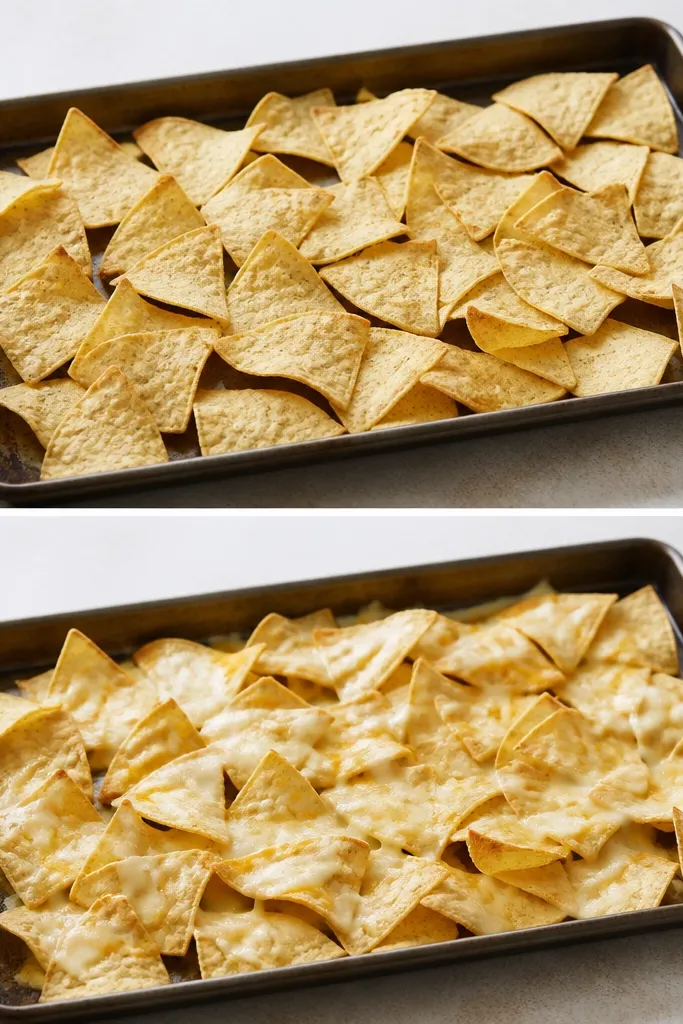
Two-stage baking gives you both textures. First, you dry and lightly toast the chips. Then you add cheese so it melts fast on hot chips instead of cooking into soggy grease.
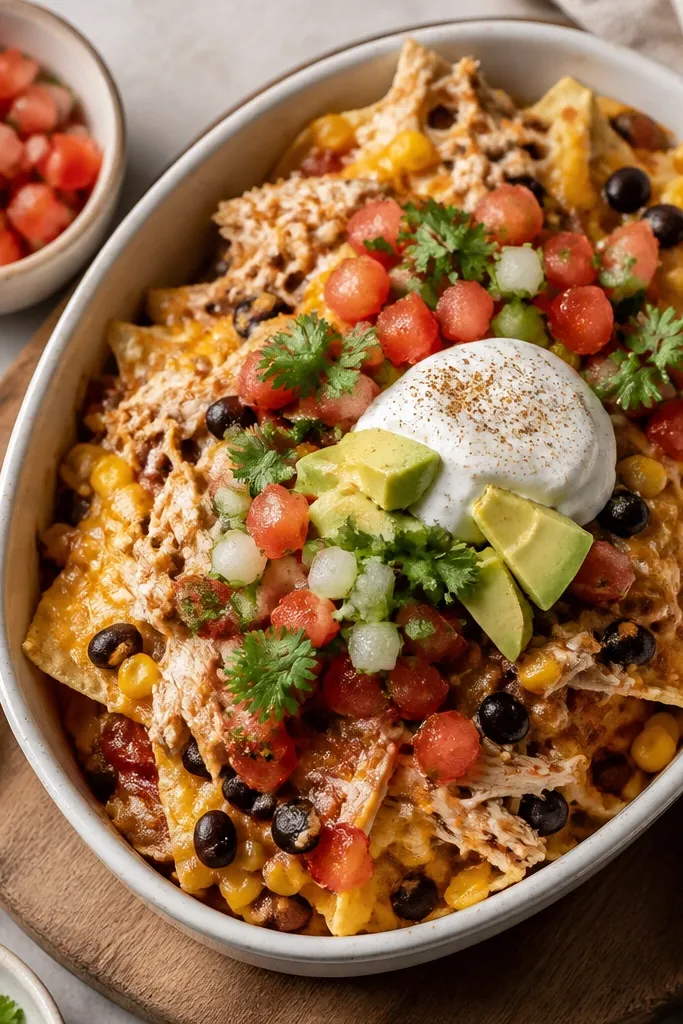
Bake chips alone for 5 minutes at 475°F. Pull the pan, add cheese and chicken, then bake 6-8 minutes until cheese is fully melted and bubbling at the edges.
Try thisUse the top rack for the cheese stage if your oven runs cool - it helps the cheese set without over-browning.
One warningDon't bake everything from the start for 15 minutes - that makes the chips lose their snap.
3. Chicken Shreds Sized Like Confetti
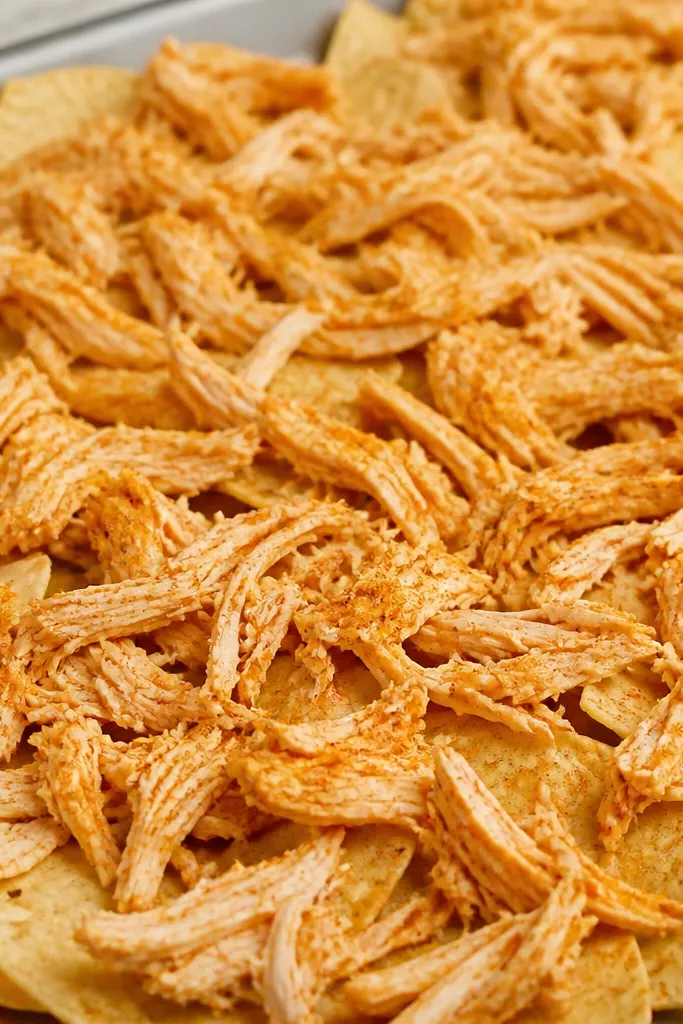
Small shreds distribute flavor and help the cheese grab everything. When chicken pieces are too big, they create pockets that don't get enough cheese coverage. Confetti-sized chicken also reheats quickly without drying out.
Shred rotisserie chicken by hand and break any clumps. Toss with 1-2 tablespoons taco seasoning or a mix of chili powder and cumin, then spread in a thin layer so you still see chips underneath.
Try thisAdd a teaspoon of hot sauce to the chicken so the flavor hits even with lots of toppings later.
One warningDon't dump a mound of chicken in one spot - it makes uneven bites.
4. Cheese Blend That Melts Smooth, Not Stringy
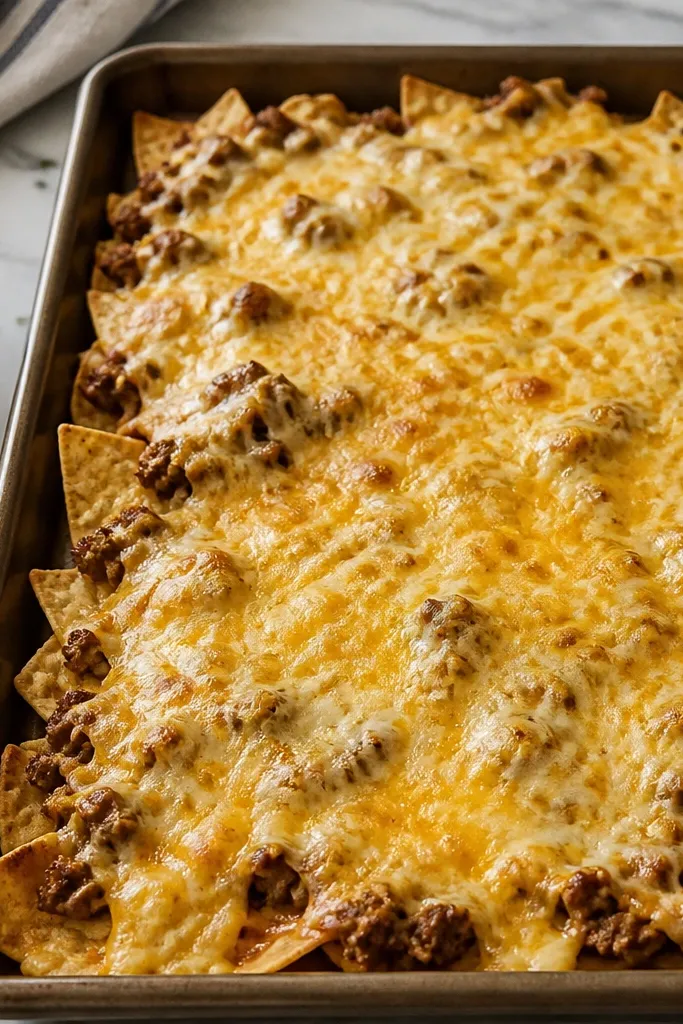
I use a blend for a reason: one cheese melts fast, the other adds flavor and browns. A mix like Monterey Jack plus cheddar keeps it creamy and sliceable across the pan. You want a melt that coats chips, not a string that pulls away.
Use about 3 cups shredded cheese for a large pan of chips. Mix 2 cups Monterey Jack with 1 cup cheddar, then spread it in an even layer so you don't get bare chip zones.
Try thisGrate cheese fresh if you can - pre-shredded has anti-caking agents that can make it grainy when baked hard.
One warningAvoid using only mozzarella - it can turn rubbery and doesn't brown like cheddar.
5. Nacho Seasoning Dust on the Cheese Layer
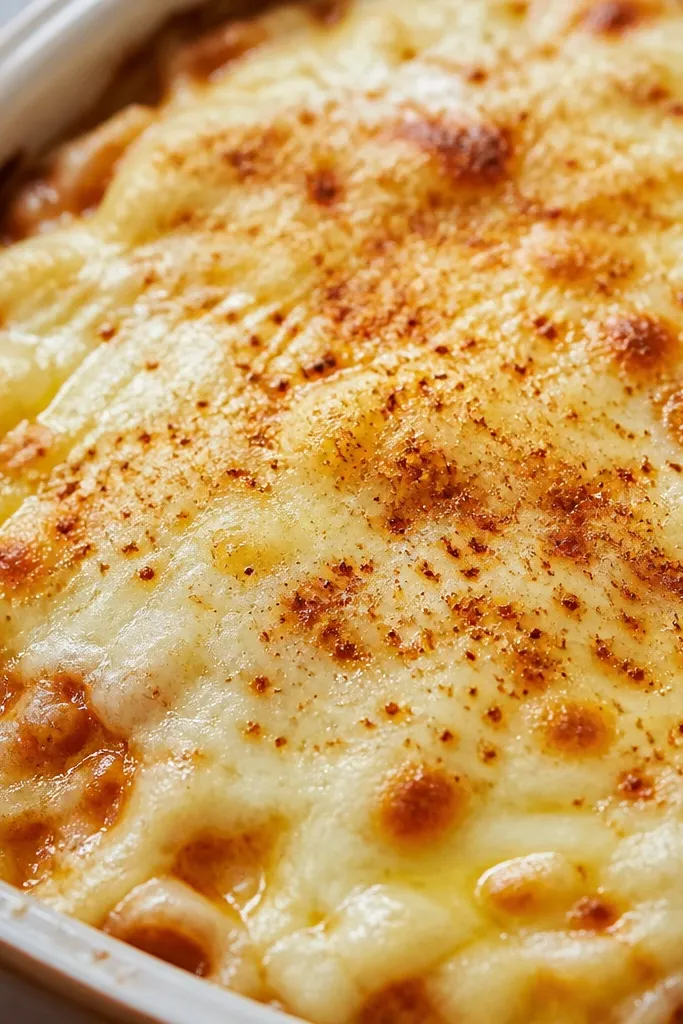
Seasoning powder on top of the cheese makes the flavor show up even when everyone loads fresh salsa and toppings. The cheese acts like glue for the spices, so you get a consistent hit in every bite. It also looks good - little speckles of color against the golden melt.
After you pull the pan for the cheese stage, sprinkle a thin dusting of chili powder and garlic powder over the cheese before the final bake. Keep it light; too much turns bitter when baked.
Try thisMix your powder with a teaspoon of oil or melted butter for better sticking.
One warningSkip heavy-handed salt - cheese already has it and the top can get harsh.
6. Sliced Jalapeños and Roasted Red Peppers Over the Hot Base
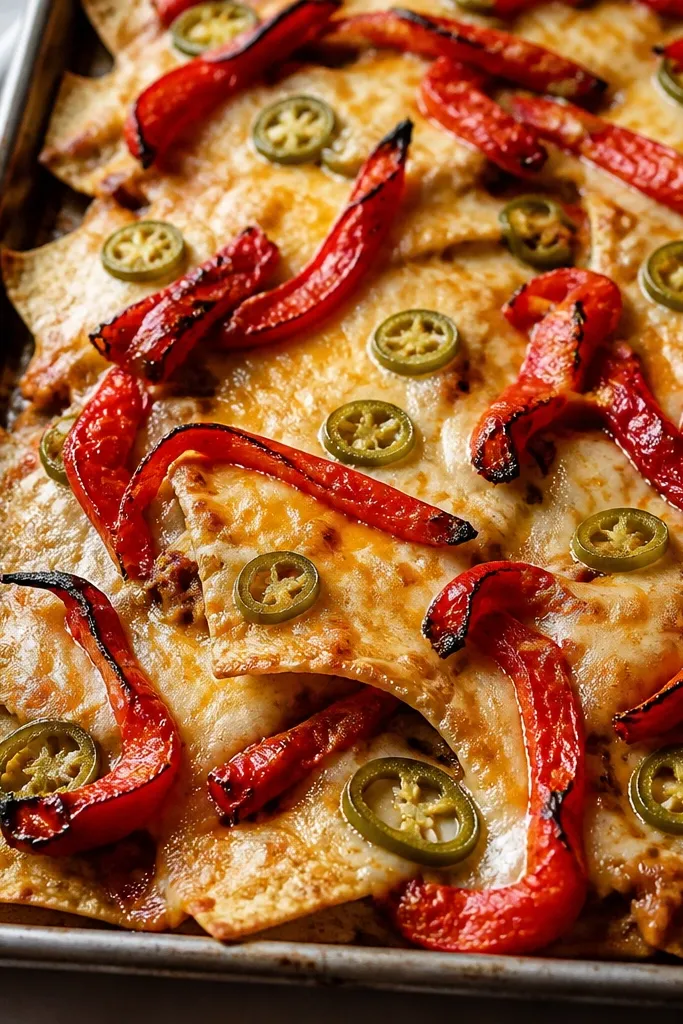
Jalapeños add crisp heat that doesn't disappear, and roasted red peppers add sweetness that balances the chicken spice. The colors pop against the melted cheese, so the pan looks like an actual party tray, not a "whatever's in the fridge" meal.
Use fresh jalapeños for best texture, slice thin, and remove seeds if you want medium heat. Add roasted red peppers after the cheese stage so they don't dry out.
Try thisPat jalapeños dry with a paper towel so they don't steam the chips.
One warningDon't put very wet toppings on before the last bake - it softens the whole pan.
7. Black Bean Layer for Bite and Color
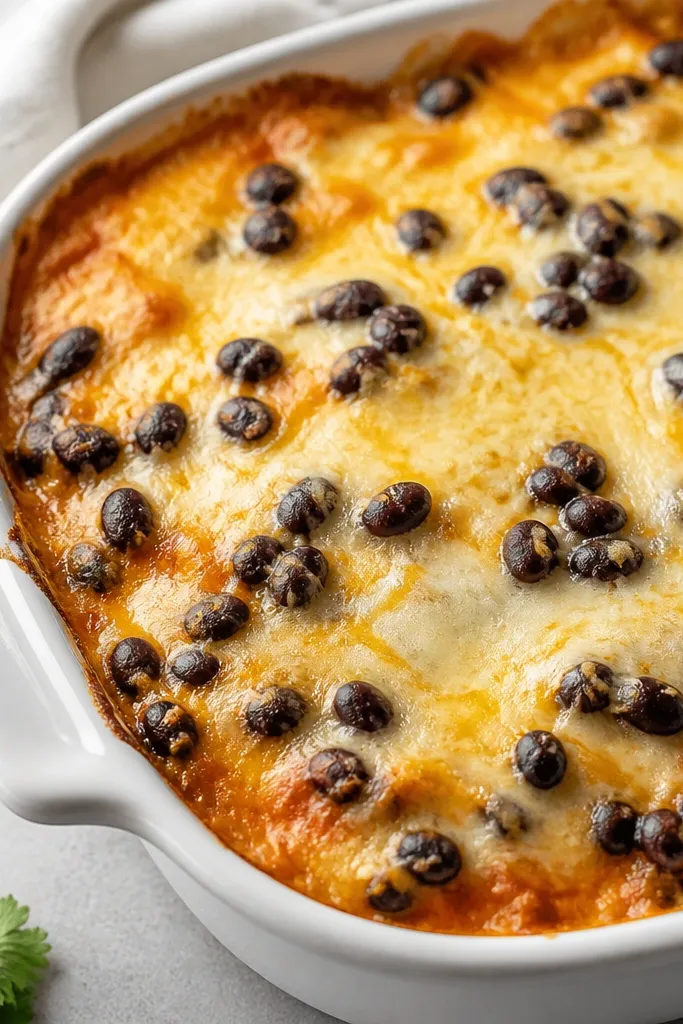
Black beans add bulk and make the nachos feel like a real meal. When you drain them well, they stay firm and don't flood the pan with liquid. The dark color also makes the cheese look even more golden.
Use 1 can drained and rinsed black beans. Toss with a teaspoon of lime juice and a pinch of salt, then scatter lightly - you want beans in pockets, not a bean blanket.
Try thisWarm the beans in a skillet for 2 minutes before adding so they don't cool the cheese.
One warningAvoid using canned beans straight from the can - the liquid ruins chip crispness.
8. Cold Topping Bar: Lime, Cilantro, and Sour Cream in Separate Pots
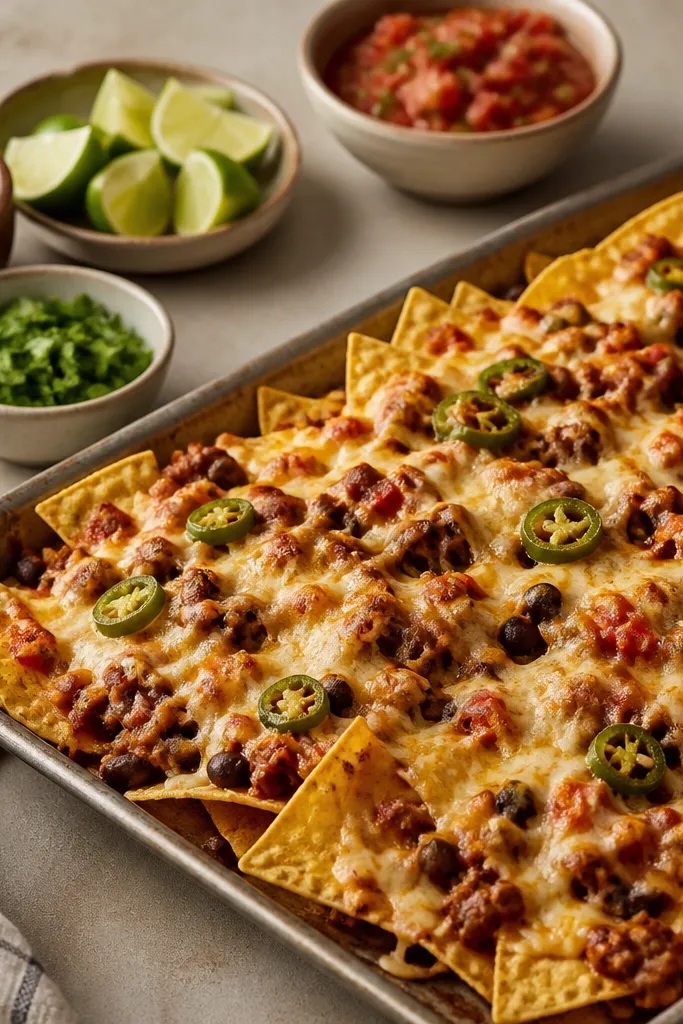
Cold toppings keep contrast. Hot nachos plus cool toppings means people can control how fast things melt. It also prevents the "one whole tray turns into nacho soup" problem.
Put sour cream in a squeeze bottle or bowl, drizzle it right before eating. Serve salsa and guac in separate bowls so one doesn't bleed into the others.
Try thisCut lime wedges and keep them visible; a squeeze right at the table wakes up everything.
One warningDon't blanket the whole tray with salsa before serving - it soaks the chips.
9. Guacamole With a Glossy Lime Finish
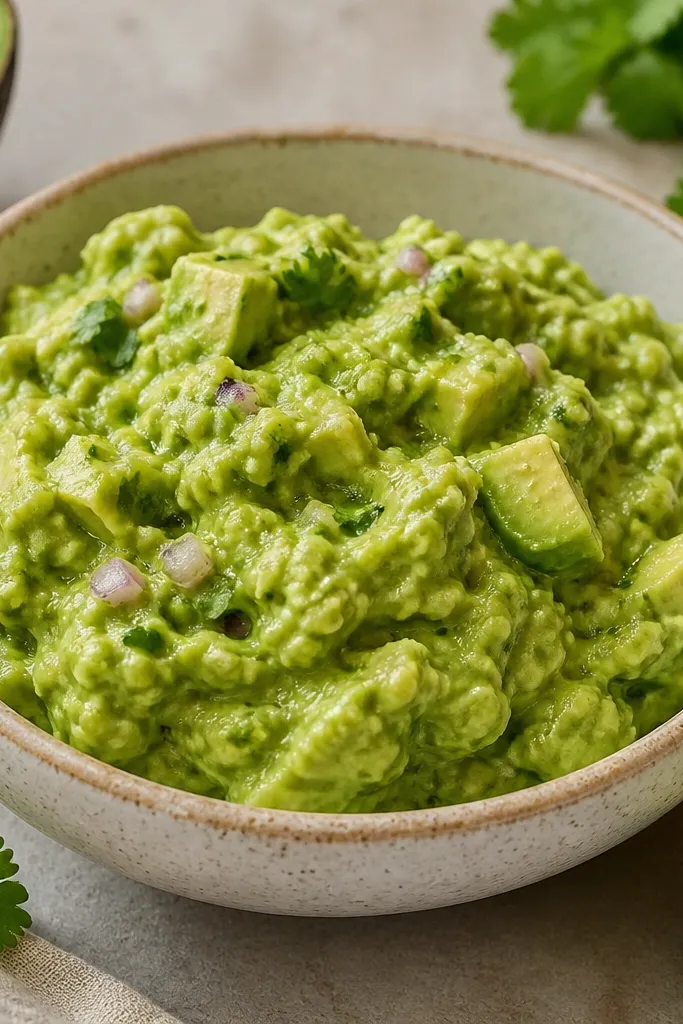
Guac adds creamy texture that balances spicy chicken and sharp cheese. The lime sheen matters because it looks fresh and tastes brighter, even when you're feeding a crowd. Chunky guac also gives a better bite than smooth puree.
Mash avocados with a fork, then stir in diced red onion, cilantro, lime juice, and salt. Keep it thick, not runny. If it sits, press plastic wrap directly onto the surface to limit browning.
Try thisAdd a pinch of cumin and a few drops of hot sauce; it makes the flavor stand up to cheese.
One warningSkip watery guac - it spreads and turns chips soft fast.
10. Sheet Pan Cut Lines for Easy Grab-and-Go
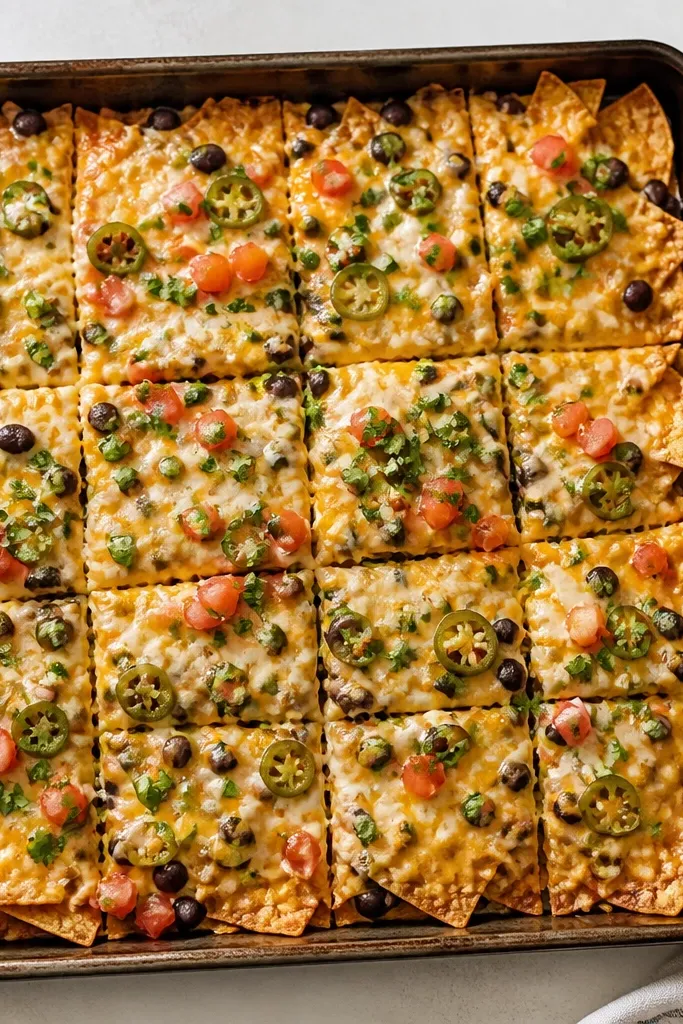
Cutting helps people grab a piece without pulling the whole tray apart. When the cheese is melted and set, the cuts guide where it breaks cleanly. It also helps the pan look organized, which matters when you're serving a group.
Score lines with a sharp knife right after the second bake while the cheese is still soft. Make long strips first, then cross-cut into rectangles.
Try thisUse a bench scraper or wide spatula to lift pieces - it keeps the bottom from tearing.
One warningDon't wait until it cools completely - it turns brittle and breaks messily.