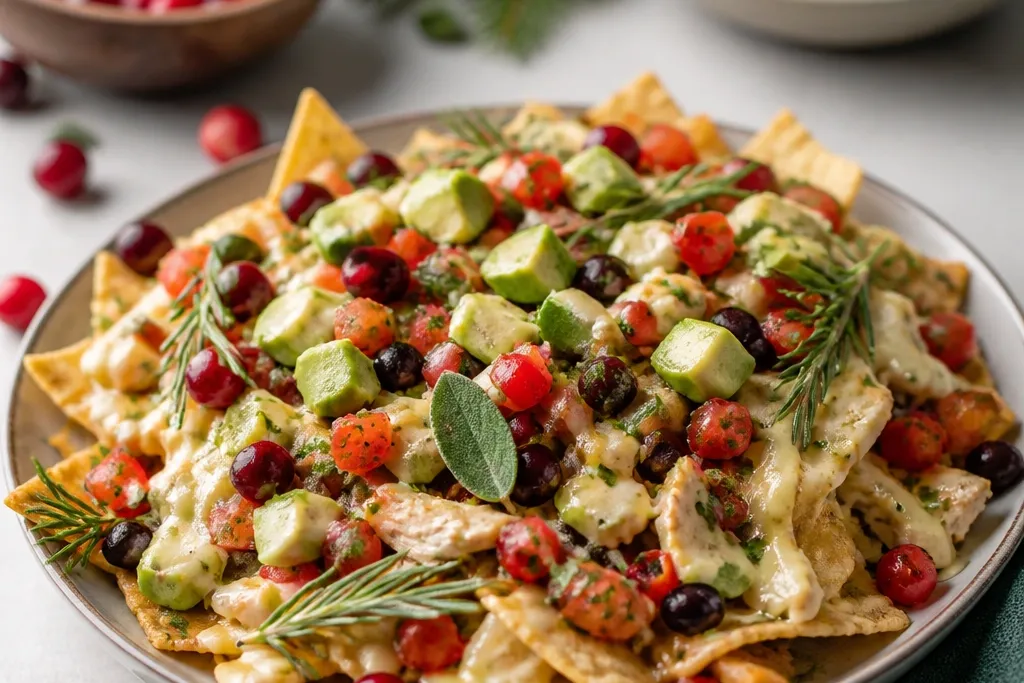
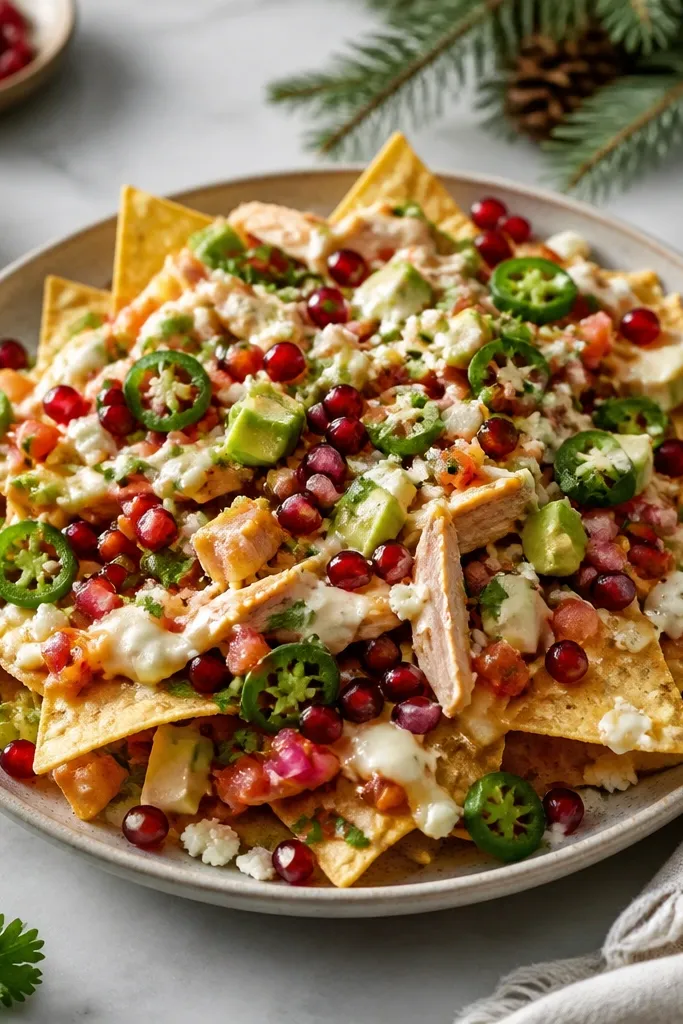
1. Two-Cheese Melt Patchwork
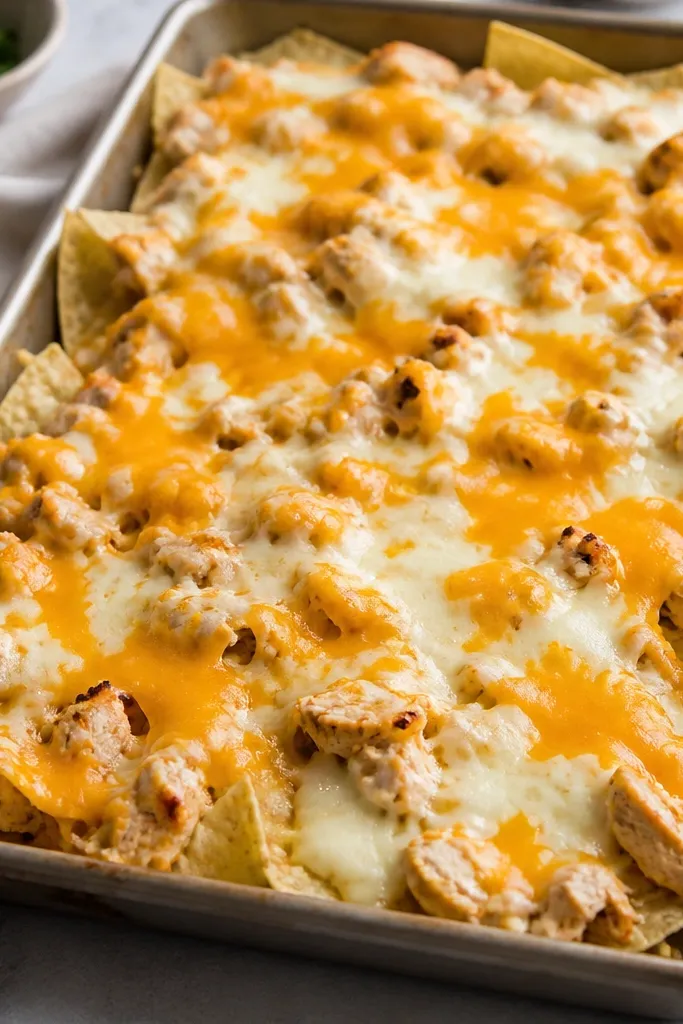
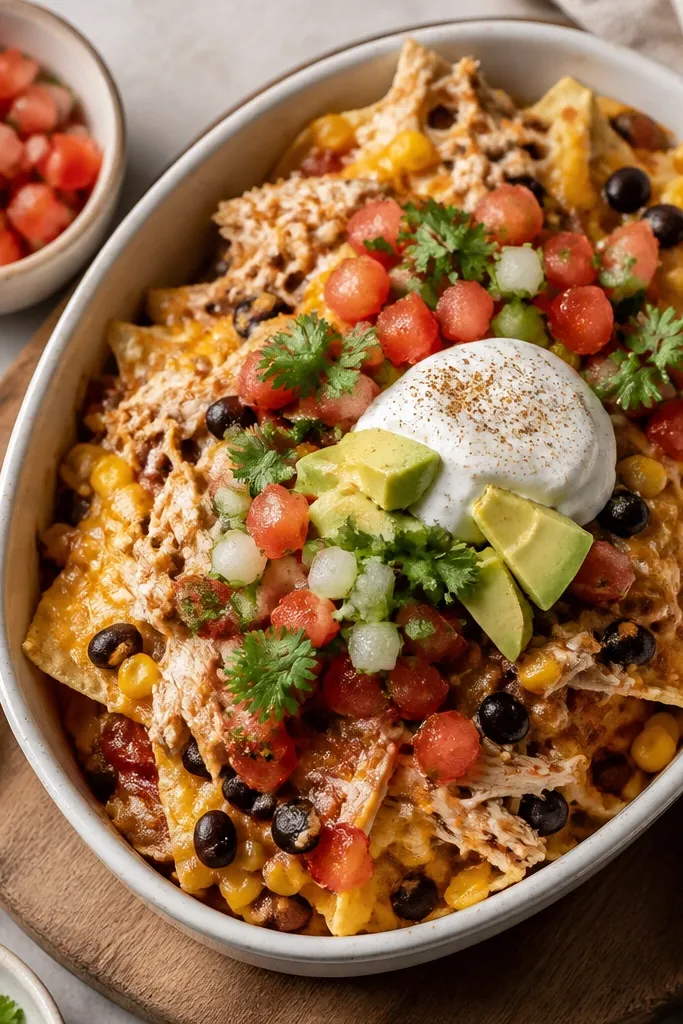
I use mozzarella for stretch and cheddar for color. When both melt together, you get that speckled, restaurant look instead of one flat orange blanket. The pale melt looks creamy, while the cheddar browns in spots and makes the whole tray feel warm and hearty. Chicken peeking through the cheese also makes the tray look fuller without adding extra height.
Grate or shred your cheese so it melts fast. Aim for 1 1/2 cups shredded cheese total for a standard 9x13-inch sheet pan - about 1 cup mozzarella and 1/2 cup cheddar. Bake until you see bubbles and slight browning on the cheddar edges, usually 7-9 minutes at 425F.
Try thisMix 2 tablespoons of reserved chicken sauce into the chicken, then keep the chicken layer thin so the cheese stays the star.
One warningSkipping the second cheese makes it look one-note and flat after baking.
2. Crisp Chip Border Ring
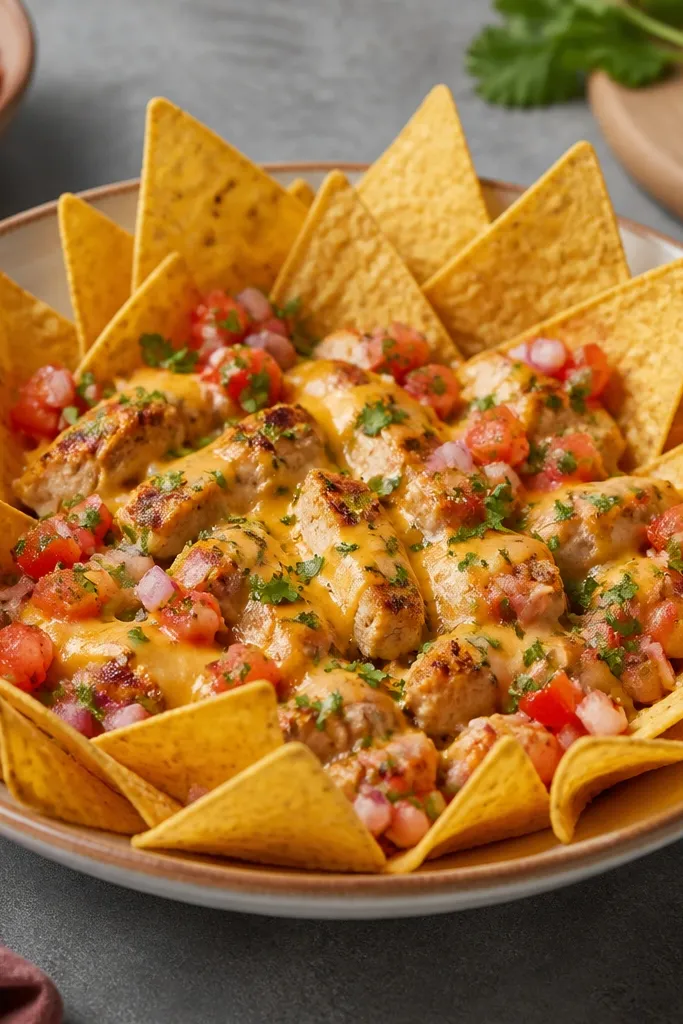
That crisp border is what makes the tray look intentional. I pile chips higher around the edges so they act like a frame; they take longer to soften and they look crunchy in photos. The center gets the saucy stuff, so you still get melty bites, but the outer chips stay snappy. It also makes the tray easy to portion because people grab from the edge first.
Use a single layer of chips first. Then add chicken and cheese mostly in the middle third, leaving the outer 1-2 inches chip-visible. If your pan is deep, keep chips slightly overlapping so they support each other.
Try thisPress down the center toppings lightly with a spoon so cheese bonds without pushing sauce onto the chips.
One warningCovering the entire pan evenly with sauce makes everything soften at once.
3. Spring Green Cilantro-Lime Confetti
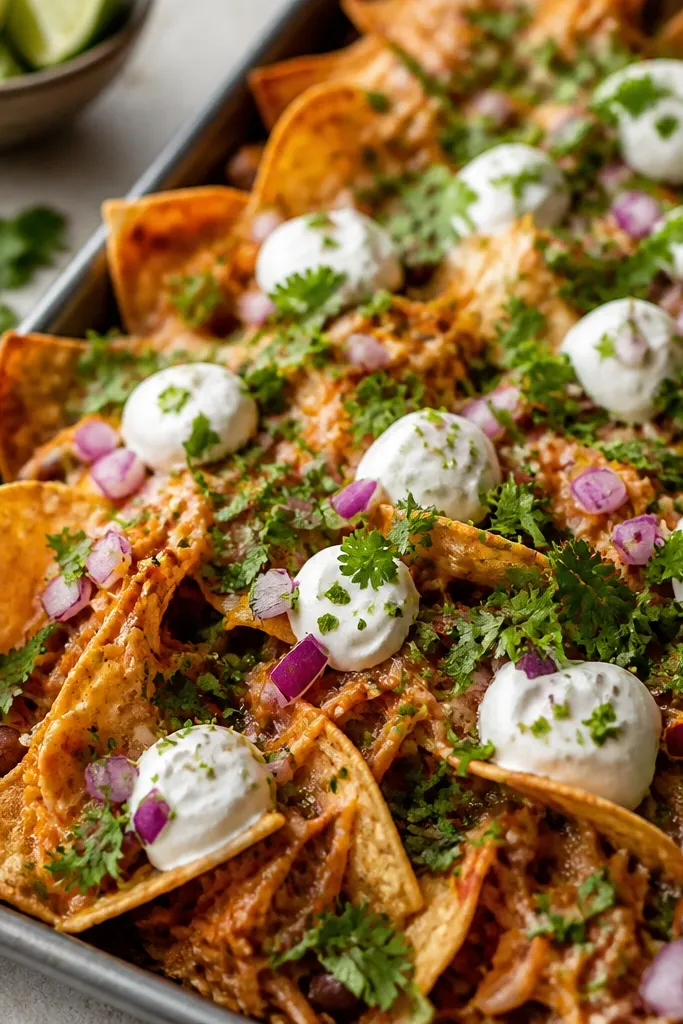
Fresh herbs make nachos look alive. Cilantro plus lime zest gives green that pops against melted cheese and warm chicken. I add sour cream in small dots so it looks creamy without smearing into soggy patches. The contrast is what makes it feel seasonal without changing the core recipe.
After baking, sprinkle chopped cilantro and a pinch of lime zest. Add 2-3 tablespoons sour cream in a drizzle or small dollops, then finish with thin red onion slices. Keep these toppings cold so they don't steam and wilt on the hot tray.
Try thisUse lime zest from a microplane - it clings to sour cream and cheese better than juice.
One warningAdding fresh herbs before baking turns them dull and gray.
4. Roasted Pepper Ember Spots
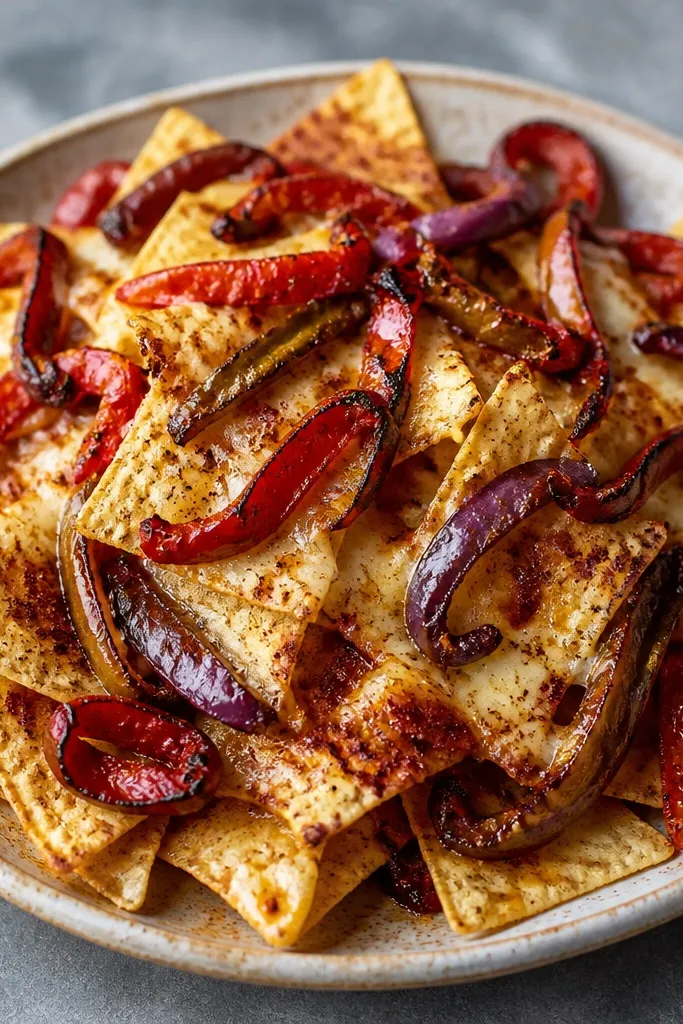
Roasted peppers look like "real food" because you can see the char. That smoky red-brown color makes the tray feel fall/winter appropriate even if everything else stays the same. I scatter them unevenly so you get ember spots in every handful - not a uniform layer. It also adds sweetness that balances chicken heat.
Use roasted poblano strips or fire-roasted red peppers chopped into 1/2-inch pieces. Add them after baking so they stay shiny and textured. Pair with a roasted salsa (tomato plus garlic plus peppers) for the deepest flavor.
Try thisDust the peppers lightly with ground cumin before topping so the spice smells smoky instead of flat.
One warningUsing raw peppers on hot nachos makes them taste harsh and watery.
5. Tomato-Onion Fresh Burst
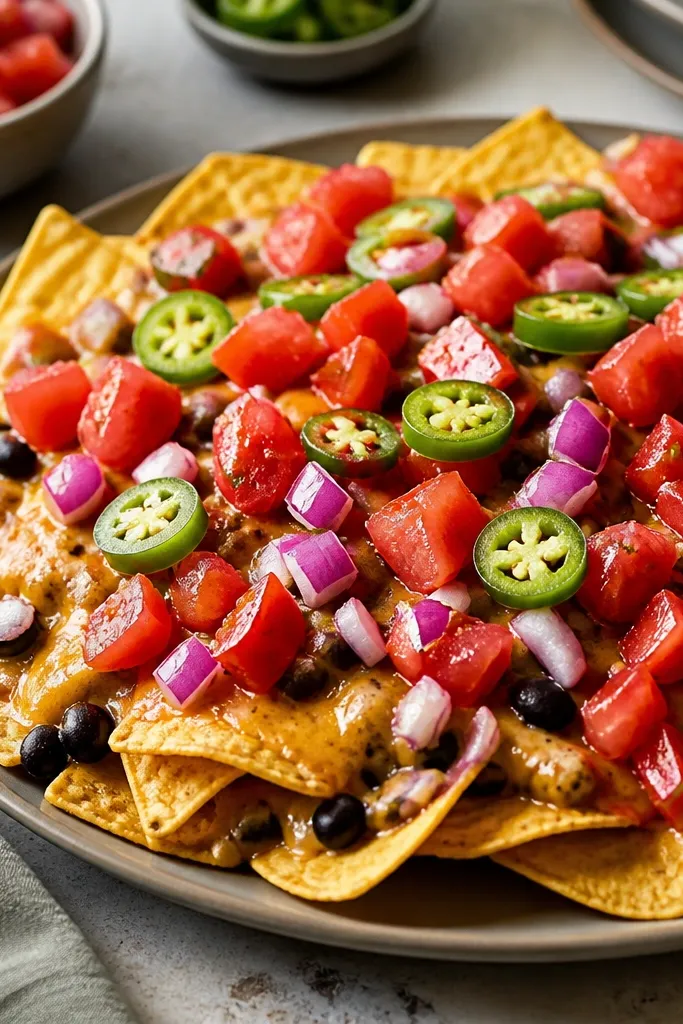
Chunky fresh salsa gives you juicy pops that contrast the melted cheese. The key is dicing - large enough to feel, small enough to stick. Red onion adds sharpness and crunch, and jalapeño slices add heat without disappearing. This topping makes the tray look like you built it, not assembled it.
Dice tomatoes into 1/2-inch pieces and red onion into thin half-moons. Mix with lime juice and salt, then drain 1 minute if it looks watery. Add right after baking so the tomatoes stay firm.
Try thisSalt the tomatoes 10 minutes ahead and drain - it tastes brighter and prevents soggy chips.
One warningUsing salsa straight from the jar without draining makes the whole tray wet.
6. Black Bean and Corn Speckle
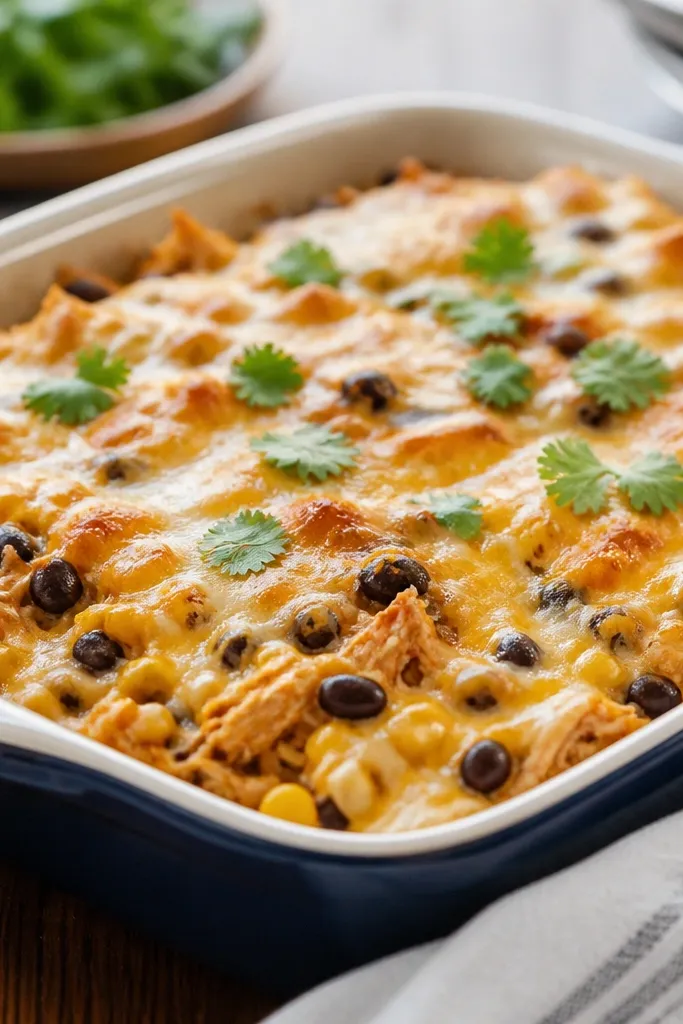
Black beans and corn add texture that reads on the tongue and in photos. The beans bring deep color and a creamy bite, while corn brings sweetness and little pops. I scatter them through the chicken layer so they get warmed and meld into the cheese. It keeps the tray from looking like only chicken and cheese.
Use 1/2 cup drained canned black beans and 1/2 cup corn kernels. Stir them into hot chicken right before assembly. Keep the chicken layer thin so chips stay crisp.
Try thisToss beans and corn with 1 teaspoon smoked paprika before mixing with chicken.
One warningAdding beans cold creates uneven warmth and makes the cheese set too fast in spots.
7. Pickled Jalapeño Crunch
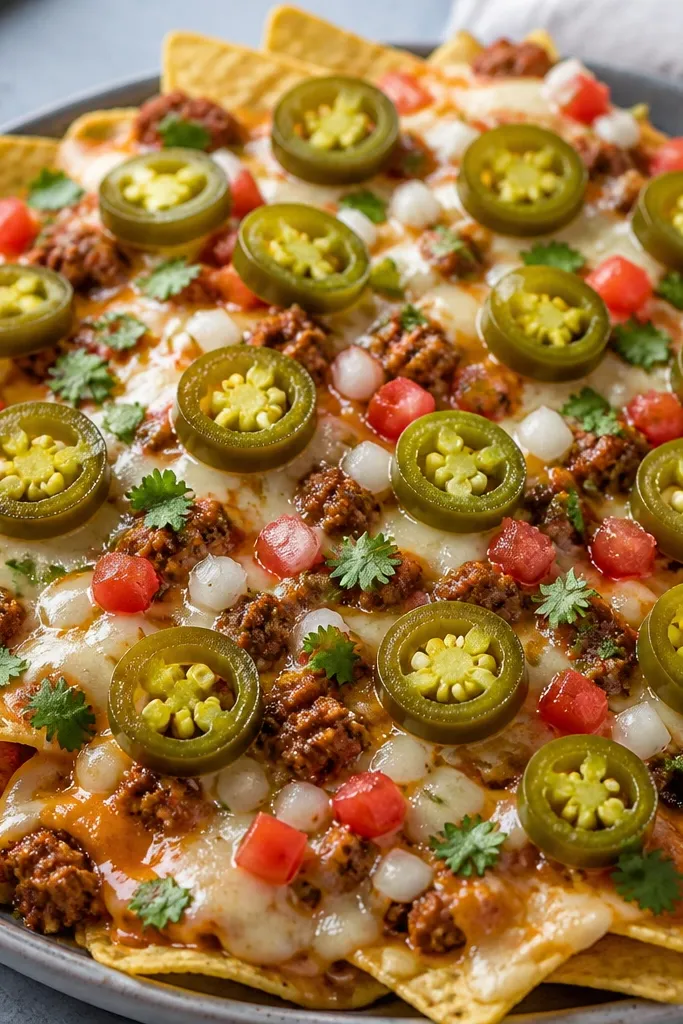
Pickled jalapeños bring tang and crunch that cut through cheese fat. The rings also look neat - you get visible heat without a messy pile. I like them for evergreen nachos because they work with almost any salsa: fresh, roasted, or smoky. They make the tray feel "finished" even when you keep other toppings simple.
Drain jalapeños well and pat dry with a paper towel. Slice into thin rings and place on top after baking. Use 2-4 tablespoons for a 9x13-inch pan so the heat shows up in bites but doesn't overwhelm.
Try thisSave the brine and add 1 teaspoon to your chicken sauce for a quick tang boost.
One warningLeaving jalapeños wet makes the cheese slide and the tray look greasy.
8. Creamy Avocado Fan
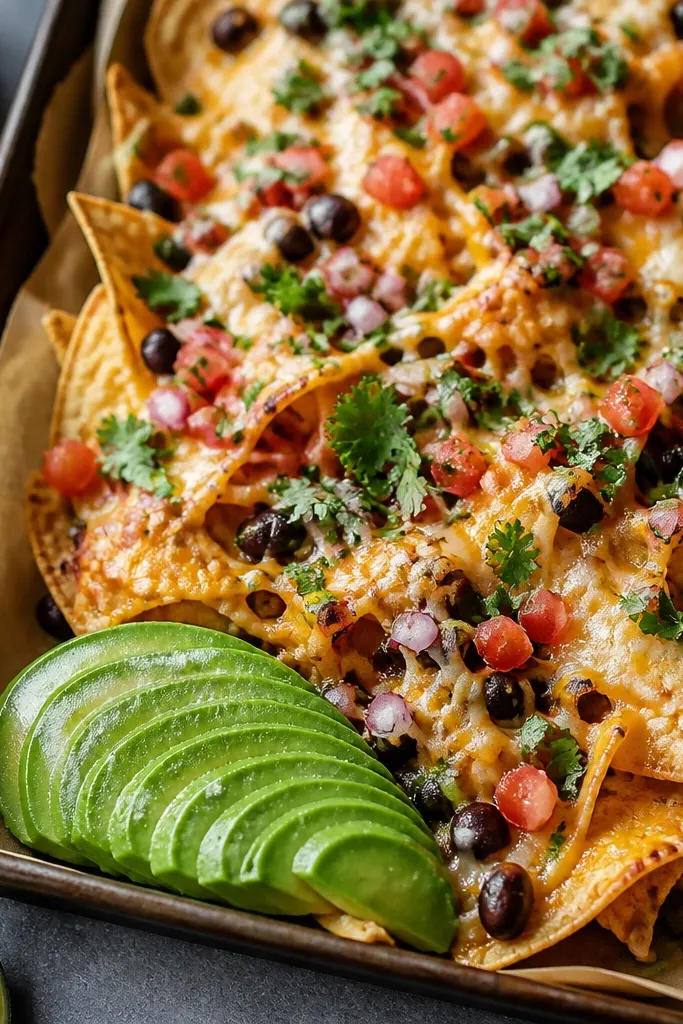
Avocado slices look clean and green, especially when they're thin. The creamy texture makes the nachos feel indulgent, and lime keeps it from tasting flat. I place avocado at the edges first because it browns fastest - it still looks good if you add it right at the end. The visual payoff is huge for a simple topping.
Cut avocado into thin 1/8-inch slices and toss with a squeeze of lime and a pinch of salt. Add right after baking, then serve within 5 minutes. If you're transporting, keep avocado separate and add at the destination.
Try thisUse firmer avocados - they slice clean instead of smearing under cheese heat.
One warningAdding chunky avocado before baking turns it gray and mushy.
9. Crisp Shredded Lettuce Layer
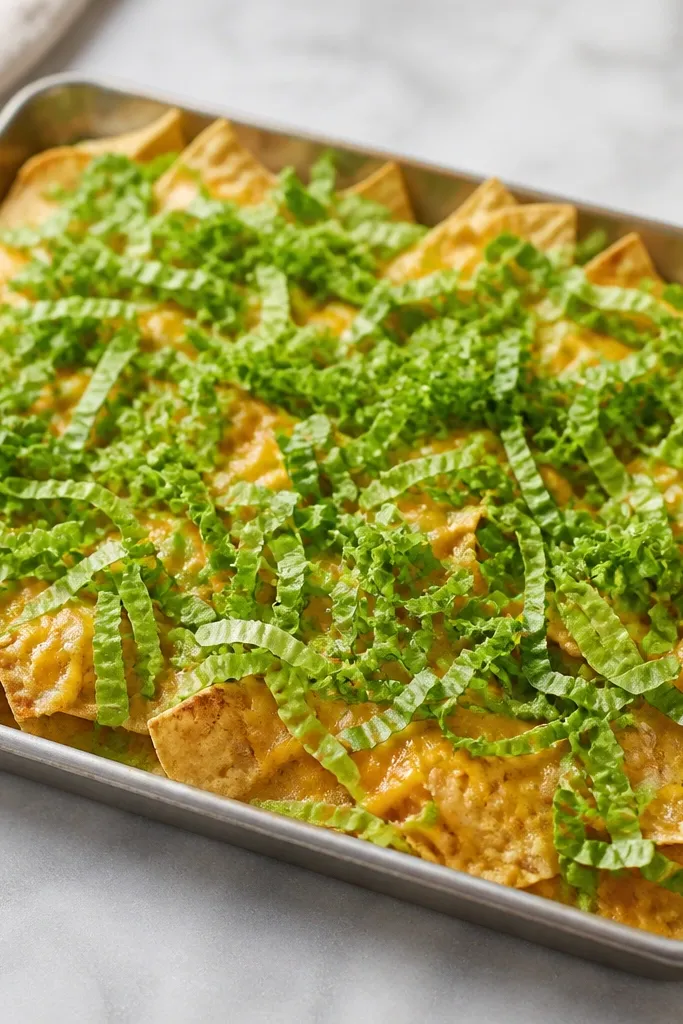
Lettuce gives you a cool crunch that balances warm chicken and melted cheese. I like romaine because it holds up longer than iceberg and it doesn't get watery fast. The trick is dryness - you want lettuce that looks like it belongs on tacos, not wilted salad. When you add it after baking, it stays crisp and makes the tray feel fresh.
Shred romaine thin and pat with paper towels so it isn't damp. Add a light scatter right after baking. Don't pile it - 1/2 to 3/4 cup shredded lettuce is plenty for a 9x13-inch tray.
Try thisMix lettuce with a tiny pinch of salt and 1 teaspoon lime juice before topping for better flavor.
One warningTopping with wet lettuce makes the chips go soft fast.
10. Seasonal Salsa Swirl Colors
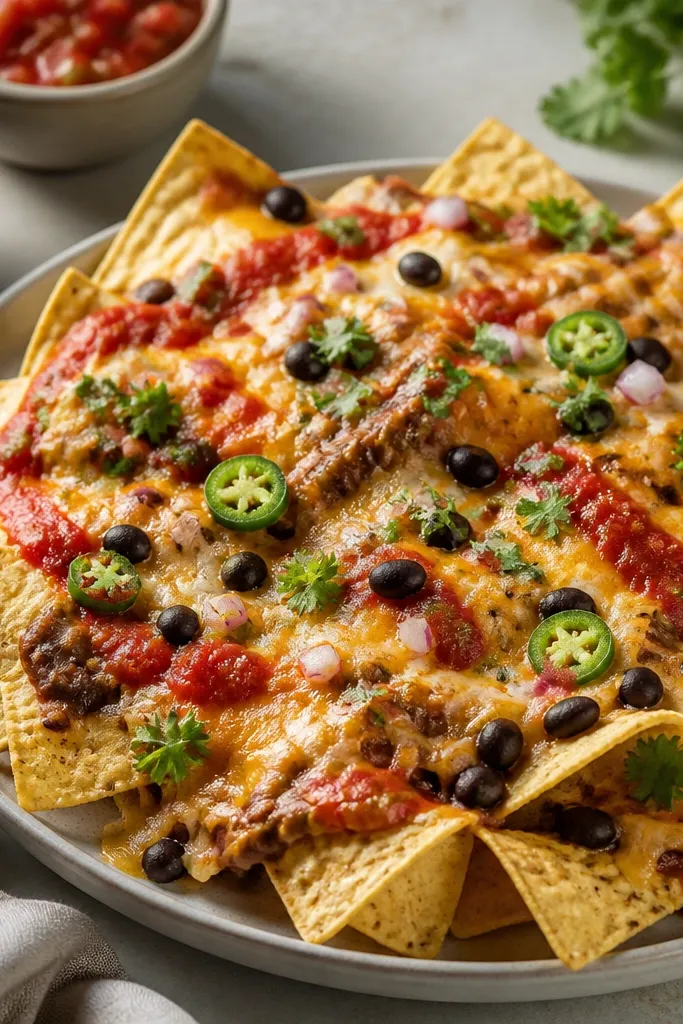
Salsa color tells the season even when the base doesn't change. I spoon salsa in thin lines and swirls so you get flavor in every bite without soaking the chips. Red salsa reads bright and springy; roasted orange-brown salsa reads smoky and cozy. The uneven pattern looks handmade, not like it came from a ladle.
Use 1/2 to 3/4 cup salsa total. Spread it with the back of a spoon in quick strokes across the top. If your salsa is runny, simmer it 5 minutes to thicken before you add it.
Try thisWarm salsa for 30 seconds in the microwave so it spreads smoothly over melted cheese.
One warningPouring salsa in one spot makes a wet crater in the tray.