1. One-Pot Color-Stack Bowls
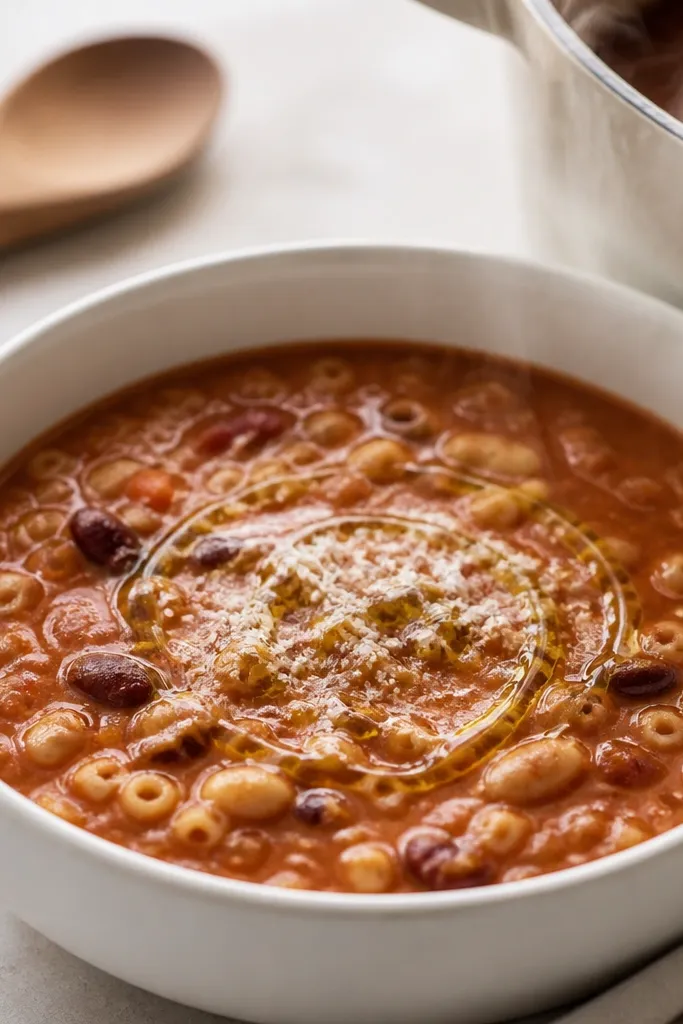
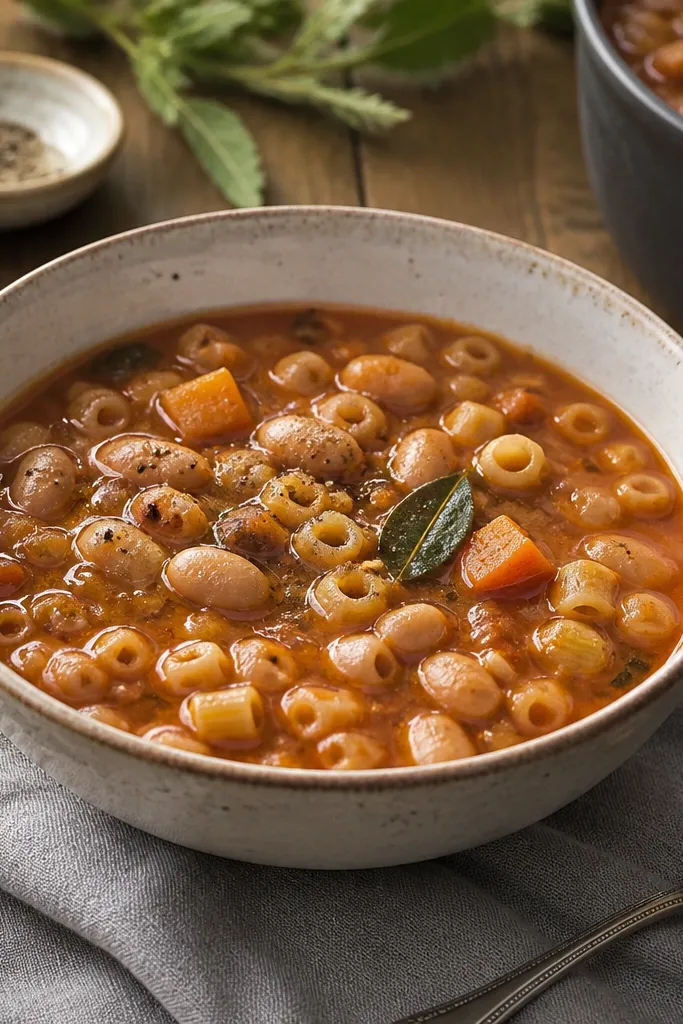
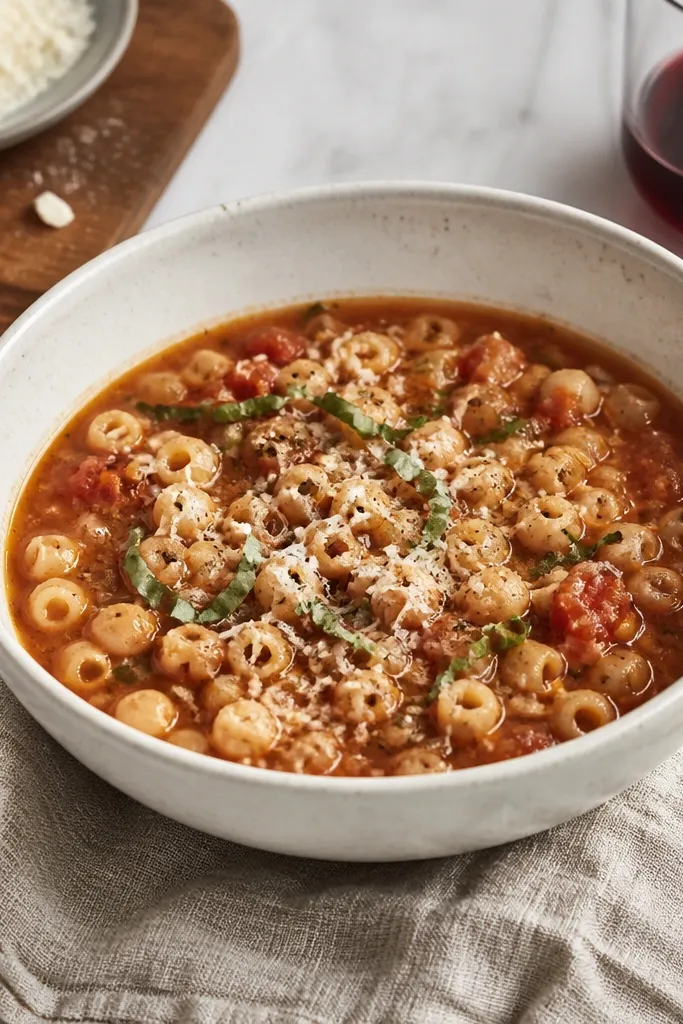
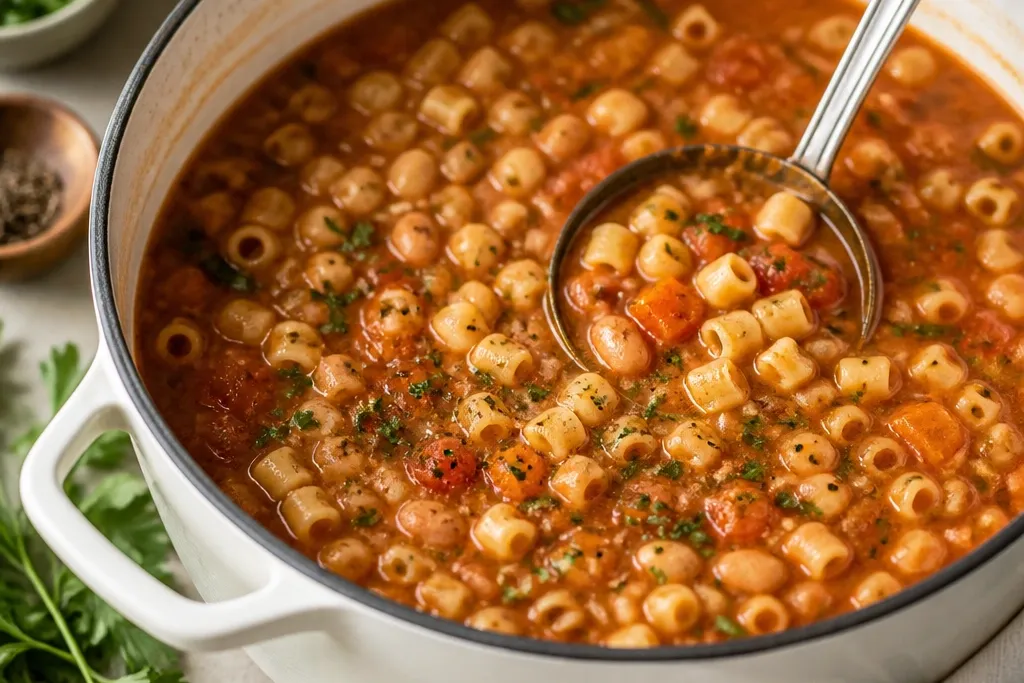
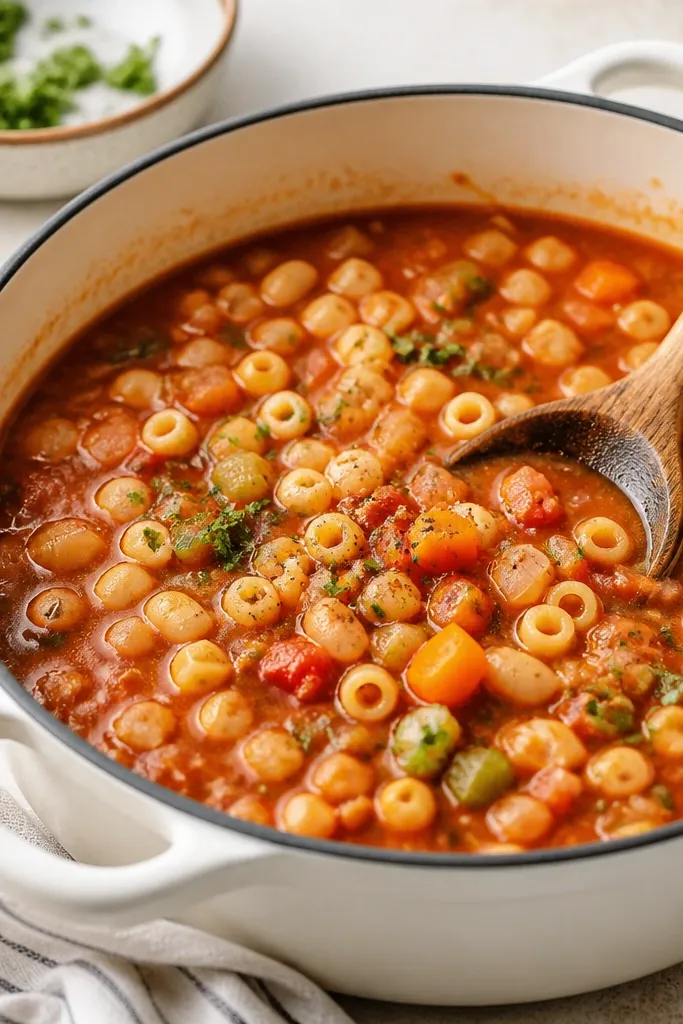
This look comes from keeping the broth thick enough that it clings to the spoon. Red-brown from crushed tomatoes and tomato paste shows up best when you simmer before adding pasta. The beans stay visible and chunky, which makes the soup look hearty instead of flat. A small drizzle of olive oil and a little parmesan on top adds contrast - bright pale cheese against deep red.
Serve in a shallow white bowl so the soup color reads clearly. Use ditalini or small shells so the pasta pieces sit on top and don't disappear. Grate parmesan fresh or use fine pre-grated so it melts slightly without clumping.
Try thisDrizzle olive oil in a thin line right before serving - it looks glossy in photos and tastes better than oil stirred in earlier.
One warningSkipping the tomato simmer step makes the soup look thin and the beans/pasta sink into watery red.
2. Parmesan Rind Depth Shot
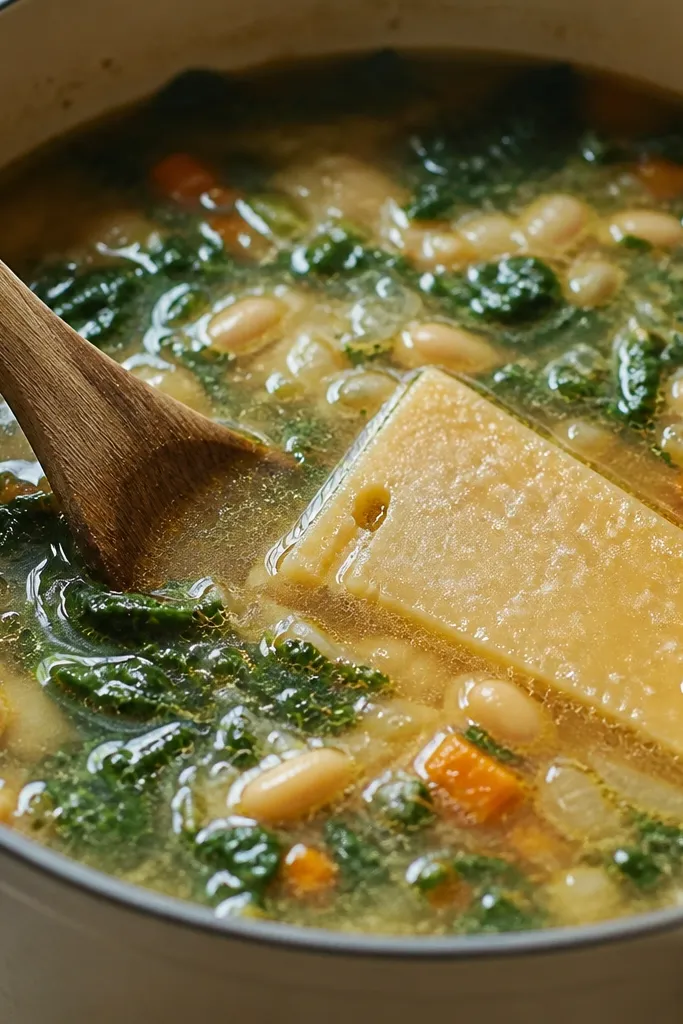
The parmesan rind adds a salty, savory perfume that reads as "slow-cooked" even when it isn't. Visually, it also creates that subtle mottled texture in the broth as it melts. When you remove the rind, you keep the texture clean while still getting the flavor. The broth looks richer because the fat and salt cling to the tomato base.
Drop a rind piece about 2 to 3 inches long into the pot during the tomato simmer. Let it cook 10 to 15 minutes, then fish it out with tongs. If you don't have a rind, add a spoon of grated parmesan at the end for a similar effect.
Try thisSimmer the rind only while the tomatoes are cooking - it prevents the cheese from turning stringy.
One warningLetting the rind sit through the entire pasta cook can make bits show up in the bowl.
3. Garlic-Onion Gloss
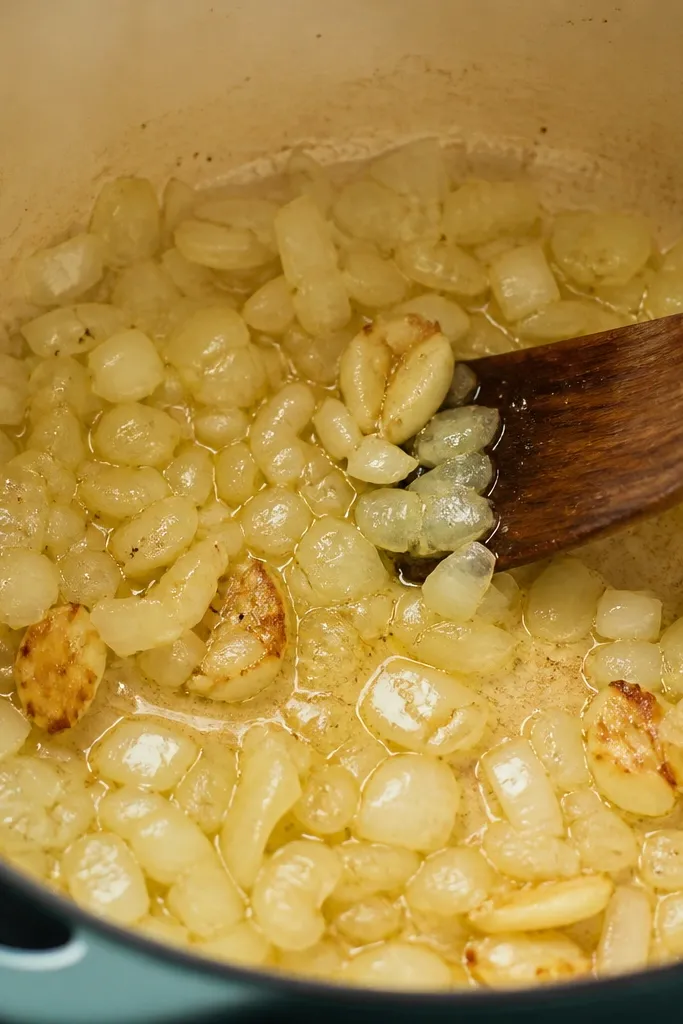
The glossy onion-and-garlic layer is where the flavor starts. When onion is translucent and garlic is just lightly golden, it tastes sweet, not sharp. That sweetness balances the acidity of crushed tomatoes. In photos, this stage looks appetizing because it has shine and color before the red sauce takes over.
Use olive oil, not butter, for the first sauté. Dice onion small - about 1/4-inch - so it softens fast. Smash garlic with the side of a knife so it infuses quickly without burning as easily.
Try thisStir constantly for the last 30 seconds of garlic sauté. Once it smells nutty, add tomato paste immediately.
One warningCooking garlic until dark brown makes the whole soup taste bitter.
4. Ditalini Texture Proof
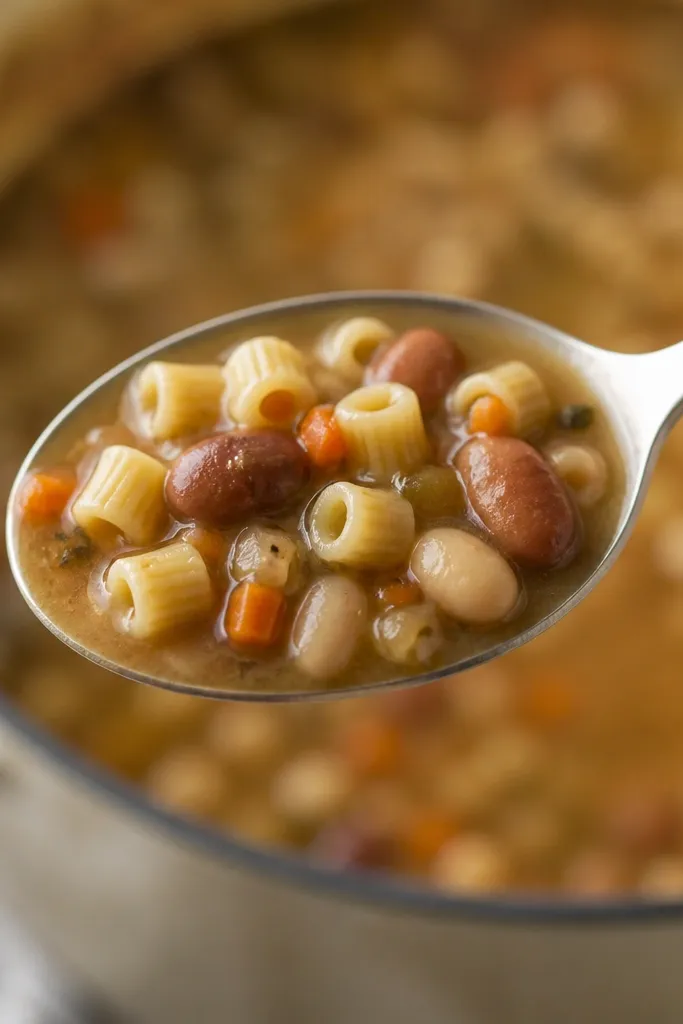
Small pasta shapes are the difference between "soup" and "stew with noodles." Ditalini or tiny shells keep their shape because they're made for soup. When you undercook by 1 minute and let the residual heat finish the pasta, you get a tender bite without turning to mush. The thick broth makes the pasta look coated, not floating.
Add pasta for the last 8 to 10 minutes depending on the brand. Test one piece by biting it - it should feel tender but still hold a little resistance. Stir every couple minutes so pasta doesn't clump at the bottom.
Try thisTurn off the heat the moment pasta is done. Resting 2 minutes in the hot pot finishes the texture.
One warningCooking pasta the full package time in soup makes it collapse after reheating.
5. Lemon-Butter Finish
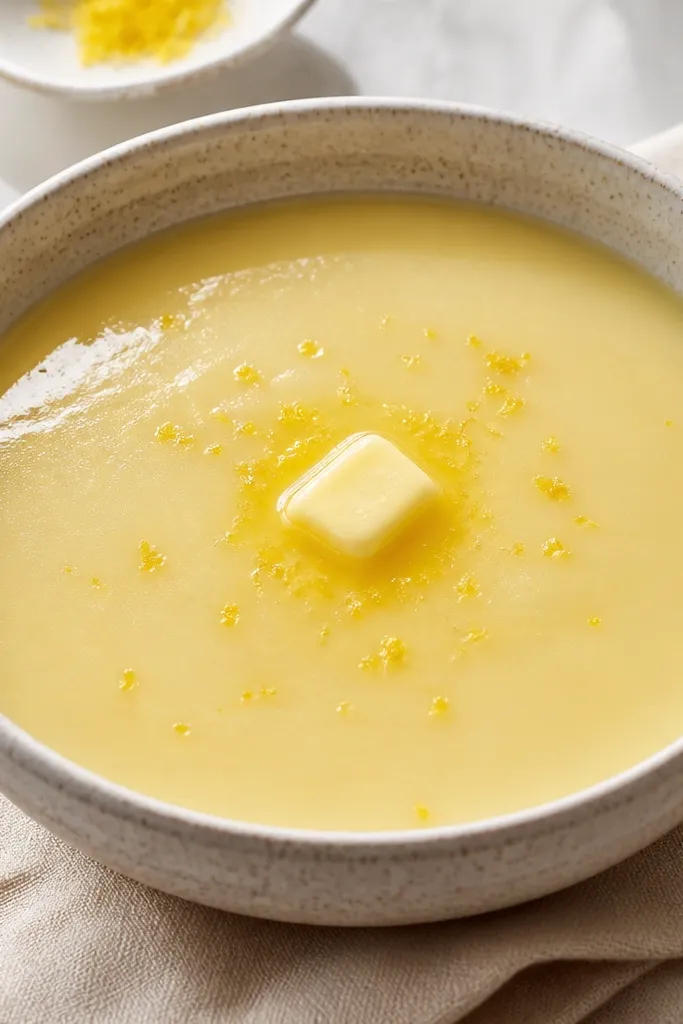
A tiny finishing fat and acid makes tomato taste brighter instead of flat. I use a small pat of butter - about 1 teaspoon per bowl - so it melts into the broth. A little lemon juice or zest lifts everything so it doesn't taste heavy. Visually, the butter creates a glossy focal point in the center.
Finish right before serving: stir in butter off heat, then add lemon juice a few drops at a time. If you use zest, keep it fine so it distributes. This works best when your broth is already thick from simmering.
Try thisTaste first, then adjust with lemon. Add it gradually so you don't end up with sharp soup.
One warningAdding lemon too early can make the soup taste muted after it simmers again.
6. Bread-Dunk Sidecar
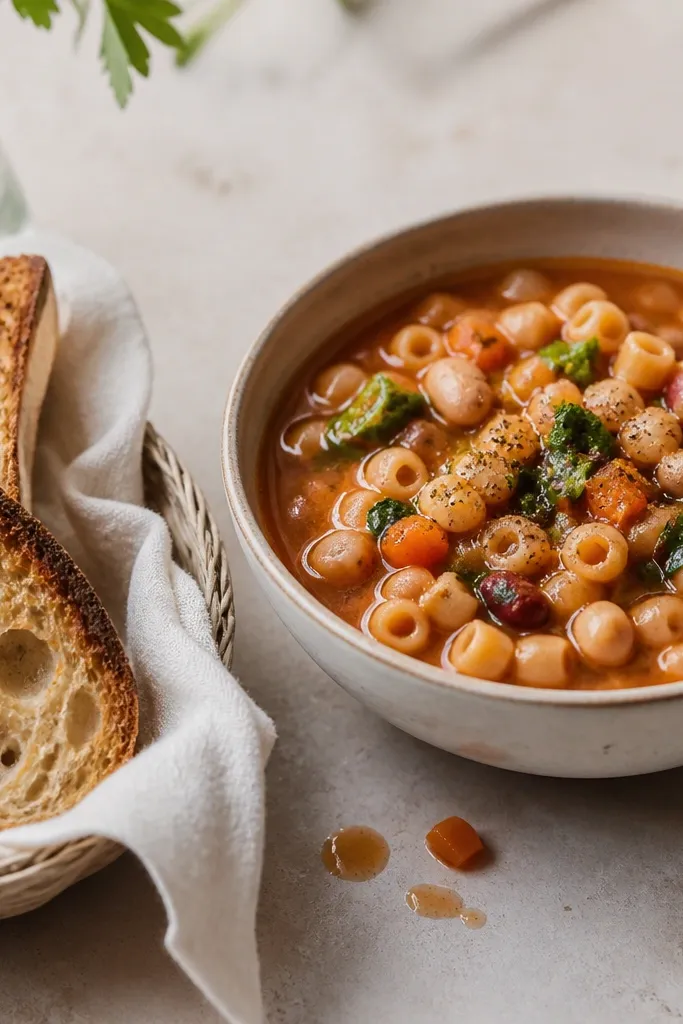
This is the "aesthetic" part that also fixes flavor: bread dunking. Crusty bread holds up to thick broth, and the surface soaks just enough to make every bite sweeter and saltier. It also makes the meal look intentional instead of random. The golden browns of toasted bread contrast the deep red soup.
Toast bread lightly so it doesn't turn soggy in 3 minutes. Tear into manageable pieces for dunking. If you want a cleaner look, brush with olive oil and toast until edges are crisp.
Try thisToast 2 minutes longer than you think. In soup, that extra crunch disappears in the best way.
One warningUsing soft sandwich bread makes the table look messy fast.
7. Fresh Herb Specks
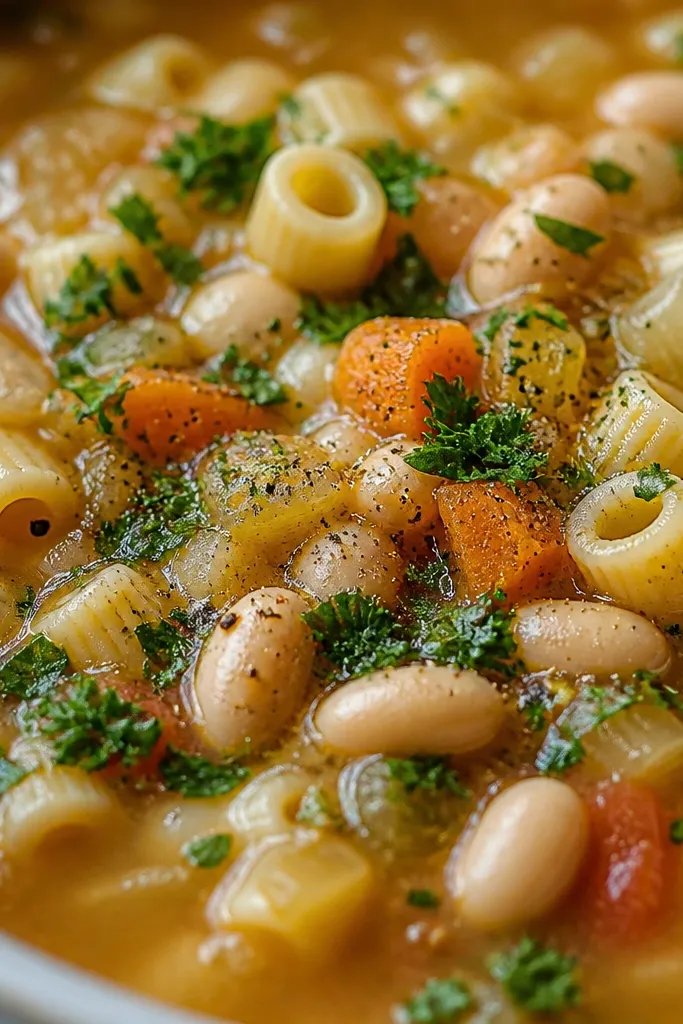
Parsley and black pepper give a clean top layer. The green specks break up the red and make the bowl look fresher even when the soup is simple. Pepper aroma also hits right away when you serve. This finish works because the soup is hot enough to release herb scent without wilting it into gray.
Use flat-leaf parsley chopped fine, not big leaves. Add pepper right at the table. If you want a more Italian vibe, add a tiny pinch of oregano to the top.
Try thisChop parsley no more than 10 minutes before serving so it stays bright.
One warningUsing dried parsley as a garnish - it looks dusty on red soup.
8. Chili Flake Heat Stripe
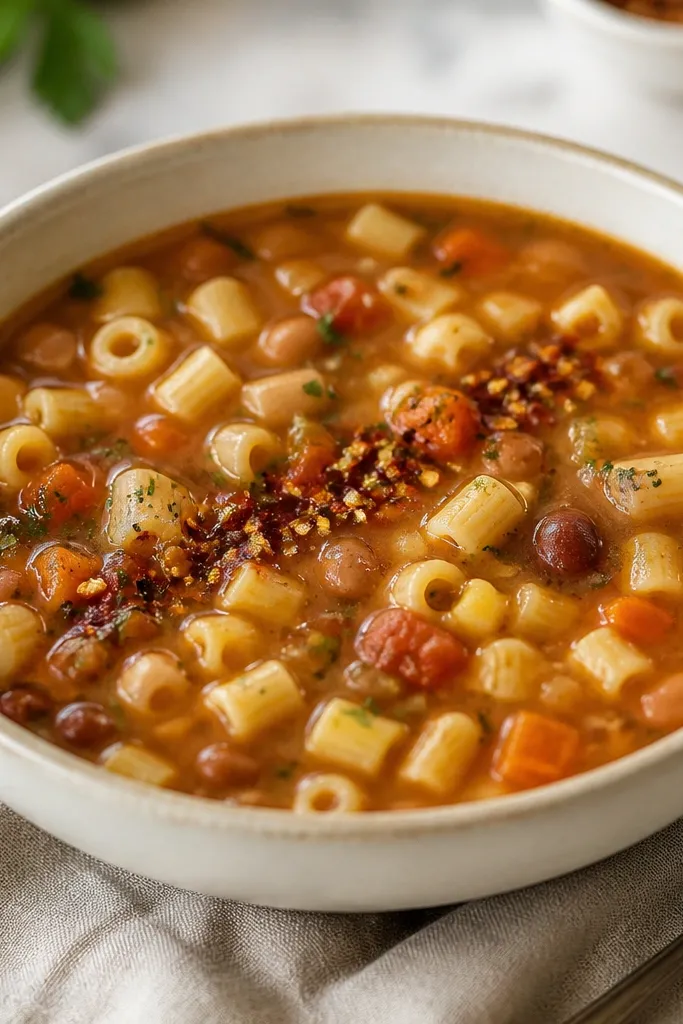
Chili flakes make the bowl look alive. It adds a visual pop without changing the whole flavor profile. I like a light scatter because it reads as intentional heat rather than "someone dumped a grinder." The flakes also catch light, so they photograph well against the thick broth.
Use a pinch between your fingers to control the distribution. Start with less than you think - 1/8 teaspoon per bowl. If your soup already has heat from spicy sausage, skip flakes.
Try thisToast chili flakes in a teaspoon of olive oil for 20 seconds, then drizzle a few drops on top for deeper aroma.
One warningOverloading flakes makes the soup look like it's been sitting in a spice jar.
9. Pot Rim Steam Framing
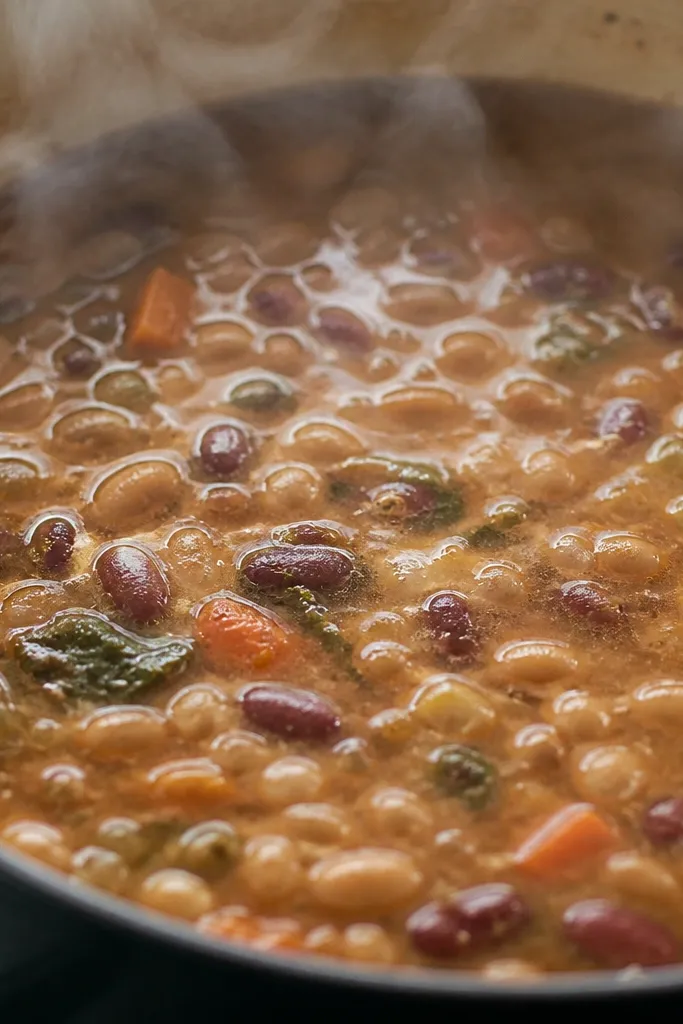
Gentle simmer bubbles look better than a hard boil. They signal thick broth and proper cooking temperature. When the pot is framed, you also show the one-pot convenience visually, which matches the Easy Pasta Fagioli Soup quick_easy promise. Beans floating at different levels makes the texture look real.
Keep the burner at medium-low after simmering. Stir occasionally so the bottom doesn't stick while you keep the surface gently bubbling. If the bubbles are big and fast, lower heat - thick soup should burble, not roil.
Try thisWipe the pot rim before you photograph. Steam fogs the rim fast and it looks sloppy in pictures.
One warningLetting the soup boil aggressively - it breaks pasta and makes the broth look thin.