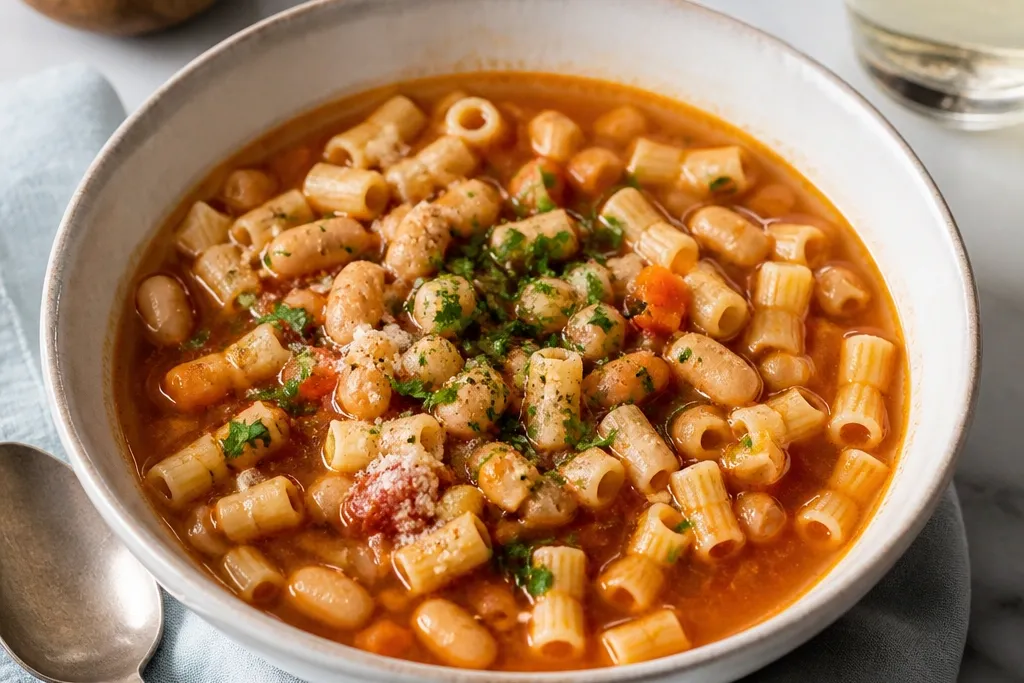
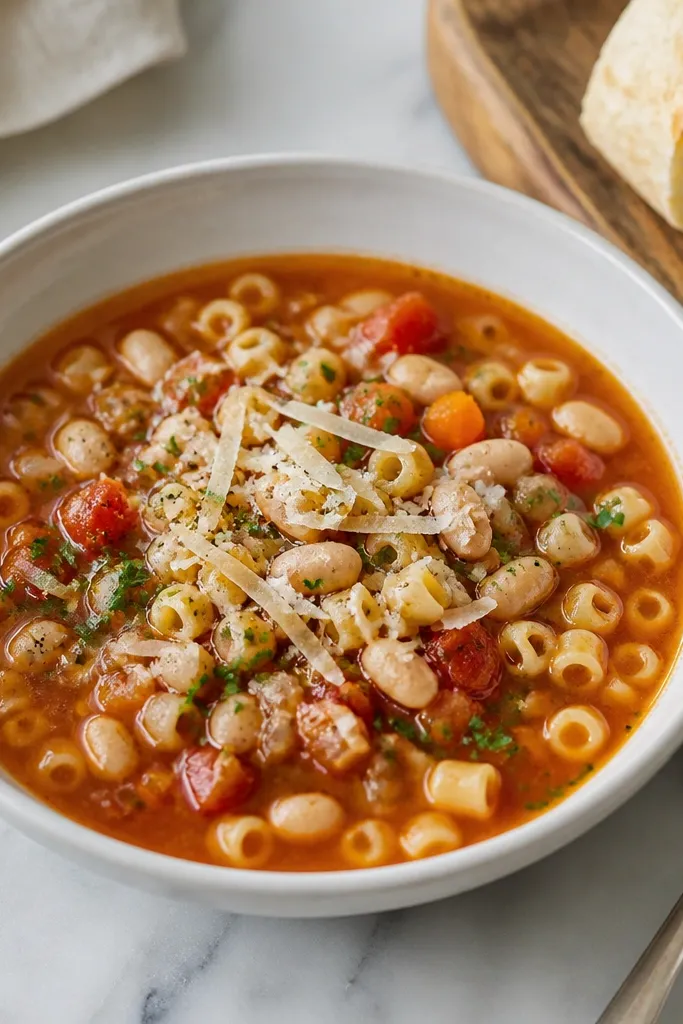
1. Shiny Cannellini Top with Olive Oil Swirl
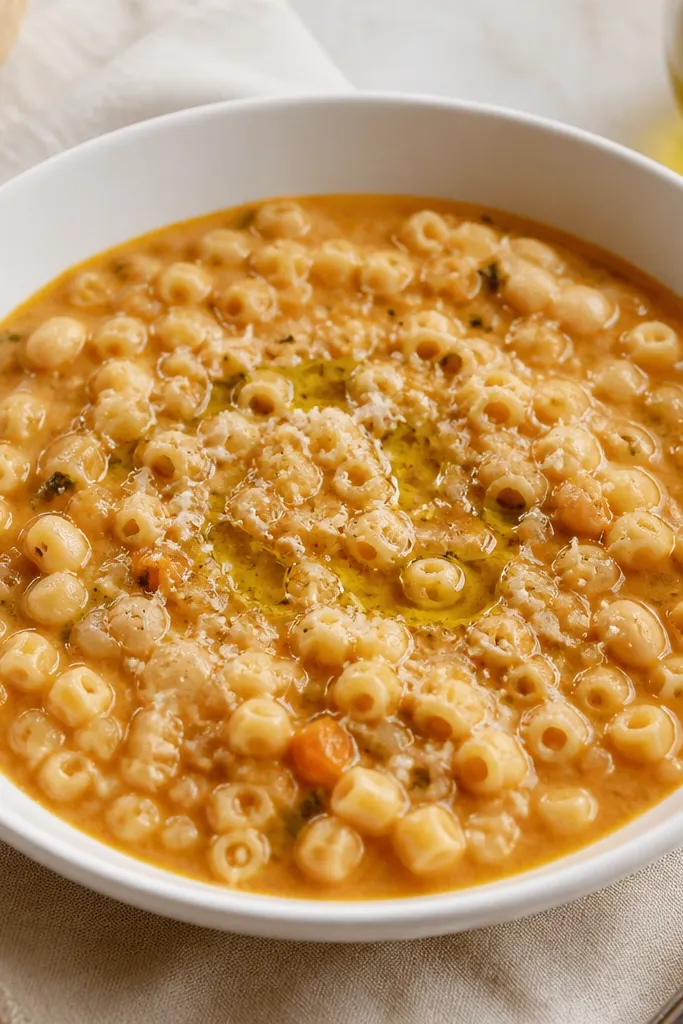
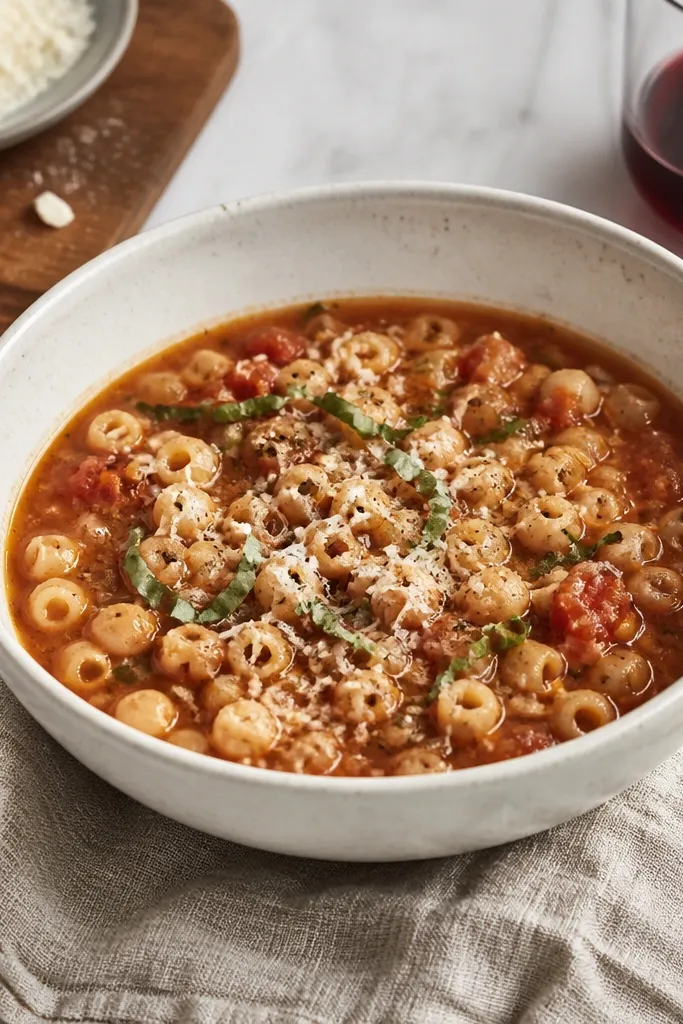
This look comes from adding olive oil after the heat is off. When the broth is hot but not boiling, the oil sits on top and catches the light instead of disappearing. Cannellini beans stay creamy-looking while the broth looks like it clings - that "restaurant spoon coating" effect. Grated cheese sprinkled last adds a bright snowy texture against the beige soup.
Use a white bowl with a wide rim so the oil sheen shows. Add 1 to 2 tablespoons extra-virgin olive oil right before serving, then drizzle in a small circle with a spoon. Sprinkle cheese lightly over the center, not all over, so it doesn't soak in and dull the contrast.
Try thisWarm the bowl for 1-2 minutes in hot water, then dry it - the soup stays glossy longer.
One warningSkipping the off-heat oil step makes the top look flat and oily.
2. Herb Pinstripe Finish with Flat-Leaf Parsley
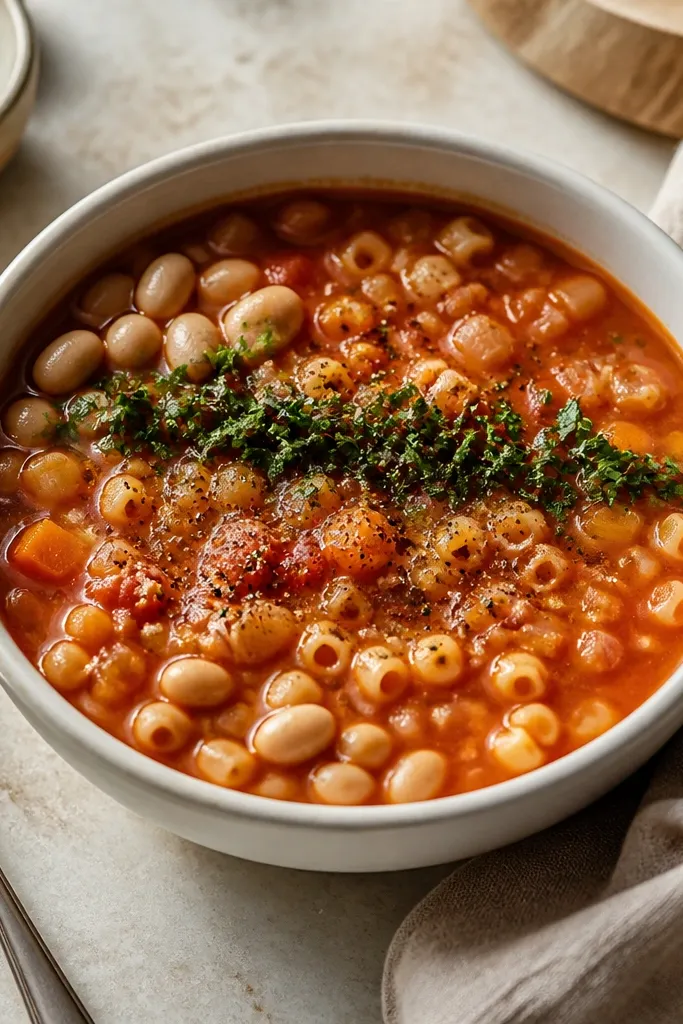
Parsley cut finely creates a clean green line that reads as "fresh" in photos. The key is using flat-leaf parsley, not curly, because the flat leaves hold shape and don't float as messy confetti. Black pepper specks add micro-contrast without changing the flavor. This finish makes the bowl look styled even when the soup is the same recipe.
Cut parsley with a knife into small pieces (not a puree). After ladling, tap the bowl gently once to settle the surface, then place parsley in a thin stripe across the center. Add pepper last using a grinder with the setting on medium.
Try thisIf your parsley turns dark from heat, toss it with a teaspoon of olive oil and add right at plating.
One warningAdding herbs at the simmer stage makes them look gray and tired.
3. Cheese Snow Cap with Micro-Grated Pecorino
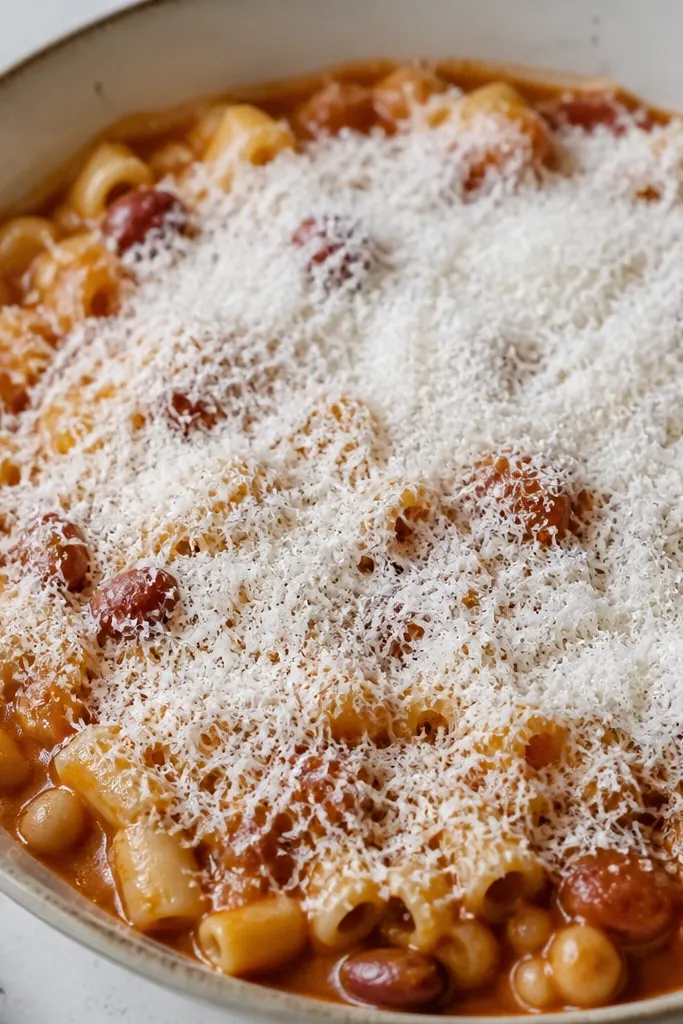
Micro-grated pecorino melts just enough to look creamy but doesn't disappear into the broth. That "snow cap" effect shows up in pinned photos because the top surface looks textured, not smooth. The salty aroma reads richer, too. It also gives you a clear focal point - the camera loves that.
Use a microplane on pecorino or parmesan so the shreds are powdery-fine. Sprinkle about 1-2 tablespoons over each bowl, then wait 30-60 seconds - you'll see it settle slightly. Keep the broth thickness medium so the cheese doesn't sink instantly.
Try thisGrate cheese fresh right before serving; pre-grated cheese looks dull and clumpy.
One warningBig flakes of cheese sink and make the top look greasy.
4. Bean-Forward Garnish Ring
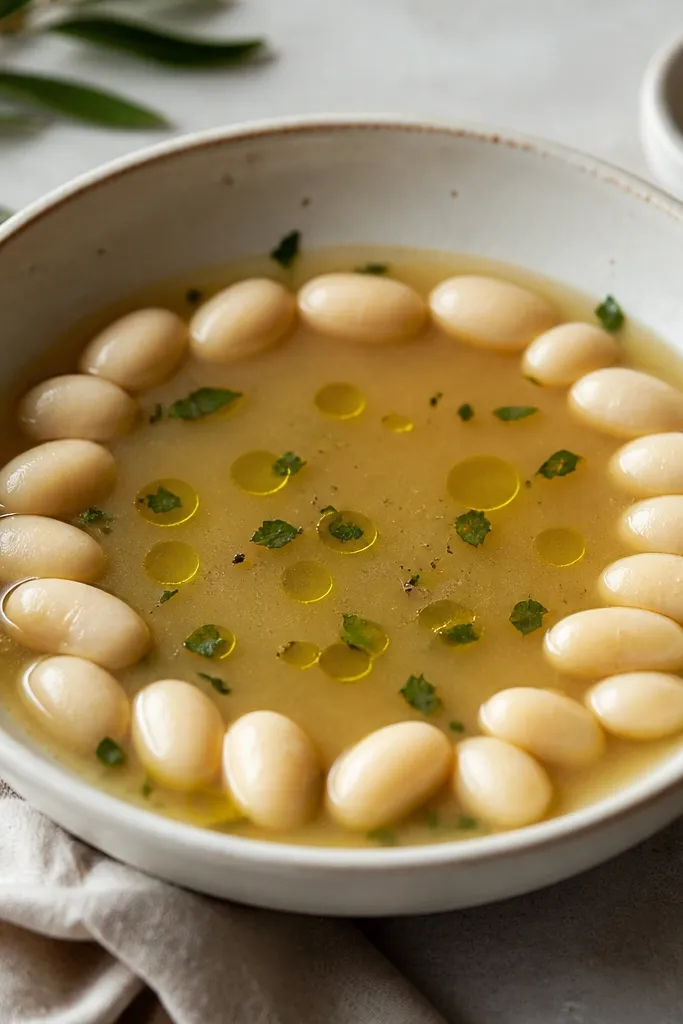
This is the easiest "luxe" trick: you control the visible beans. When beans cluster around the rim, the bowl looks thicker and more generous, even if the total amount is the same. The ring also frames the center where your oil and cheese sit. It reads as intentional styling, not random ladling.
After ladling, place 6-10 whole beans on the rim using the back of a spoon. Aim for a loose ring, leaving the center open. Drizzle oil in the center only so the rim stays clean.
Try thisKeep a small ladle reserved for bean placement so you don't break beans during serving.
One warningStirring aggressively right before plating turns beans into mushy bits.
5. Red Pepper Flake Pop
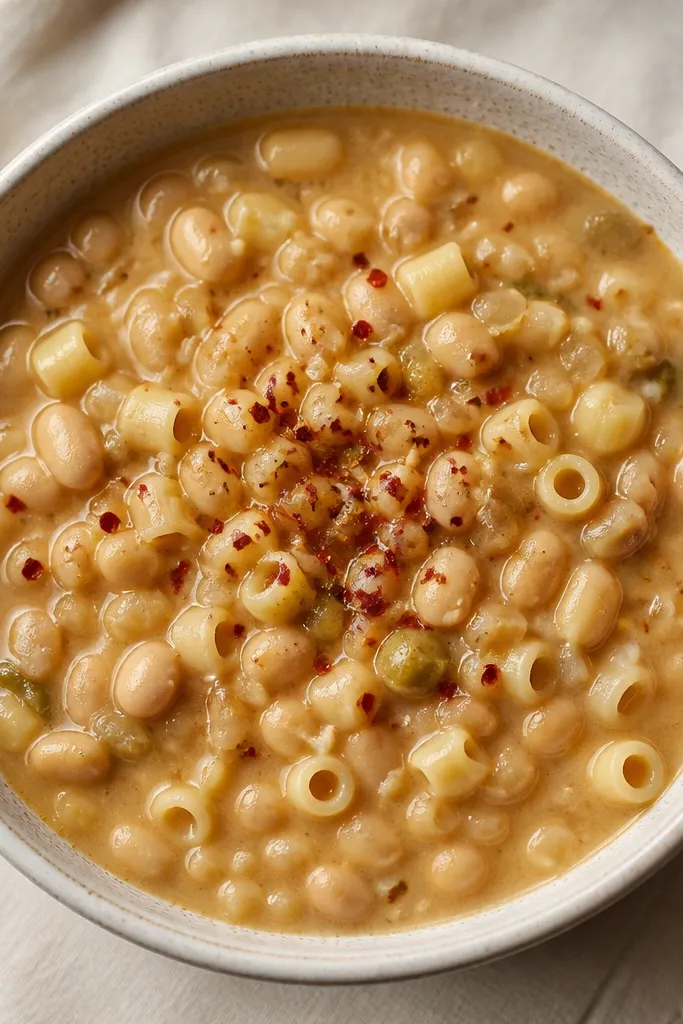
A few red flakes add color contrast that makes the whole bowl look warmer. The beige soup can look flat in photos, so that small pop matters. It also signals "spicy" without changing the recipe - people taste it and associate it with richness. Use less than you think so it looks styled, not chaotic.
Use dried chili flakes, not powdered paprika. Sprinkle 1/8 to 1/4 teaspoon per bowl, focusing on the center. Add flakes after oil and cheese so they cling to the surface.
Try thisWarm the flakes between your palms for a second so they smell stronger when served.
One warningDumping a full spoon of chili makes the top look scorched and uneven.
6. Garlic Bread Crouton Side Plate
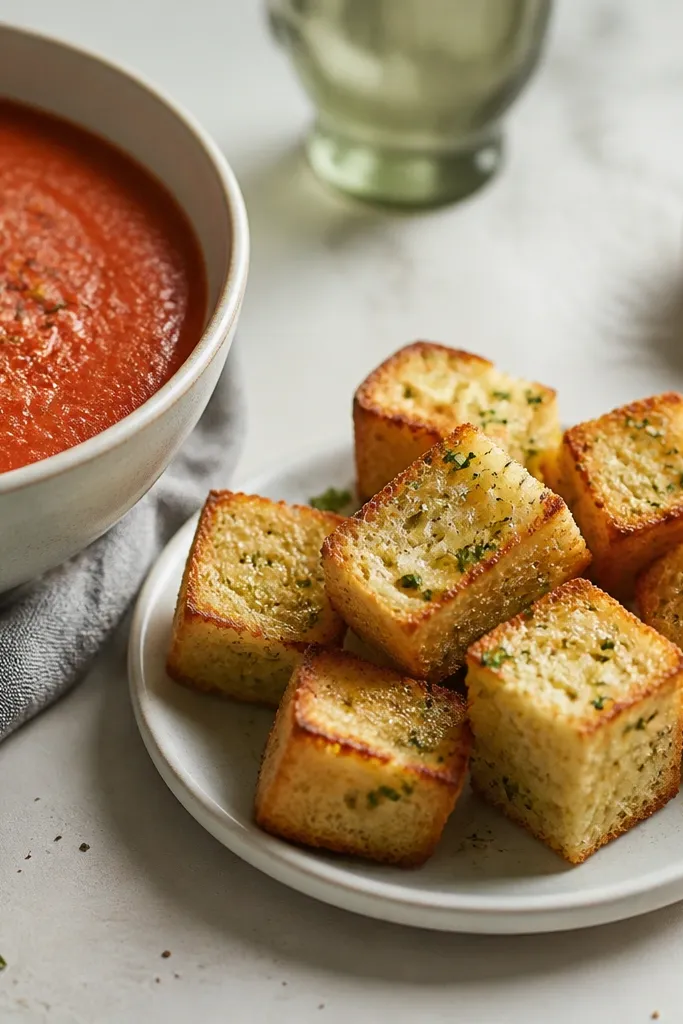
This is a plating move that makes the meal look like a course. The croutons bring a golden color and crunch texture you can see instantly. It also gives you height next to the bowl, which makes the scene more "restaurant." I've used it for dinner parties when I wanted guests to feel like they were getting something special.
Cut day-old bread into 1-inch cubes. Toss with melted butter or olive oil, minced garlic, and a pinch of salt, then toast at 400°F for 8-10 minutes until edges brown. Serve on a small plate beside the bowl, not on top, so they stay crisp.
Try thisToast the cubes right before serving; 5 minutes makes the difference between crunchy and soggy.
One warningPutting bread directly into the soup turns the photo into a beige mush.
7. White Bowl + Dark Table Linen Contrast
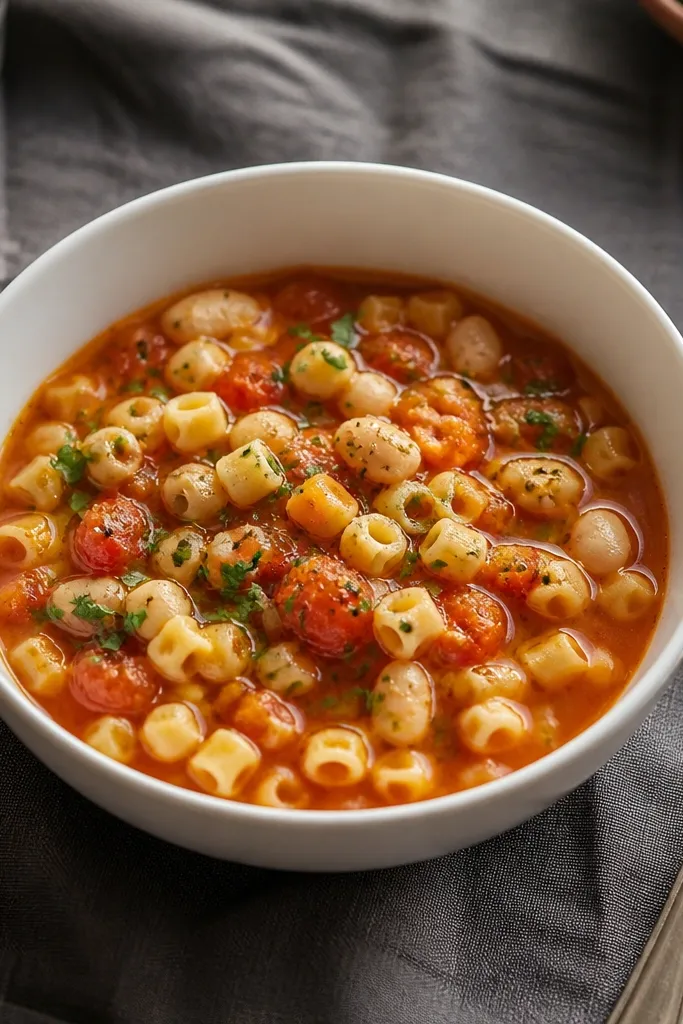
Contrast is what makes the bowl look expensive. A dark linen background makes the pale soup glow and makes olive oil highlights pop. It also hides small spills and drips from serving, which is a real-life advantage. This is the setup I use when I'm snapping food photos at home without a professional kitchen.
Use dark gray, charcoal, or deep navy linen. Place the bowl slightly off-center and let the spoon handle angle toward the light. Keep garnish on top - don't spread it on the rim where it smears against the table.
Try thisUse window light from the side, not overhead; the oil sheen shows better.
One warningUsing a patterned tablecloth makes the bowl look busy and cheap.
8. Spoon-Coated Broth Consistency in the Photo
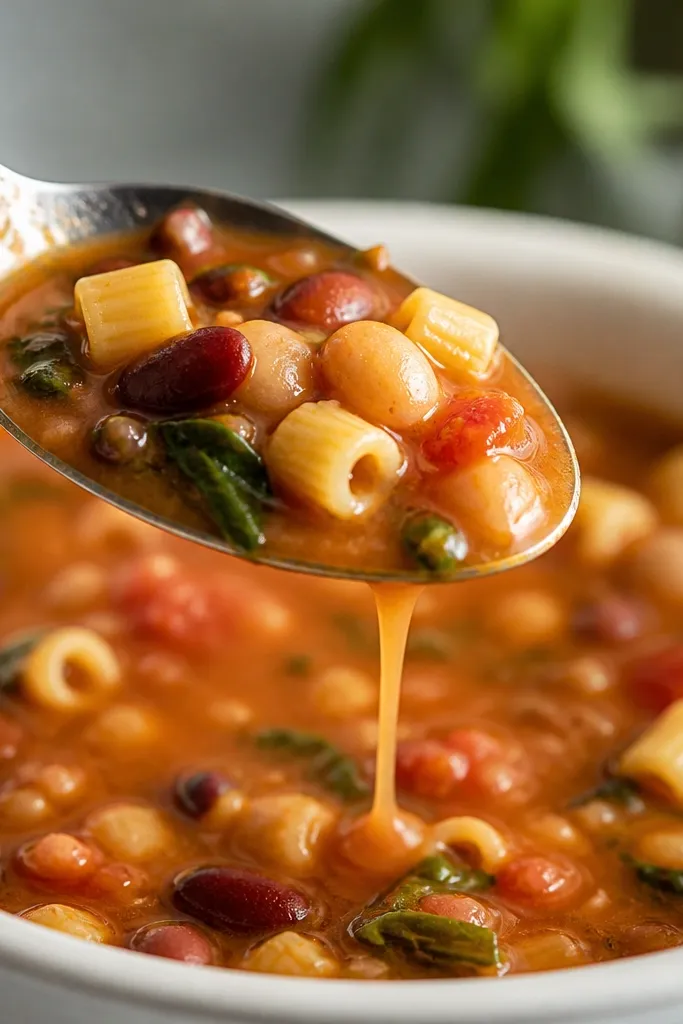
This look is about viscosity. When the broth clings, the soup reads "thick and luxe" even before you taste it. The slow drip happens when you mash part of the beans and simmer briefly so starch develops. If your broth runs like water, the photo looks thin no matter how you garnish.
Mash about 1 cup of beans against the side of the pot, then stir back in. Simmer until glossy, then stop before the pasta turns soft. For serving, use a ladle that lifts with some sauce, not just liquid.
Try thisDo a quick spoon test: drag a finger line on the back of the spoon - if it holds for a second, you're there.
One warningOvercooking the pasta makes the broth cloudy and thin-looking when it rests.
9. Parmesan Rim Dusting for Clean Edges
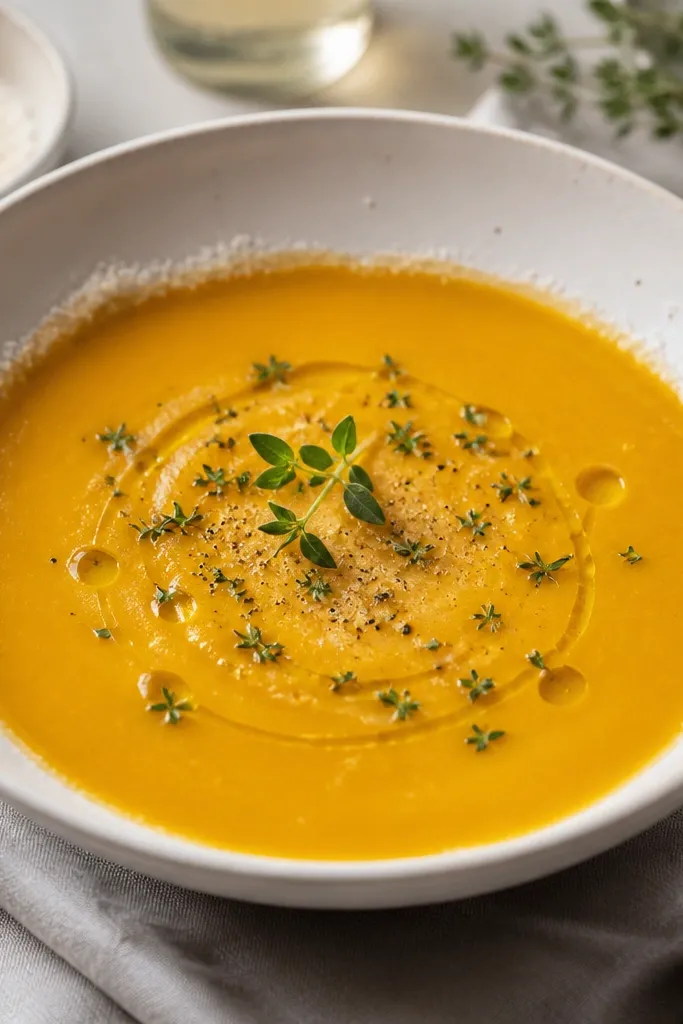
The rim dusting makes the bowl look styled because your eye catches a clean edge. It also hides tiny ladling imperfections. Parmesan dusting works best when the soup surface is thick enough that a little cheese stays put. The effect reads intentional, especially in overhead shots.
After ladling, wipe any drips on the rim with a damp paper towel. Sprinkle a pinch of cheese along the inner rim while the soup is still hot. Keep it light - you want a whisper of dust, not a thick band.
Try thisUse a paper towel dampened with warm water, not cold - cold water can smear the soup stain.
One warningLeaving soup drips on the outside of the bowl makes the whole thing look rushed.
10. Peppery Black Finish with Coarse Grind
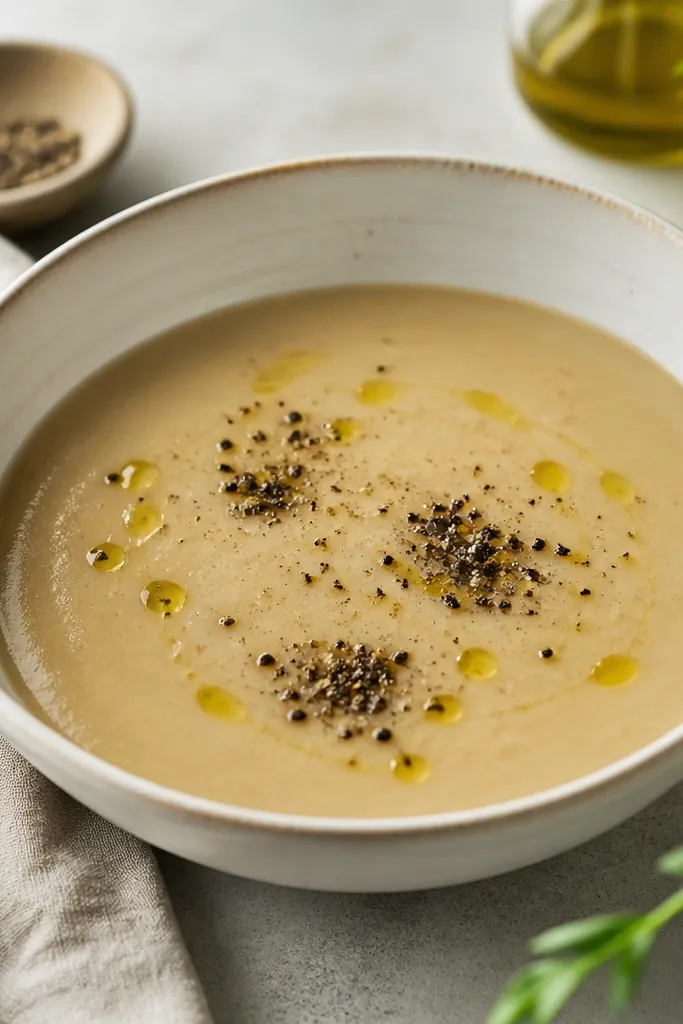
Coarse pepper looks premium because it has visible texture. Fine black pepper can disappear into the soup and look gray. A few clusters also give you a "chef hand" vibe without changing the recipe's base. This is the kind of detail that shows up in close-up pins.
Use a pepper grinder on a coarse setting. Add after cheese and oil so it catches light. Aim for about 10-15 grinds per bowl, concentrated near the center.
Try thisTaste your base first. If it's already peppery, skip extra and go heavier on herb.
One warningUsing pre-ground pepper can look flat and dusty.