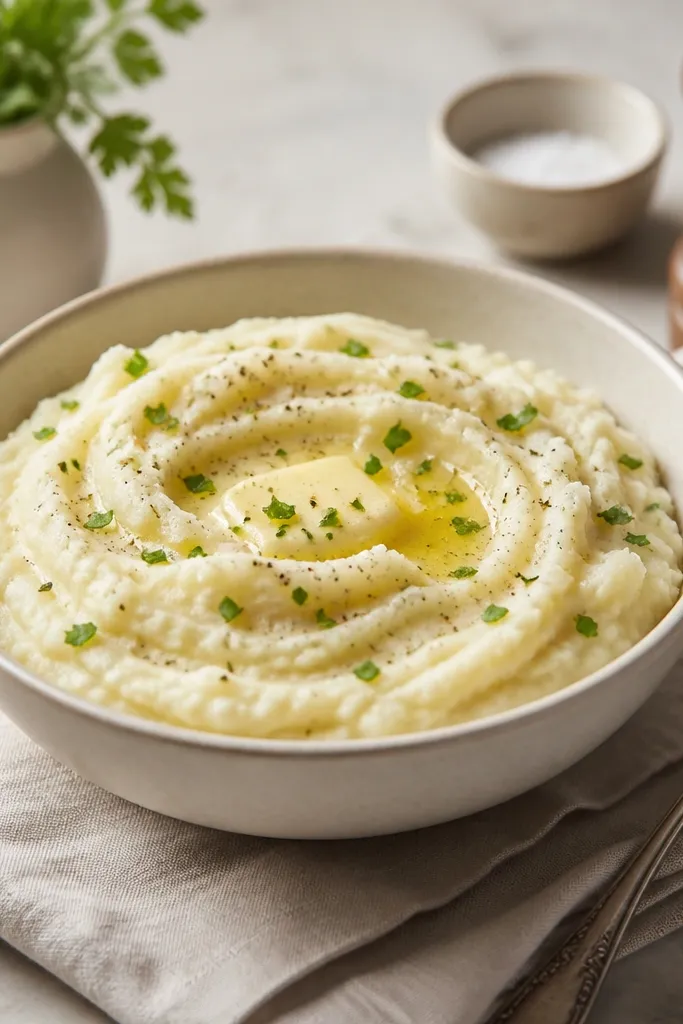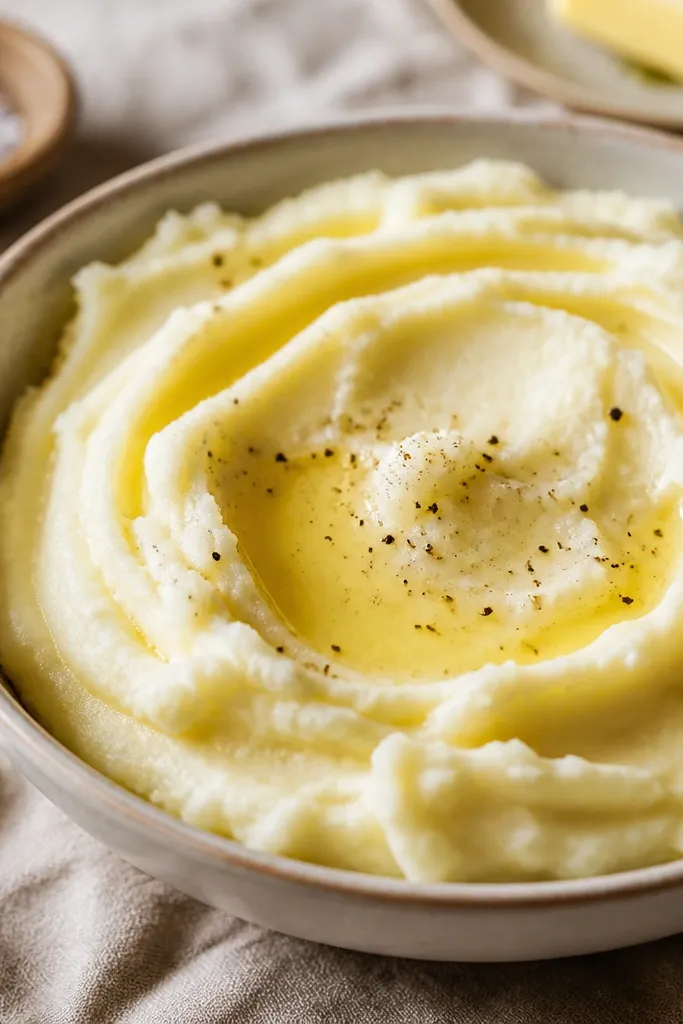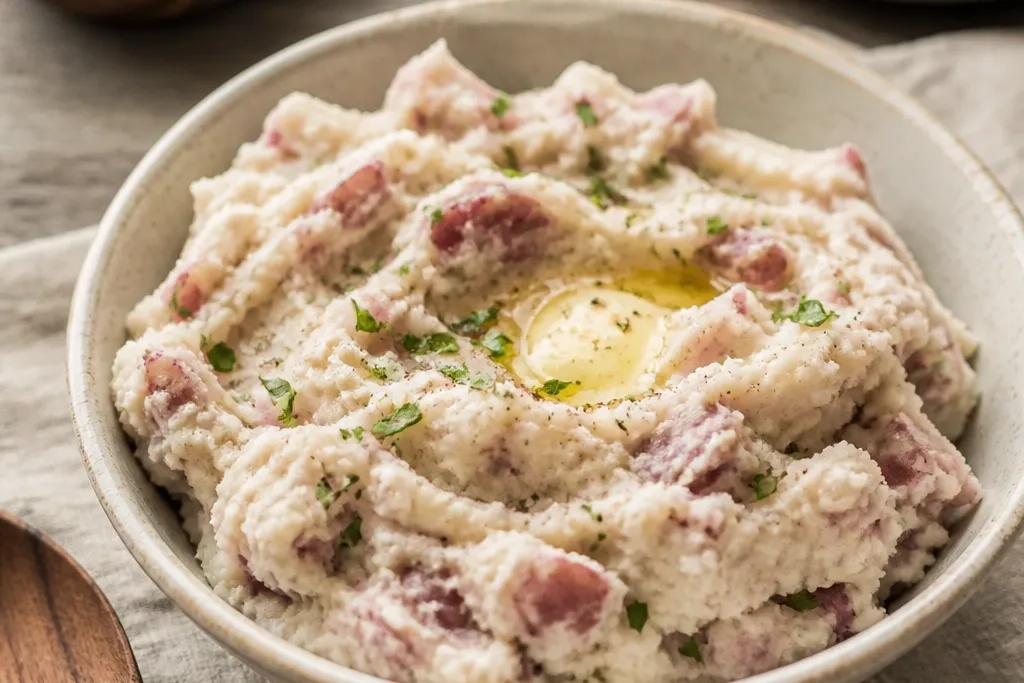
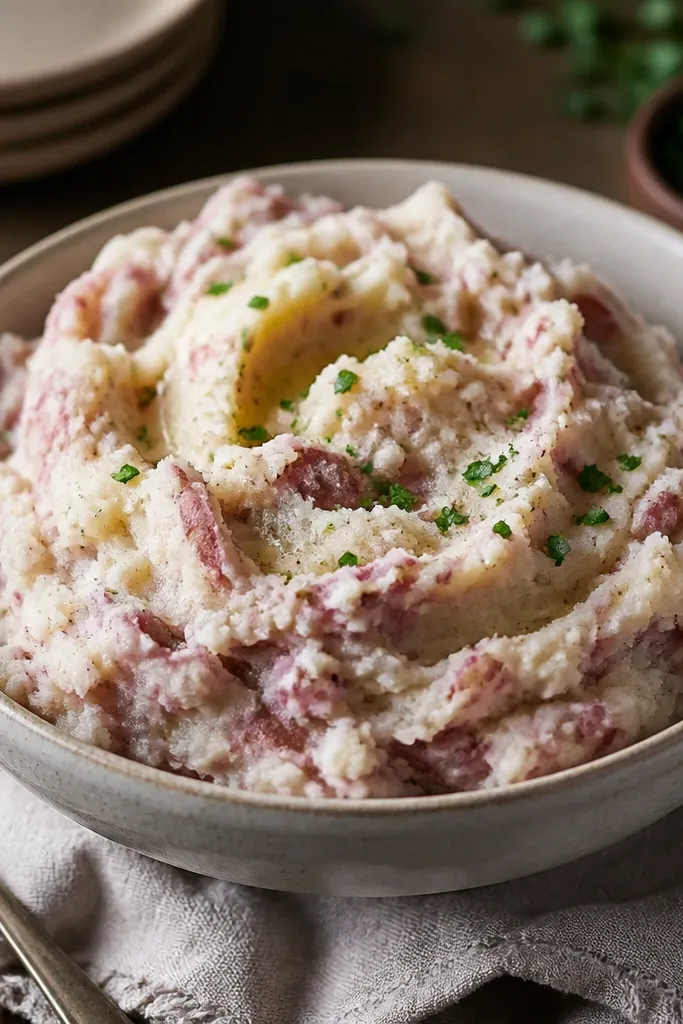
1. Rustic Rosy Mash Bowl with Butter Gloss
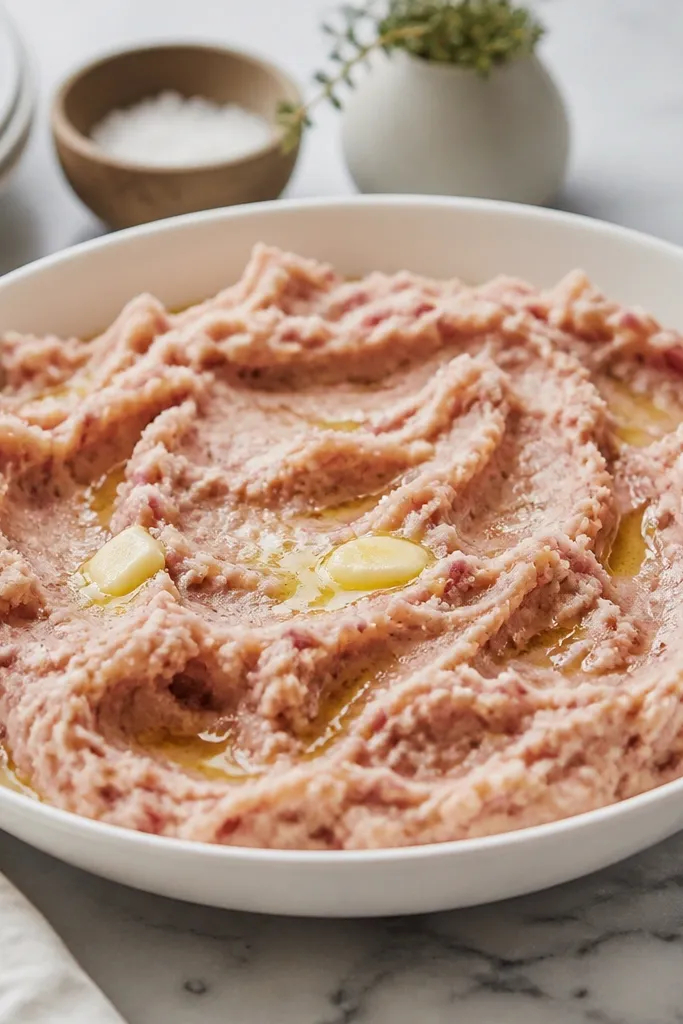
This look is all about visible skin texture. The red flecks show up because you mash with a masher instead of blending, and the butter gloss catches light on the ridges. I like a matte-to-satin finish - too much liquid makes it look dull and gray. The white bowl makes the reds pop without needing extra garnish.
Mash 2 pounds of red-skinned potatoes with the skins on. Add 6 tablespoons butter first, then warm milk a few tablespoons at a time until you get a thick, spoonable consistency. Keep the mash slightly chunky so the skins look intentional, not shredded.
Try thisPress the masher lightly twice more after you add the last splash of milk - it smooths the top but keeps the skin flecks.
One warningDon't stir in cold milk or add it all at once - it turns the mash loose and the red tone looks flat.
2. Skin-Flecked Center Mound for a Farm Table Plate
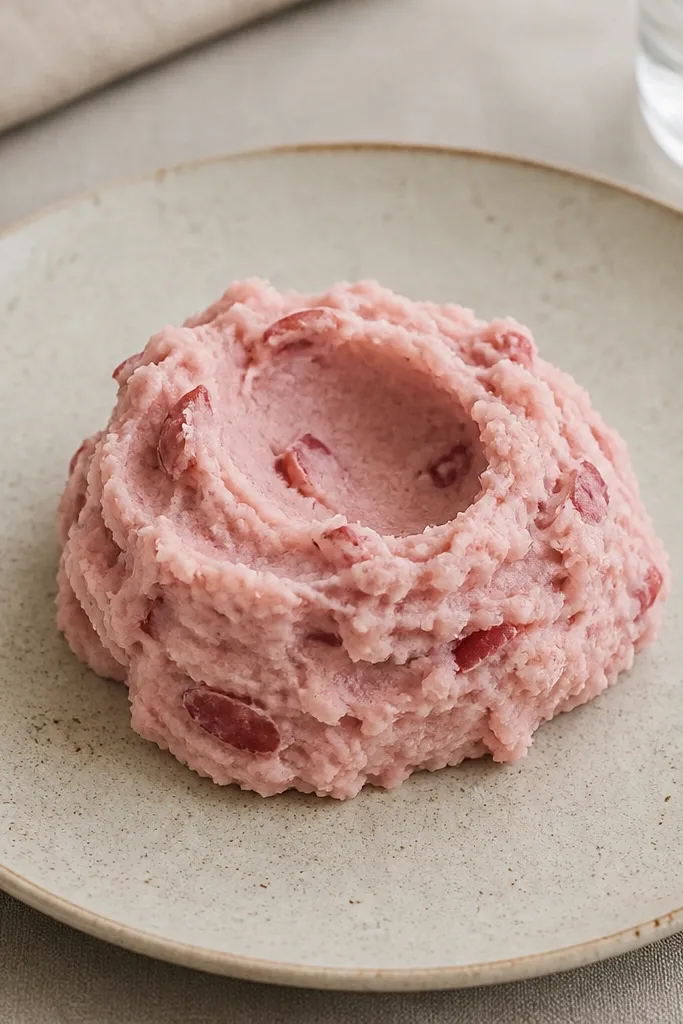
A center mound makes the dish look styled even when it's simple. The crater shape holds any melted butter you spoon on top, so you get a glossy highlight right where the eye goes. I've found that slightly uneven ridges read more "homemade" than perfectly smooth mash. The skin flecks act like natural specks of color, so the plate doesn't need extra toppings.
Spoon the mash into the center, then use the back of a spoon to make a shallow well. Add 1 to 2 tablespoons melted butter to the well and let it soak in for 30 seconds before serving. Keep the mound about 3 inches wide for a balanced look on a standard dinner plate.
Try thisWarm your spoon under hot water before shaping - it glides over the mash and keeps the ridges clean.
One warningDon't spread it flat across the plate - you lose the shape and it looks like leftover mash.
3. Red Mash with Sour Cream Swirl Contrast
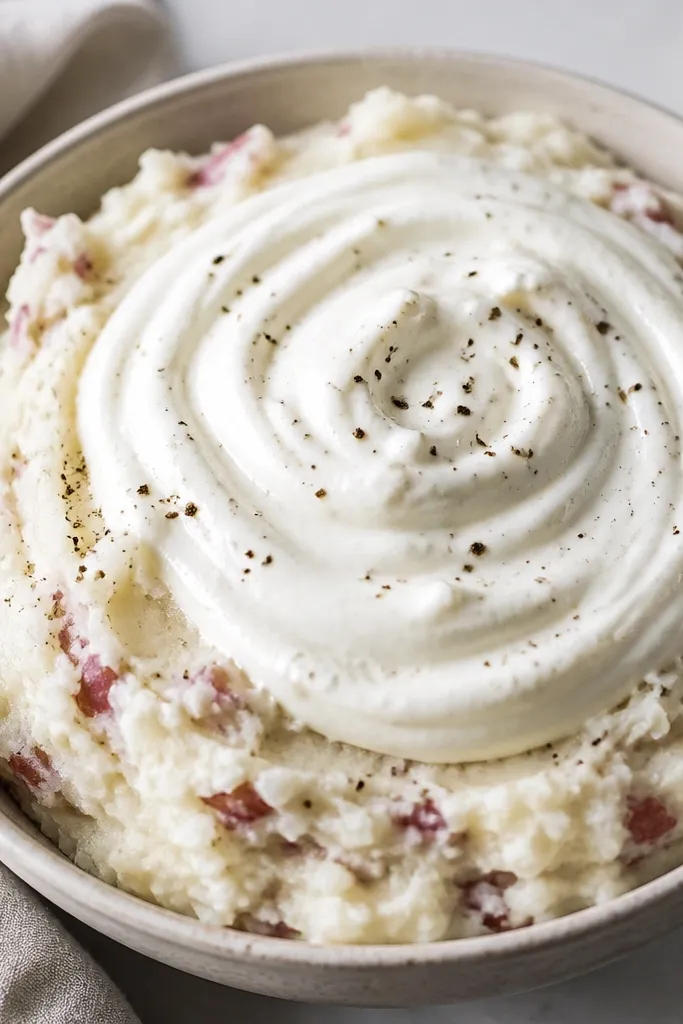
Sour cream adds a bright white contrast that makes the red look more vivid. The swirl also signals texture, not plain mash - you get a creamy top layer over chunky potatoes. I like using thick sour cream straight from the fridge for a thicker swirl that doesn't melt instantly. Black pepper specks tie it together and look good in photos.
Spoon mash into a bowl and smooth the top slightly with a spatula. Add 3 to 4 tablespoons thick sour cream and swirl with the back of a spoon. Finish with cracked black pepper and a tiny pinch of smoked paprika if you want a warm red-brown tone.
Try thisSwirl right before serving so the sour cream keeps its shape and stays bright.
One warningDon't add watery yogurt or thin sour cream - it turns the top pink and muddy.
4. Garlic Butter Red Mash with Herb Specks
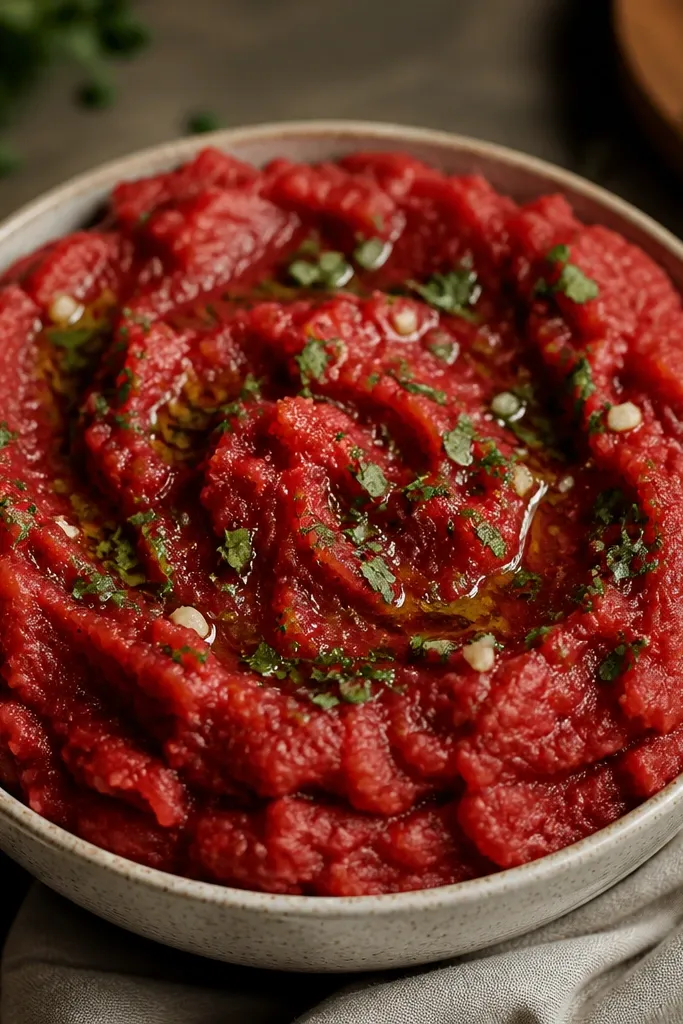
Herb specks make the skin flecks look intentional. Garlic butter adds depth and keeps the mash looking shiny instead of dry. I like chopped parsley because it stays green in warm food without turning gray. The uneven scatter makes it feel fresh, not sprinkled-on.
Melt 6 tablespoons butter, then stir in 1 to 2 teaspoons minced garlic and cook for 30 to 45 seconds. Toss the garlic butter into the hot mash, then fold in 1 to 2 tablespoons chopped parsley. Keep the parsley chopped fine enough to distribute but not so fine it disappears.
Try thisToast the garlic in butter for just under a minute - browned garlic tastes harsh and darkens the red.
One warningDon't use dried parsley - it looks dusty and the flavor turns flat.
5. Horseradish-Edge Red Mash Look
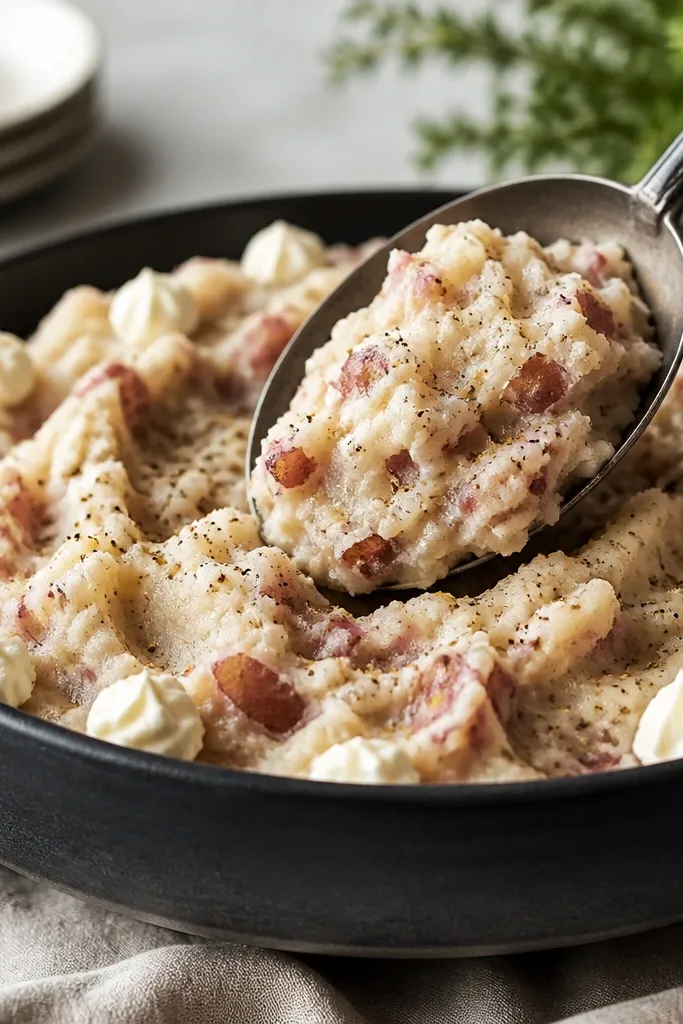
The horseradish cream creates a pale edge that frames the red. It also tastes sharp against the buttery base, so the dish doesn't feel heavy. I like placing it around the perimeter instead of on top - it helps the mash stay visually textured. The pale color makes the red look cleaner and brighter.
Mix 2 tablespoons prepared horseradish with 2 tablespoons sour cream and 1 teaspoon lemon juice. Spoon the horseradish cream around the edge of the bowl in small dollops. Serve immediately so the horseradish stays creamy, not runny.
Try thisUse a small piping bag or sandwich bag corner for neat dollops.
One warningDon't stir horseradish all the way through - the whole bowl turns speckled and less photogenic.
6. Smoked Paprika Red Mash with Toasted Pepper Rim
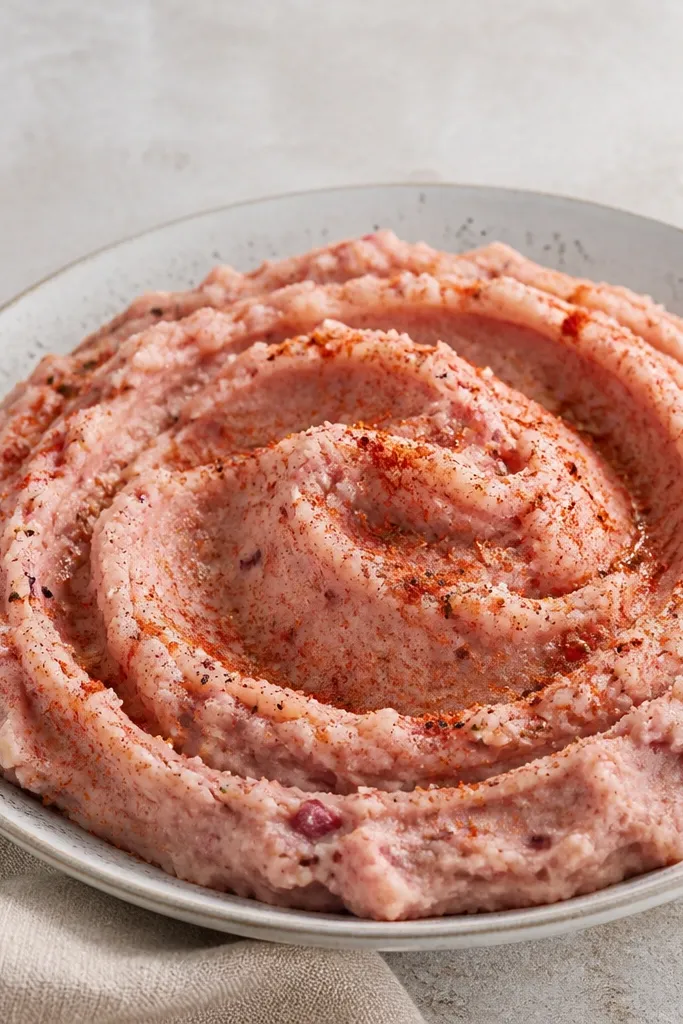
A light smoked paprika dust makes the red read warmer, like roasted potatoes. The pepper ring gives a defined border, which makes the bowl look intentionally plated. I keep the paprika dust thin so it doesn't look like powdery seasoning. This is the look I use when I want the dish to match roasted meats on a brown-and-red table.
After mashing, sprinkle in 1/2 teaspoon smoked paprika and stir until the color is even but still clearly red. Top with a few cracks of black pepper and an extra pinch of paprika just in the center. Don't overdo it - a little looks styled; too much looks gritty.
Try thisSift paprika through a fine strainer so it lands as a soft even haze.
One warningDon't add paprika early in the boil - it dulls and turns the water tinted.
7. Chunky Masher Ridges with Melted Cheese Threads
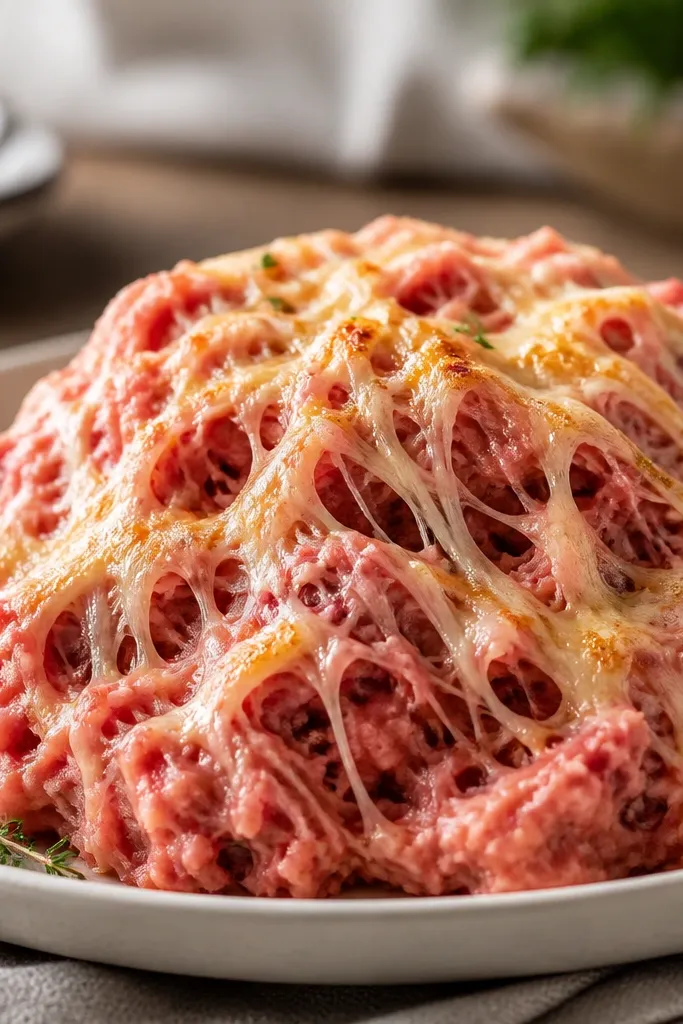
This is the comfort-food version of the rustic skin look. Melted cheese clings to ridges, so it forms threads instead of pooling. The browned spots on top make it look baked without actually baking the whole dish. The red skins keep showing through, so it doesn't look like plain cheesy potatoes.
Spoon mash into a shallow oven-safe dish. Sprinkle 1/2 to 3/4 cup shredded sharp cheddar over the top. Bake at 425°F for 8 to 10 minutes until you see browned edges and soft melting, then serve right away.
Try thisUse sharp cheddar for stronger flavor and better browning than mild cheese.
One warningDon't bake too long - the mash dries and the cheese turns rubbery.
8. Two-Tone Red Mash and Skin Crisps (Pan-Browned Bits)
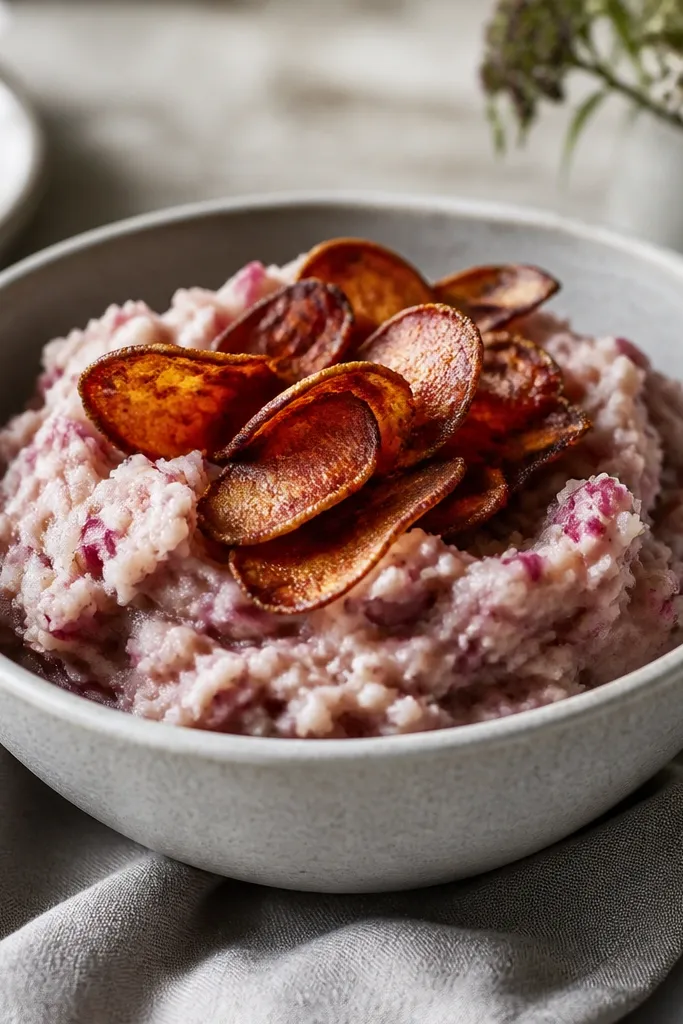
Crisped skin bits make the dish look like it came from a diner kitchen. You get a two-tone effect: soft rosy mash plus darker roasted skin edges. I like this when I'm serving guests because it adds crunch without changing the recipe's base. The skins stay in the flavor wheel - they taste potato-buttery, not burnt.
After boiling, reserve some skins if you can. In a hot skillet, toss the skins with 1 tablespoon butter and a pinch of salt, then cook 2 to 4 minutes until they darken and crisp. Pile a few crisps on top of the mash right before serving.
Try thisCut skins into small strips so they crisp quickly and evenly.
One warningDon't crowd the pan - overcrowding steams the skins and they go limp.
9. Garlic Roasted Red Mash with Chive Confetti
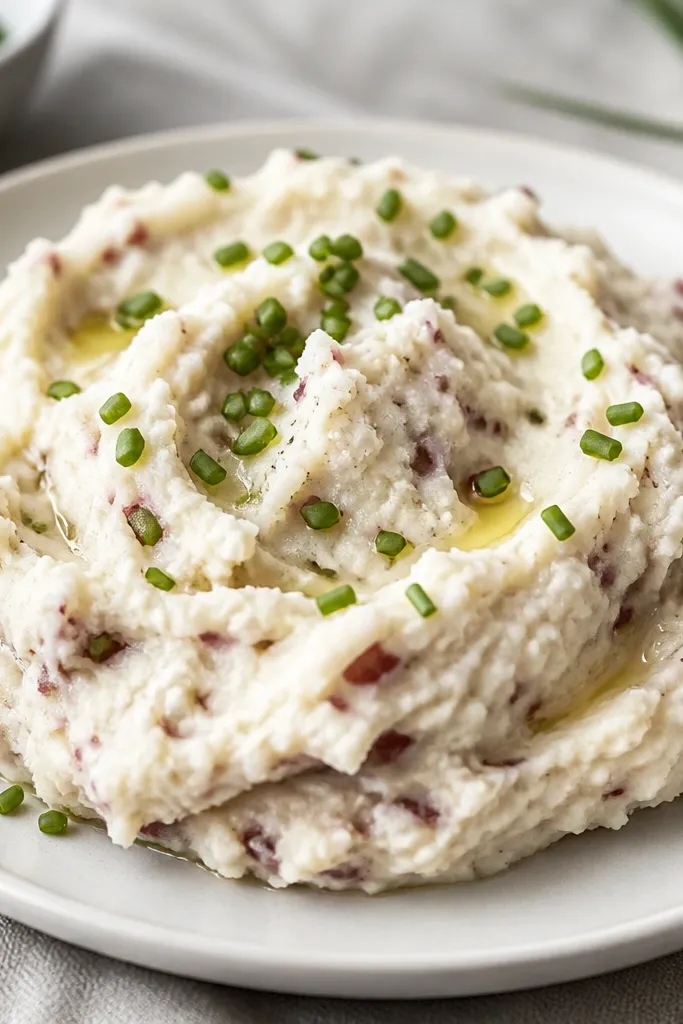
Chive confetti looks clean and fresh against the red. It also gives a mild onion bite that matches the potato sweetness. When the mash is thick, the chives sit on top and don't sink, so the look stays crisp. I like this version for spring dinners and anything with roasted chicken or pork.
Fold 2 tablespoons chopped chives into the mash off the heat. For extra aroma, add 1 teaspoon roasted garlic paste (or very finely minced roasted garlic) before serving. Keep the mash thicker than you think - it should hold a spoon line for a second.
Try thisSnip chives right before plating so they stay bright green.
One warningDon't use long slices of chive - they slide off and look messy.