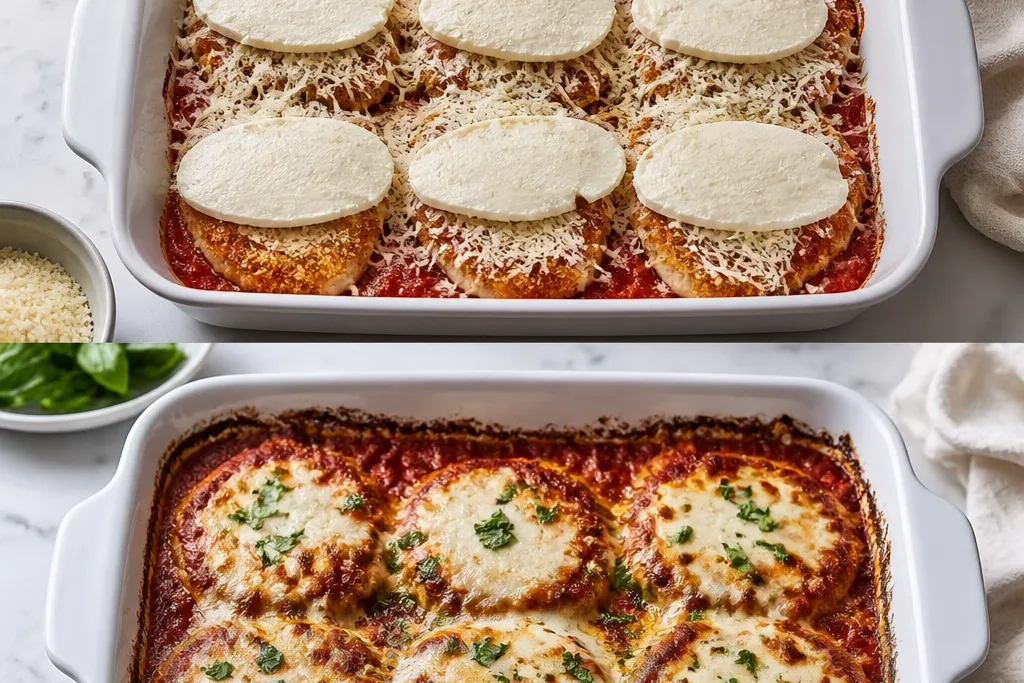
1. Crisp edge cutlets with a tight breadcrumb shell
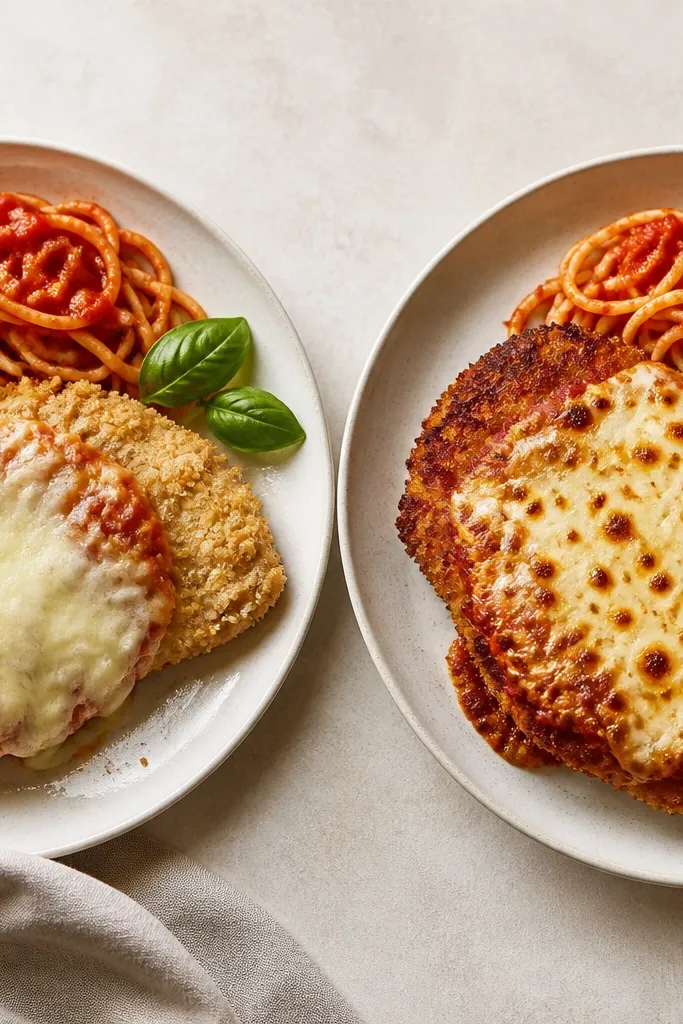
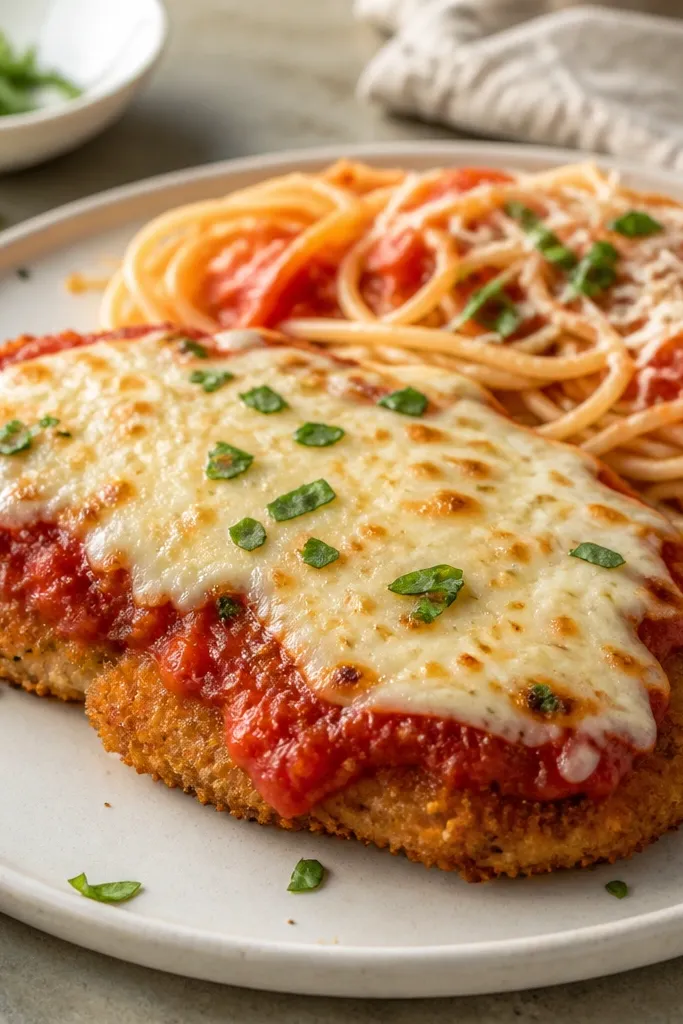
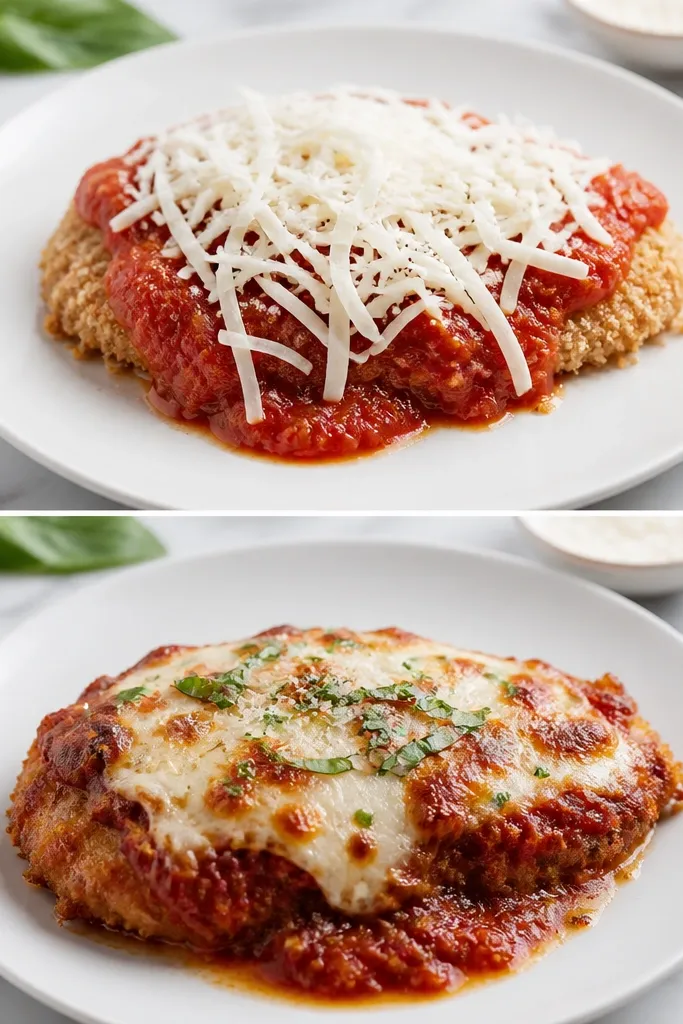
This look comes from thin cutlets and pressed-on breadcrumbs. When the coating is thin, it crisps instead of turning thick and bready. The bronze freckles on top happen when the oven is hot and the cheese is placed where heat hits it directly. You should see a defined border where breading meets sauce.
Cut breasts into cutlets and aim for 1/3 to 1/2 inch thick. Dredge in flour, then egg, then a breadcrumb mix (fine breadcrumbs plus grated Parmesan). Press each cutlet firmly so the crumbs look packed, not loose.
Try thisAfter breading, let the cutlets sit 5 minutes on a rack while you preheat the oven - the coating sets and sticks better.
One warningSkipping the press step makes the crust lift and look patchy after baking.
2. Sauce that clings in streaks, not pools at the bottom
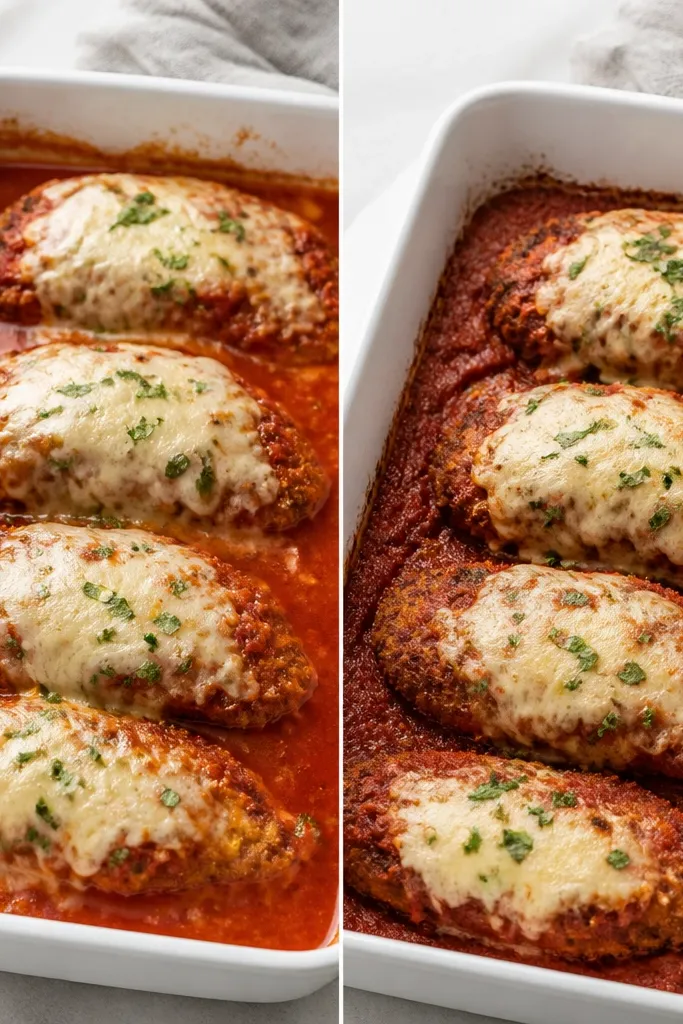
Nonna-style sauce has body because it's cooked down. When the sauce is too thin or added cold, it runs into the breading and makes it go soft. The clinging look means the sauce is warm, lightly spooned, and not drowning the cutlets. You can see it especially around the edges where the breading meets the pan.
Simmer your tomato sauce at least 15 minutes before using. Spoon a thin layer into the baking dish and place the cutlets on top - then add a little sauce around each piece. Keep the amount modest so the dish doesn't look like a stew.
Try thisWarm the sauce before spooning it on so it thickens as it hits the hot pan.
One warningPouring a full ladle of raw sauce over everything makes the bottom soggy and dull.
3. Bronze mozzarella with visible browning spots
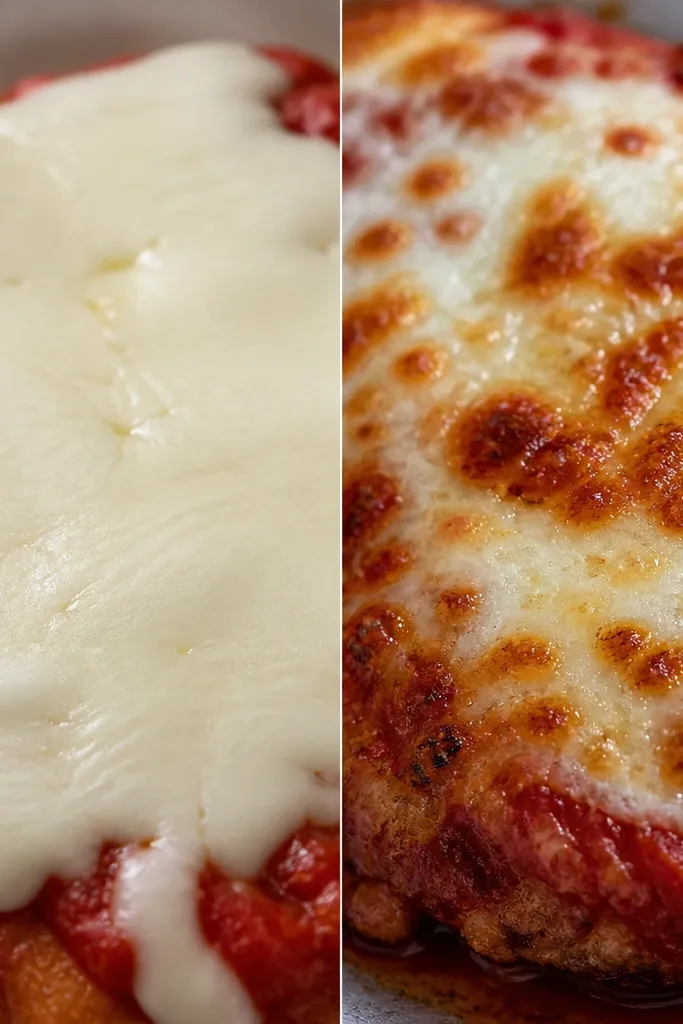
Brown spots mean the cheese is exposed to strong top heat. Mozzarella melts first and then starts to color where moisture evaporates. Parmesan sprinkled on top helps the surface brown faster because it has less water and it toasts. This is the look that makes it taste like baked, not microwaved.
Use mozzarella shredded, not watery pre-sliced. Add Parmesan on top in a thin layer so it doesn't form a thick hard crust. Bake at a high temperature (I use 425°F / 220°C) so you get color in 10-12 minutes.
Try thisFor extra browning, switch on broil for the last 1-2 minutes - watch closely so it doesn't burn.
One warningCovering the dish for the whole bake prevents browning and makes the top look gray.
4. Parmesan-speckled breadcrumb crust
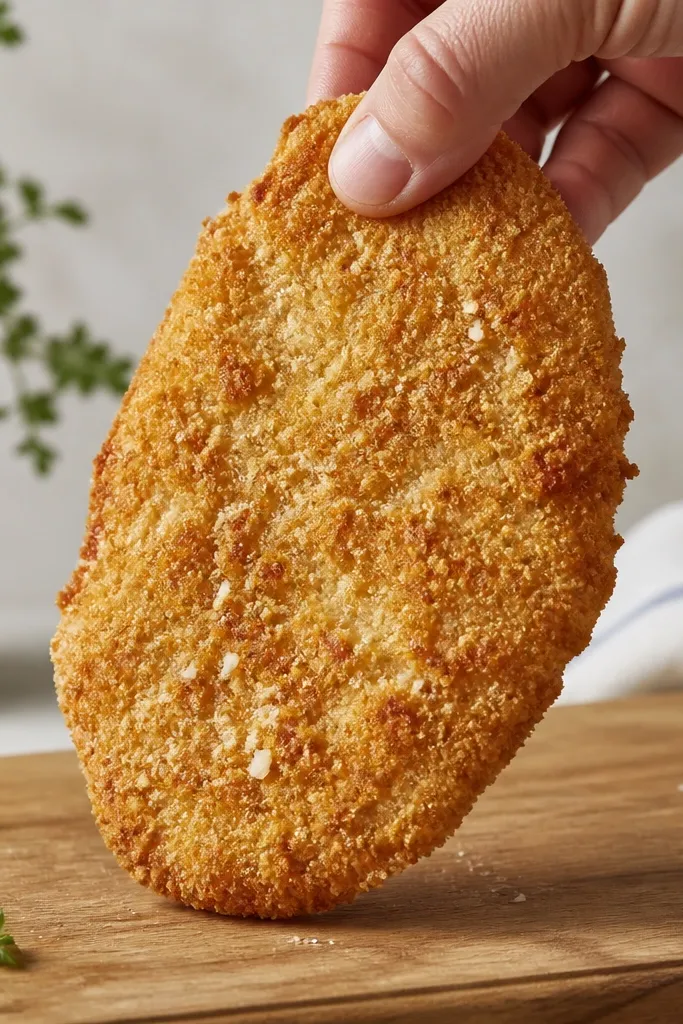
Those Parmesan flecks are what you want for an old-school Italian look. Fine breadcrumbs cook quickly and crisp without turning chunky. Parmesan in the crumbs adds salty flavor that shows through even after baking. The crust should look dry and packed before it hits the oven.
Mix 1 cup fine dry breadcrumbs with 2-3 tablespoons grated Parmesan. Keep the breadcrumb mix dry, and press it onto the egged chicken. If your crumbs feel clumpy, bake them on a sheet for 3 minutes to dry them out.
Try thisUse a shallow bowl for crumbs and work one cutlet at a time so the coating stays thick and even.
One warningUsing panko alone makes it too airy; the crust won't look tight like restaurant or nonna-style.
5. Juicy interior with clean layer separation
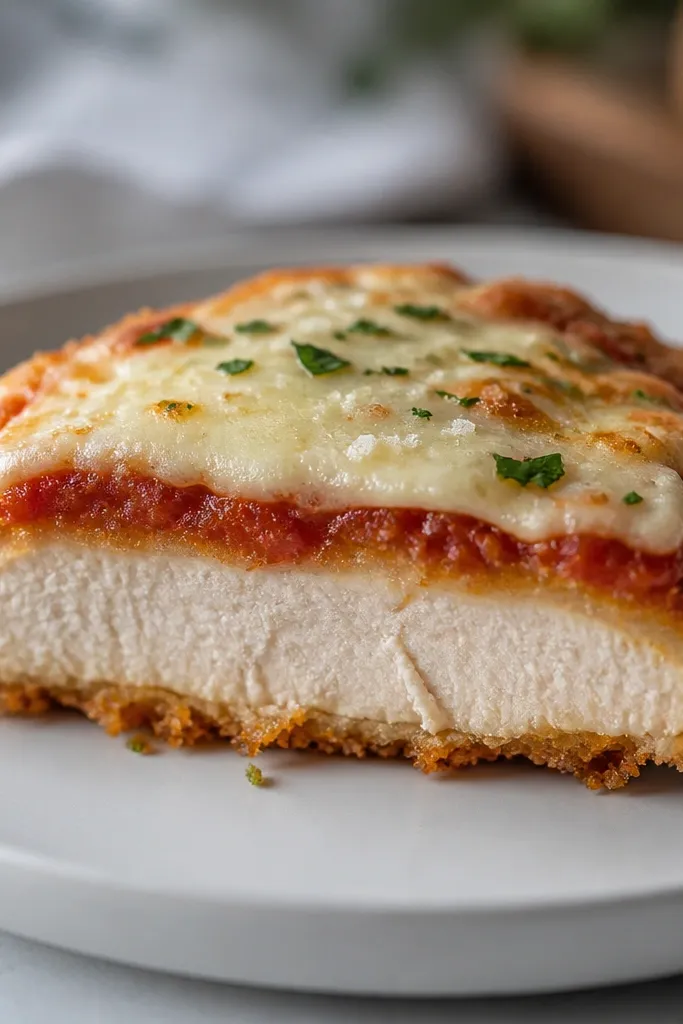
Clean separation happens when the chicken finishes at the same time the crust crisped. If you cook too long, the interior dries and the crust cracks. If you bake too short, cheese stays under-melted and sauce tastes raw. The goal is a slice that holds shape and shows layers you can see.
Bake until the chicken hits 165°F (74°C) in the thickest part. Rest 5 minutes before slicing. Spoon sauce lightly so it warms through without flooding the crumb layer.
Try thisResting is not optional - it sets the juices so the slice doesn't leak.
One warningCutting immediately makes everything slide and looks messy even if it tasted great.
6. Light sauce under the chicken, heavier on top
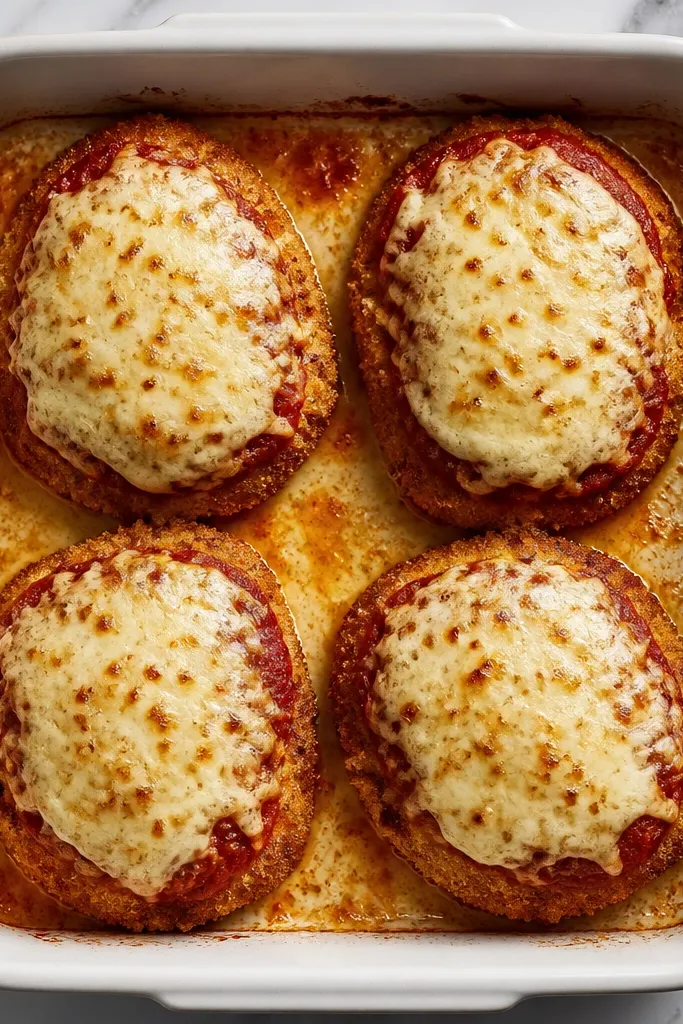
This placement makes the texture work. Sauce under the cutlet warms the bottom without soaking the crust. Sauce on top fills gaps and keeps the cheese from drying out. It also gives that classic look where you can see the chicken edge through the sauce line.
Spread a thin base layer in the dish. Add a small spoonful of sauce on each cutlet, then spread it outward with the back of the spoon. Finish with mozzarella and a light Parmesan dusting.
Try thisUse the back of a spoon to spread sauce just to the edge of the breading - not past it.
One warningPutting sauce only on the bottom makes the top dry and the cheese tastes flat.
7. Egg dip that looks glossy, not watery
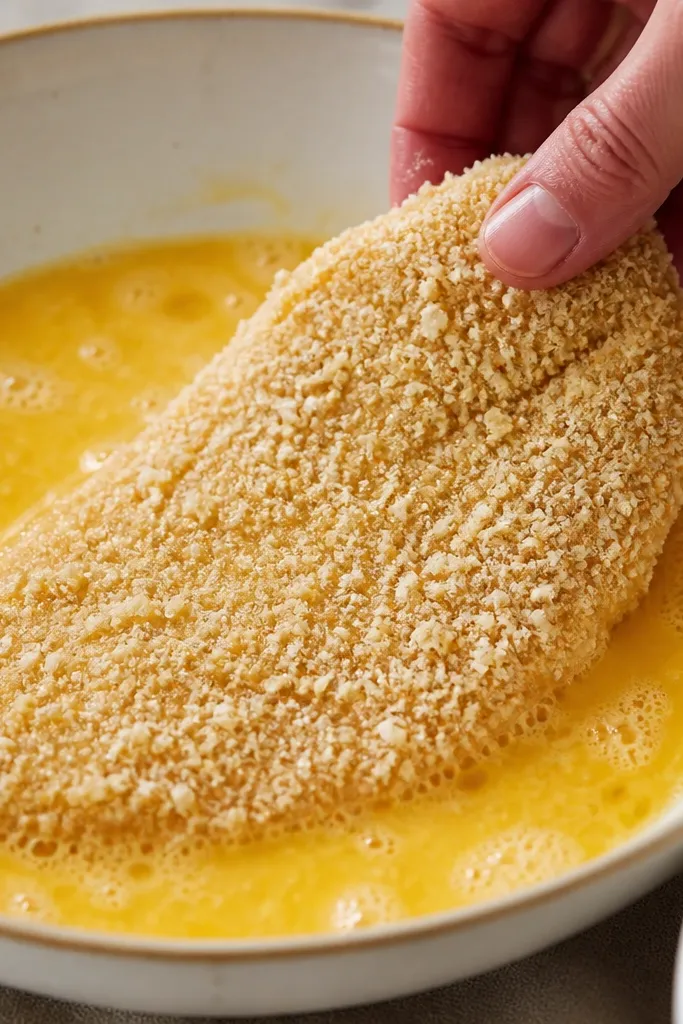
The egg is your glue. If it's too thin, the crumbs fall off and you get bare spots after baking. If it's too thick, it can turn gummy. A smooth, glossy egg coat helps crumbs adhere and crisp up as the moisture evaporates.
Beat eggs with a fork until smooth. Dip each cutlet and let excess egg drip for 2 seconds before the breadcrumb bowl. Press the crumbs on with your palm, then lift - the coating should stay.
Try thisKeep one hand for dry and one hand for wet so you don't smear egg into the breadcrumbs.
One warningDipping and then shaking aggressively makes bare streaks that look obvious in the final bake.
8. Golden pan-fry finish for extra crunch
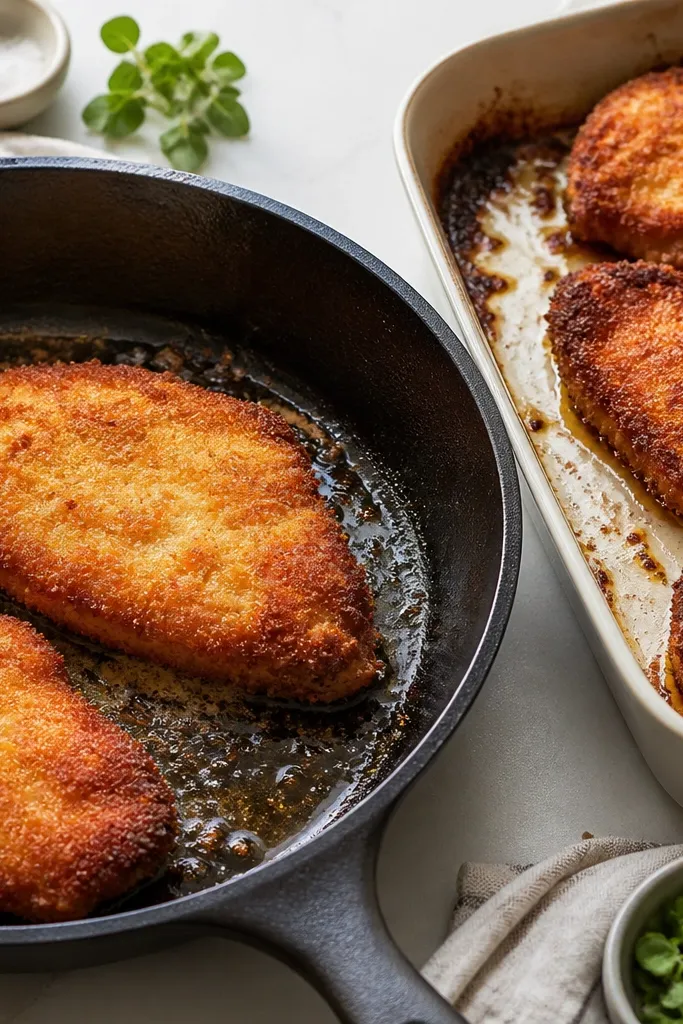
A quick fry sets the crust before baking. You get color and a head start on crispness, so the oven finishes the chicken without turning the coating pale. The baked top still browns, but the base stays crunchy. This is how you get that "after" texture when you bite.
Heat oil to about 350°F (175°C). Fry 2-3 minutes per side until golden. Don't cook through - you're setting the crust. Then bake with sauce and cheese until the chicken reaches 165°F (74°C).
Try thisDrain on a rack, not paper towels, so the crust stays crisp.
One warningFrying too long makes the chicken dry and the crust too dark before it even bakes.
9. Herb-flecked sauce that smells like simmered tomatoes
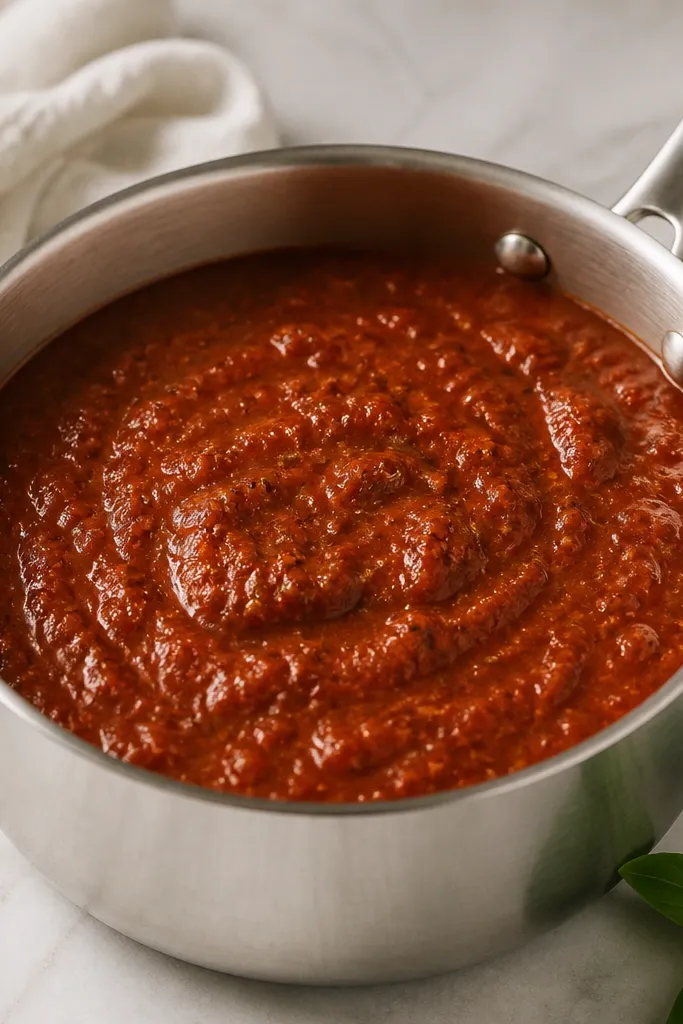
Nonna-style sauce tastes like it cooked, not like it came straight from a can. Herbs and a little time bring out a sweeter tomato aroma. When you taste it, it should be balanced and slightly thick, not watery. That thickness helps sauce cling to breading instead of slipping off.
Simmer sauce with garlic and dried oregano for at least 15 minutes. If it tastes sharp, add a small pinch of sugar. Keep heat gentle so it doesn't splatter onto your cutlets.
Try thisTaste after 15 minutes and adjust salt - under-salted sauce is the easiest way to make the whole dish taste flat.
One warningAdding herbs at the last minute can leave a raw, bitter edge.
10. Rested slices with a glossy cheese pull
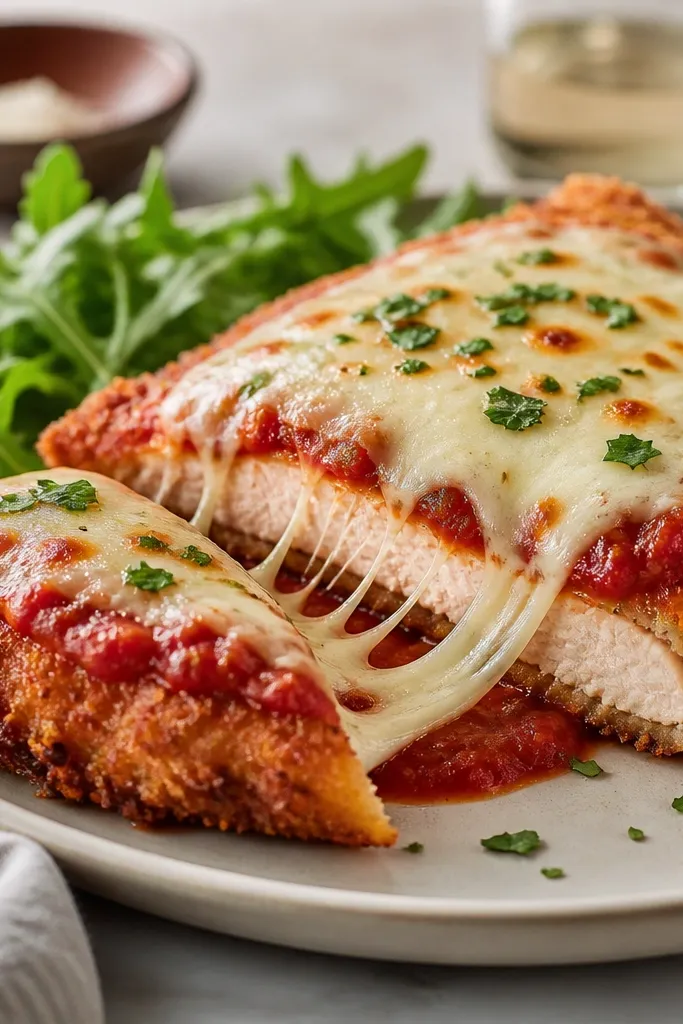
The glossy pull happens when mozzarella is fully melted and the dish is rested so juices don't flood. Resting also keeps the breading from collapsing. You get that satisfying chew where the crust cracks and the chicken stays tender. It looks like layered comfort food, not a casserole.
Bake, then rest 5 minutes before slicing. Use a sharp knife and cut straight down so you don't drag sauce through the crust. Plate with a small spoon of warm sauce so it looks intentional.
Try thisIf you're serving guests, slice at the table after resting so the cheese still looks fresh.
One warningSkipping rest time makes cheese slide and the crust go soft fast.