1. Glossy Red Sauce Coat With Bright Cheese Edges
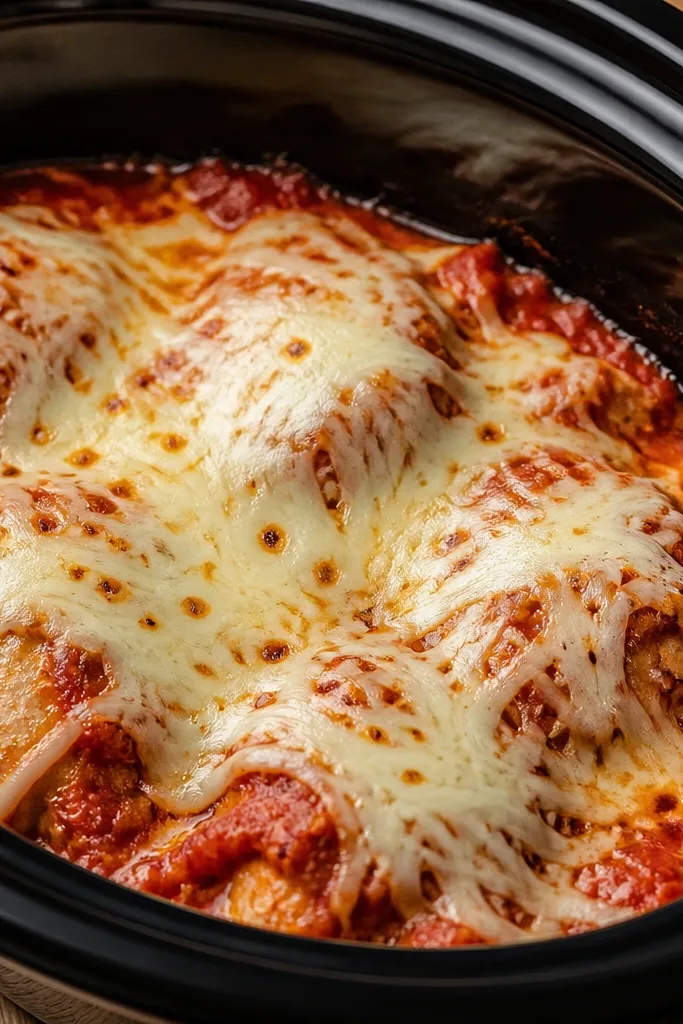
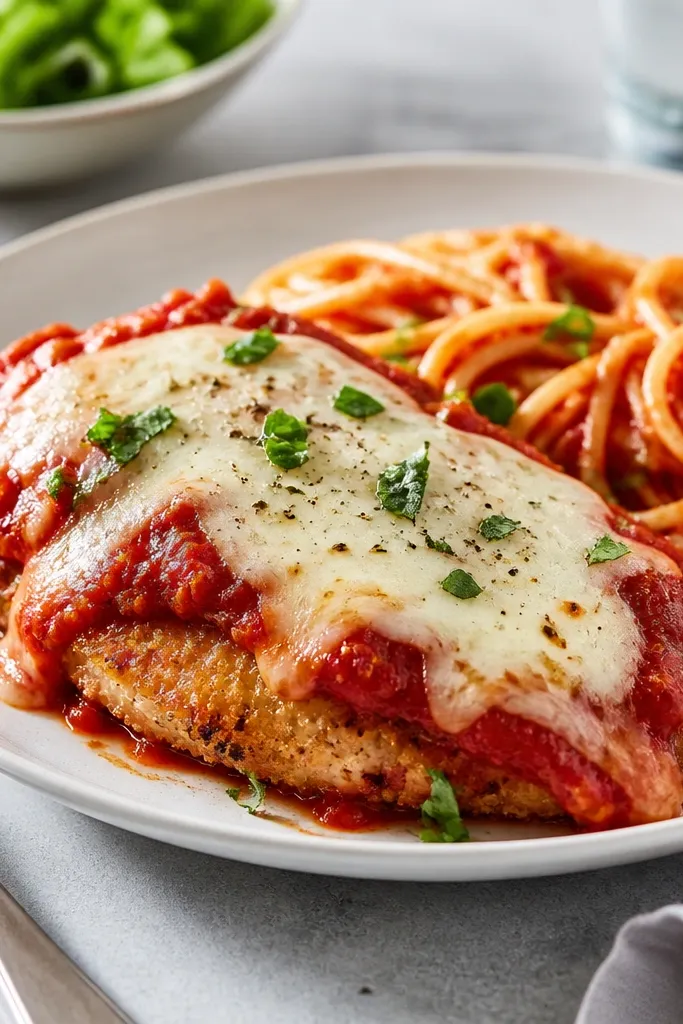
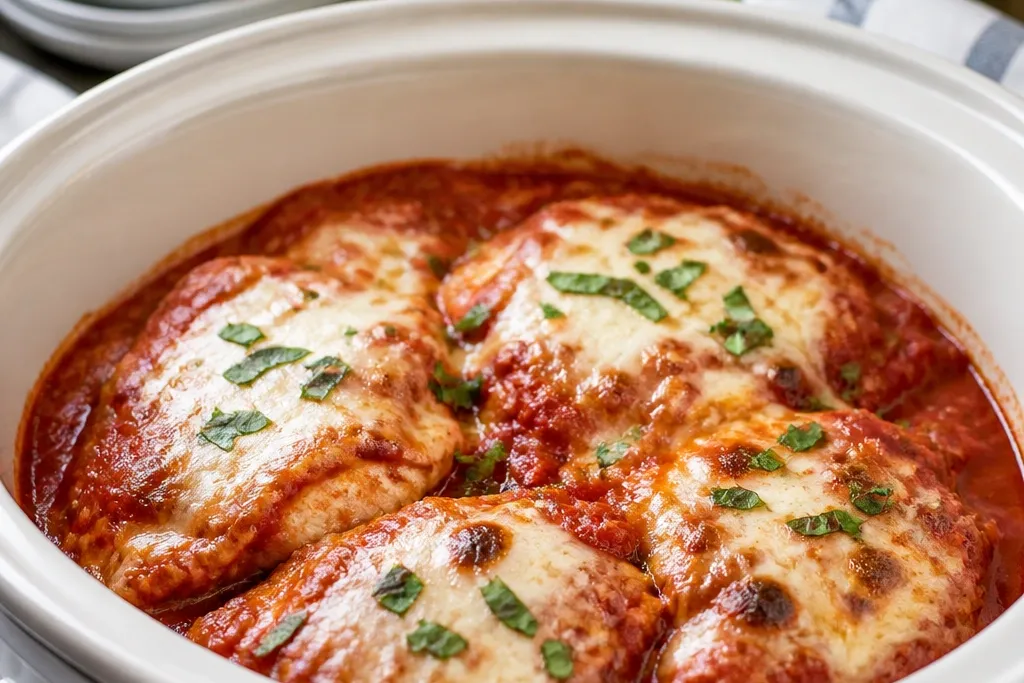
This look comes from thick marinara that clings to the chicken instead of pooling. When you shred low-moisture mozzarella and lay it on top in a loose blanket, it melts into ridges that catch light like a fresh oven casserole. The red sauce stays visible around the chicken edges, so the dish looks layered instead of muddy. I aim for a sauce sheen - you can see it reflect light, not just sit there.
Use 24 to 32 ounces marinara for about 2 to 2.5 pounds chicken. After cooking the chicken, stir the sauce gently so it coats each piece, then spread mozzarella evenly across the top - not stirred in. Finish with 1 to 3 minutes under the broiler if you want the browned edge look.
Try thisIf your marinara is thin, simmer it in a skillet for 6 minutes before it goes into the crock pot so the red stays bold.
One warningSkip stirring cheese into the hot sauce for the whole cook - it turns stringy and dull.
2. Golden Crust Top Like a Sheet-Pan Finish
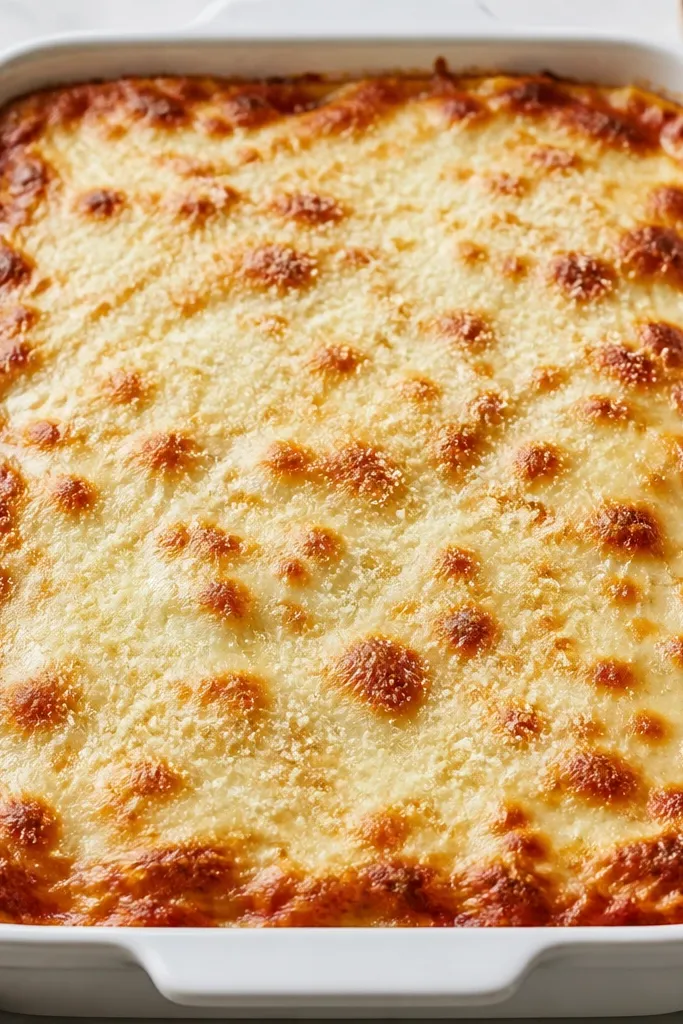
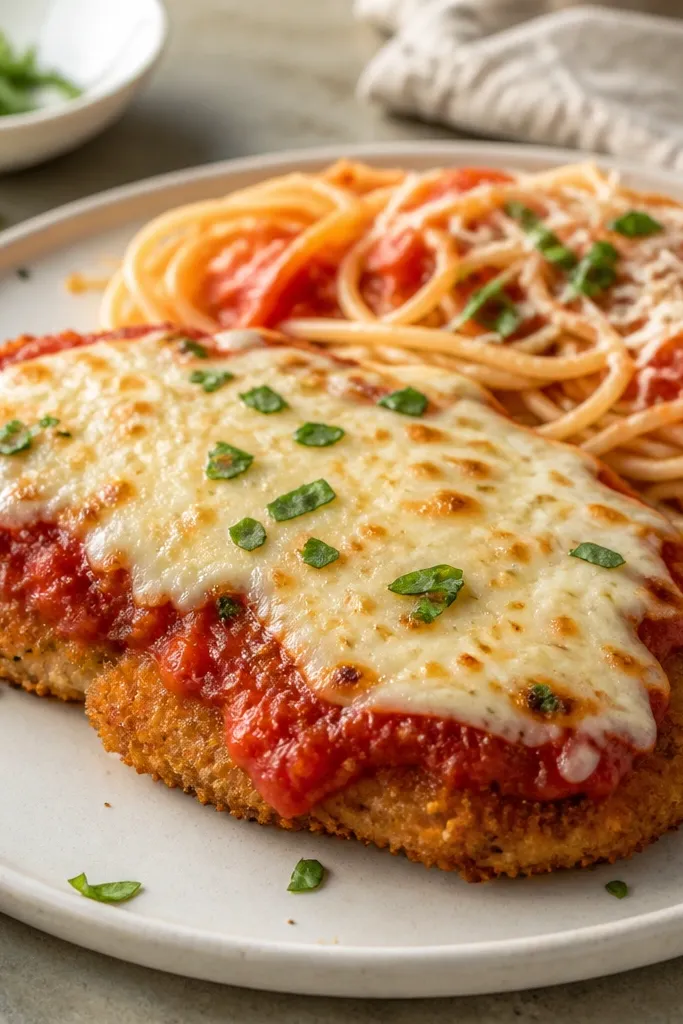
You get that sheet-pan crust look by broiling right at the end. The broiler drives off a little surface moisture from the cheese, which makes it brown in patches instead of melting into a single wet layer. Parmesan on top gives you those tiny golden freckles that look like oven time. It's the same "finish" effect you'd get in a classic baked chicken parm dish.
After the crock pot melts the cheese for 10 to 20 minutes on High (lid on), sprinkle 1/3 to 1/2 cup grated Parmesan over the top. Broil on high for 1 to 3 minutes, watching closely because it goes from pale to browned fast. Let it rest 5 minutes before serving so slices hold.
Try thisBroil on a rack placed in the upper third of your oven for faster browning.
One warningDon't use pre-shredded mozzarella if you want clean browning - it can look waxy.
3. Layered White Cheese Ribbons Over Red Chicken
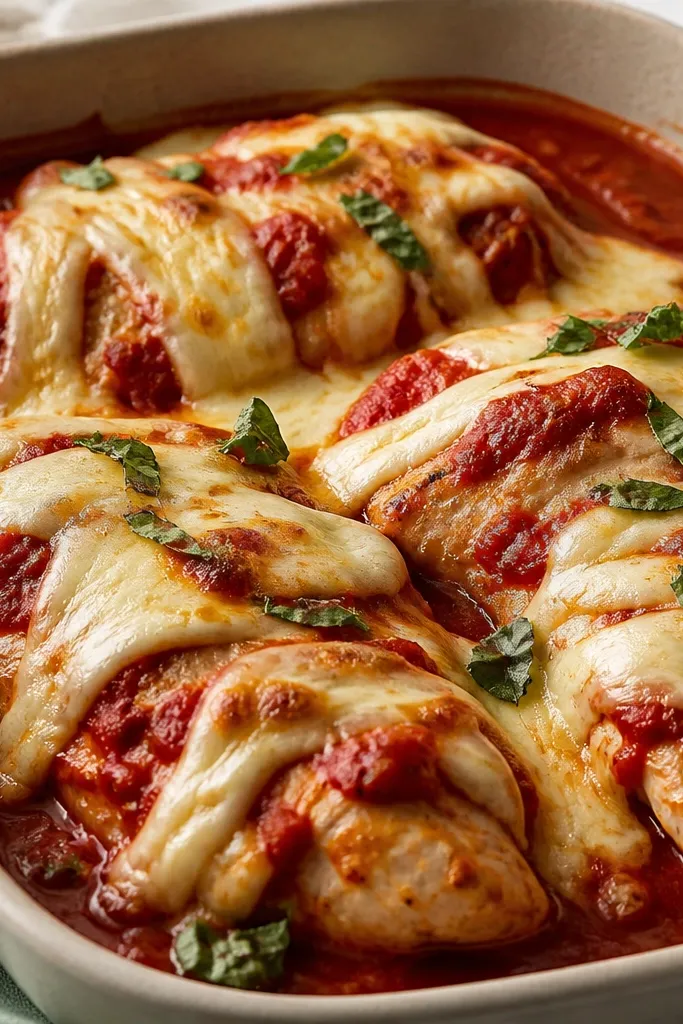
This look is about how you place mozzarella. Instead of covering the whole top in one even layer, you "map" cheese onto each chicken piece with thick clumps. As it melts, it forms ribbons and peaks that look handmade and intentional. The contrast between creamy white cheese and red sauce makes every bite look like a proper chicken parm slice.
Shred mozzarella thicker than you think - don't over-compress the shreds. Place about 1 cup mozzarella per 2 pounds chicken in clumps, then cover the crock pot for the melt stage. If you want the ribbons to show more, broil for 90 seconds instead of 3 minutes.
Try thisAdd a light dusting of Parmesan only where the cheese peaks are so you get golden spots instead of a gray film.
One warningAvoid mixing cheese into the sauce before the chicken is done - you lose the white-on-red contrast.
4. Green Garnish Contrast That Looks Like Restaurant Plating
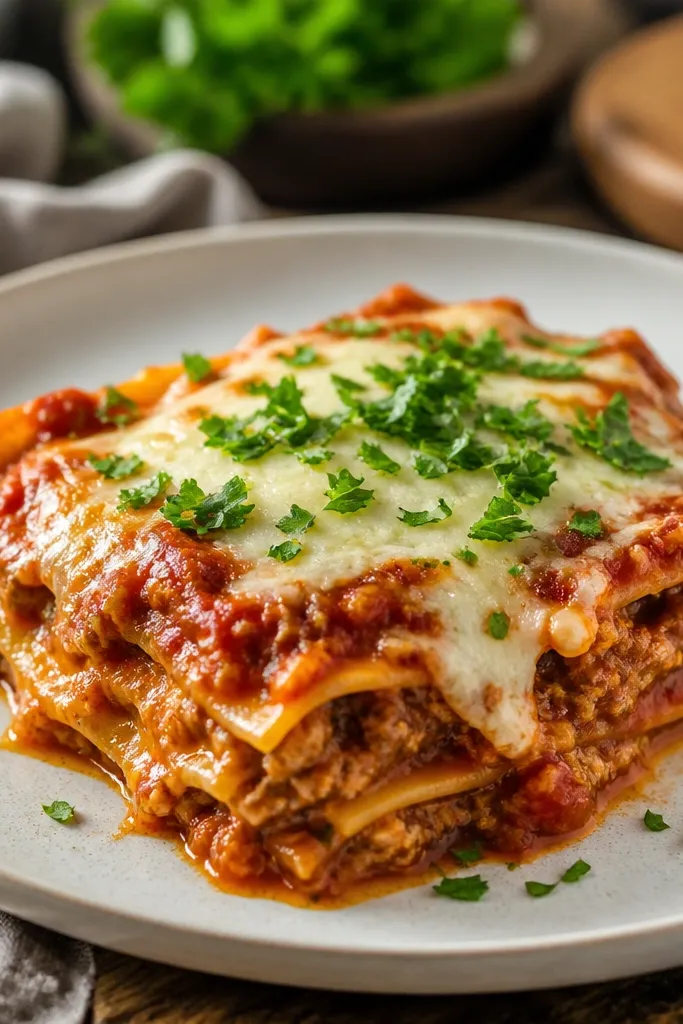
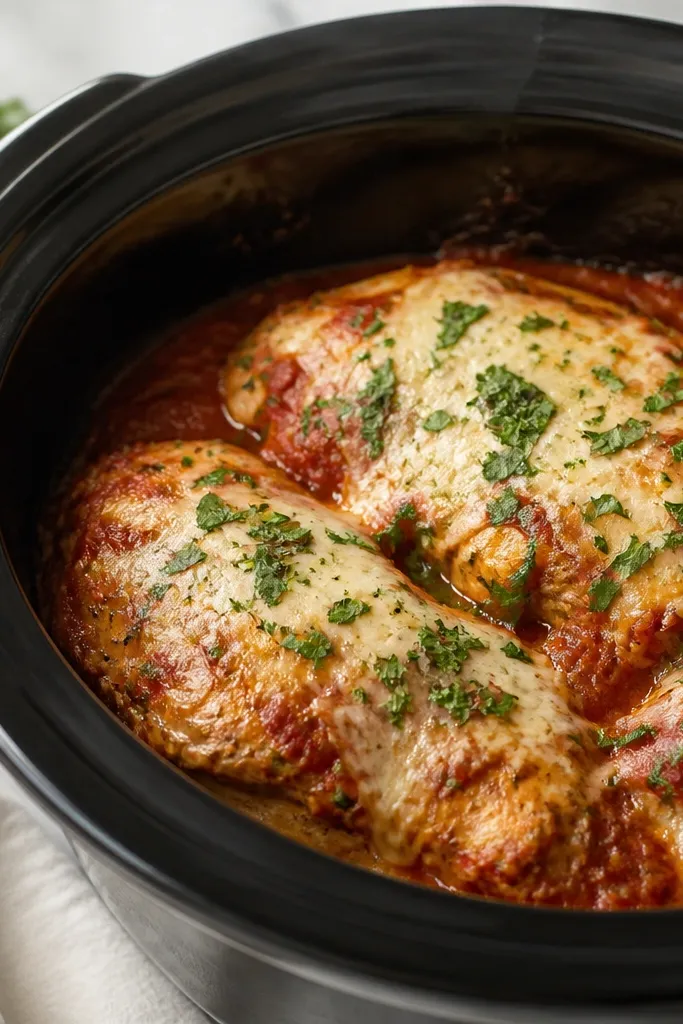
Chicken parmesan looks flat when it's only red and white. Fresh parsley gives you that clean green pop that tells your eye "this is finished." I like to use finely chopped parsley and sprinkle it right before serving so it stays bright. The garnish also makes the dish look less heavy and more fresh.
Use 1 to 2 tablespoons chopped parsley for a family-size batch. Sprinkle it over the finished cheese top after the broil. If you're feeding a crowd, portion first, then garnish per plate so it doesn't wilt under heat.
Try thisPat parsley dry with a paper towel if it's been washed - wet herbs look dull.
One warningDon't cook the parsley in the crock pot - it turns dark and looks tired.
5. Side-by-Side Red Sauce Swirl on Top
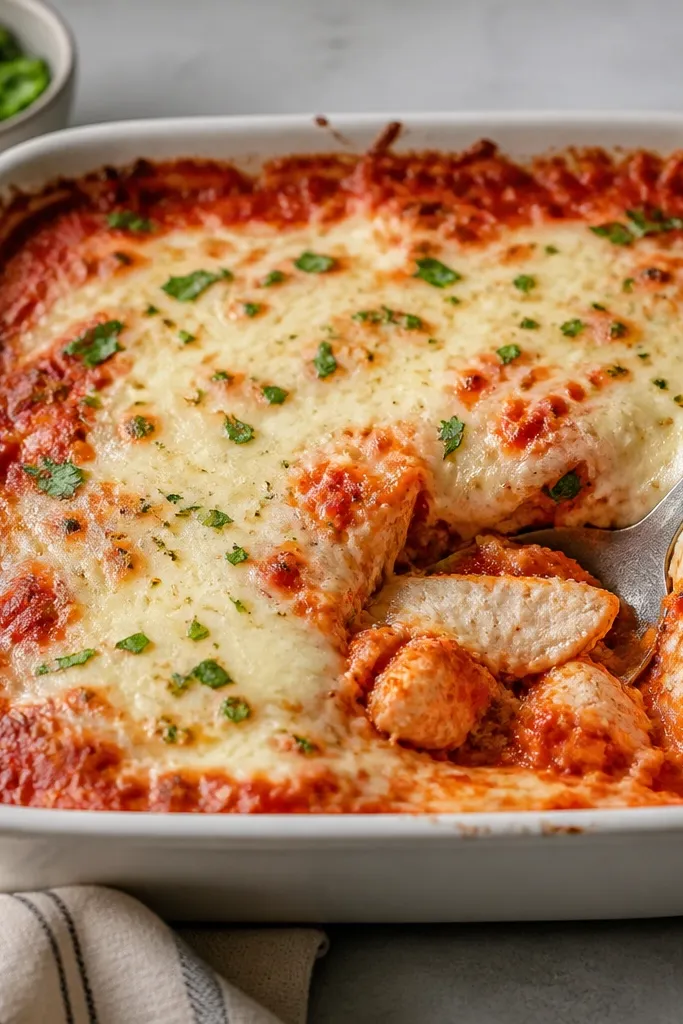
This look happens when the cheese sets slightly before you add sauce on top. If you pour sauce after melting, it sinks and becomes messy. Instead, you warm extra marinara separately and spoon it in a controlled swirl right before serving. It makes the dish look intentional, like a plated entree rather than a dump-cook.
Warm 1 to 2 cups marinara in a small saucepan until hot but not boiling. Melt cheese in the crock pot, rest 5 minutes, then spoon a thin swirl over the top. Keep the swirl light so the cheese stays dominant.
Try thisUse a spoon with a flat back to drag a clean line through the cheese.
One warningAvoid adding cold marinara at the end - it can seize the melted cheese.
6. Cheese-First Melt With Less Sauce Pooling
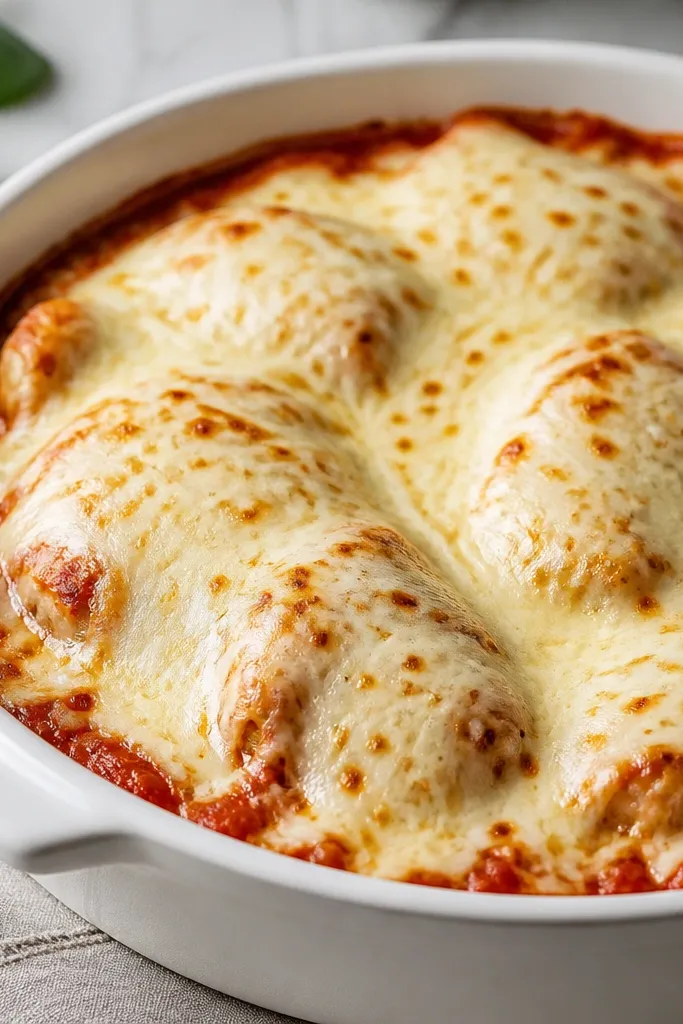
Pooling makes chicken parm look cheap. This look comes from keeping the sauce level lower and placing cheese on top so it covers without being submerged. When cheese melts over slightly lower sauce, it forms a stable top that you can cut with a spatula. The result looks like it came from an oven dish even though it cooked in a crock pot.
If your crock pot runs wide, use a liner or insert that fits snugly so the sauce depth is about 3/4 inch. Don't pour extra marinara "just to cover" - you want enough to cook the chicken, not flood it. Melt cheese with lid on for 10 to 20 minutes.
Try thisAfter cooking, skim off 1/4 to 1/2 cup excess liquid if the sauce looks loose.
One warningSkip cranking the heat for the melt stage - too-hot cheese can separate.
7. Parm Speckled Top With Tiny Brown Spots
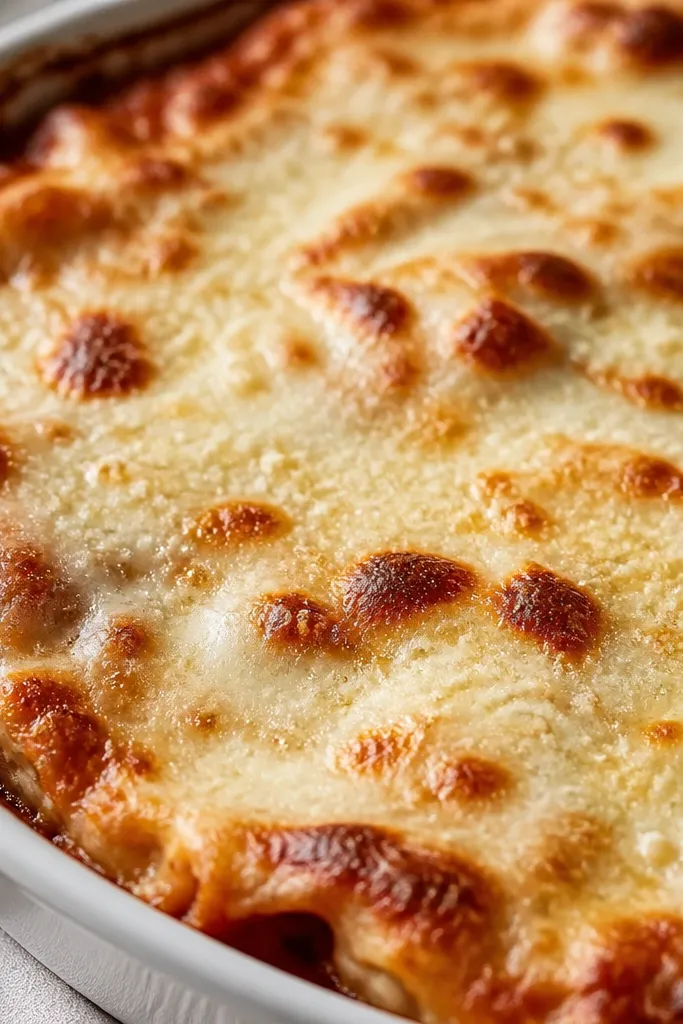
Speckling looks like oven-baked because Parmesan browns in little clusters. If you sprinkle Parmesan while the cheese is still glossy-wet, it sticks and forms scattered freckles instead of clumping. Those tiny brown spots are what make the top look "done," not just melted. It's a small step that changes the whole surface.
Use finely grated Parmesan, not the big flaky kind. Sprinkle 1/4 cup over the cheese after the initial melt stage, then broil for 1 to 2 minutes. Let it rest 5 minutes so the specks set.
Try thisGrate Parmesan fresh from a wedge for a cleaner speckled look.
One warningDon't cover the whole top with thick Parm piles - they go gray and taste bitter.
8. Moist Chicken Edges That Aren't Shredded
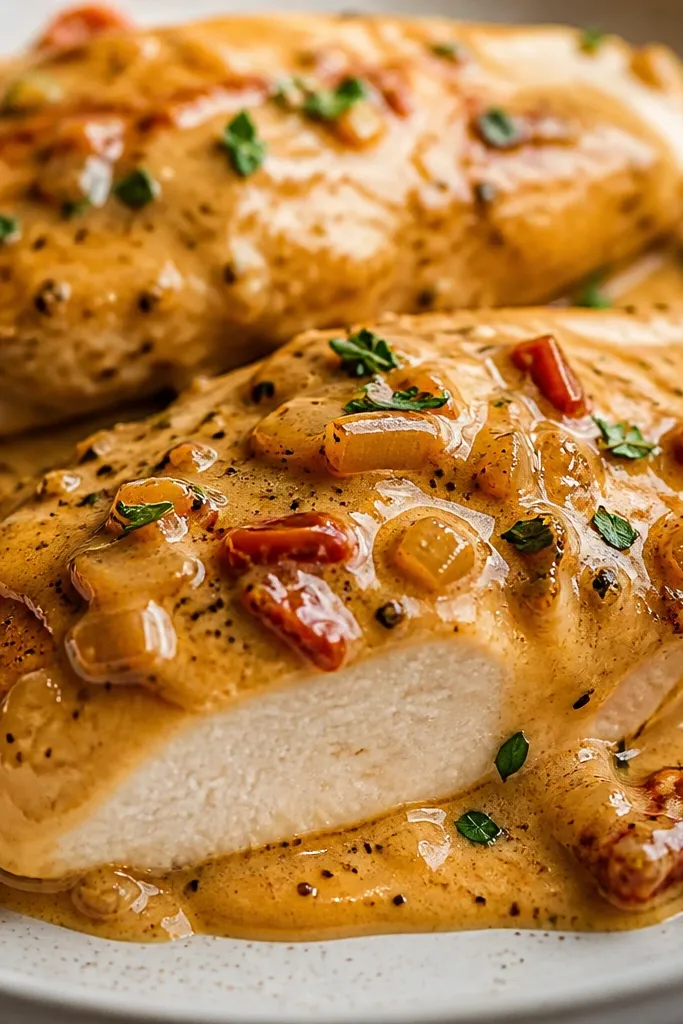
This look comes from not overcooking the chicken. In my crock pot method, the chicken cooks in sauce until just tender, then it stops cooking when the cheese stage begins. When you pull it at the right time, edges stay intact and you get neat pieces instead of mushy shreds. It also makes the dish easier to portion.
Cook on High for 2 to 3 hours, then check one cutlet at the thickest point. If it's 165°F in the center, move to the melt stage. Keep cheese melting short - 10 to 20 minutes - then serve.
Try thisUse an instant-read thermometer - chicken parm should not be guessed.
One warningAvoid cooking on Low for too long - you can dry the edges even with sauce.
9. Crisp-Browned Cheese Corners on a Wide Insert
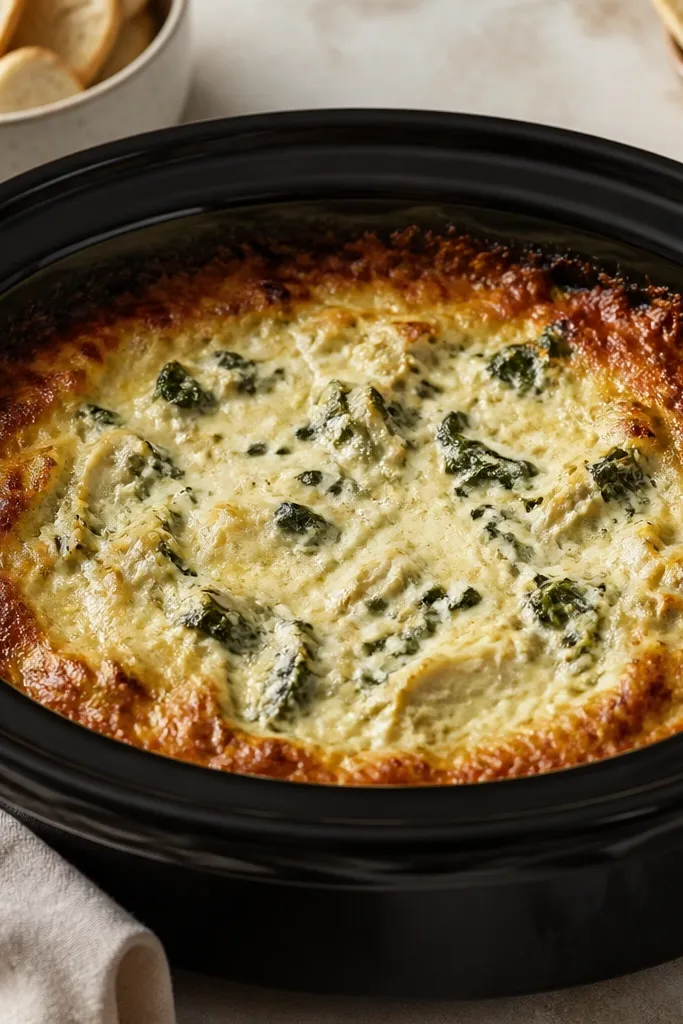
Edges brown because heat hits them harder during broiling or direct top heat. If you want that corner crisping effect, use a wider insert so the cheese blanket has more surface exposed at the edges. It makes the dish feel like it has "best bites" built in. The center stays creamy, but the corners give you that crunch contrast.
After the cheese melts in the crock pot, broil with the top rack positioned close to the heating element. Watch the corners first - they brown in 60 to 90 seconds. Let rest 5 minutes before serving so the crisp doesn't steam-soften instantly.
Try thisIf your insert is very deep, transfer to a broiler-safe dish for the final 2 minutes.
One warningDon't broil too long - the whole top can go dry and taste like toasted cheese.
10. Fresh Basil Smell Without Basil-on-the-Heat
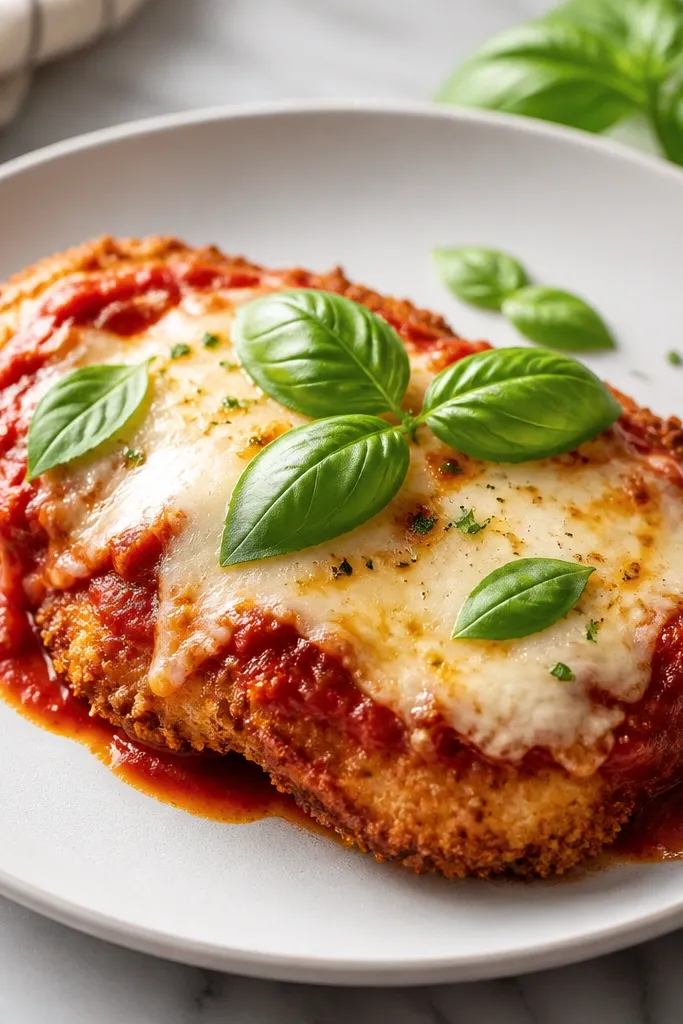
Basil smells amazing when it's fresh, but it looks sad if you cook it. I finish with torn basil leaves right before serving so the aroma hits at the table and the leaves stay vivid. It gives you a green garnish that looks like you actually plated it. The contrast with melted cheese is clean and bright.
Use 6 to 10 basil leaves torn by hand, not chopped. Add them after broiling and after the 5-minute rest so the heat doesn't wilt them immediately. Serve right away.
Try thisTear basil into uneven pieces so it catches on top of the cheese instead of sliding off.
One warningAvoid dried basil - it looks gray and tastes flat against mozzarella.