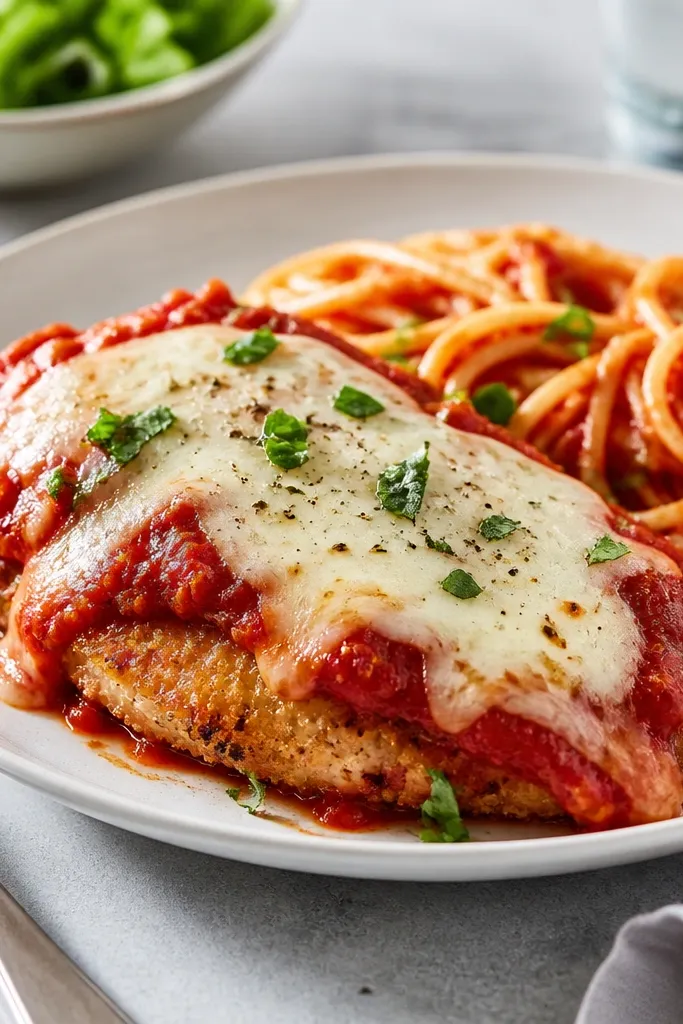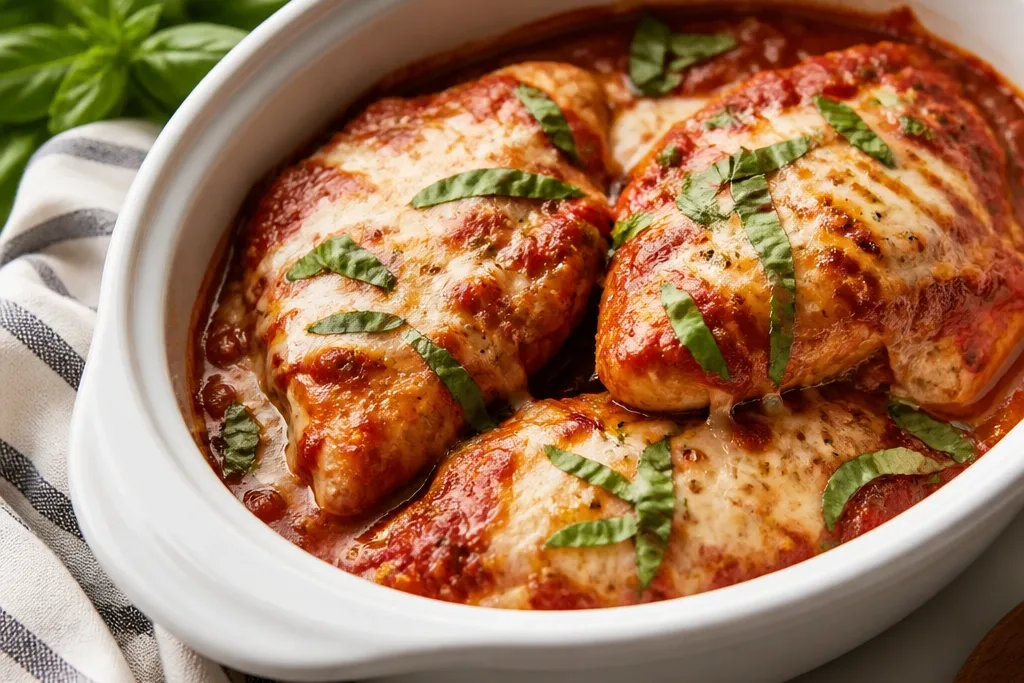
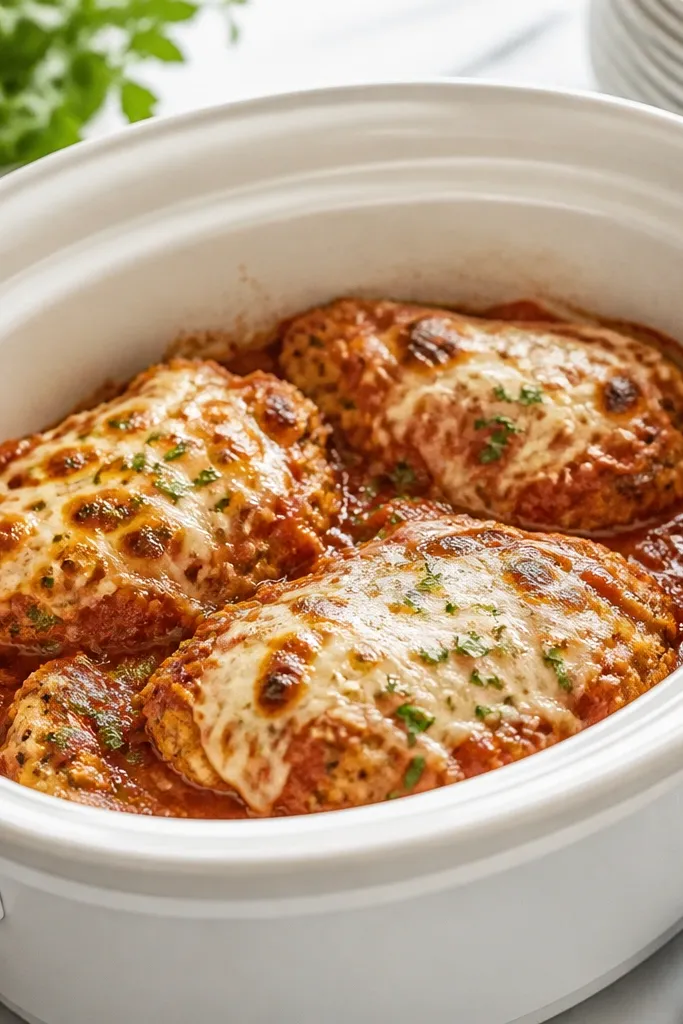
1. Golden Parmesan Crust Over Slow-Cooked Chicken
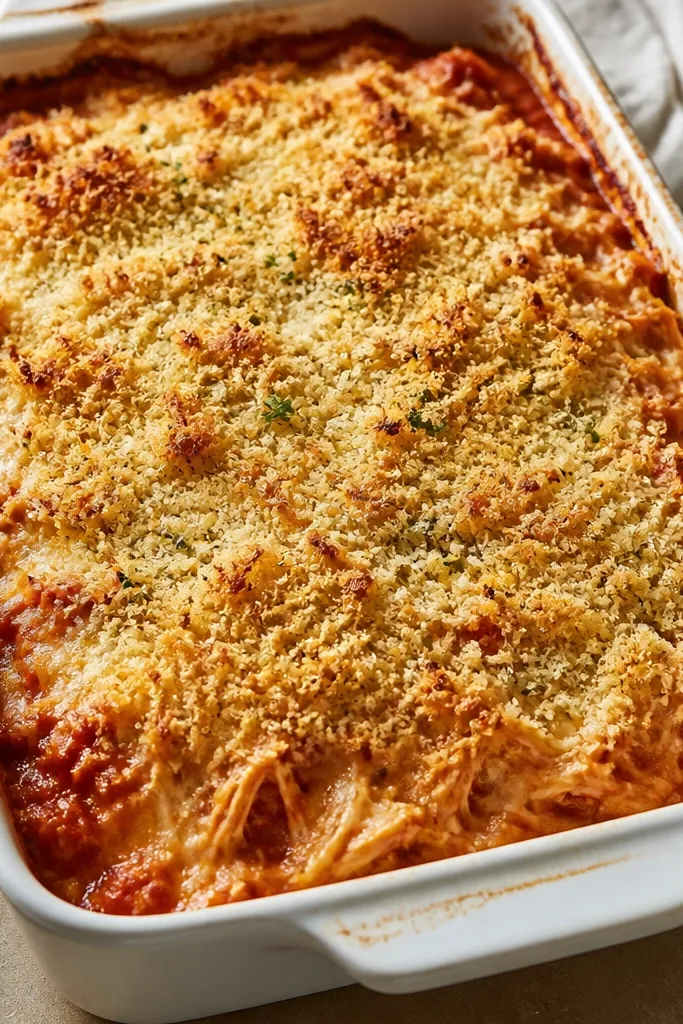
This look is what you get when the coating never sits in slow-cooked steam. The top layer is parmesan and breadcrumbs mixed with a little olive oil, then broiled until it turns deep honey-gold in spots. The sauce looks glossy around the edges, while the chicken underneath stays moist and pulls apart.
Use a crock pot liner-safe insert or transfer the cooked sauce-chicken mixture to an oven-safe dish. Sprinkle the parmesan crumb mix generously in a single even layer, then drizzle a thin stream of olive oil. Broil on High for 3-6 minutes, watching closely for dark-gold patches.
Try thisBroil on the top rack so the crust browns fast before crumbs have time to soak.
One warningDon't add breadcrumbs at the beginning of slow cooking - that's how you get pale, wet topping.
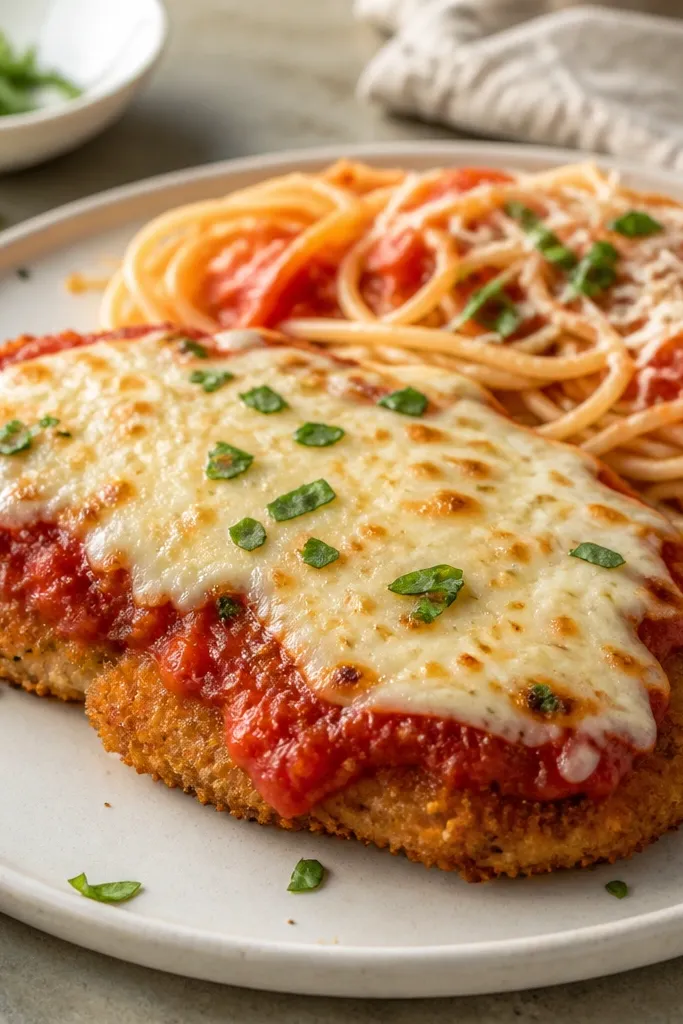
2. Bubbling Marinara Edges With White Cheese Ribbons
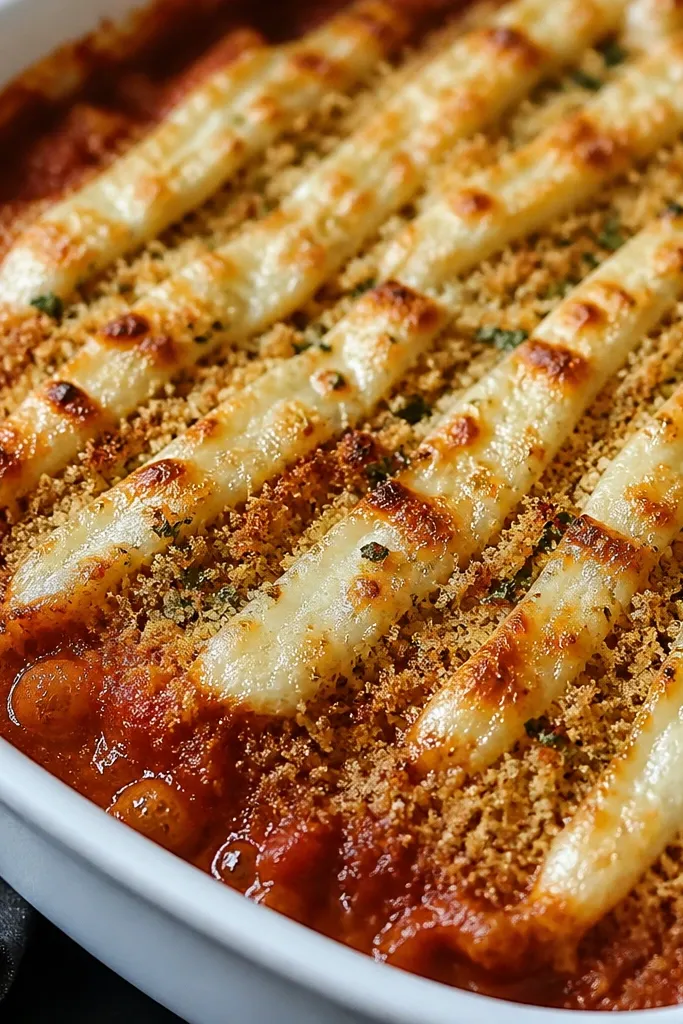
Thin mozzarella ribbons melt fast and look fancy without needing a thick blanket. The crumb layer gives structure, while the cheese creates those glossy white ribbons that contrast against red sauce. This is the "restaurant top" look because the cheese melts unevenly and browns in tiny freckles.
After broiling the crumbs for about 2 minutes, add mozzarella strips on top and broil another 1-2 minutes. This timing keeps the crumbs crisp instead of going fully soft under cheese steam. Use low-moisture shredded mozzarella if you want the cleanest melt.
Try thisCut mozzarella by hand into 1/4-inch strips so it spreads without clumping.
One warningSkip pre-shredded "pizza blend" cheese - it melts too uniformly and looks flat under broiler heat.
3. Herby Tomato Sauce With Speckled Parmesan Snow
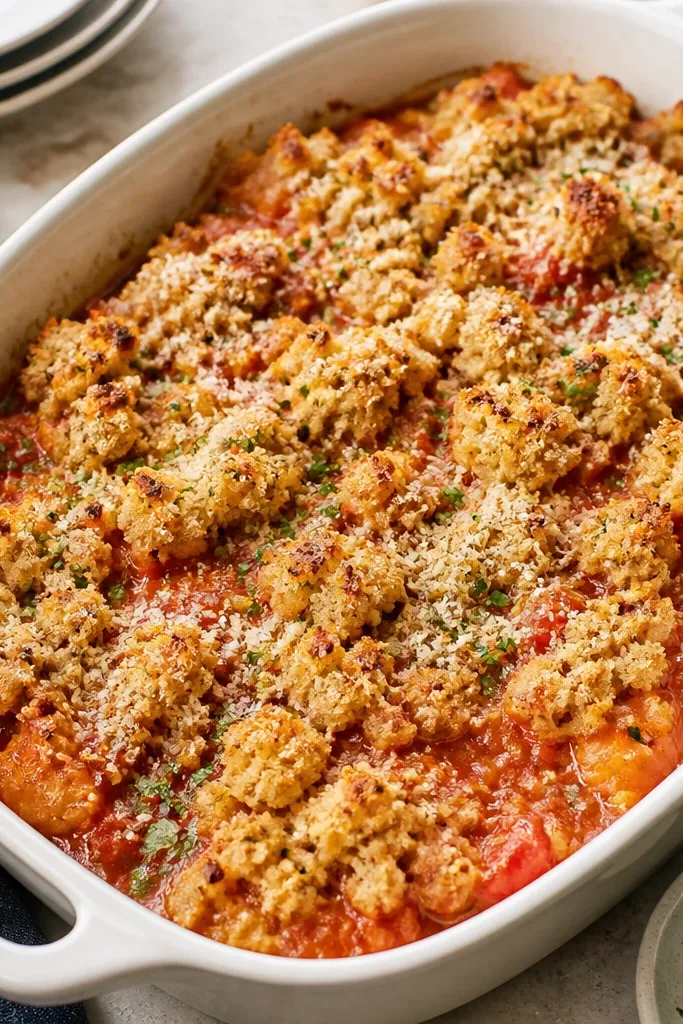
This aesthetic comes from using dried herbs in the sauce and parmesan in the crumb mix so you get speckling, not one solid top. The green flecks show up clearly against red sauce, and the parmesan "snow" looks crisp rather than greasy. It's a warm, homemade look that still photographs well.
Stir dried oregano and basil into the marinara before slow cooking. For the crumb mix, use a 2:1 ratio of breadcrumbs to parmesan, then toss with garlic powder and black pepper. Broil until you see small browned islands on top.
Try thisAdd black pepper to the crumb layer - it creates visible specks that read as "crust," not plain topping.
One warningDon't use fresh basil leaves on top before broiling - they turn dark and look wilted.
4. Shredded Chicken Parmesan Bowl Style
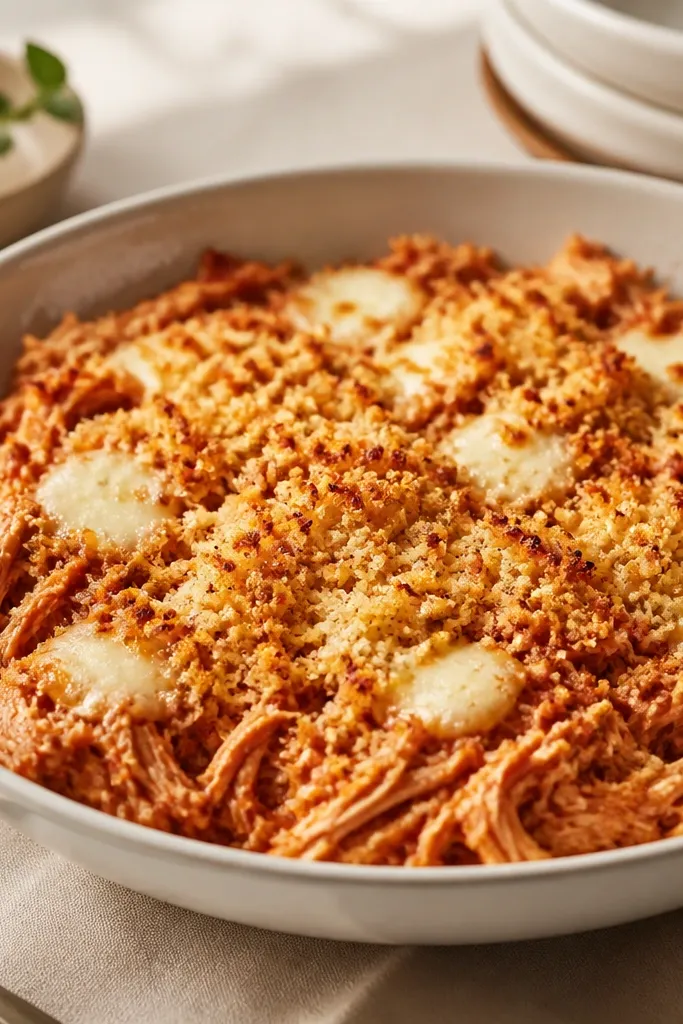
Shredded chicken looks casual but still appetizing because the sauce clings to every strand. A thinner crumb layer keeps the bowl looking light, and broiling gives crisp edges without making the whole dish heavy. It's also easier for families because everyone scoops at their own pace.
Cook chicken thighs until very tender, then shred directly in the crock pot with two forks. Spoon into an oven-safe bowl, top with a light crumb layer, and broil 3-4 minutes. Add mozzarella only at the end so it melts but doesn't steam the crumbs.
Try thisShred while the chicken is still hot - strands separate cleanly and soak up sauce better.
One warningDon't overfill one deep bowl - deep dishes take longer to broil and the top goes uneven.
5. Stuffed-Style Cutlet Look Using Thin Chicken Cutlets
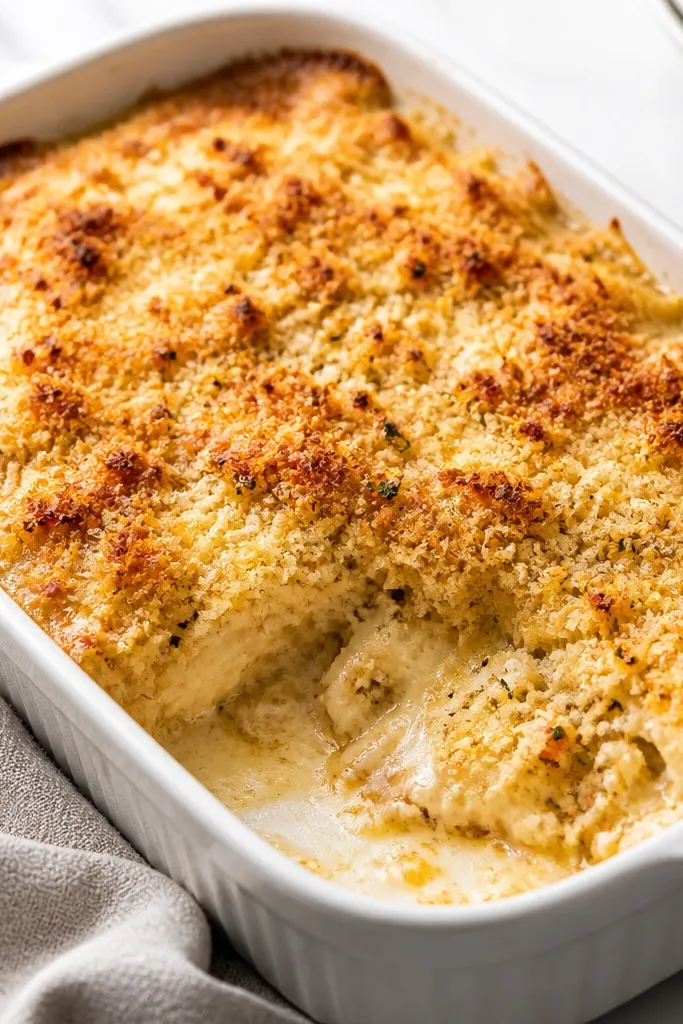
If you like the classic cutlet shape, use thin-sliced chicken cutlets so each piece cooks fast and stays flat. The broiled topping makes it look like you fried it, even though the crock pot did the work. You get a more uniform, "layered plate" appearance.
Pound chicken breasts to 1/2-inch thickness, then cut into cutlet-size pieces. Slow cook in sauce on High for 1.5-2.5 hours, just until the center hits 165°F. Then layer in an oven-safe dish and add crumb mix and mozzarella.
Try thisPat cutlets dry before coating so the crumb mix sticks instead of sliding off.
One warningDon't cook thin cutlets too long in the crock pot - they dry out and the crust looks like it sits on cardboard.
6. Sheet-Pan Broiler Crust for Extra Crisp Edges
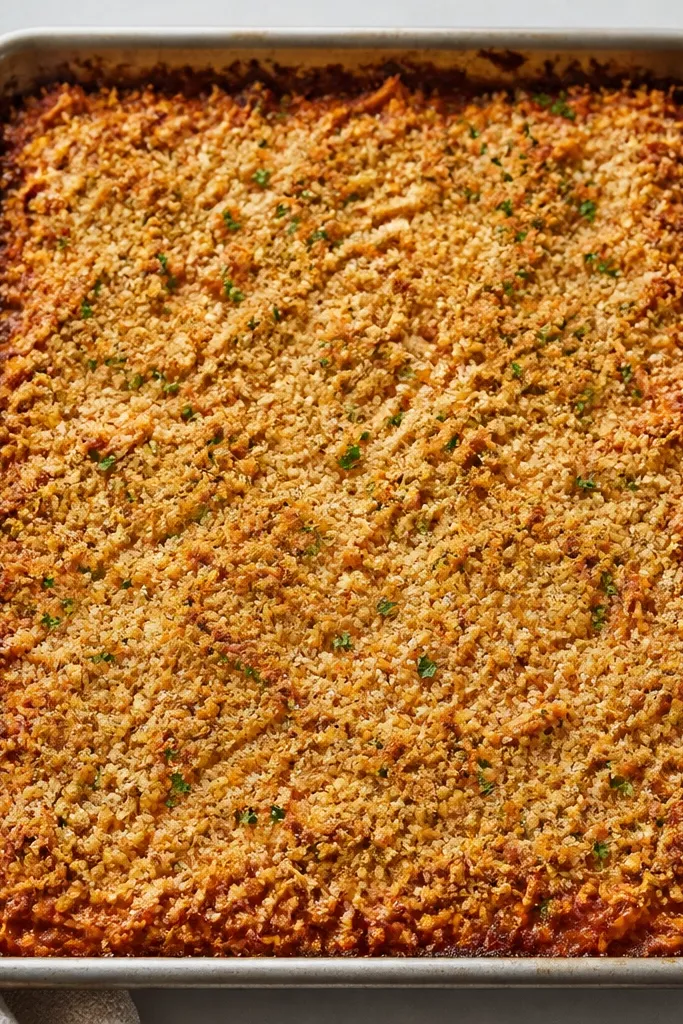
Spreading the sauce-chicken mixture thin is how you get crisp edges everywhere, not just in one casserole dish. The broiler hits the crumb layer and browns it fast, so the top stays crunchy. This look is great when you're feeding a crowd and want easy servings.
Use an 8x12-inch sheet pan. After slow cooking, spread the mixture evenly (about 1/2-inch thick), top with crumb mix, and drizzle olive oil lightly. Broil 4-7 minutes depending on how your broiler runs.
Try thisRotate the pan halfway through broiling for even browning.
One warningDon't pile the mixture thick - thick centers stay soggy while only the edges crisp.
7. No-Drip Layering With Thick Sauce
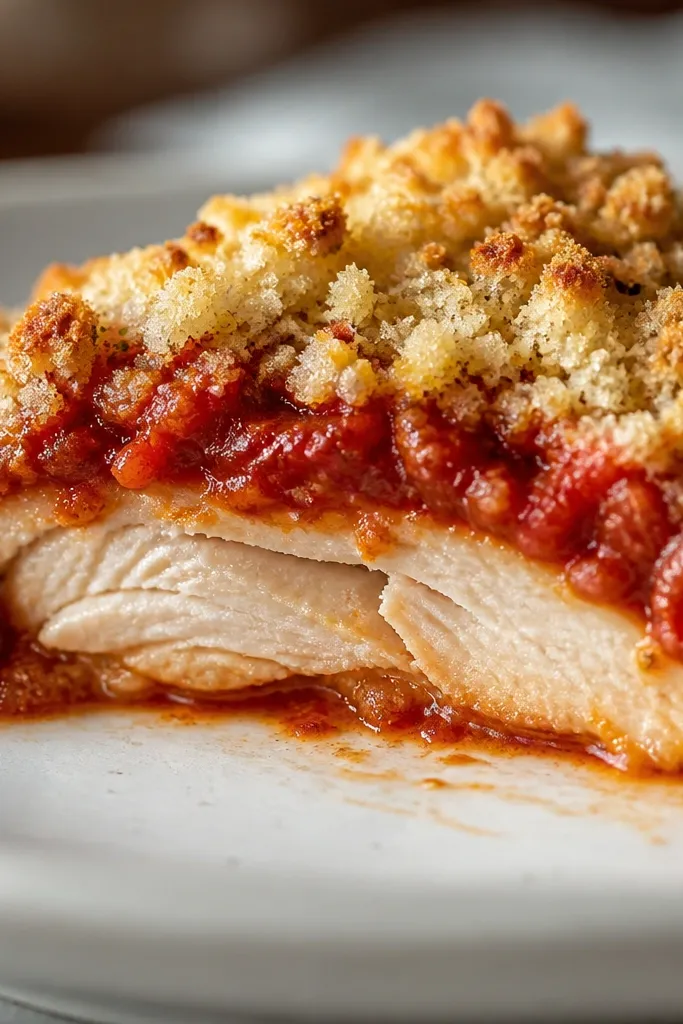
Thick sauce makes the whole dish look "built," not poured. When the sauce is the right thickness, it coats chicken without flooding the crumbs. That's how you get clean layers in photos and a crust that holds up when you scoop.
Use a marinara that already leans thick, or simmer your jar sauce 10-15 minutes before adding to the crock pot. Stir in a spoon of tomato paste if you want it thicker, and keep the chicken pieces in a single layer. Broil the topped dish until the crust sets.
Try thisAim for sauce that coats a spoon - if it runs like water, your crust will too.
One warningDon't use watery spaghetti sauce - it looks fine in the pot and turns the top pasty.
8. Two-Tone Crust With Parmesan + Panko Mix
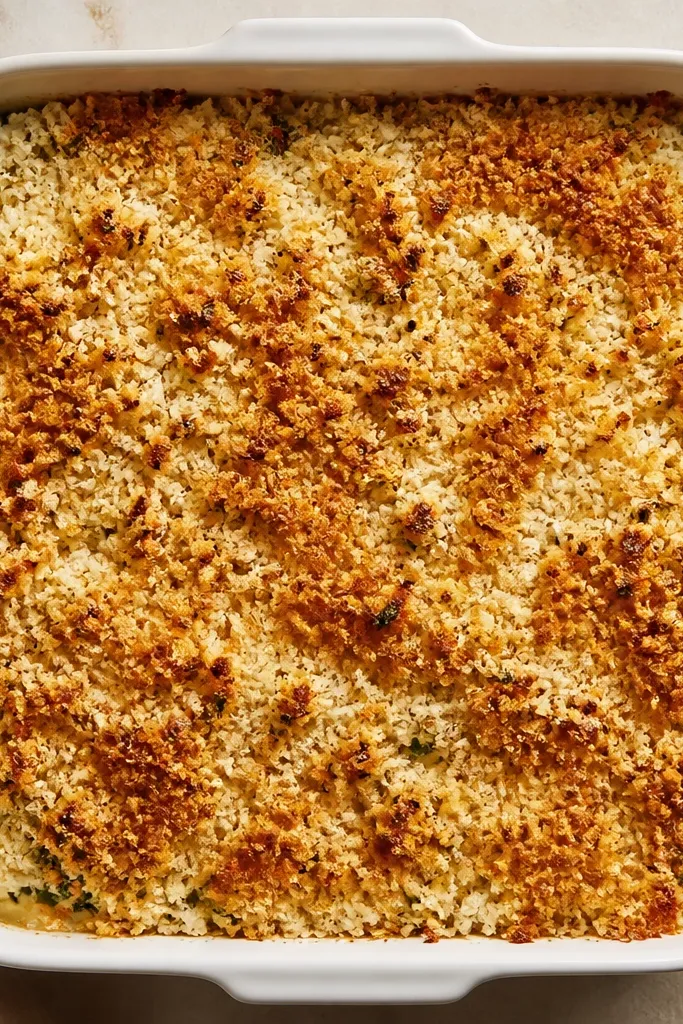
Panko gives visible flakes and crunch, while parmesan browns into deeper golden spots. The combo makes the crust look textured, not uniform. It also helps the topping stay crisp longer after it comes out of the broiler.
Mix panko and parmesan in a 1:1 ratio, then add garlic powder and a pinch of salt. Toss with melted butter or olive oil so crumbs look evenly coated. Broil until you see golden freckles, not just pale browning.
Try thisUse fresh panko if you can - older panko tastes flat and browns unevenly.
One warningDon't skip the oil/butter - dry crumbs brown but don't fuse into a real crust.
9. Classic Red Sauce and White Mozzarella Mile-High Melt
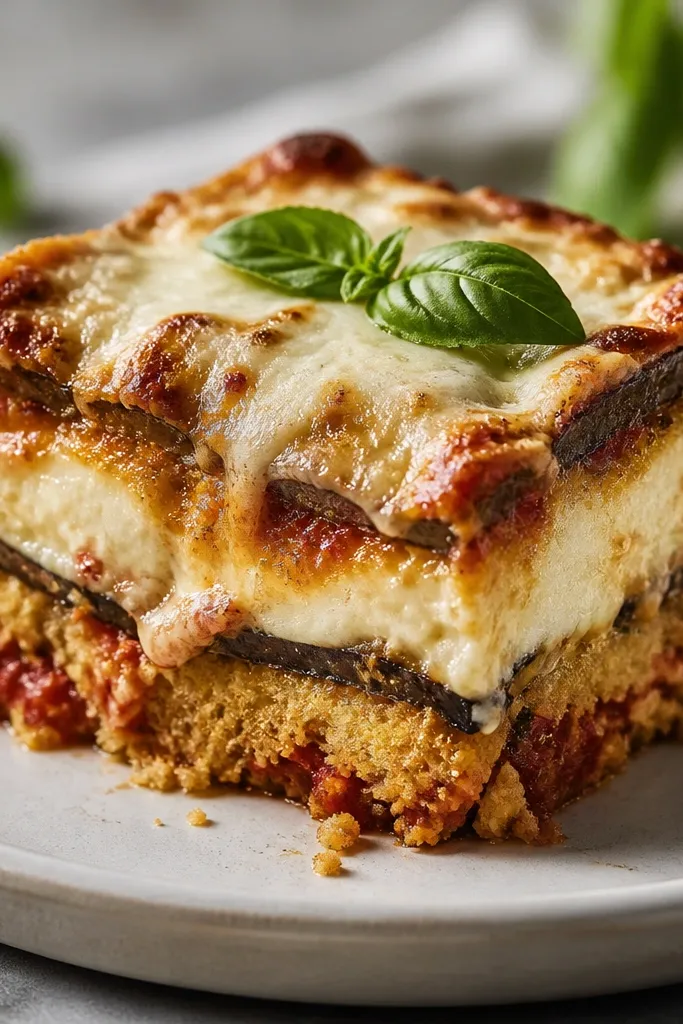
A thicker mozzarella layer makes the dish look tall and indulgent. The crumb beneath acts like a platform so cheese doesn't sink into sauce. When it's broiled, you get browned edges and a clean contrast between white cheese and red sauce.
After broiling the crumb layer for 2-3 minutes, add a thicker mozzarella layer (about 1/2-inch coverage) and broil 2-3 more minutes. Keep the dish relatively deep so the cheese sits high. Use a mix of shredded mozzarella and a little grated parmesan for grip.
Try thisPress mozzarella down lightly so it melts into place instead of floating.
One warningDon't add all cheese at the start - it turns stringy and can weigh down the crust.