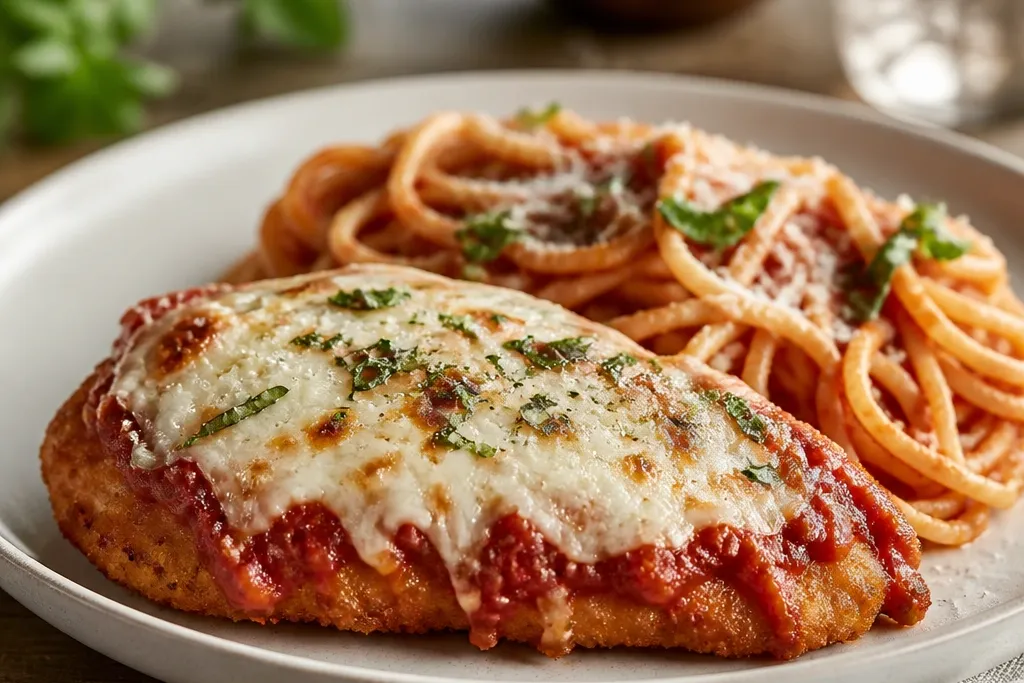
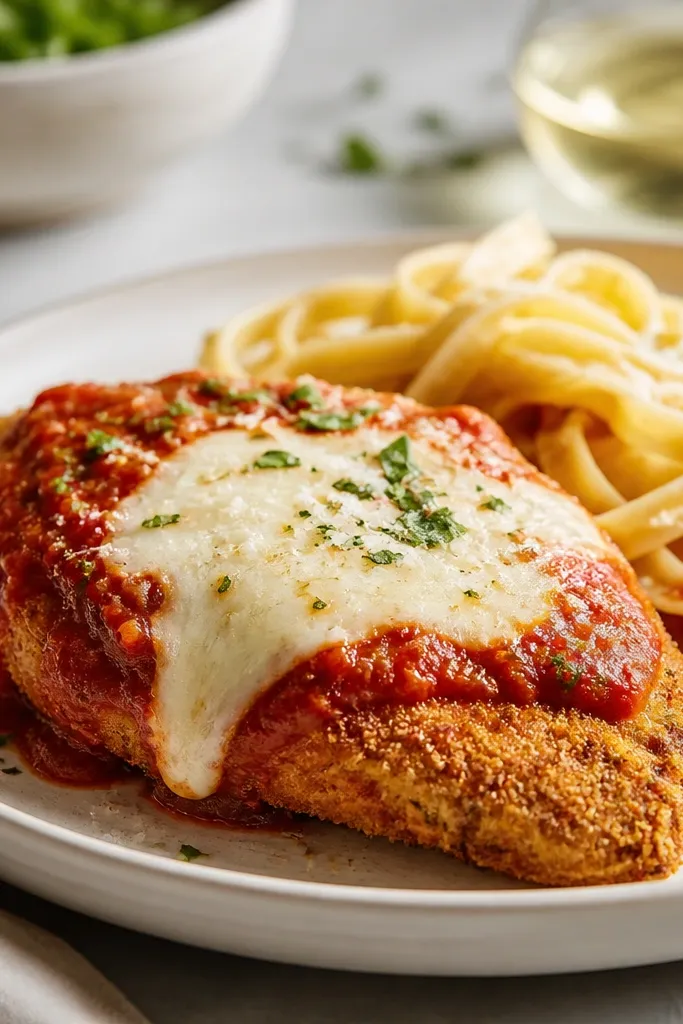
1. Parmesan Cloud Crust with Glossy Gold Cheese
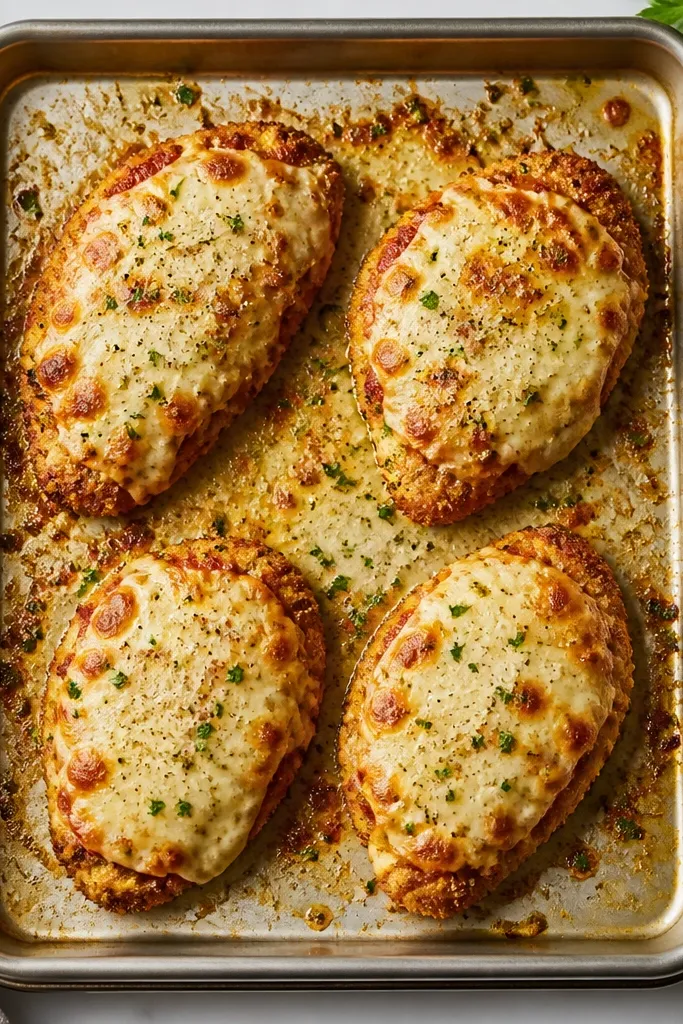
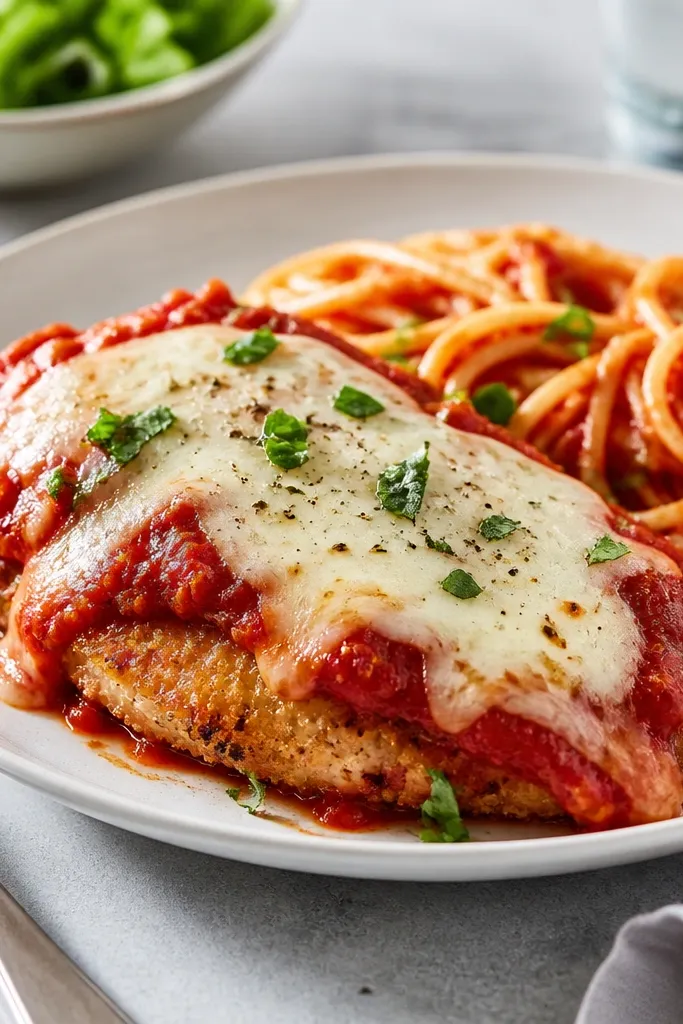
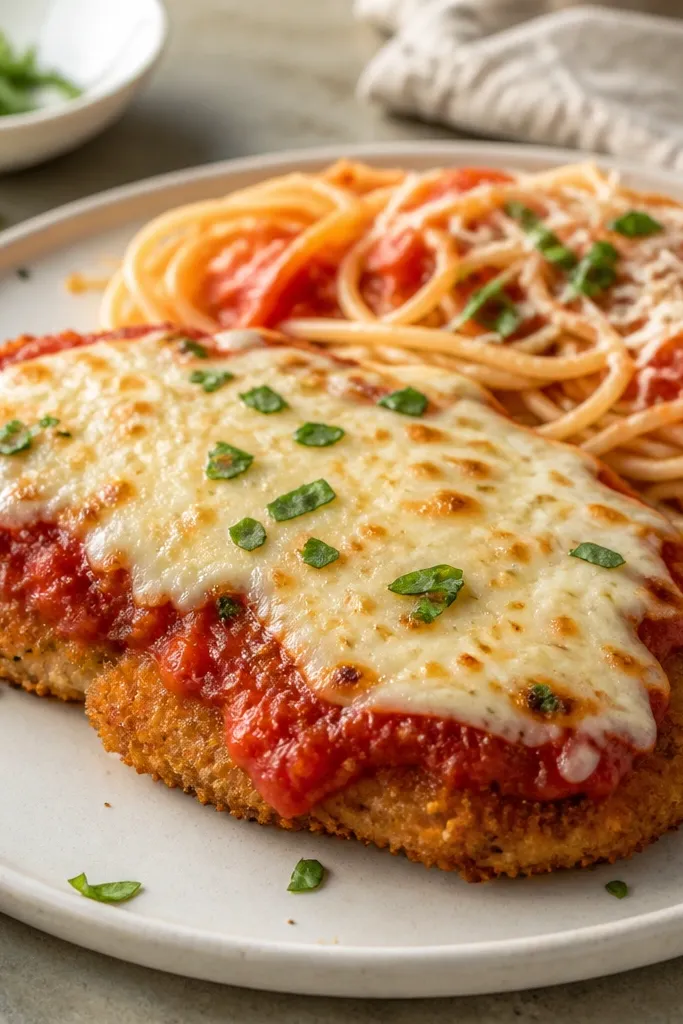
This look comes from two different cheeses behaving differently under heat. Parmesan gives you the sandy, lacy browning, while mozzarella melts into a smooth layer that catches light. When you broil at the end, the top turns bronzed in patches instead of staying flat and pale.
Put the chicken on a preheated sheet, then spread sauce thinly over each piece. Top with a mix of grated parmesan and shredded mozzarella, keeping the layer about 1/4-inch thick at most. Broil until the cheese has browned freckles, usually 60-90 seconds.
Try thisAfter broiling, rest the pan on the counter for 3 minutes so the crust sets before you cut.
One warningSkip a thick cheese layer - it steams and turns greasy instead of crisping.
2. Thin Red Sauce Stripe, Not a Red Blanket
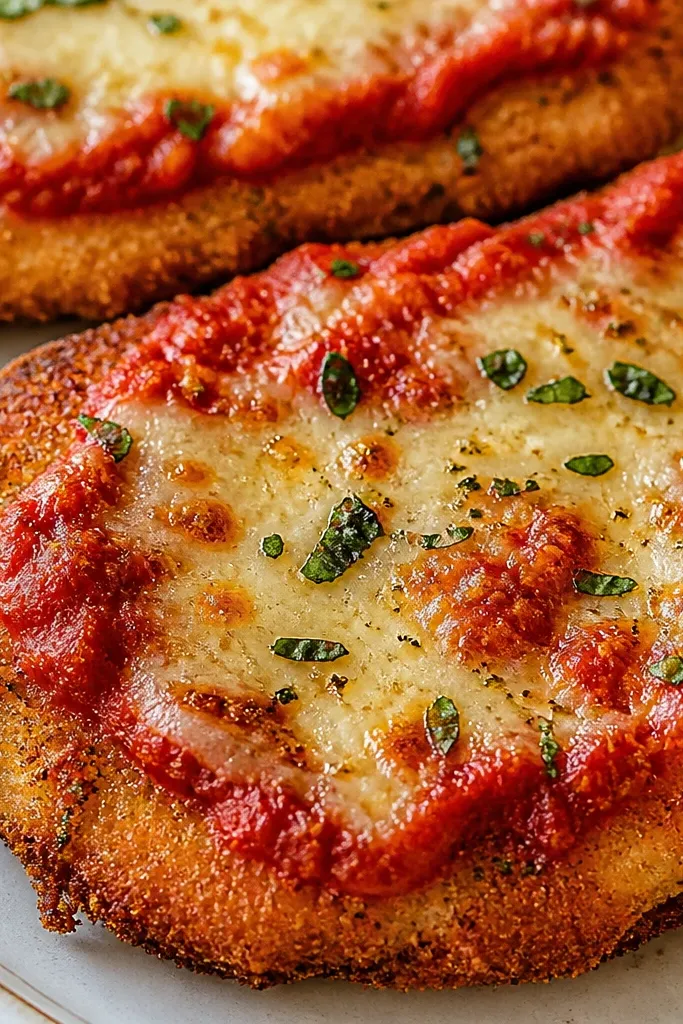
That restaurant look happens when sauce is present but not dominant. A thin layer keeps moisture off the crust so the breading stays audible-crisp under the cheese. Bright marinara also gives a clean contrast against the gold cheese.
Use 2 to 3 tablespoons marinara per cutlet, then spread it with the back of a spoon in a thin, even layer. Leave a 1/4-inch border around the edges so the breading shows. If your sauce is chunky, pulse it quickly so it spreads smoothly.
Try thisWarm the marinara for 30 seconds in the microwave so it spreads without dragging the crust.
One warningDon't drown the chicken - if sauce covers the whole top like soup, the crust goes soft.
3. Breading Grain Pattern with Pressed Edges
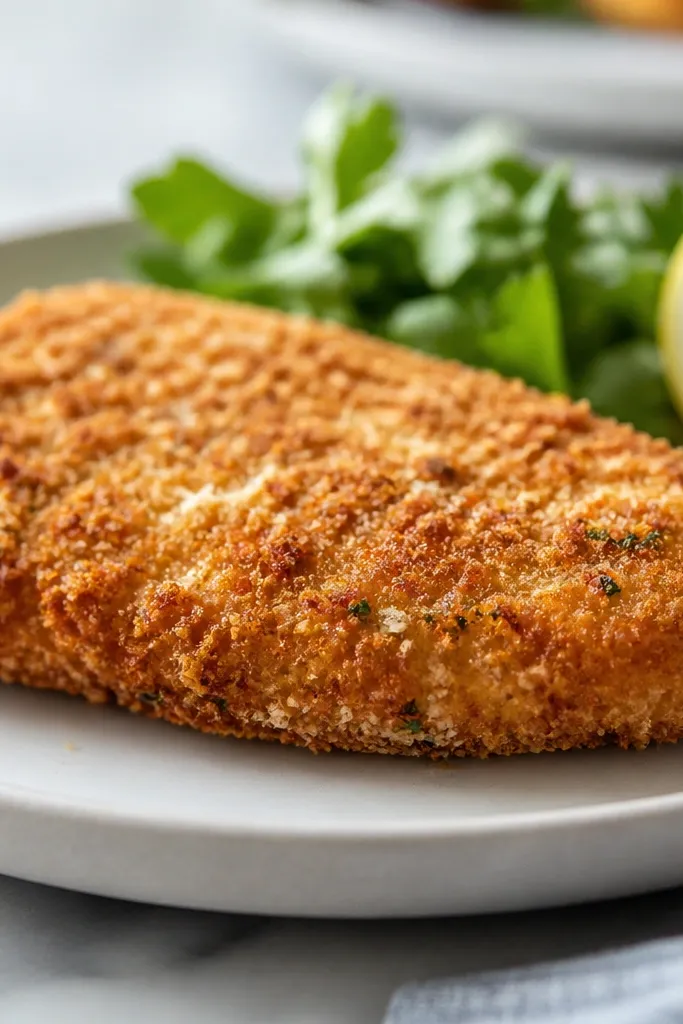
When you press the coating onto the egg wash, you get a tight grain pattern that bakes into crunch. The parmesan flecks brown first, creating that speckled, high-end look. Uneven coating usually means you will get bald spots or thick gummy patches.
Mix breadcrumbs and grated parmesan, then season with garlic powder, dried oregano, and a pinch of salt. Coat each cutlet in egg wash, press into the crumb mix, then press again on a plate for 10 seconds. Keep the crumbs layer thin - you should still see the chicken outline faintly through the coating.
Try thisIf the crumbs fall off, your egg wash is too wet - sprinkle a little extra parmesan into the crumb mix for better grip.
One warningDon't pile crumbs on after pressing - extra thickness means uneven cooking.
4. Fresh Basil Scatter on Broiled Top
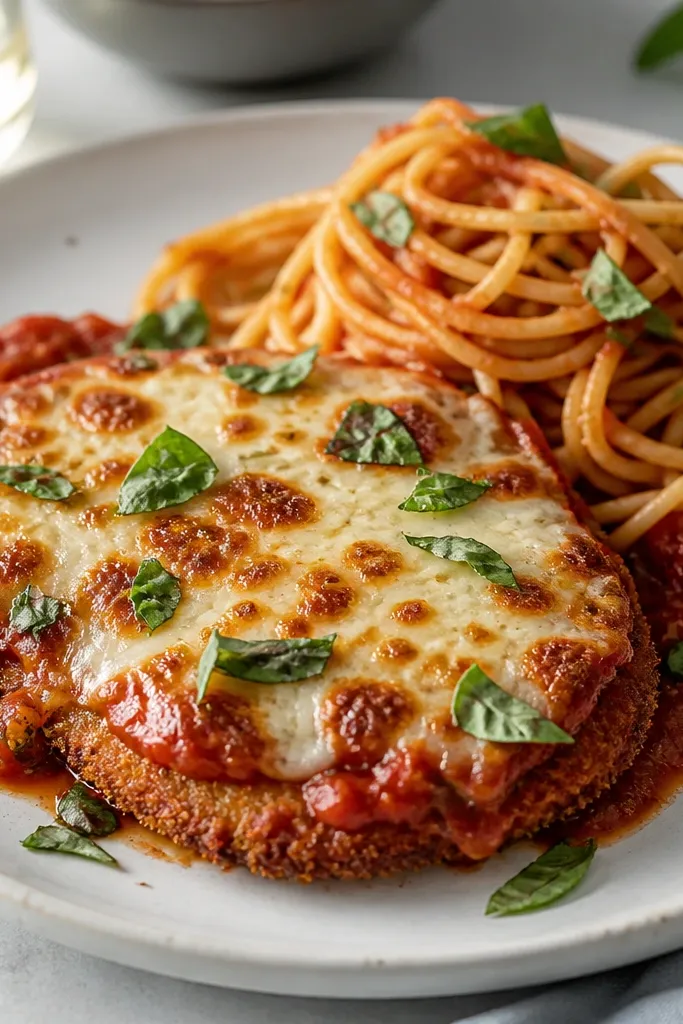
Basil makes the whole plate look more expensive because it adds a fresh green color right on top of the browned cheese. I tear leaves by hand so the edges look natural and the aroma hits when you serve. The green also breaks up the gold-and-red palette.
Tear 6-10 basil leaves per plate. Add them immediately after broiling so they stay bright and do not turn dark. If you're using dried basil, it will look flat - skip it for this specific finish.
Try thisPat basil dry with a paper towel if it looks wet from the fridge.
One warningAvoid adding basil before baking - it wilts into dark specks.
5. Crisp Rim on the Pan-Fried Look
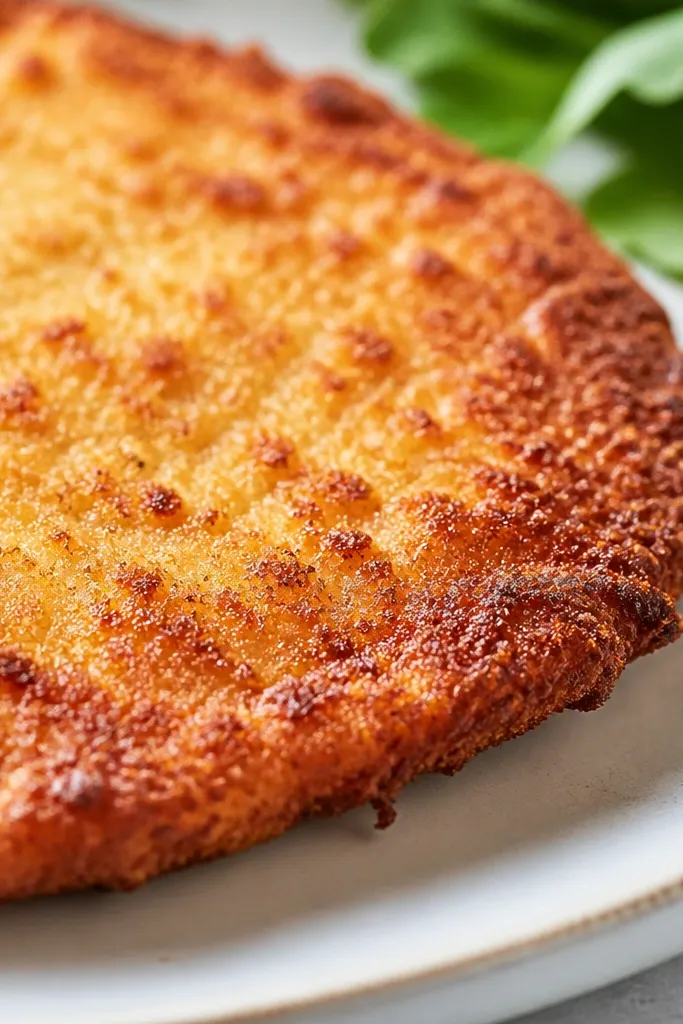
That rim is what sells the "copycat" illusion. It forms when the bottom hits hot metal and the crust sets fast. The rim also makes the chicken look less flat, like you actually fried it.
Preheat a sheet pan in the oven at 450°F for at least 10 minutes. Transfer chicken to the hot sheet quickly and bake 18-22 minutes depending on thickness. You should see the bottoms start to brown before you add sauce and cheese.
Try thisUse a thin spatula to flip only if needed - I usually do not flip, because the broiler browns the top.
One warningDon't use a cold glass dish - it steams the crust and kills the rim.
6. Mozzarella Stretch Strands with Brown Speckle
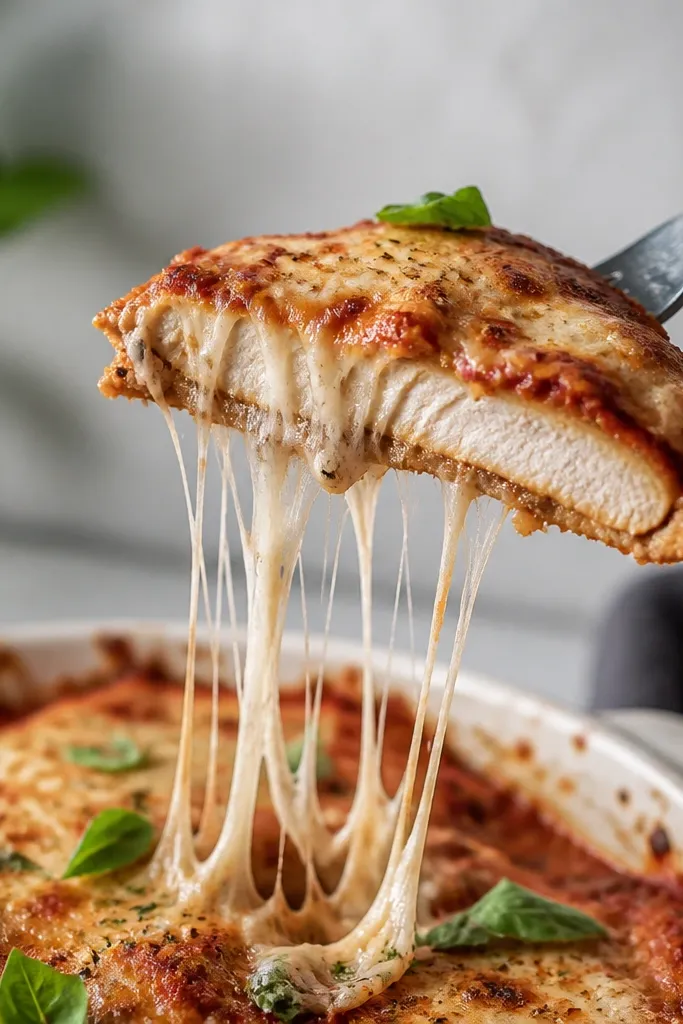
This is the texture you get when mozzarella is shredded and placed on top of parmesan, not baked under heavy sauce. The parmesan browns and the mozzarella stretches so it looks restaurant-made. The fork pull looks dramatic but it is just correct melt timing.
Shred mozzarella from a block if you can. Layer it over sauce, then sprinkle parmesan on top. Broil briefly so the mozzarella melts and the parmesan freckles without burning.
Try thisIf cheese is not browning fast enough, move the rack closer to the broiler by one position.
One warningAvoid low broiler heat - if it runs too gentle, the cheese melts but never freckles.
7. Garlic-Parmesan Breadcrumb Specks Around the Plate
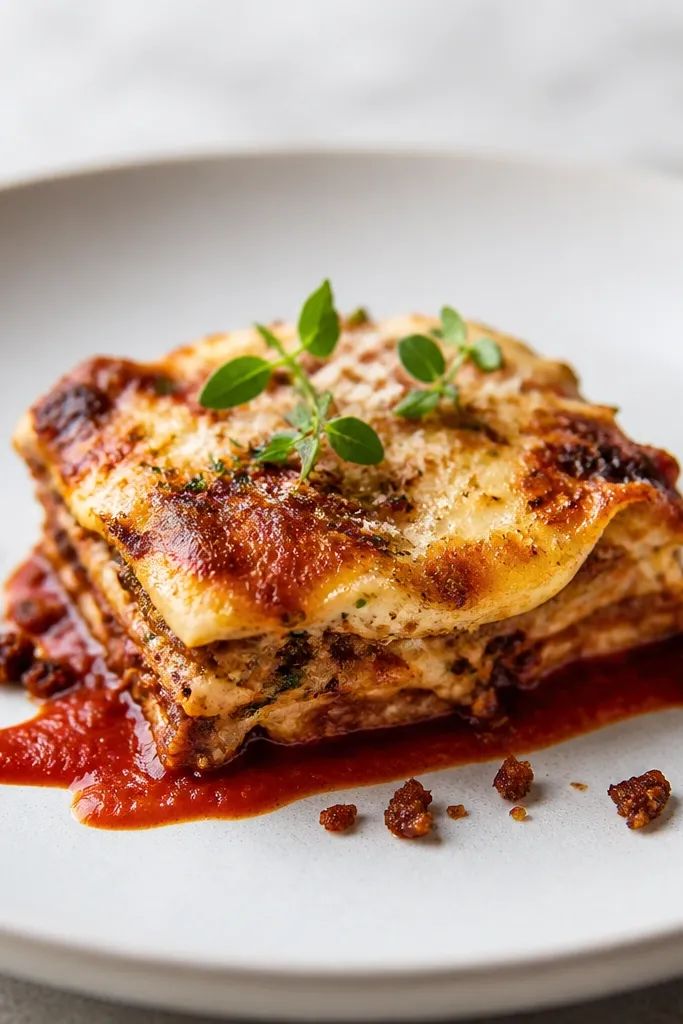
Those little specks happen when the crust bakes hard at the edges and the crumbs toast slightly. They add a lived-in, homemade feel that still looks high-end. You also get more aroma when bits toast on the pan.
After baking, let the chicken sit on the hot pan for 2 minutes before saucing. That short rest helps crumbs stay crisp. When you spoon sauce, keep it centered so the edges stay dry.
Try thisSave any crumb bits from the baking sheet and sprinkle them over the top right before serving.
One warningDon't wipe the pan clean - the browned bits are flavor and texture.
8. Plated Portion with Two-Color Cheese Layers
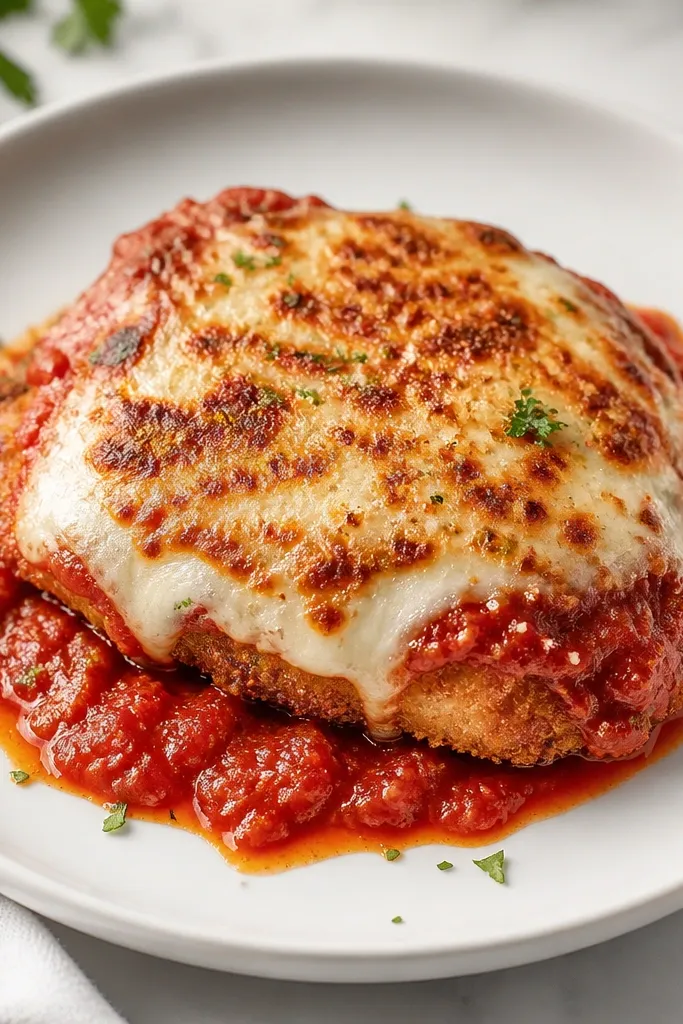
Two-color cheese gives depth. Parmesan is darker and more speckled; mozzarella is lighter and smoother. When you can see both, the dish looks intentionally built instead of thrown together.
Use shredded mozzarella as the base layer, then sprinkle grated parmesan last. Keep the parmesan light so it browns quickly instead of turning bitter from thick coverage. Plate right after broiling so the cheese stays glossy.
Try thisGrate parmesan fresh from a wedge if you want faster browning and better flavor.
One warningSkip pre-shredded "parmesan-style" cheese - it melts strangely and browns slowly.
9. Side of Lemony Broccoli for Green Contrast
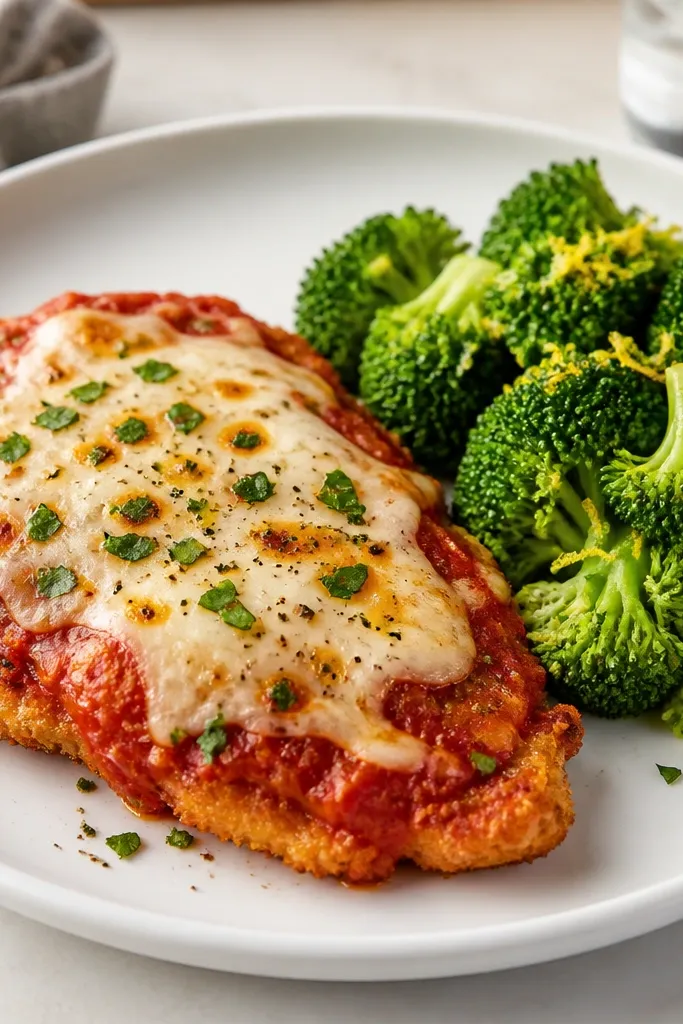
Green vegetables make the red sauce look richer and the cheese look cleaner. Lemon zest on broccoli also cuts the heaviness of parmesan and makes the whole plate smell fresher. This is the kind of pairing that makes the dish feel more like a sit-down meal.
Quick-steam broccoli until just tender, then toss with olive oil, salt, and lemon zest. Add it right before serving so it stays bright green. Keep the portion small so it does not crowd the chicken.
Try thisUse a microplane for lemon zest so the pieces are tiny and distribute evenly.
One warningDon't drown the broccoli in sauce - you want crisp-tender, not soft and wet.