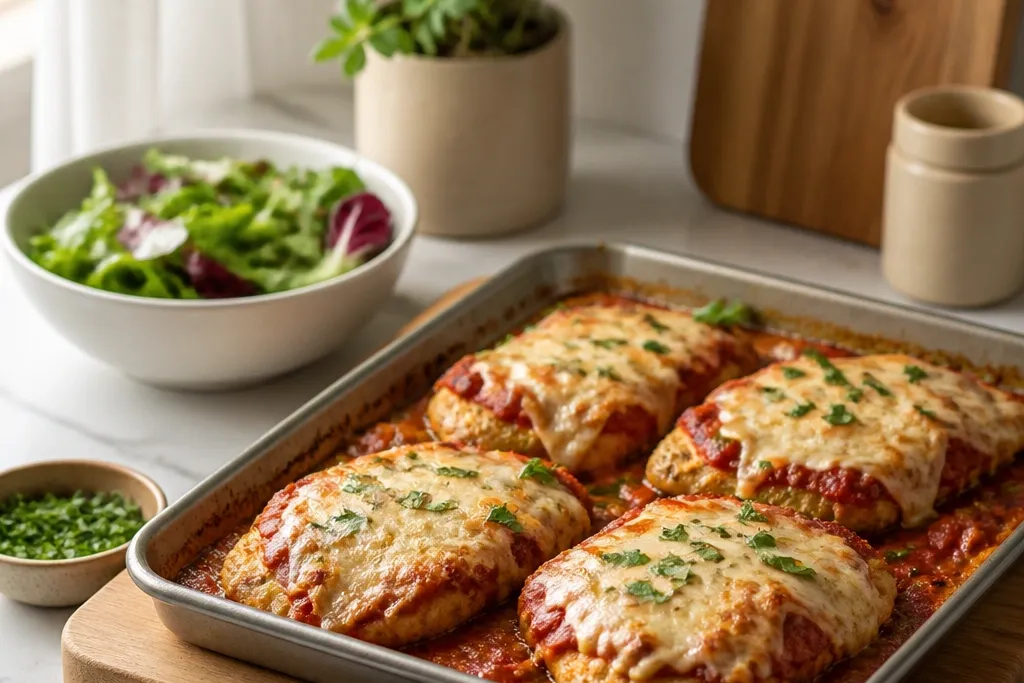
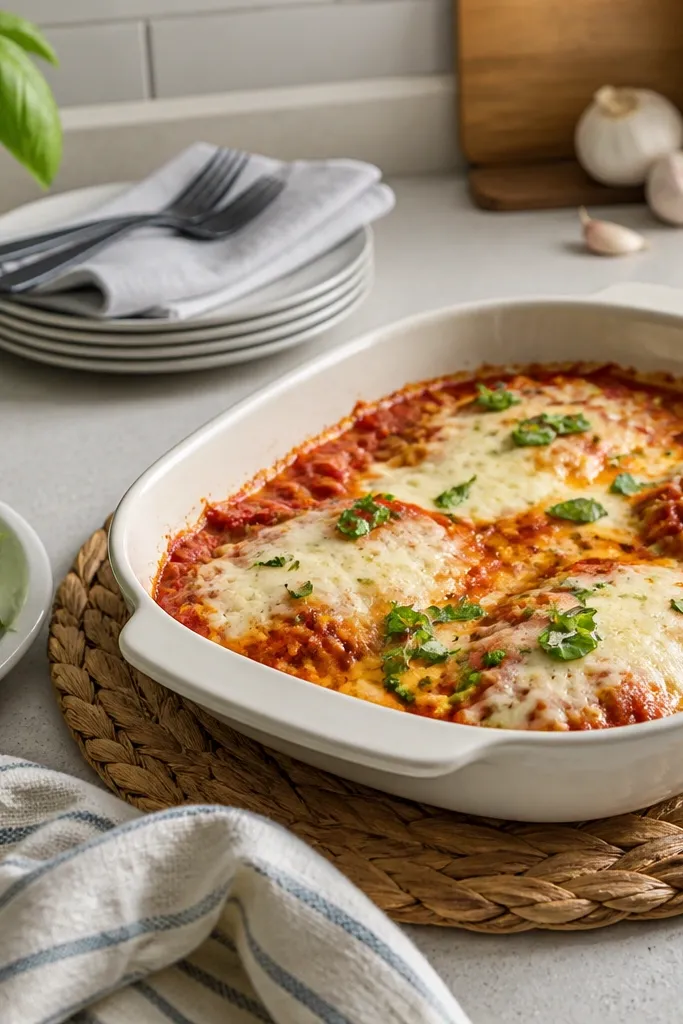
1. Sheet-Pan Wire Rack Under-Caramelized Gold
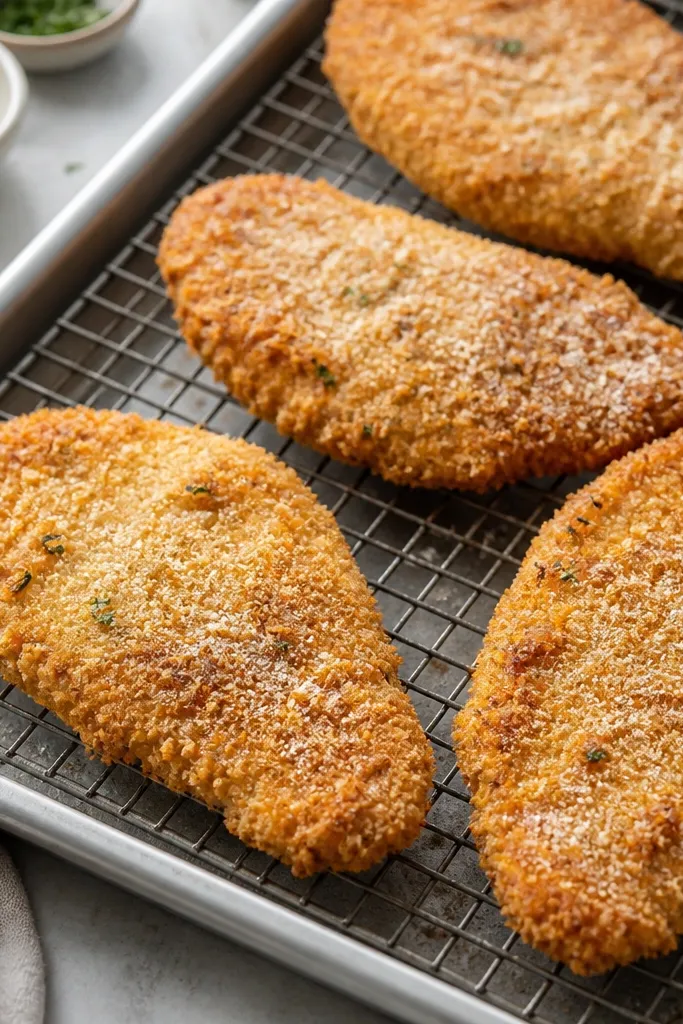
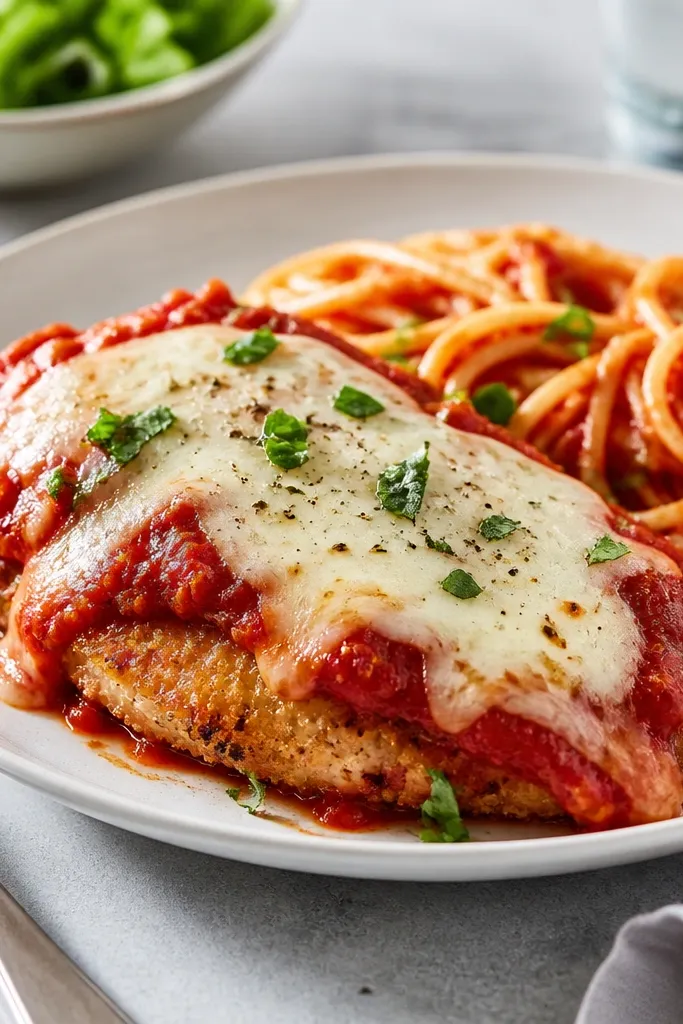
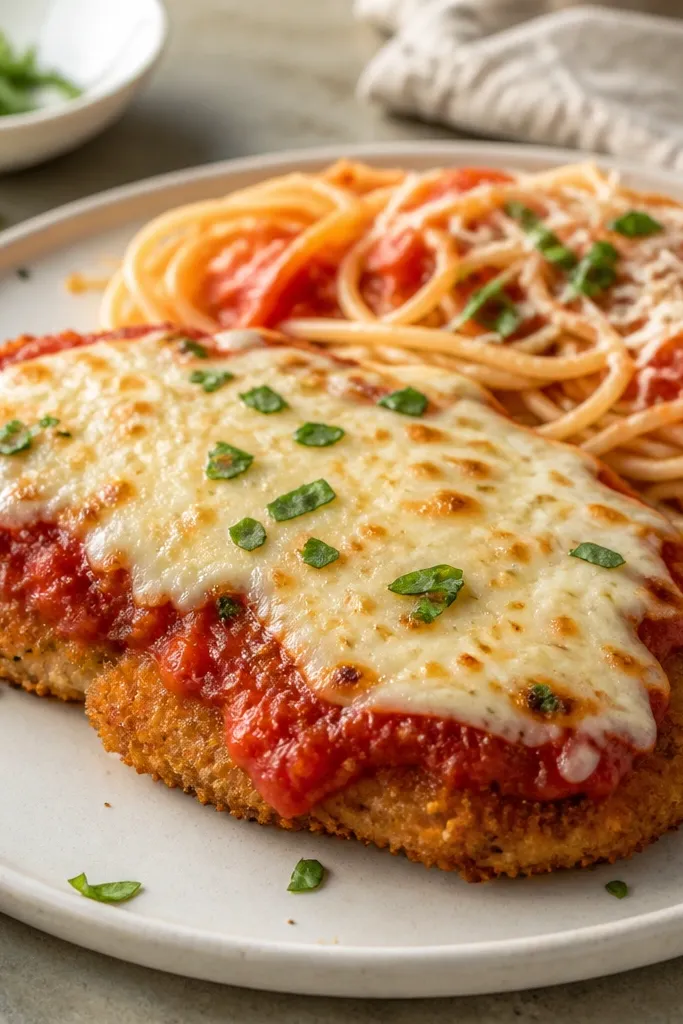
This look is what you get when the bottom of the chicken browns too. The wire rack lifts the cutlets so grease drips away and hot air circulates, which means you see actual golden edges instead of pale, steamed breading. It also keeps the cheese layer from getting damp before the bake finishes.
Use a standard half-sheet pan (about 18x13 inches) and a rack that sits flat without tipping. Leave about 1 inch between cutlets so they heat evenly. Bake at 425°F so you get browning before the sauce has time to soak through.
Try thisIf your rack has thick bars, place the cutlets so the thickest part sits over the wider spaces for more even airflow.
One warningSkipping the rack and baking directly on foil usually makes the bottom look wet and beige.
2. Three-Color Breading Layer That Looks Like Restaurant Crust
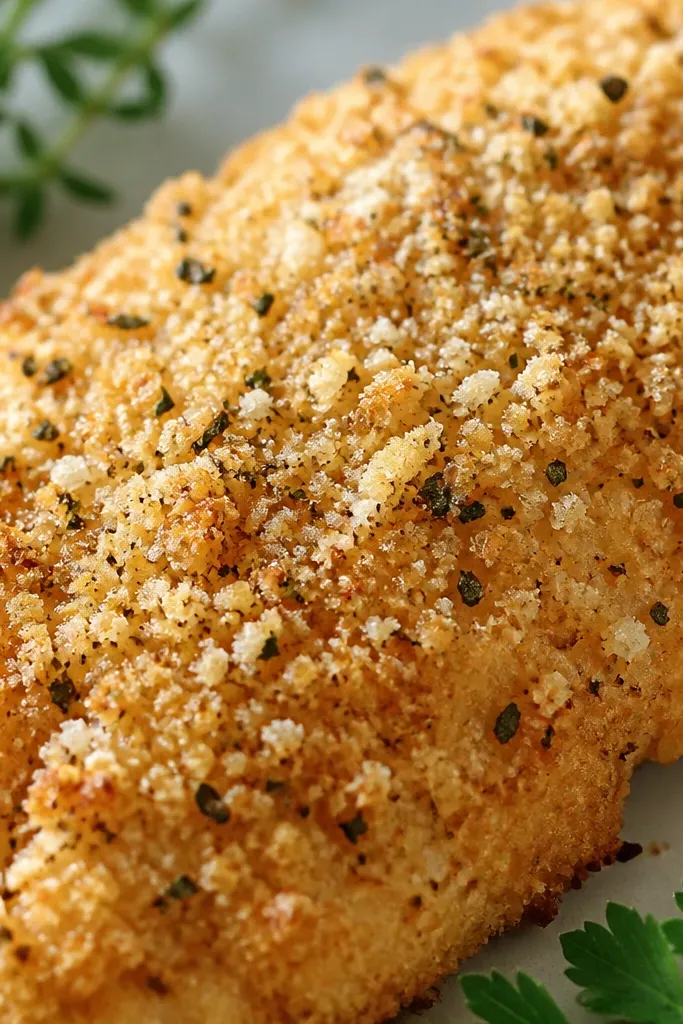
That Olive Garden vibe is a breading that looks textured, not one flat, uniform layer. I build mine from Italian breadcrumbs plus finely grated Parmesan, then add a light hit of garlic powder and dried oregano. The mix creates small color variation that makes the chicken look crisp even before baking.
Grate Parmesan on the fine side so it melts into the crust. For one pound of chicken, use about 1 cup breadcrumbs and 1/3 cup grated Parmesan. Season the breadcrumb mix, not the chicken alone, so the crust tastes like something.
Try thisPress the cutlet into the breadcrumb mix for 10 seconds on each side so the coating sticks tight.
One warningUsing pre-shredded Parmesan often makes the crust look grainy and dull after baking.
3. Egg Wash That Clings Instead of Dripping
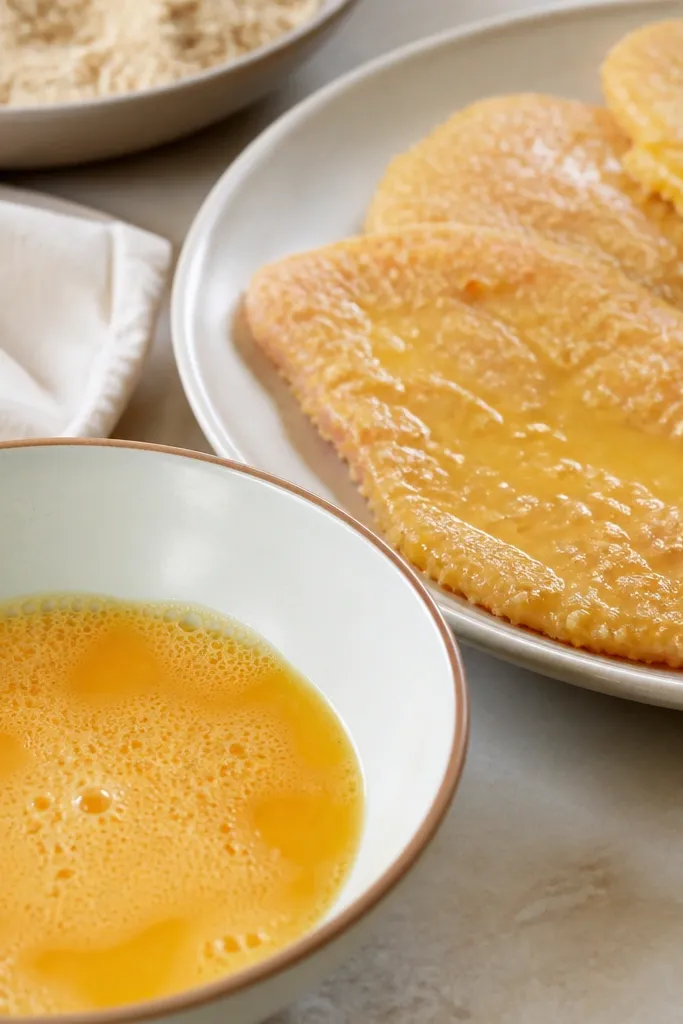
A thin egg wash is what turns crumb into crust. If the egg is too watery, breadcrumbs slide off and you lose that thick, lacy crunch. I beat one egg with a tablespoon of water and a pinch of salt so it spreads thinly and still sticks.
Dip each cutlet, let excess egg drip for 2 seconds, then coat in breadcrumbs. Keep the cutlets on a clean plate and coat them one at a time so they do not sit wet. You are aiming for a tacky surface, not a puddle.
Try thisIf your kitchen is warm and the egg feels runny, refrigerate the dipped cutlets for 5 minutes before baking.
One warningOver-soaking in egg makes the coating heavy and leads to soggy spots.
4. Sauce Pour Line That Stops Before the Edges
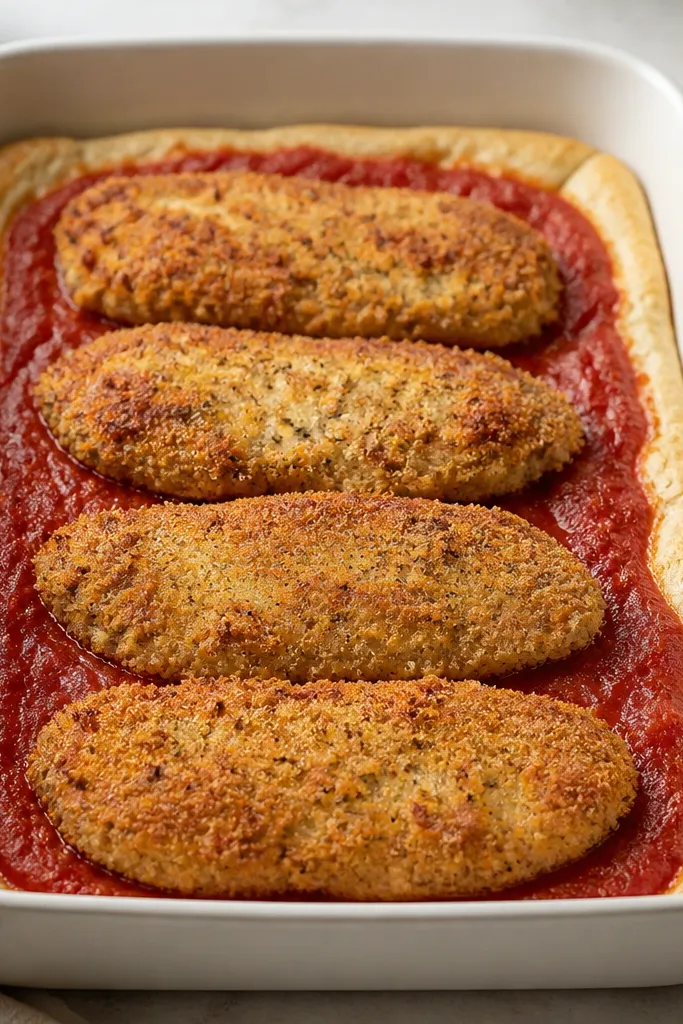
The crust looks best when sauce touches the chicken but does not drown the breading. I spoon marinara in a controlled band and keep a bare border around the edges so the crisp stays crisp. The sauce then bubbles around the perimeter and creates that glossy Olive Garden look.
Warm marinara slightly so it spreads without digging into the crust. Use about 3/4 cup sauce for 4 cutlets, then add more only if the pan looks dry. Cover with cheese after the first sauce layer so it melts into the chicken.
Try thisUse the back of a spoon to spread the sauce, and stop when you see the crust edge still looks dry.
One warningPouring sauce over the top until it pools usually turns the breading into soft crumbs.
5. Cheese Layered for Melt and Color
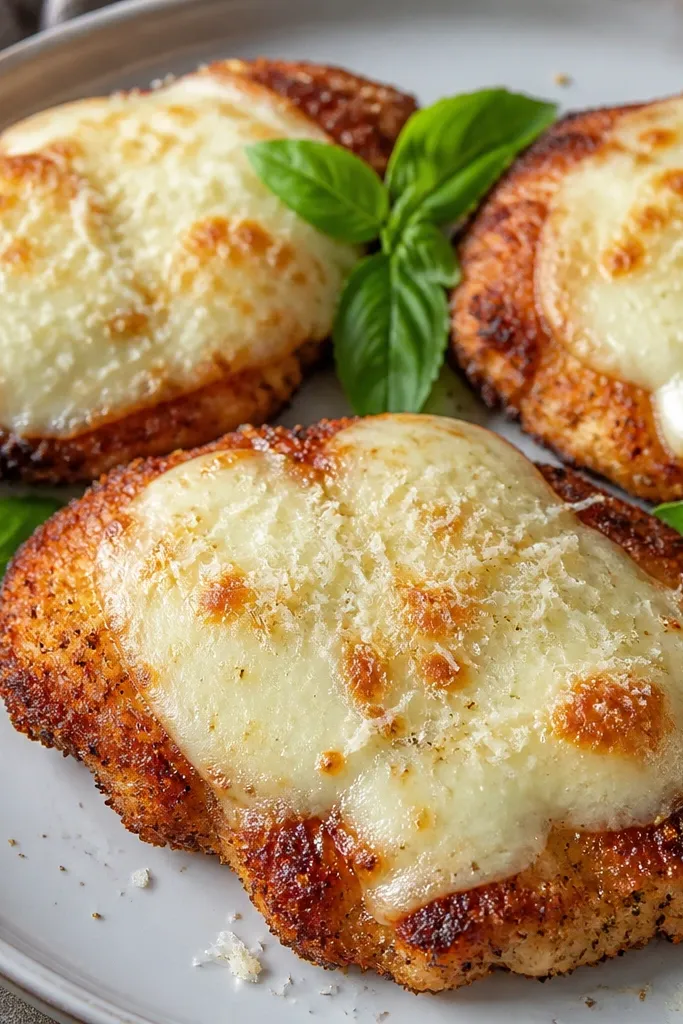
Mozzarella gives the stretch and gloss, Parmesan gives the browned spots that look like restaurant finishing. I use mozzarella slices for the melt shape, then sprinkle Parmesan on top so you get golden freckles. This combo lets the cheese melt fast but still looks textured.
After the first sauce layer, lay mozzarella slices so they cover most of the surface but do not drip off the sides. Use about 8 ounces mozzarella for 4 cutlets. Add Parmesan right before the final 5 minutes so it browns instead of drying out.
Try thisFor extra stretch, shred a little mozzarella and sprinkle it between slices.
One warningUsing only pre-shredded cheese often melts unevenly and can look oily on top.
6. Basil Finish That Doesn't Disappear
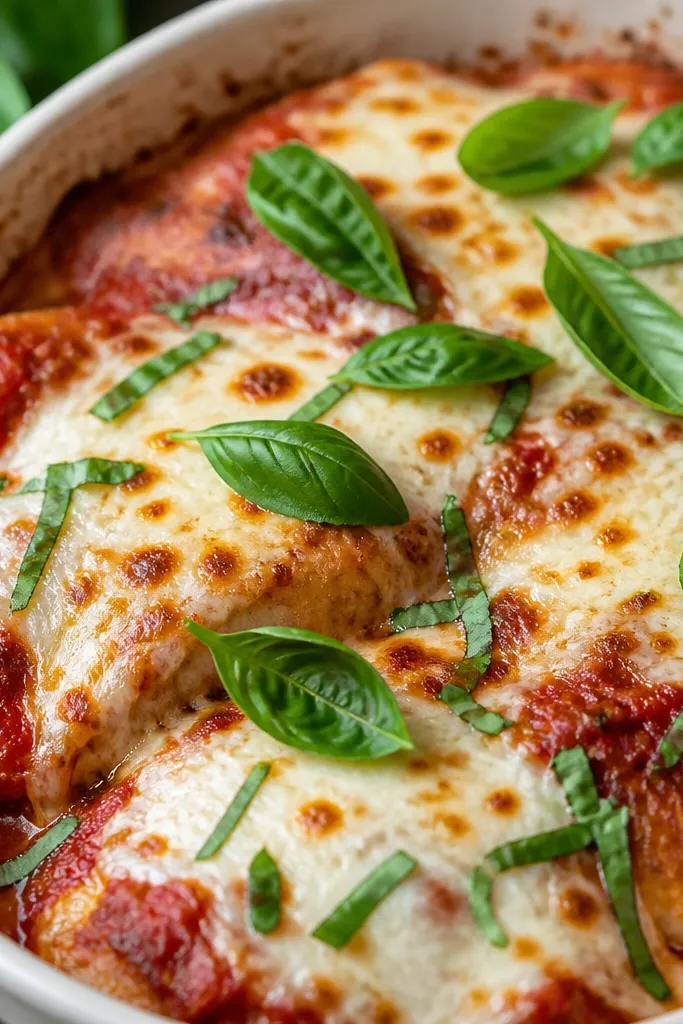
Fresh basil adds color contrast - green against red sauce and white cheese - and it smells like the last second before serving. I add basil after baking so it stays bright instead of turning dark and papery. The flavor hits clean and herbaceous rather than cooked.
Tear basil leaves by hand and scatter lightly over the top. Use about 6 to 8 leaves for 4 servings. If you only have dried basil, crush it between fingers and use a smaller amount because dried tastes more flat on this dish.
Try thisAdd basil right after you pull the pan, then let it sit 2 minutes before plating.
One warningBaking basil with the cheese makes it look gray and tastes muted.
7. Resting Time That Keeps Cheese from Slumping
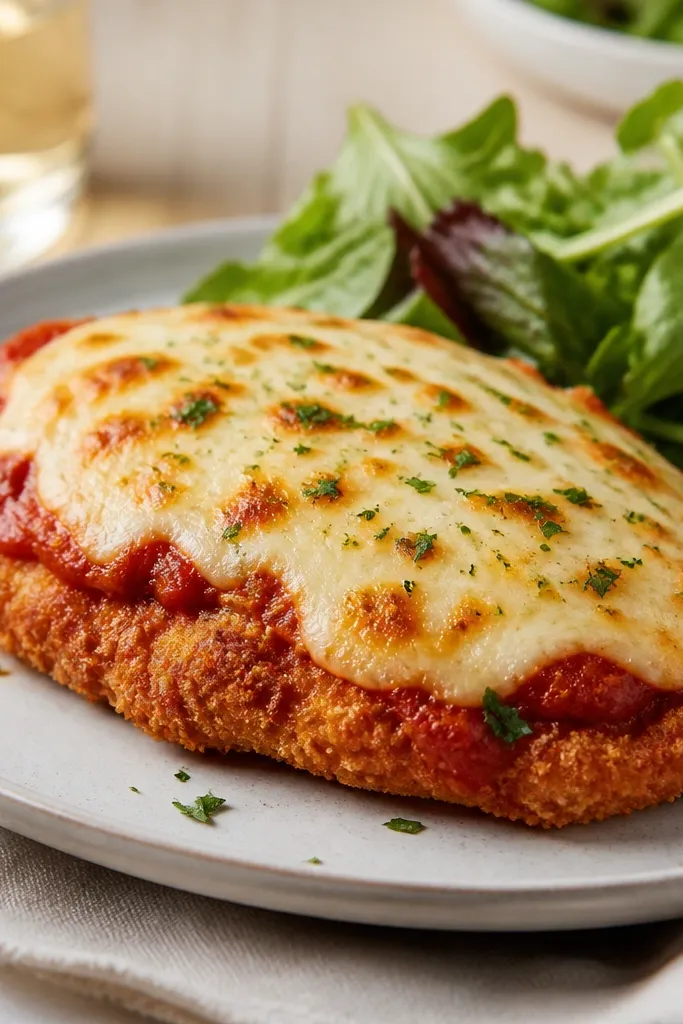
Cheese needs a short rest to set up. If you cut immediately, the steam pushes cheese and sauce into a pool and the crust loses that clean edge. A 3-minute rest firms the topping just enough so the first bite stays structured.
Move the cutlets to a plate with a wire rack if you have one, or just a plate with space underneath. Keep them in a warm spot, not covered tightly. Serve one cutlet per plate so steam does not trap under a pile.
Try thisIf your oven runs hot and the cheese is bubbling hard, rest 4 minutes instead of 3.
One warningSlicing straight from the oven usually makes the cheese slide and looks messy.
8. Renter-Friendly Cleanup Setup That Looks Neat
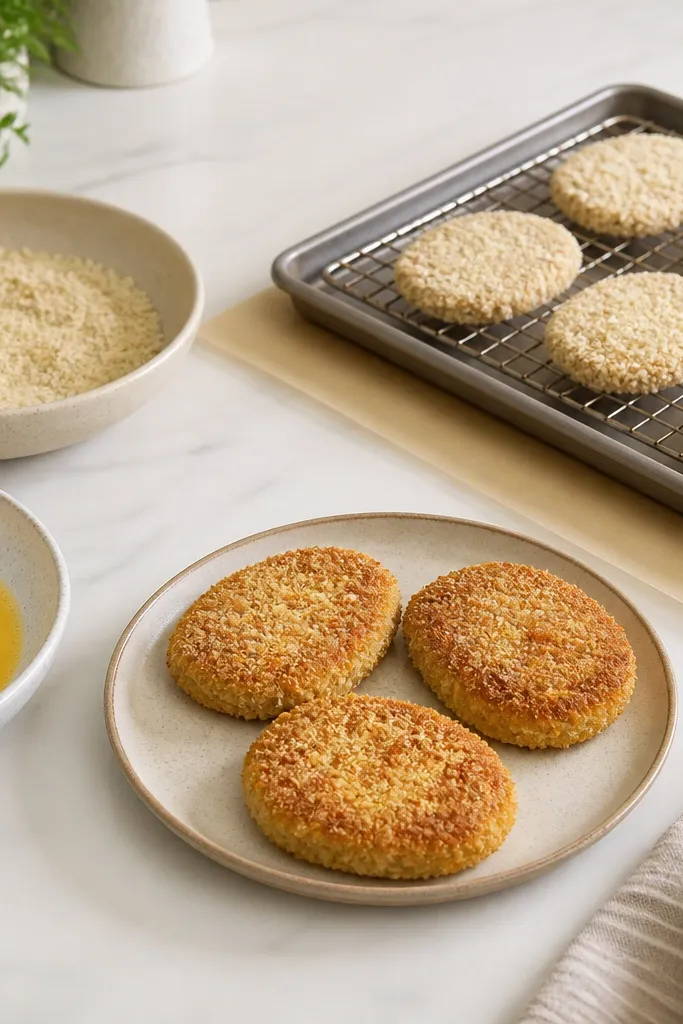
The dish is messy in the breading stage, so I set it up like a production line. That keeps the coating consistent and prevents breadcrumb piles on your counters. When cleanup is controlled, the food looks better because you do not rush.
Put down parchment or a silicone mat under the rack pan. Set bowls in a straight line and use tongs for egg and breading so your hands stay clean. Plan to wash only the bowls and plates, not the whole counter.
Try thisWipe the rack bars right after baking with a paper towel while still warm, so cheese residue does not harden.
One warningUsing one bowl for egg and crumbs makes the coating clump and bake into ugly lumps.
9. Side-Plate Color Pairing for the Full Olive Garden Feel
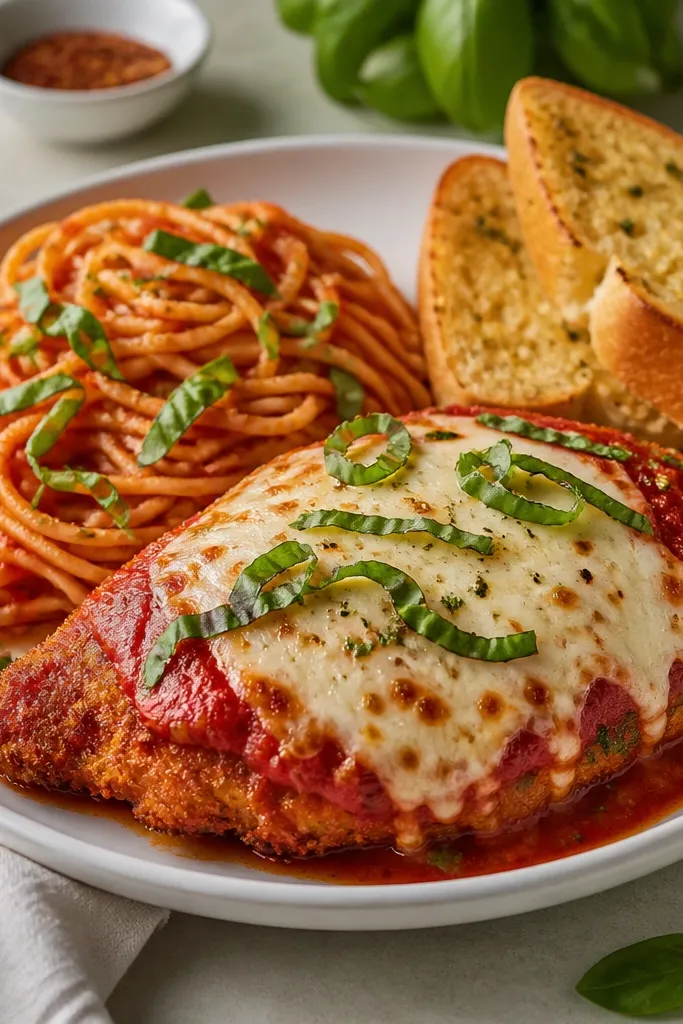
This dish looks best when the plate has contrast: red sauce, golden chicken, and pale noodles. Spaghetti with a light sauce coat keeps the focus on the chicken while still giving you that familiar restaurant spread. A small side of garlic bread adds texture without stealing the show.
Toss spaghetti with a few spoonfuls of marinara so it shines but does not swamp. Add a sprinkle of Parmesan on the noodles so the whole plate ties together. If you want lighter, use buttered bread cubes instead of heavy garlic bread.
Try thisPlate noodles first, then place chicken on top so sauce stays where you put it.
One warningOver-saucing the noodles makes the plate look wet and dull.
10. Oven Timing That Keeps Crust Crisp Through Melting
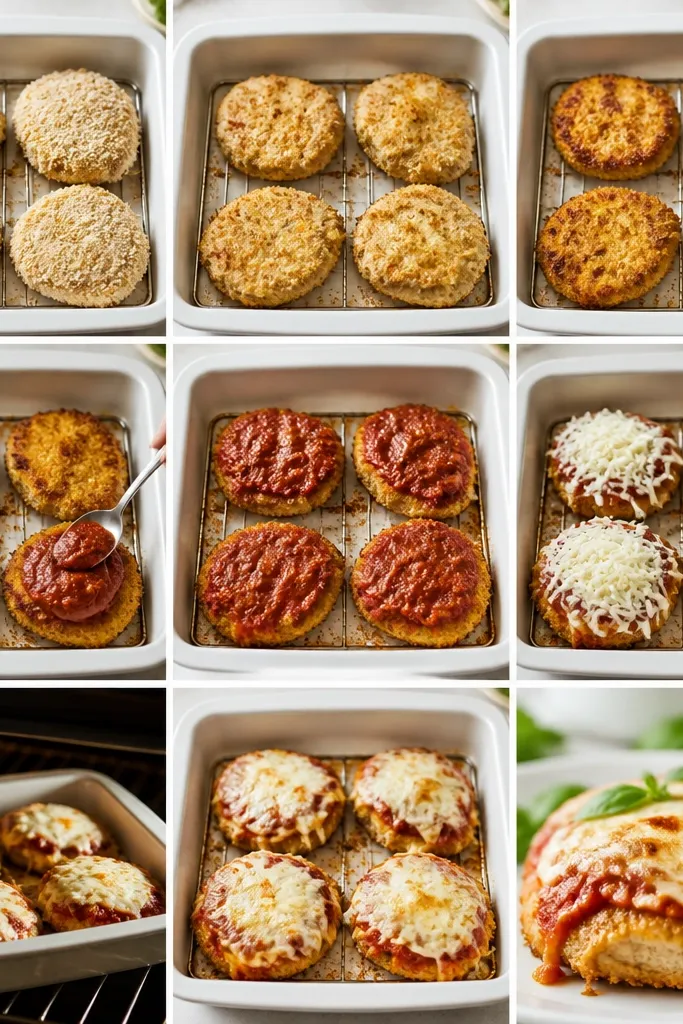
Timing decides whether you get crisp edges or limp breading. I bake cutlets first until they are golden on top, then add sauce and cheese for a short second bake. That keeps the crust from overcooking and drying out.
Bake plain breaded cutlets at 425°F for 18-22 minutes, depending on thickness. Then add sauce and cheese and bake 8-10 minutes until the center reaches temperature and cheese bubbles. Finish with a 1-2 minute broil only if your oven does not brown well.
Try thisIf your cutlets are thinner than 1/2 inch, start checking at 16 minutes.
One warningAdding sauce too early turns the crust soft before the chicken is fully cooked.