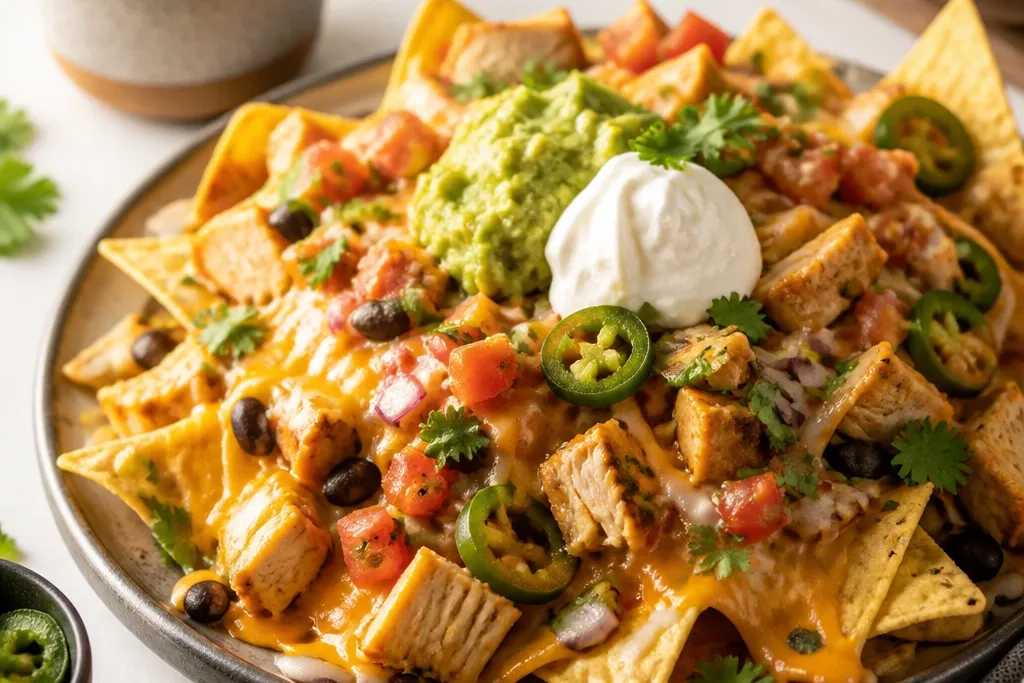
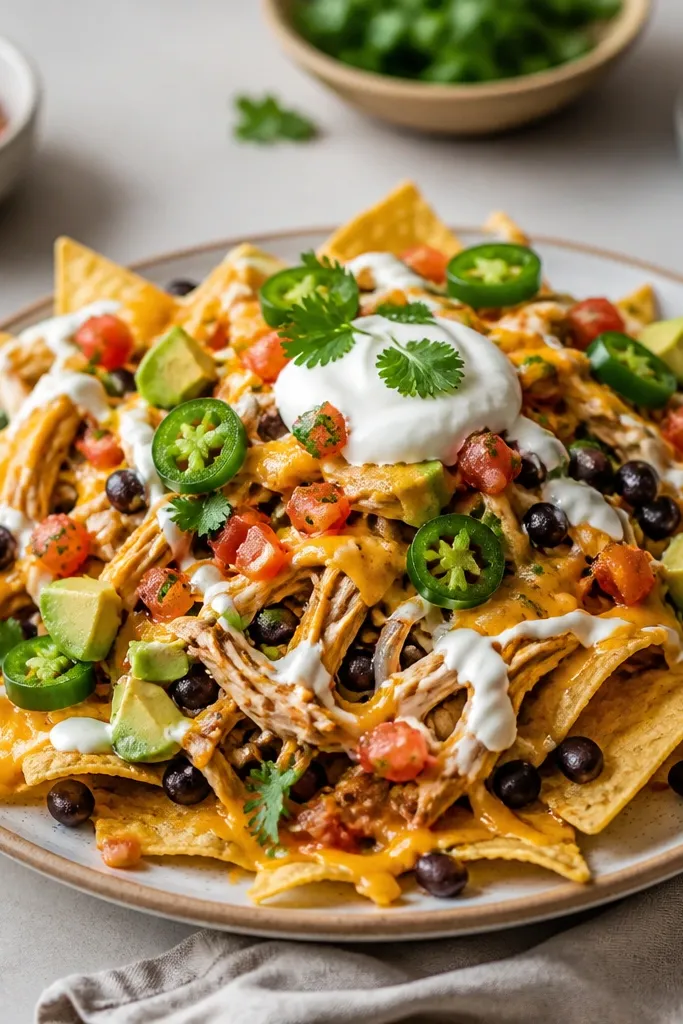
1. Backlit Stadium Tray With Warm Fairy Lights
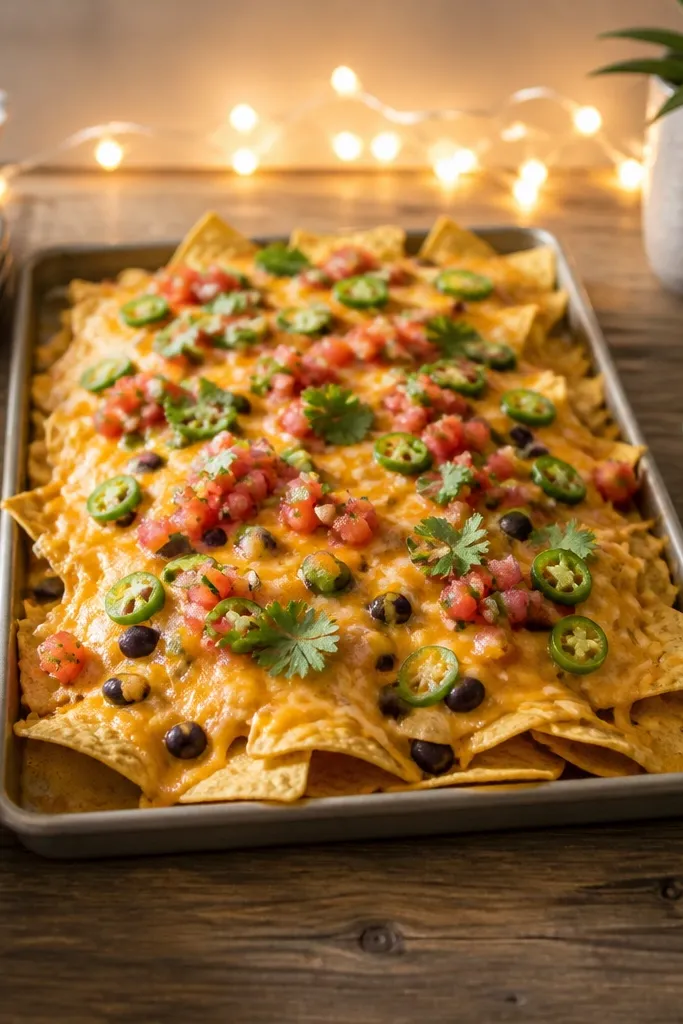
This look is about framing. The warm glow from behind makes the chip edges look amber and the cheese look shiny instead of dull. Use a simple tray so the lights reflect off the tortilla texture rather than bouncing around in the room. It feels like a stadium scoreboard without any complicated décor.
Put the tray on top of a flat board or a clean sheet pan so the back edge has room for the lights. Tuck the lights behind the tray lip at the back third so they aren't visible through the chips. Build nachos in a shallow mound so the light catches the highest points.
Try thisTurn off overhead lights for photos - the warm LEDs do the work.
One warningDon't place LEDs directly on the nachos or let wires cross the food area. Plastic near heat looks cheap fast.
2. Cheese-Cascade Nachos With Lighted Edge Border
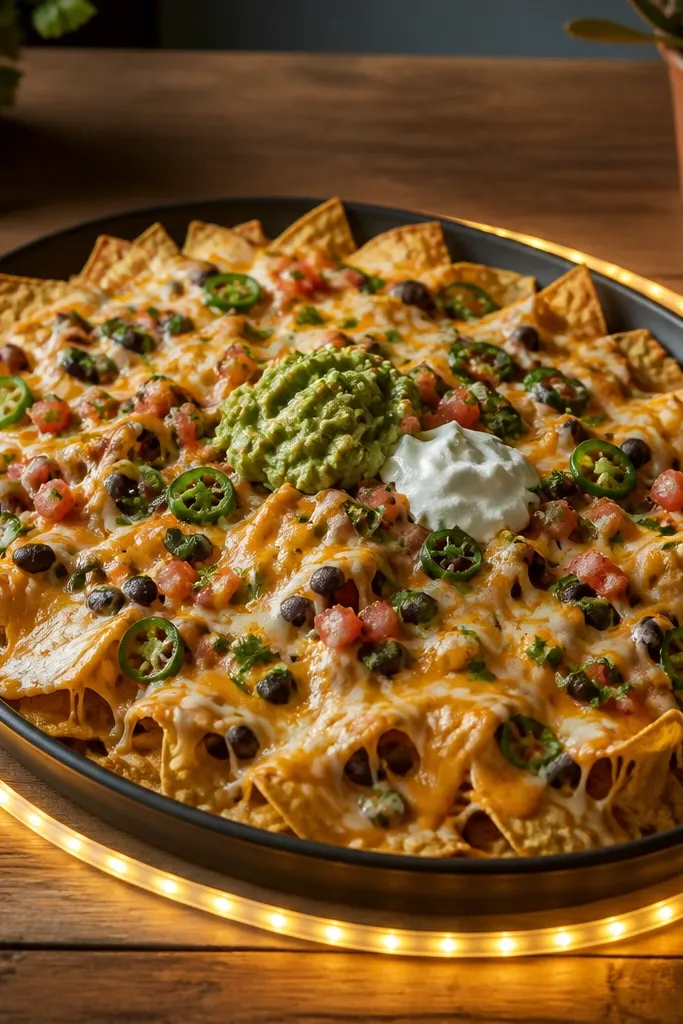
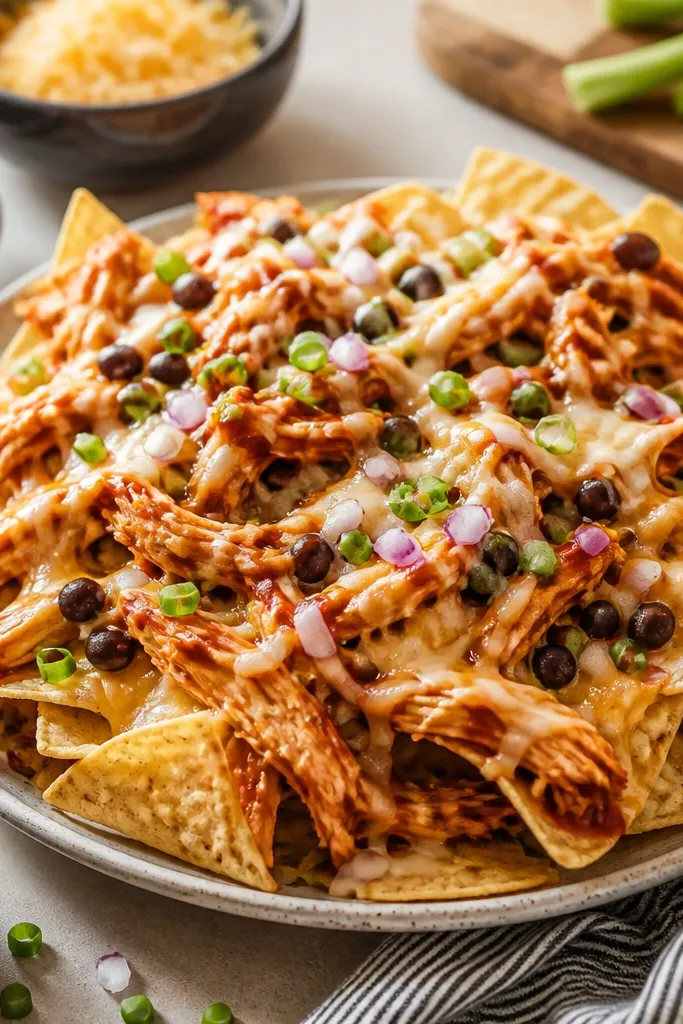
Border lighting makes the whole dish read as one "event." When the lights hug the edge, the cheese drips and folds look intentional, not random. This works especially well with a thicker queso (or nacho cheese sauce) because it holds drapes longer under warm light.
Use an oval cast-iron or metal oval baking dish so the cheese sets with a slightly textured surface. Outline the pan's outer edge on the table with the LED strip, keeping the strip 6-10 inches away from any heat sources. Keep your cheese layer to about 1 to 1.5 cups shredded cheddar before baking.
Try thisFor extra "cascade" effect, drizzle queso on after the final bake, then add a pinch of chopped cilantro.
One warningDon't overload the top with sauce before baking. Too much wet cheese turns into a puddle and the border glow highlights it.
3. Wall of Crunch With Rotisserie Chicken Rows
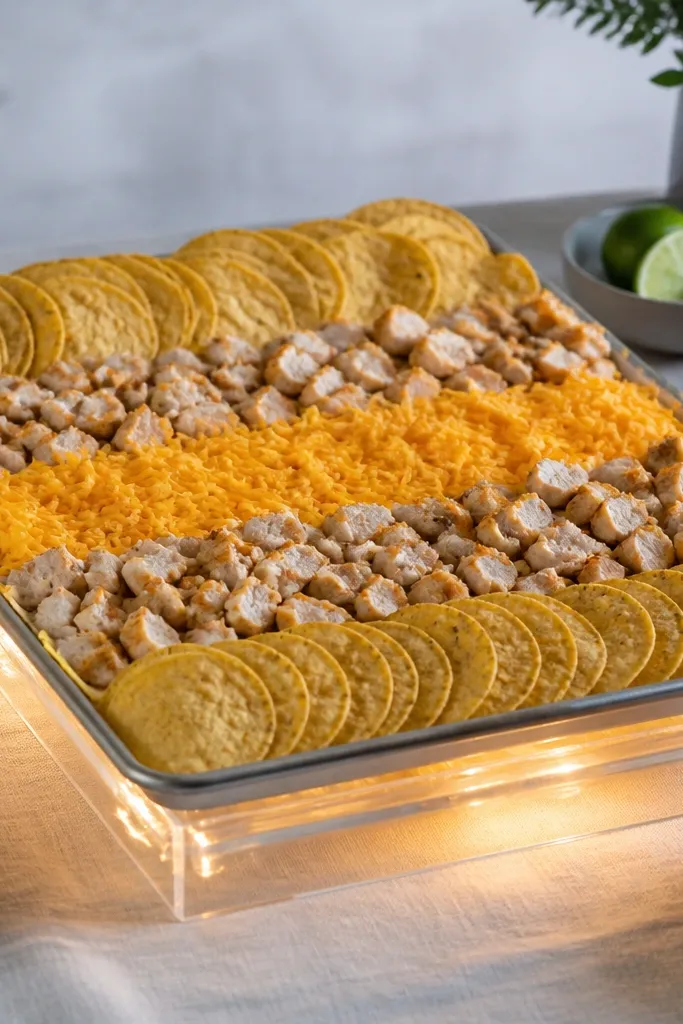
Rowing the ingredients makes the dish look designed, not messy. Upward light through a clear riser makes the chips look crisp and layered, like a crunchy wall. It also helps you see where each topping goes, which keeps bites balanced.
Lay chips in overlapping rows on a lined sheet pan. Spread chicken in a thin band across the center, then add cheese across the whole area. For the riser glow, set a clear acrylic stand on the table and place battery LEDs underneath, not inside the oven.
Try thisCut jalapeños into thin coins so they distribute evenly across the chicken band.
One warningDon't pile chicken too thick. A thick layer steams chips and kills the row definition.
4. Queso Pool Party With Under-Glow Lantern Lights
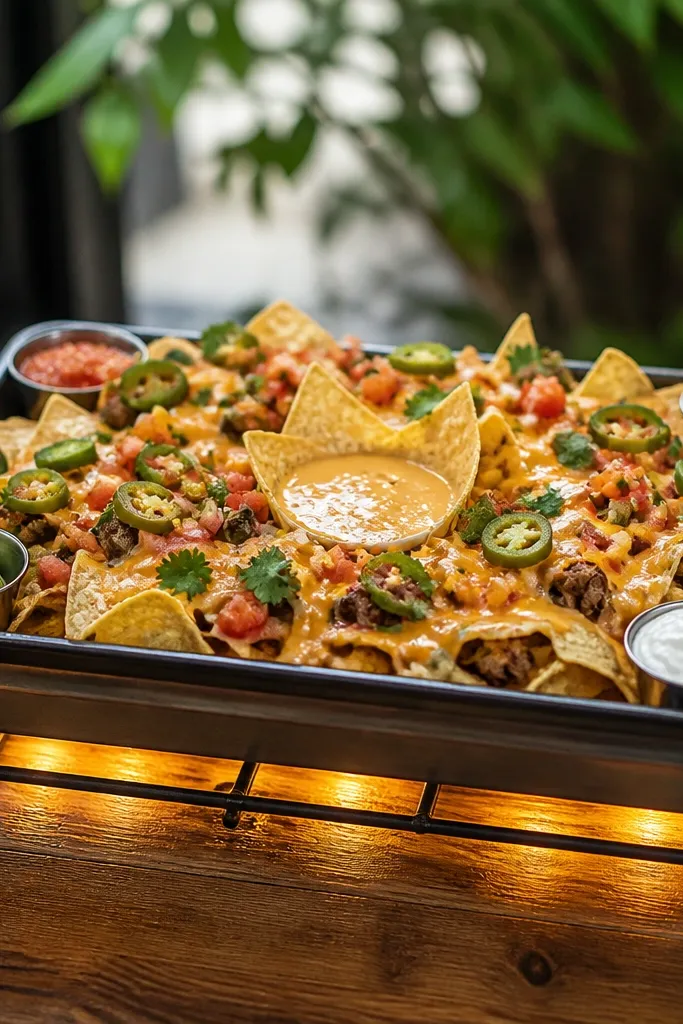
A visible queso pool photographs great under under-glow lighting because it reflects light like a glossy sauce. The trick is thick queso and a controlled pour so it stays in the middle instead of soaking everything. Warm light makes the pool look creamy, not watery.
Make queso slightly thicker than you think: stir in shredded cheddar slowly until it coats a spoon. Build nachos in a ring shape so the center stays open for the pool. Place LEDs under the tray with a clear or metal base, keeping them away from any open flame or oven area.
Try thisPour queso in a single slow circle, then stop. A second pour makes it spread too far.
One warningDon't use thin nacho cheese sauce. It disappears into chips and the under-glow just shows grease.
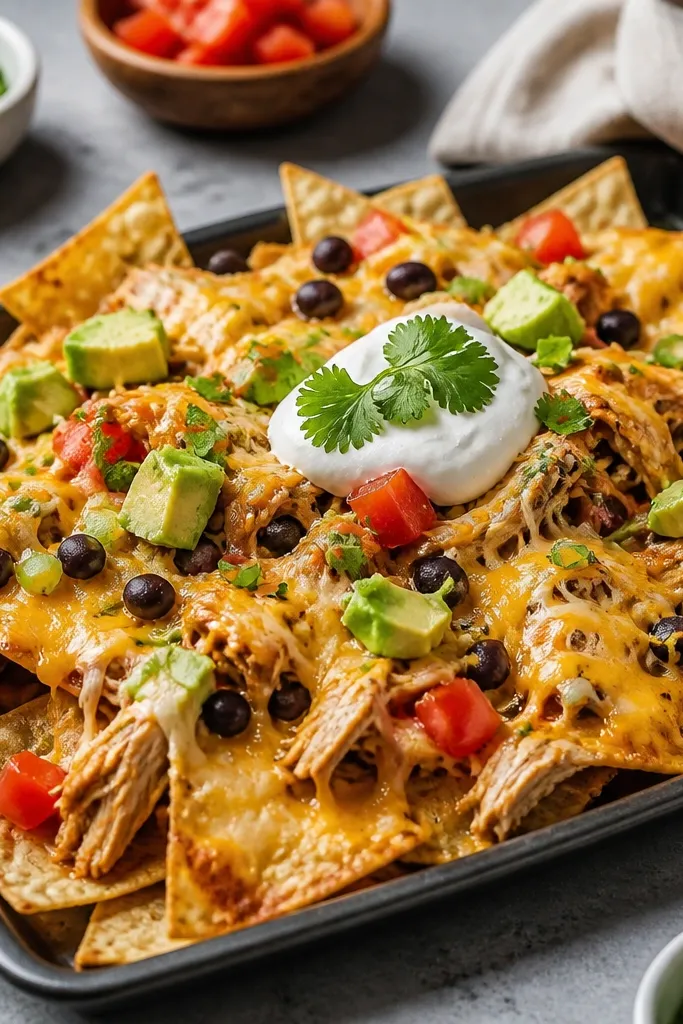
5. Taco-Style Chicken Nachos With Lime Green Light Accent
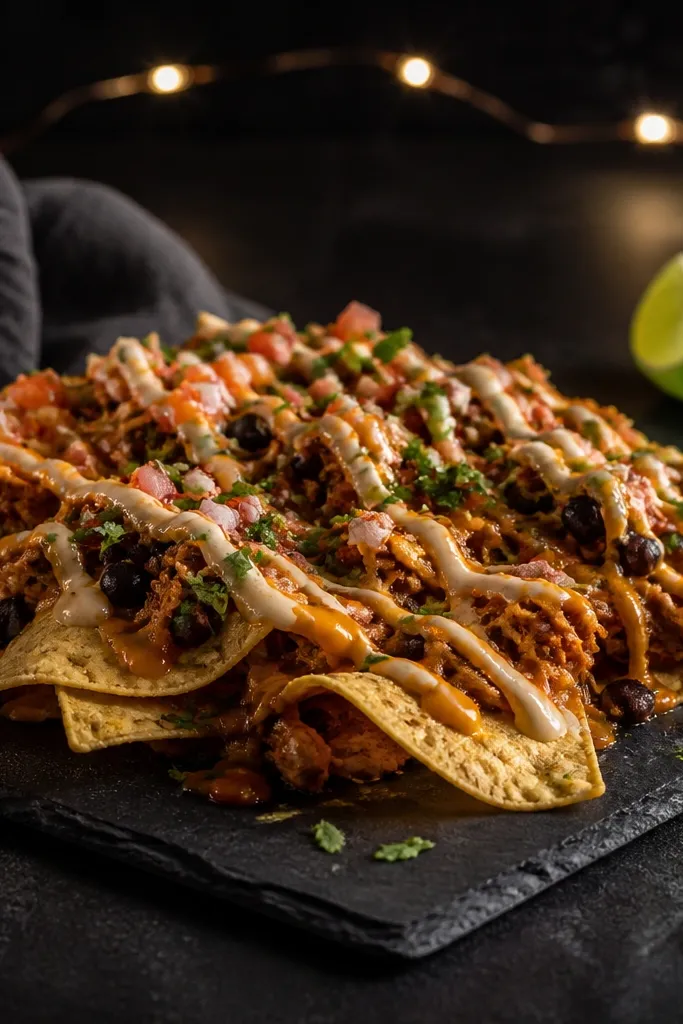
Green accents make lime wedges and jalapeños look extra fresh. I use a tiny green LED cluster only as a highlight near toppings, while the main glow stays warm white. This keeps the food looking like food, not like a neon art project.
Use a dark slate or dark wooden board so the warm white lights pop. Keep green LEDs 8 inches away from the oven and only at the table edge. Scatter lime wedges and chopped cilantro where the green light hits, so the garnish looks intentional.
Try thisSpritz a little lime juice right before serving so it stays bright and doesn't soak chips.
One warningDon't run green lights across the whole dish. It turns cheddar and queso into an odd color.
6. Mini Nacho Towers With String Lights Behind
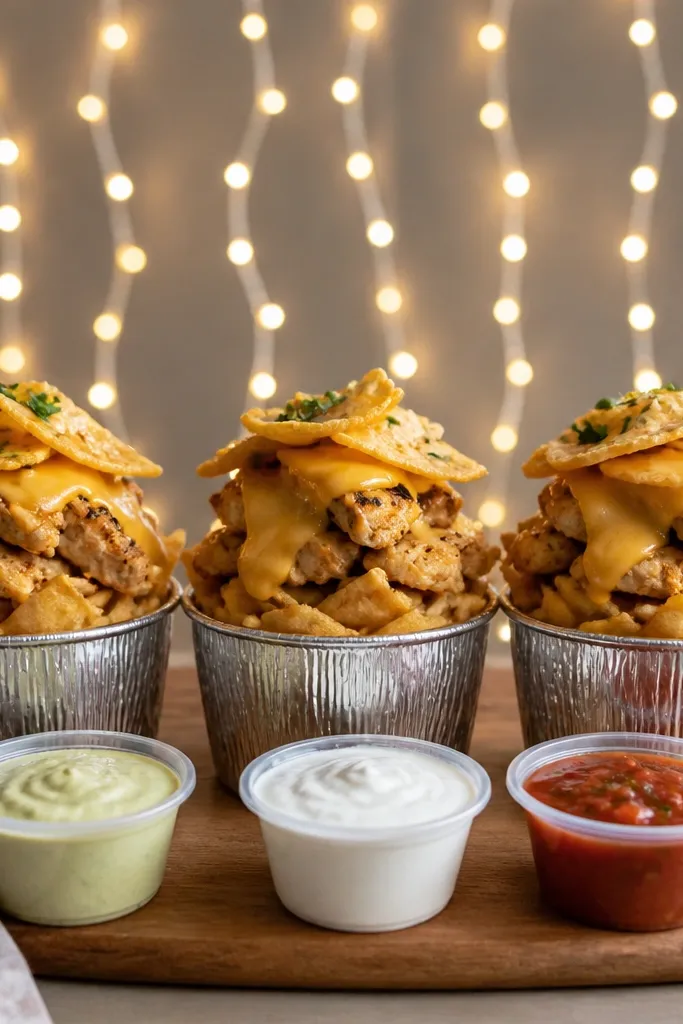
Mini towers stay crisp longer because each portion is smaller and you control the cheese amount. String lights behind create depth and make the towers pop without needing heavy décor. This is the setup I use when I want guests to grab one portion at a time.
Use small foil cups or ramekins on a baking sheet. Add chips to each cup, then chicken, then cheese. Bake until cheese melts, then top with salsa and onions after baking. Place string lights behind the baking sheet or serving area so the glow hits the towers from the back.
Try thisPress chips down lightly in each cup before baking so they form a stable base.
One warningDon't add wet toppings like tomatoes before the final bake. They leak and collapse the tower.
7. Sheet Pan Nachos With Lighted Serving Ladder
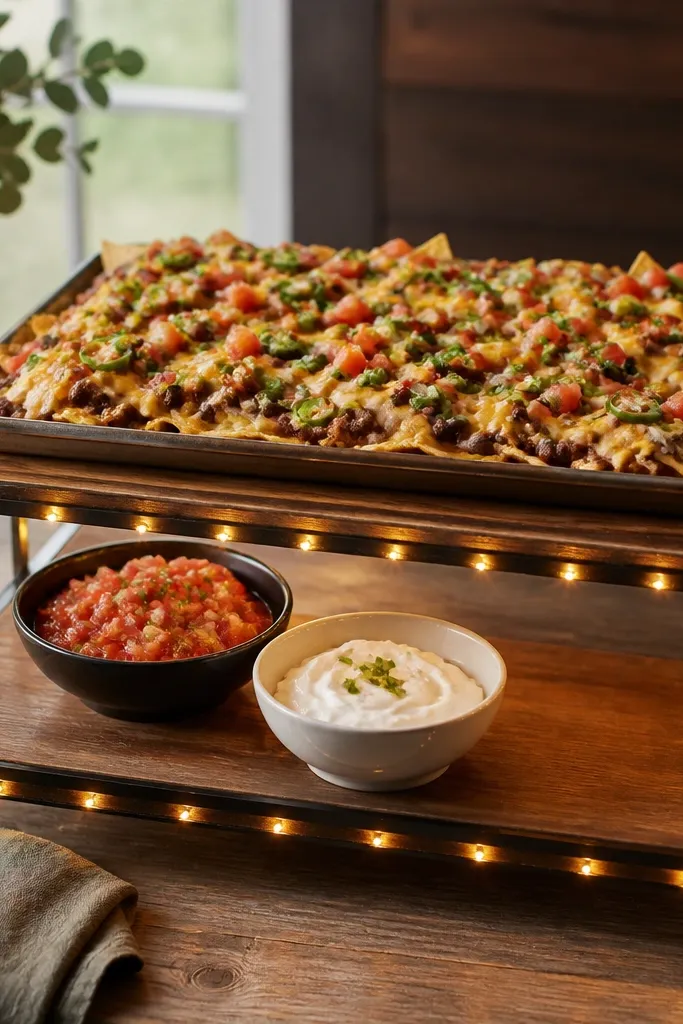
Height makes everything look more "designed." When nachos sit higher, you get cleaner lines in photos, and lights wrapped on the steps create a gentle gradient. Keeping dips on the lower step also stops people from reaching over hot trays.
Use a two-tier serving stand or stackable trays so the top is 10-14 inches above the table. Wrap warm LEDs around the step riser, not the tray itself. Bake nachos on the sheet pan, then slide the whole pan onto the top tier.
Try thisLabel dips with small paper flags so nobody mixes salsa and sour cream mid-game.
One warningDon't set the LED controller or battery pack near heat. Put it on the table side away from the pan.
8. Campfire Vibes With Candle-Look LEDs and Smoky Chicken
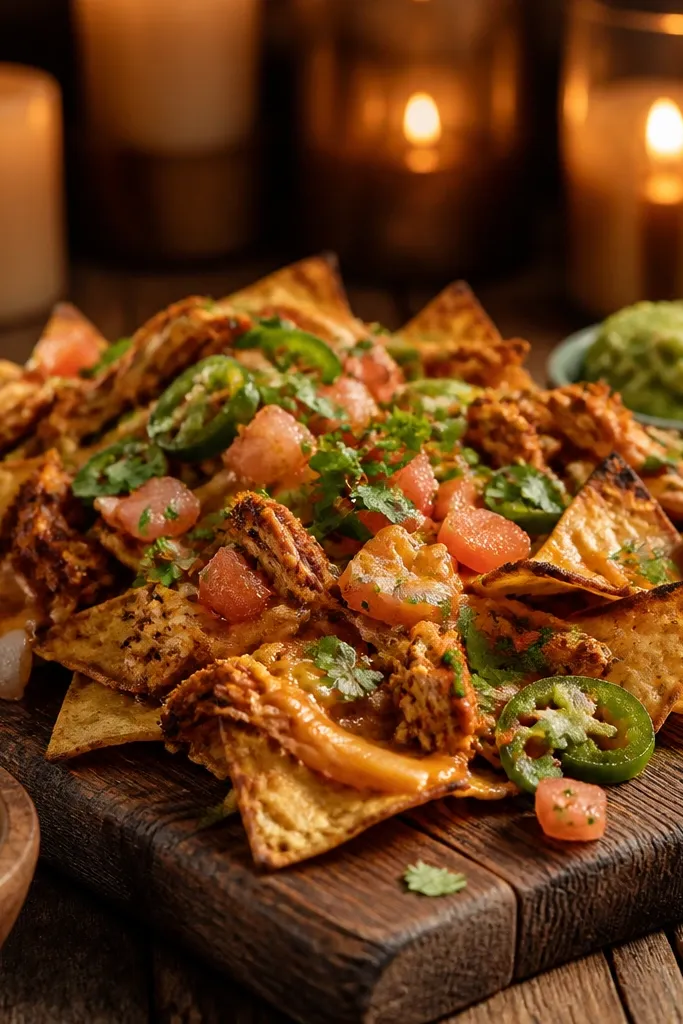
Candle-look LEDs make people feel like it's a casual backyard snack night, even if you're inside. Smoky chicken seasoning pairs with warm flicker lighting because it makes the dish look more "roasted." This is a mood play, not a gimmick - the flavors match the lighting.
Season chicken with taco seasoning plus 1/2 teaspoon smoked paprika and a pinch of garlic powder. Bake chips first, then add chicken and cheese for a shorter melt cycle. Use candle-look LEDs behind the board at staggered heights so the glow feels uneven like real flames.
Try thisAdd a thin layer of pickled jalapeños after baking. The tang cuts through smoky chicken fast.
One warningDon't use real candles near food. LED candle-look is the safe route and still sells the vibe.
9. Silver Foil Glare Trick With Warm Lights Off to the Side
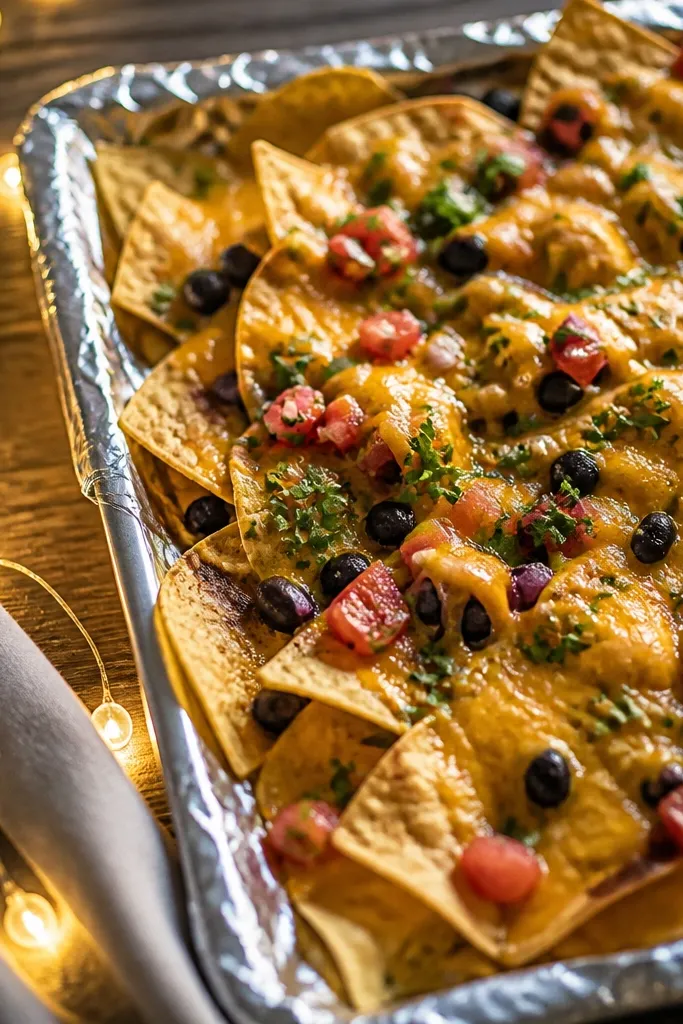
Foil reflects light hard, so side lighting makes cheese look extra glossy. This is the fastest way to get that "restaurant nachos" photo sheen without adding more sauce. It also helps the dish look neatly finished because highlights show where cheese melted.
Line the tray with heavy-duty foil and press it smooth so wrinkles don't create random dark spots. Position warm LED fairy lights 12-18 inches to one side, angled toward the tray surface. Build nachos in an even layer and keep cheese coverage consistent.
Try thisUse a thicker shredded cheddar blend for better melt and less grainy texture under the glare.
One warningDon't use cheap thin foil. It wrinkles and creates a blotchy look once light hits.