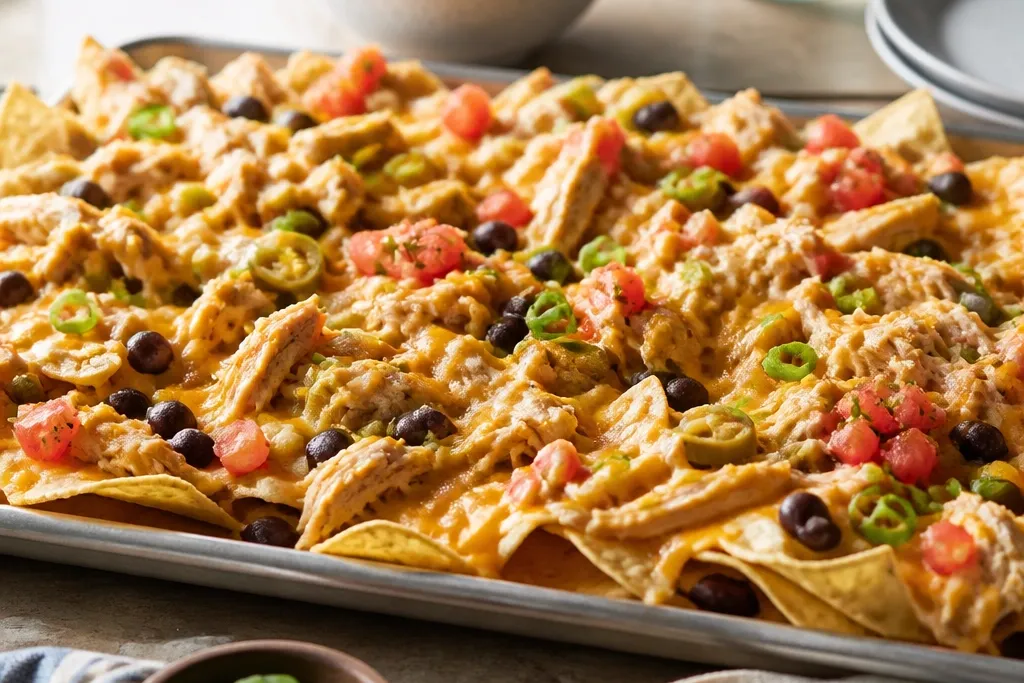
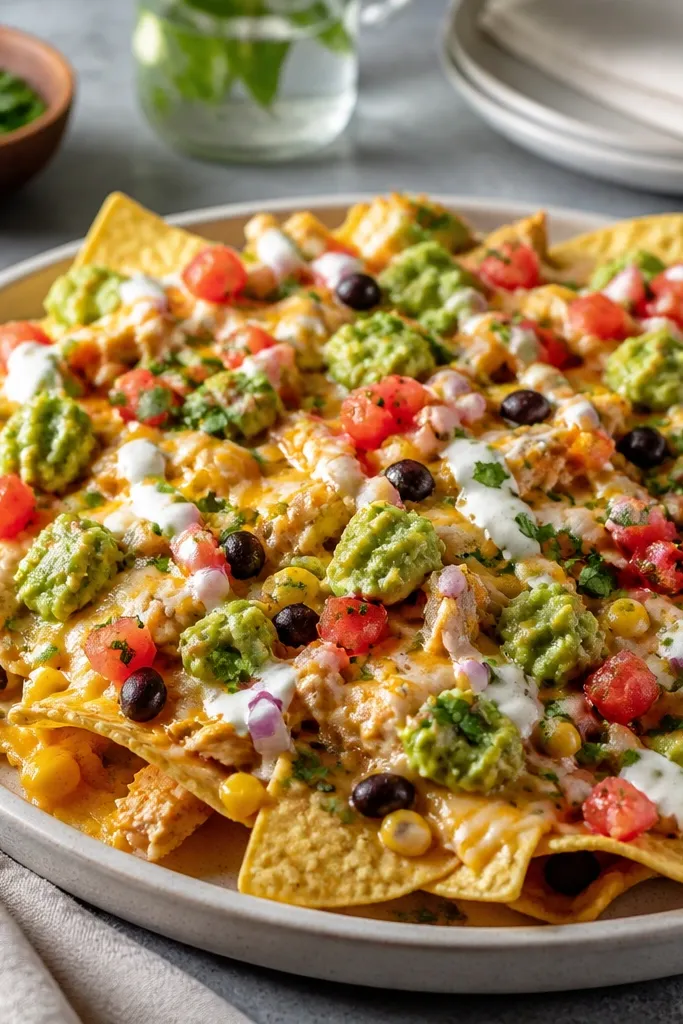
1. Sheet-Pan Chip Crown With Glossy Cheese Edges
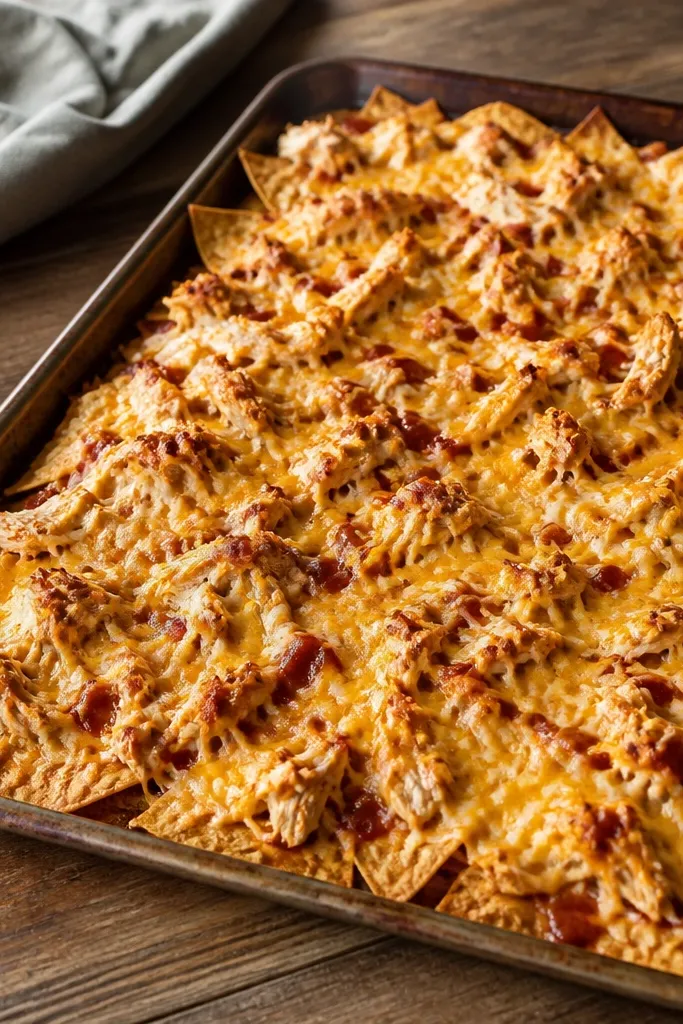
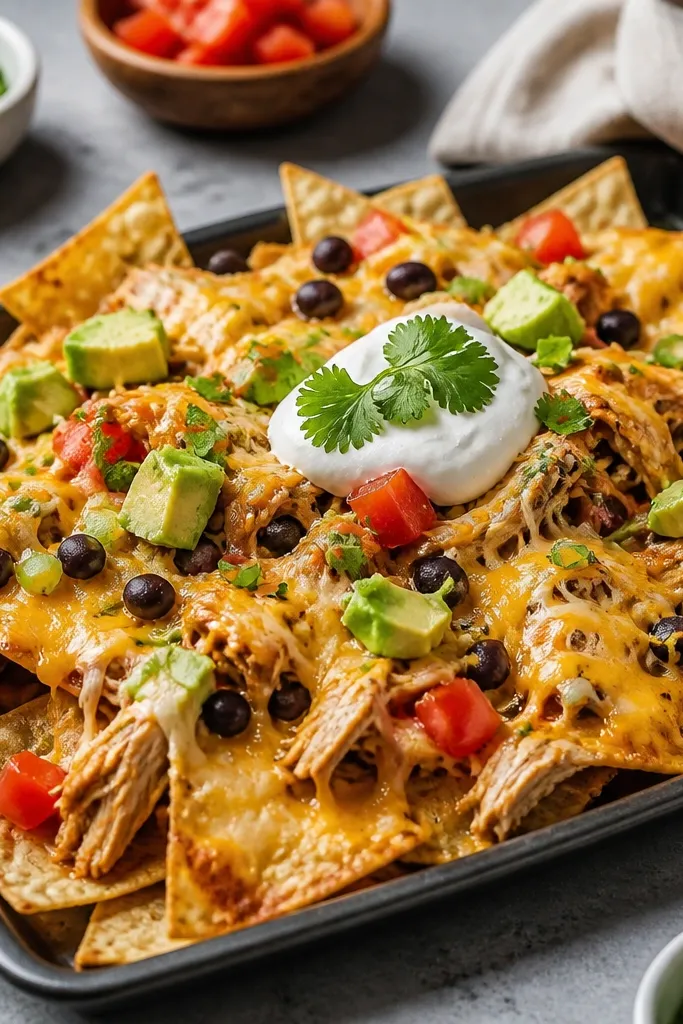
This look happens when chips sit flat and the cheese melts in place instead of pooling. I use a mix of cheeses for a shiny melt: shredded Monterey Jack plus cheddar. The Jack melts smoothly and the cheddar gives you browned spots that look appetizing, not greasy. The chicken should be visible under the cheese in small clusters so each bite has protein.
Spread about 6 cups of chips across a half-sheet pan (roughly 18 x 13 inches) in one layer. Scatter 2 cups shredded chicken, then drizzle 1/3 to 1/2 cup enchilada sauce in small zigzags. Top with 2 cups shredded cheese total - I keep it mostly Jack with about 1/2 cup cheddar mixed in.
Try thisBake until the cheese is glossy and bubbling at the outer chips, not until it looks hard. Pulling early keeps it creamy.
One warningDon't mound chips - a tall stack traps steam and the bottom stays cold while the top goes rubbery.
2. Two-Stage Cheese: Melt First, Brown Second
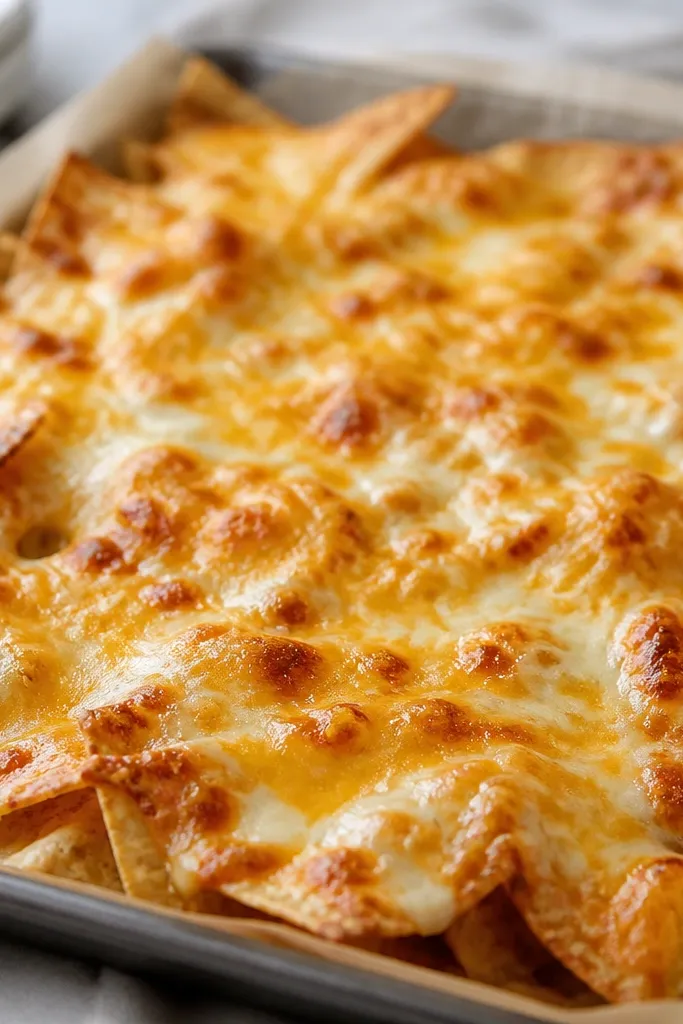
This is the easiest way to get "perfectly melted" cheese on every chip without overbaking. The first cheese layer melts and binds, then the second layer browns quickly. I do it with Jack first for smooth melt, then cheddar on top so you get those caramel-brown freckles. It looks restaurant-fancy but it's still low maintenance.
Add half your cheese after the sauce and chicken go on. Bake 8 to 10 minutes, then pull the pan and sprinkle the remaining cheese. Bake 2 to 5 minutes more until the top looks glossy with browned edges.
Try thisIf your oven runs hot, keep the first bake closer to 8 minutes and shorten the second bake by 1 minute.
One warningSkip adding all the cheese at once if you want browning. All-at-once often turns into oily streaks.
3. Red Sauce Drizzle Over Chicken Clumps
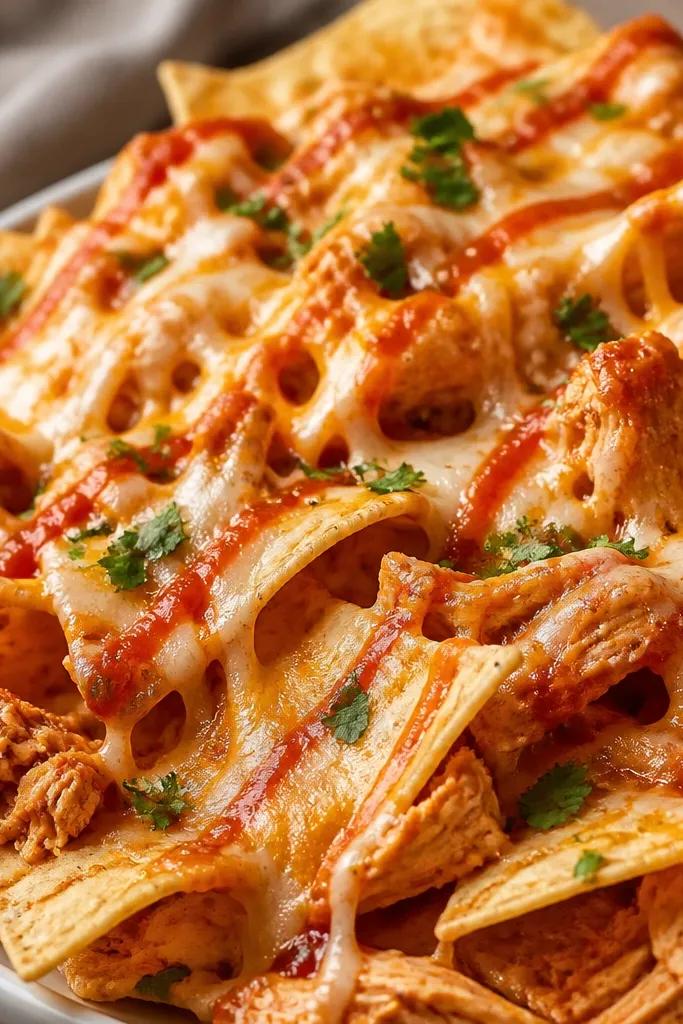
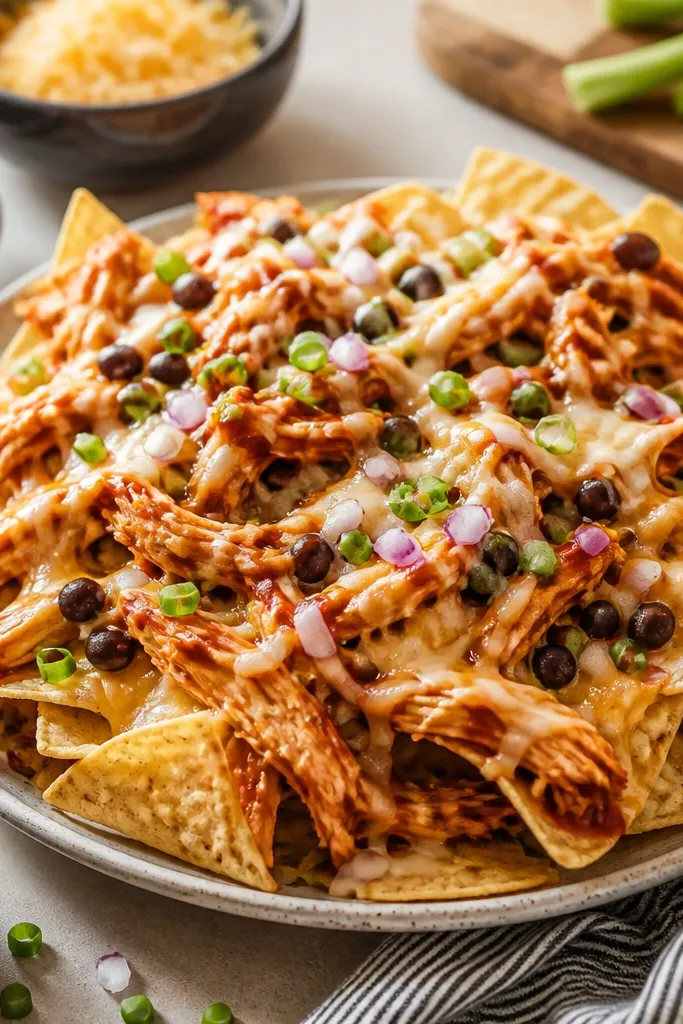
Thin drizzles look better and taste better because they spread flavor without flooding chips. I like enchilada sauce because it sticks and thickens as it heats. The sauce also tints the melting cheese where it hits, so the whole pan looks warmer and more cohesive. Keep chicken clumps small so each chip gets a little protein.
Use 2 cups shredded chicken and break it into smaller pieces with your fingers - no big chunks. Warm sauce in the microwave for 20 to 30 seconds so it pours in a controlled ribbon. Drizzle 1/3 cup, then stop. You can always add more after baking.
Try thisUse the back of a spoon to smear sauce lightly over chicken clusters before it hits the chips.
One warningDon't pour sauce in one spot. It sinks through chips and makes a soggy crater.
4. Fresh Lime and Cilantro Finish That Stays Bright
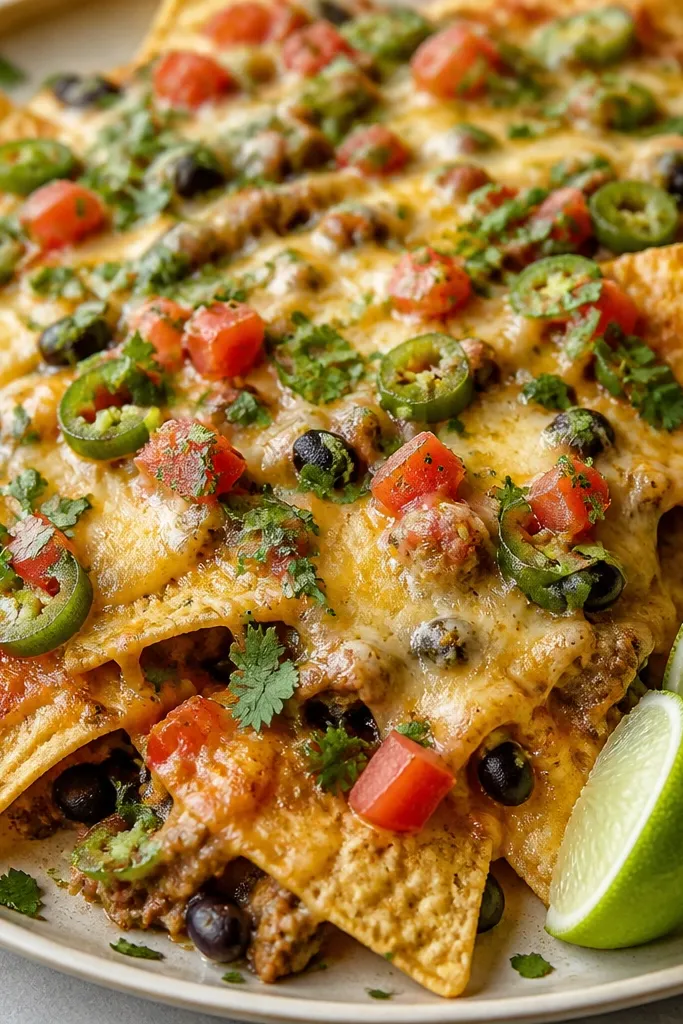
This is the part people miss when they want low maintenance. Baking wilts cilantro and dulls lime flavor. I add herbs and citrus after the bake so they stay sharp. The lime juice also cuts the richness of melted cheese, making every bite feel lighter.
After baking and a 2-minute rest, squeeze 1/2 lime over the top in quick passes. Add 1/4 cup chopped cilantro and toss gently with a spatula so you don't smear cheese. Serve with remaining lime wedges so people control the acidity.
Try thisIf your cilantro is wet from washing, pat it dry. Watery cilantro makes the top look messy.
One warningDon't add cilantro before baking if you want it to look fresh in photos and taste fresh in the first bite.
5. Crisp Pickled Jalapeño Rings on Top
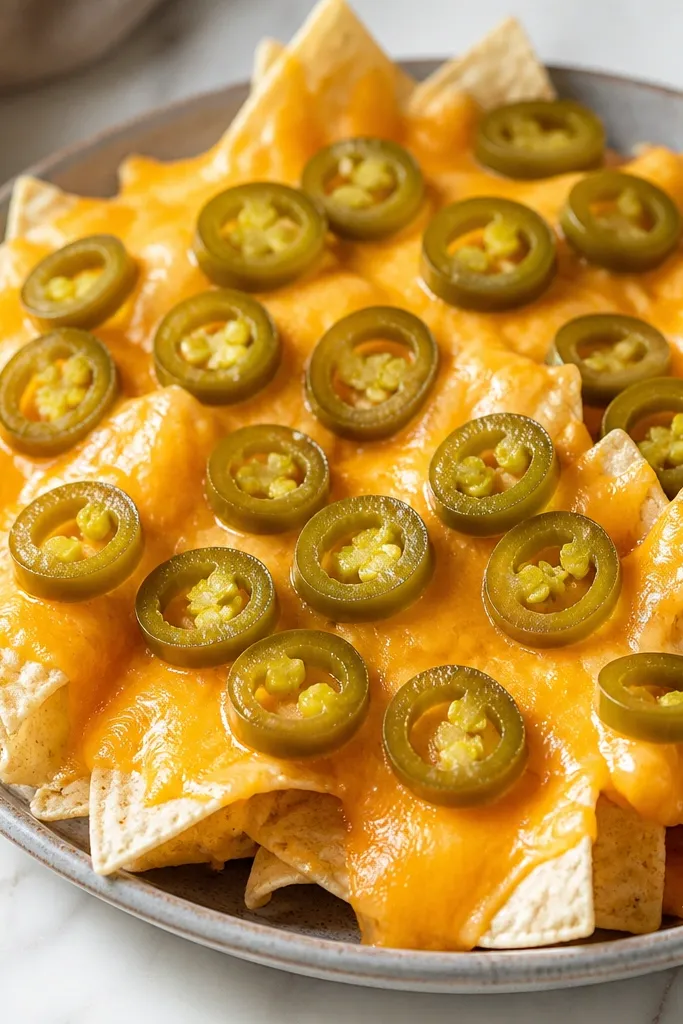
Pickled jalapeños add heat and tang without needing more sauce. The acidity helps keep the nachos tasting lively even when the cheese is heavy. I like rings because they distribute heat evenly and look intentional. You get a clean, spicy bite that lands after the cheese melt.
Drain jalapeños well and pat dry with paper towels. Add them after baking and resting. Use about 2 tablespoons for a mild-medium heat level.
Try thisFor a hotter version, slice a fresh jalapeño thin and add it with the pickled ones after baking.
One warningDon't use raw jalapeño chunks baked on top. They turn leathery and taste flat.
6. Black Bean + Corn Dots for Color Without Extra Work
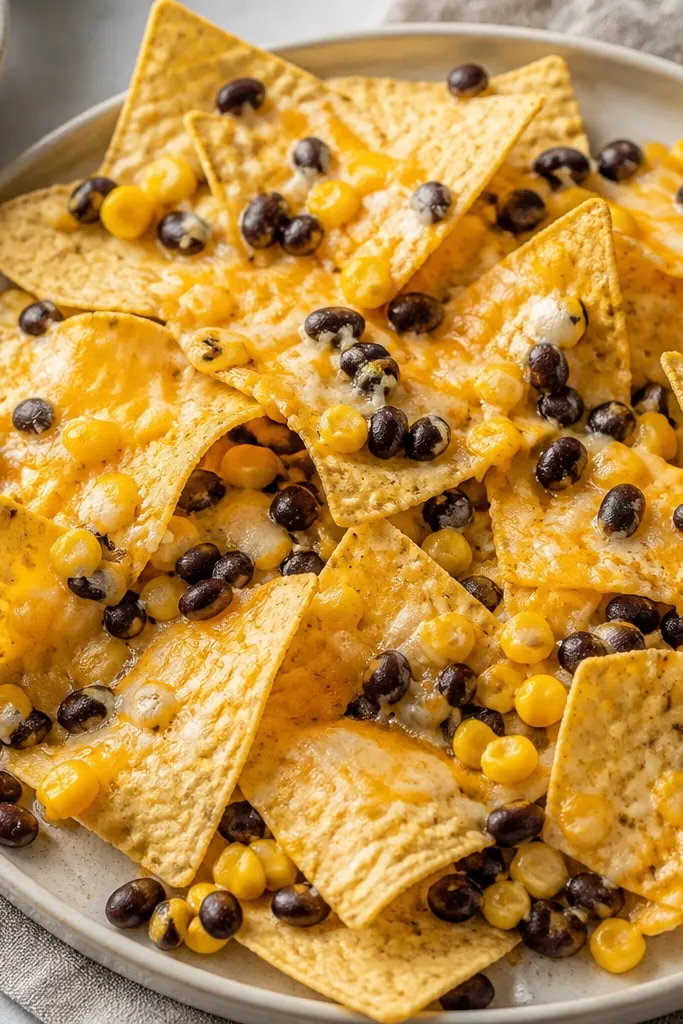
Beans and corn make the whole tray look more colorful and more filling, without complicated cooking. I use canned black beans and thawed frozen corn. When you scatter them, you get sweet-salty pops against cheesy chicken. It also helps cover chips that might otherwise look bare.
Use 1/2 cup black beans and 1/2 cup corn. Drain beans well and pat corn dry if it's thawed from frozen. Scatter them over chicken before the cheese goes on.
Try thisWarm beans and corn for 30 seconds before topping so they don't cool the bake.
One warningDon't skip draining. Wet beans and corn steam and soften chips.
7. Sour Cream Swirl With a Spoon, Not a Dollop
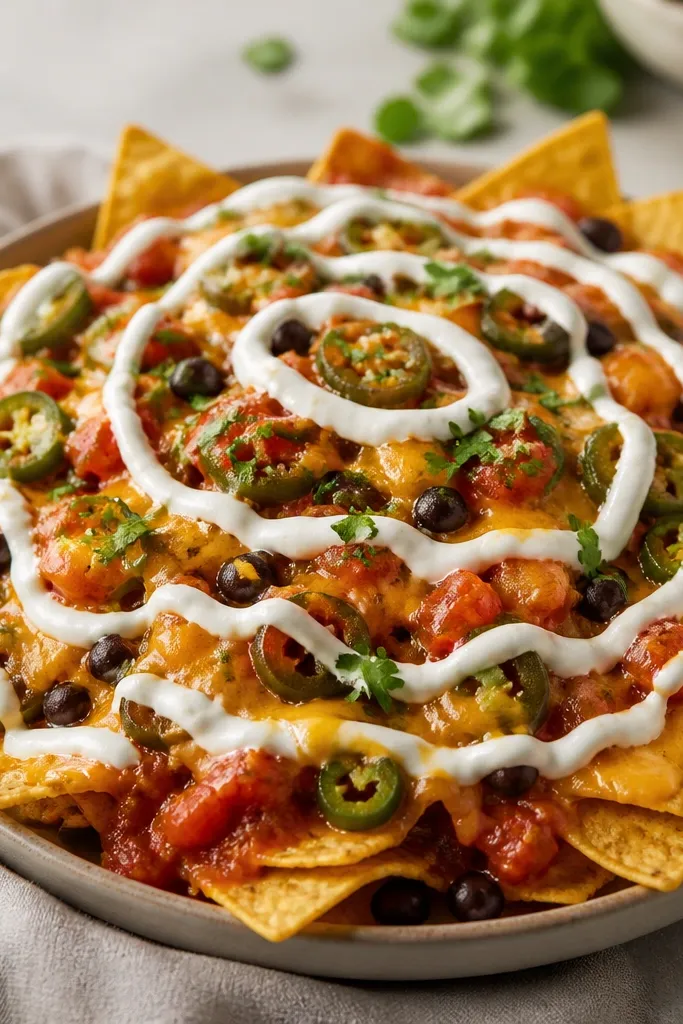
A swirl looks better than big dollops because it spreads across more chips. It also cools the bite just enough to balance heat. I mix sour cream with a splash of lime juice and a pinch of salt so it tastes like something, not just dairy. The thin drizzle also helps it settle into cheese grooves.
Stir 1/3 cup sour cream with 1 teaspoon lime juice and a pinch of salt. Use the back of a spoon to drag lines across the top after baking. Keep it light so the cheese stays the star.
Try thisIf sour cream is thick, loosen it with 1 teaspoon water for thinner, cleaner lines.
One warningDon't add sour cream before baking. It breaks and looks oily.
8. Tomato + Red Onion Crunch Layer Right After the Oven
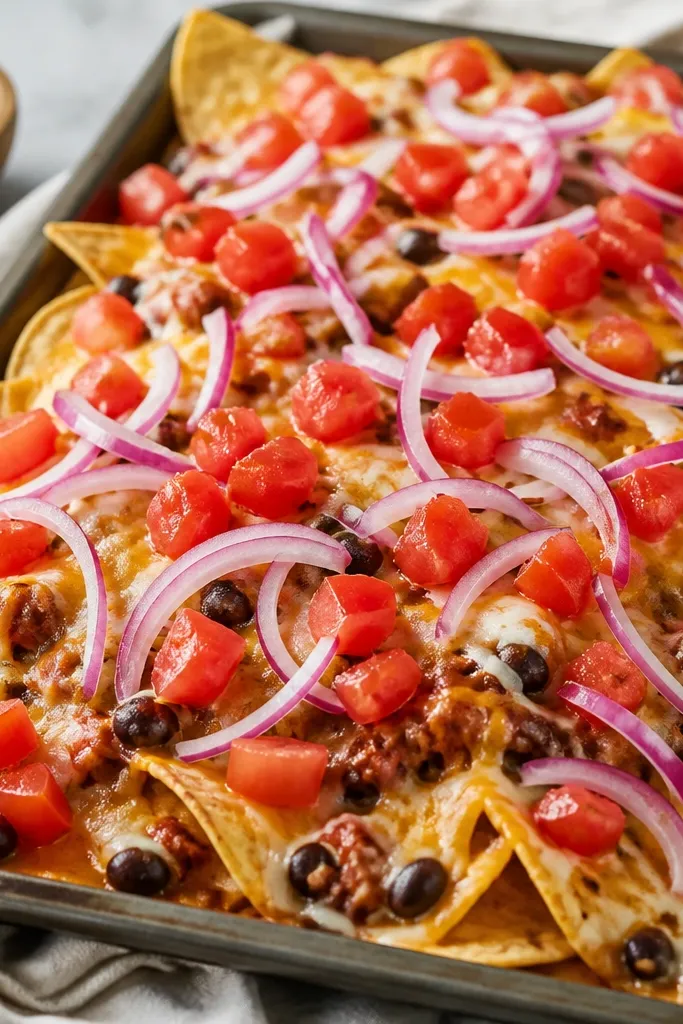
Fresh tomato and red onion add crunch and bright flavor that baked toppings can't match. Since you add them after the cheese sets, they stay crisp instead of turning watery. I like small dice so they sit on cheese without sliding off. The red onion brings bite and a clean sharpness against rich cheddar.
Dice 1 small tomato (about 1 cup) and thin-slice 1/4 small red onion. Toss with a pinch of salt and drain 2 minutes if it gets watery. Add after the 2-minute rest.
Try thisPat tomatoes quickly with a paper towel before topping so you don't soak the chips.
One warningDon't add big onion chunks - they weigh down the bite and look sloppy.
9. Browned Cheese Pull Strands for That "Every Chip" Melt
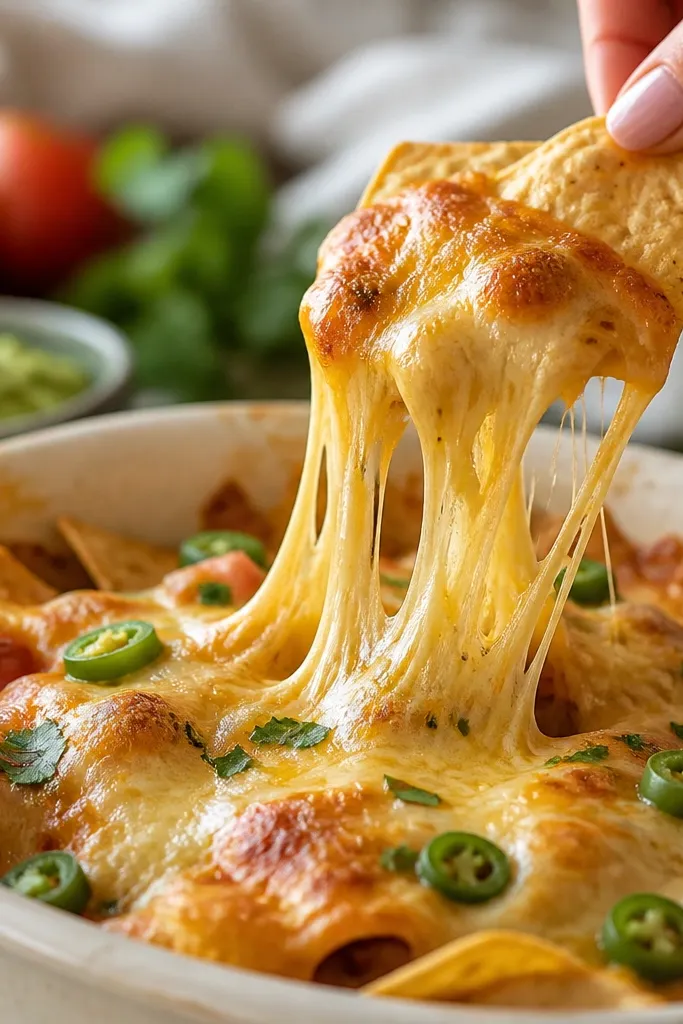
That stretchy cheese look comes from correct melt time and a mix of cheeses that melt and brown. I use Jack for stretch and cheddar for color. When you pull the tray at the right moment, the cheese stays elastic. It grips chips so every chip feels coated, not just topped.
Use shredded cheese you shred yourself or buy in a shred bag with no anti-caking powder. Bake at 425°F and stop when bubbles are visible and the top looks glossy. Rest 2 minutes so cheese thickens for better stretch.
Try thisIf you want extra pull, add a small handful of mozzarella on top for the last 2 minutes.
One warningDon't bake too long. Overbaked cheese turns stringy and greasy instead of stretchy.
10. Warm Chicken Under Cheese With No Dry Spots
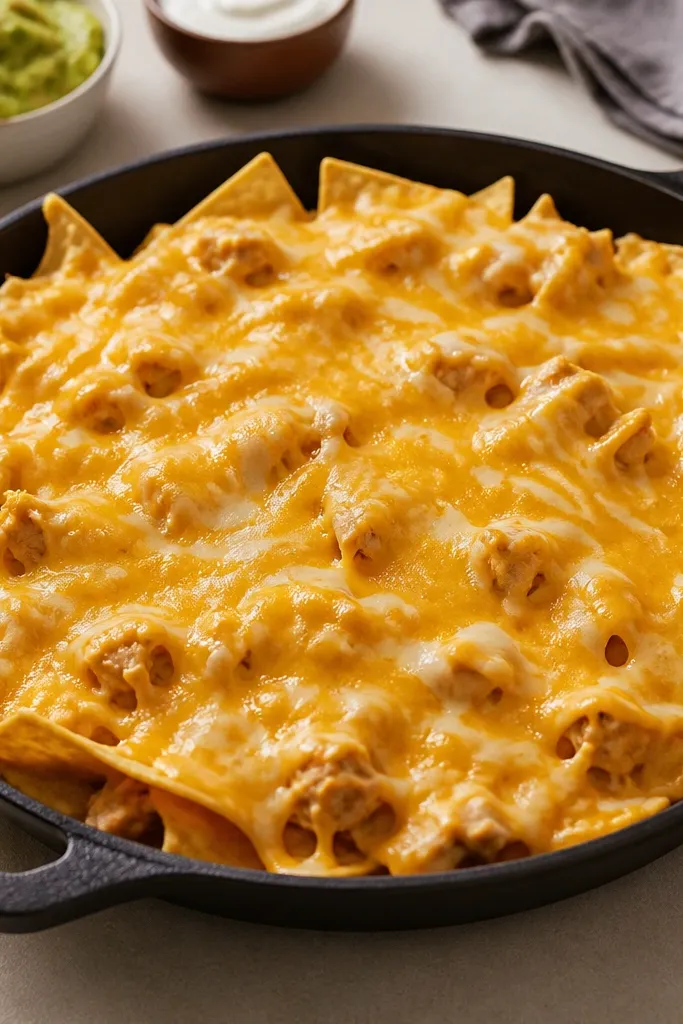
Dry chicken makes nachos feel heavy fast. I keep chicken moist by tossing shredded chicken with a tablespoon of enchilada sauce or salsa before it goes on chips. That way, the chicken heats through while staying juicy. When it's under cheese, it also prevents the top from drying out too quickly.
Toss chicken with 1 to 2 tablespoons sauce, then spread it in small pinches over chips. Use a light hand with sauce on top - the chicken-toss step already did the work. Top with cheese and bake right away.
Try thisIf your chicken is from the fridge and feels dry, sprinkle 1 teaspoon water over it before tossing with sauce.
One warningDon't use plain, unseasoned shredded chicken straight from leftovers. It tastes muted after cheese bakes.